


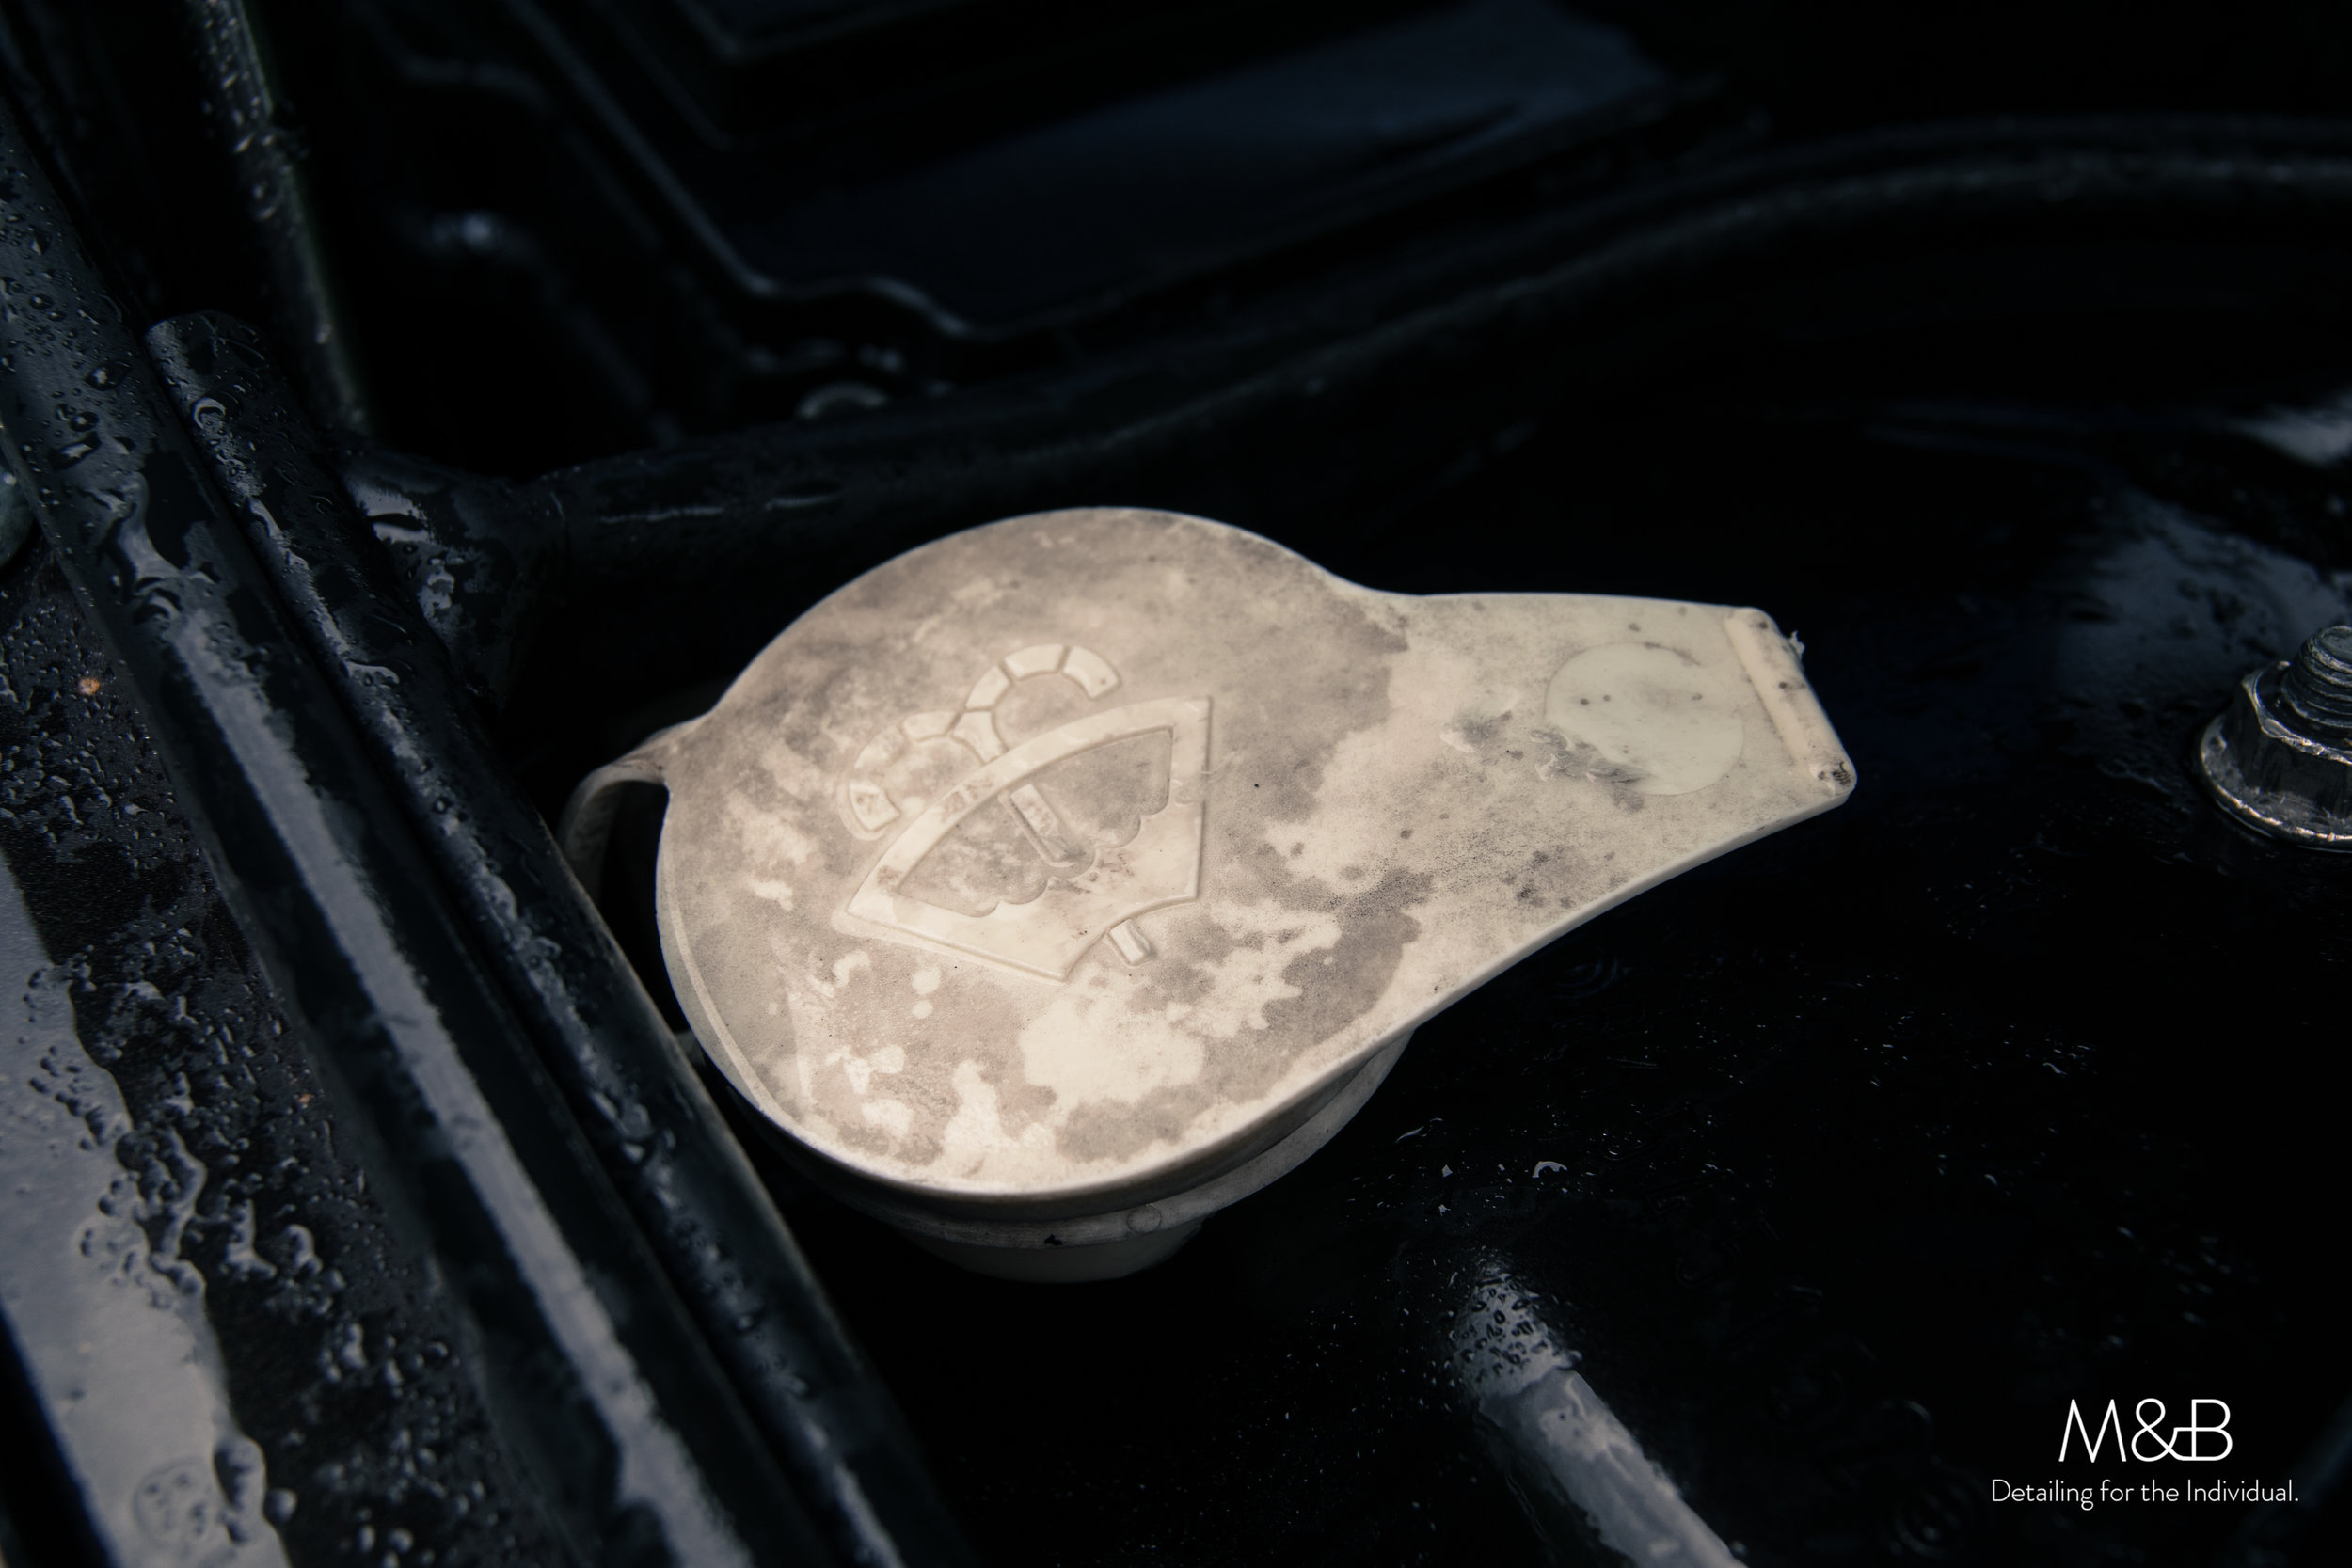
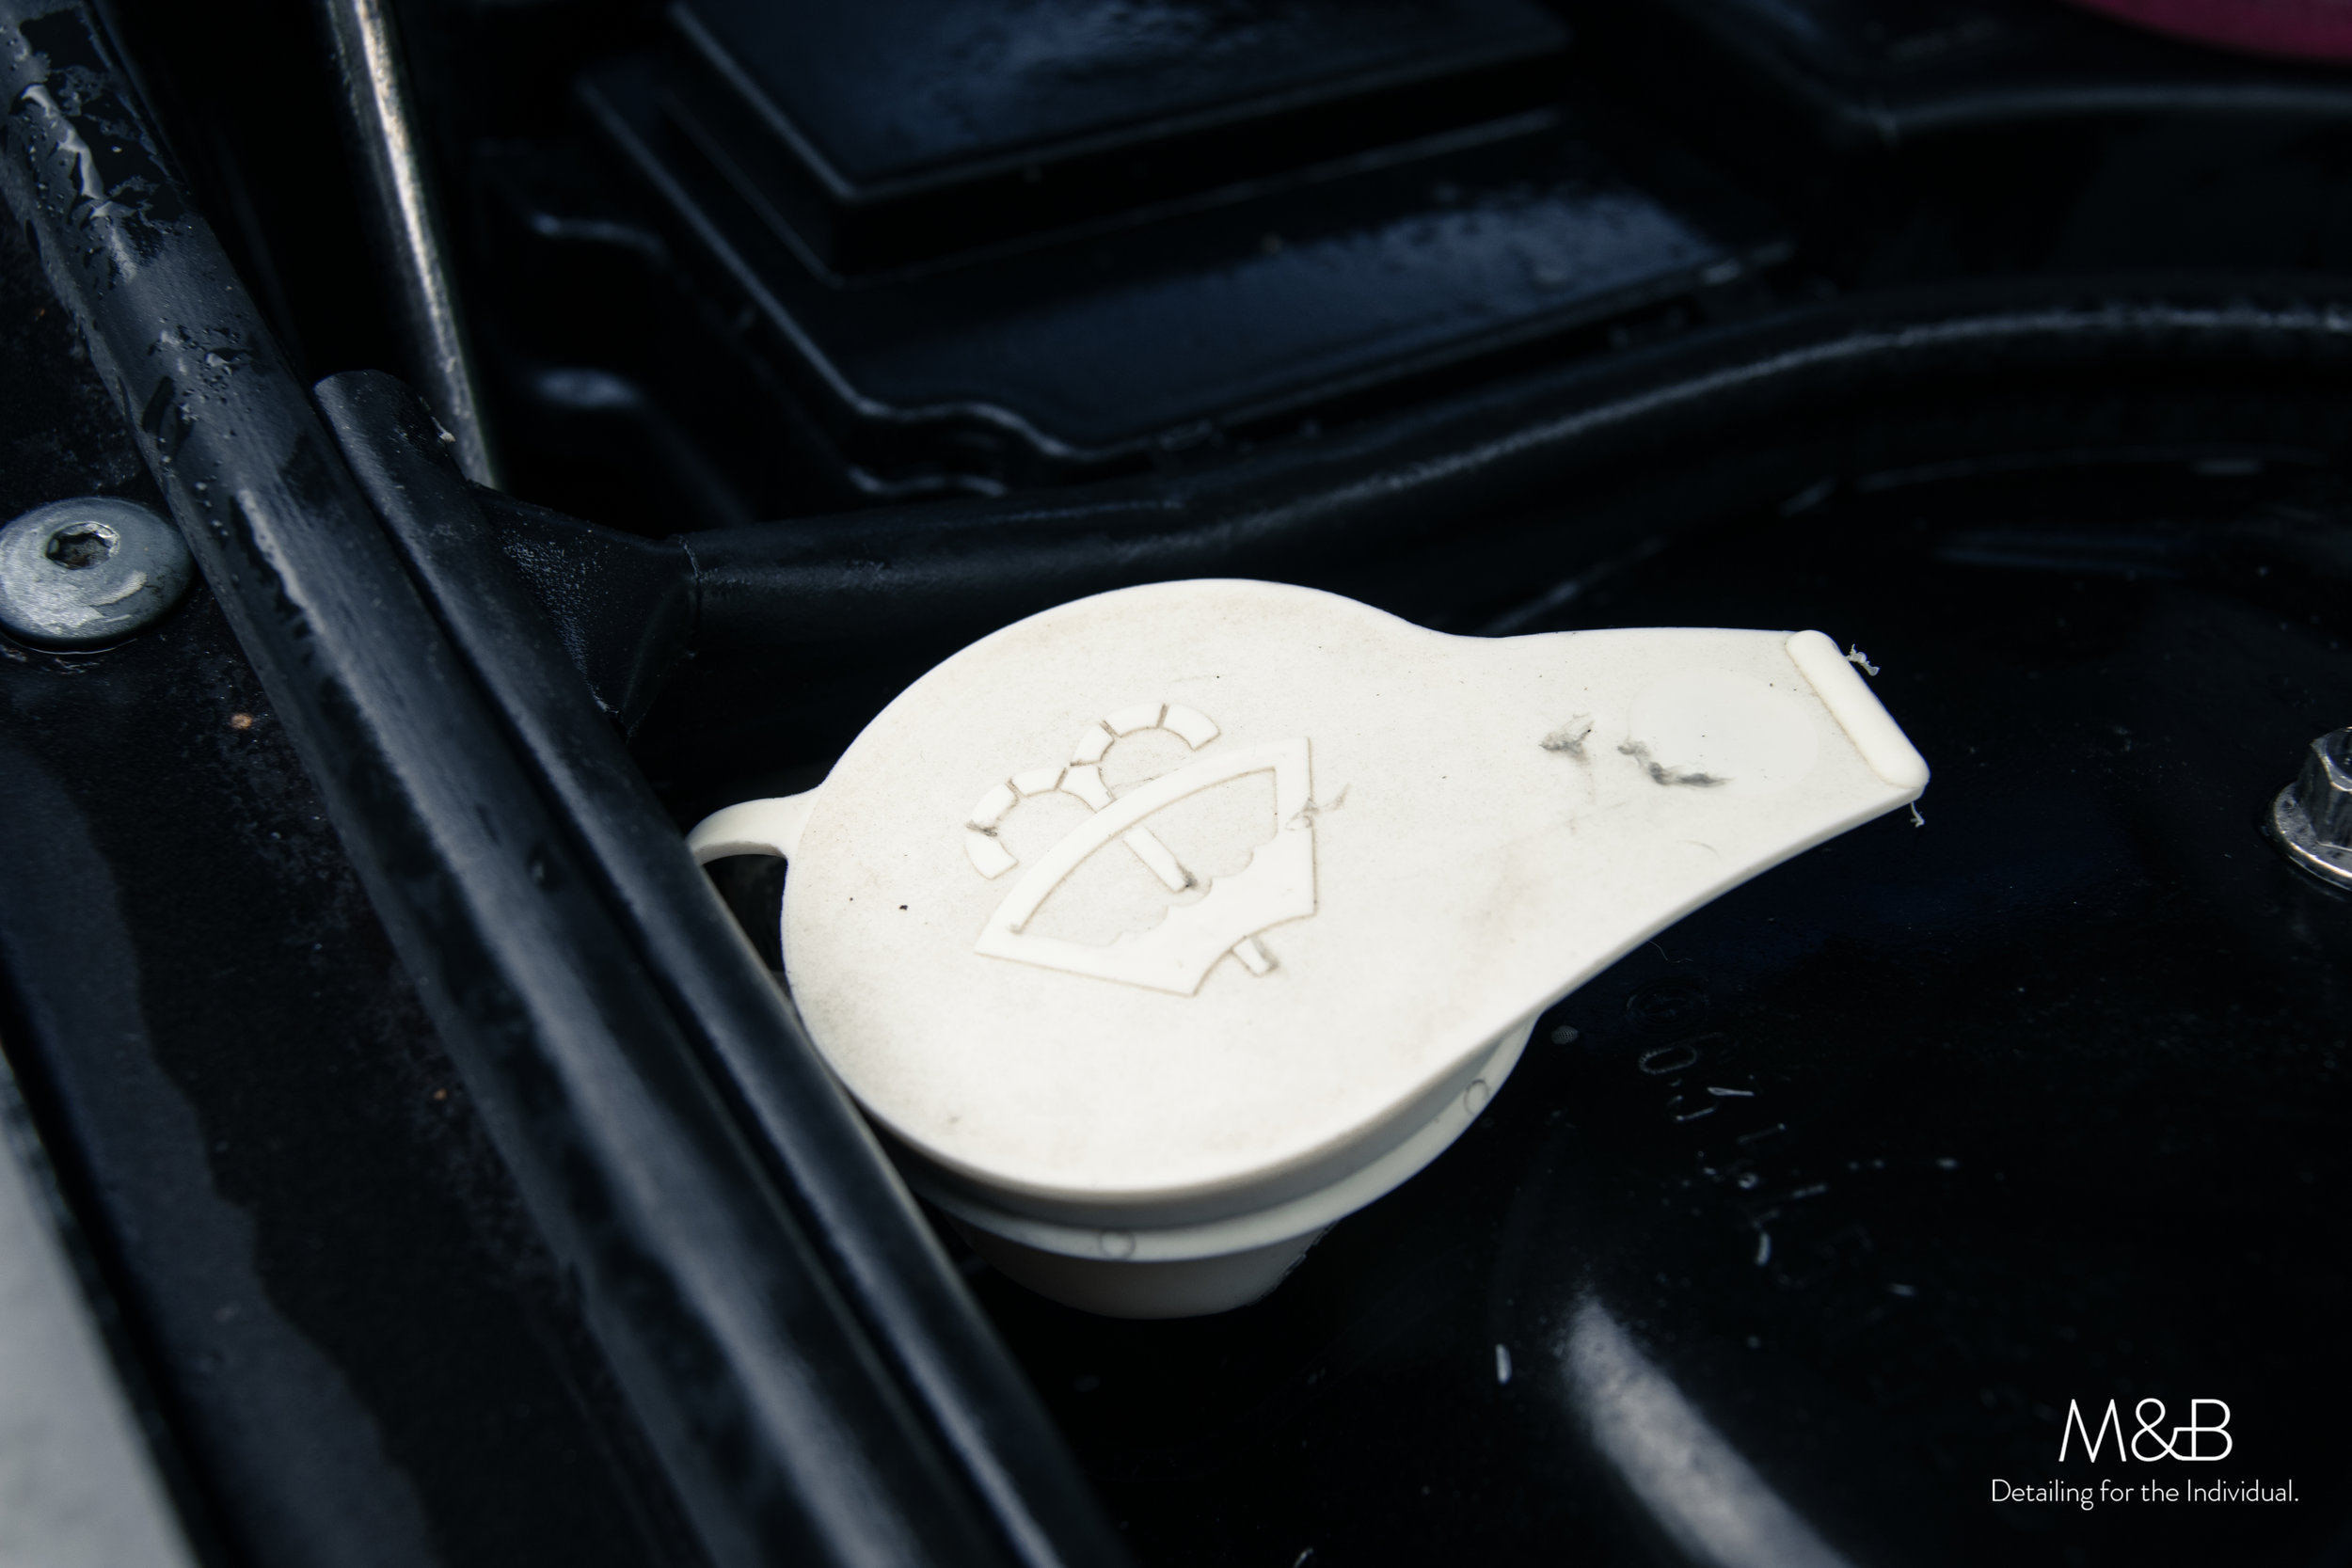
Not awful, but not good enough. Take a walk with us as we get this engine bay clean!
A CLEAN ENGINE IS A HAPPY ENGINE.
A clean engine bay = A happy engine bay = Longer lasting parts = Higher resale value = A happier You.
How you do one thing is how you do everything; if the rest of your car is well-kept and shining, the powerhouse should be no different. Keeping your engine bay clean is just like maintaining it - except that its less laborious and, depending on the person, more fun. Residual oils and grime can build up and prematurely wear down pulleys, bearings, belts, or more dangerously, hide gasket leaks and failures - all in addition to being plain unsightly. A clean engine runs more efficiently than a dirty one, which ultimately saves you money!

Dust is a part of the game. Read on and learn how to properly absolve it!

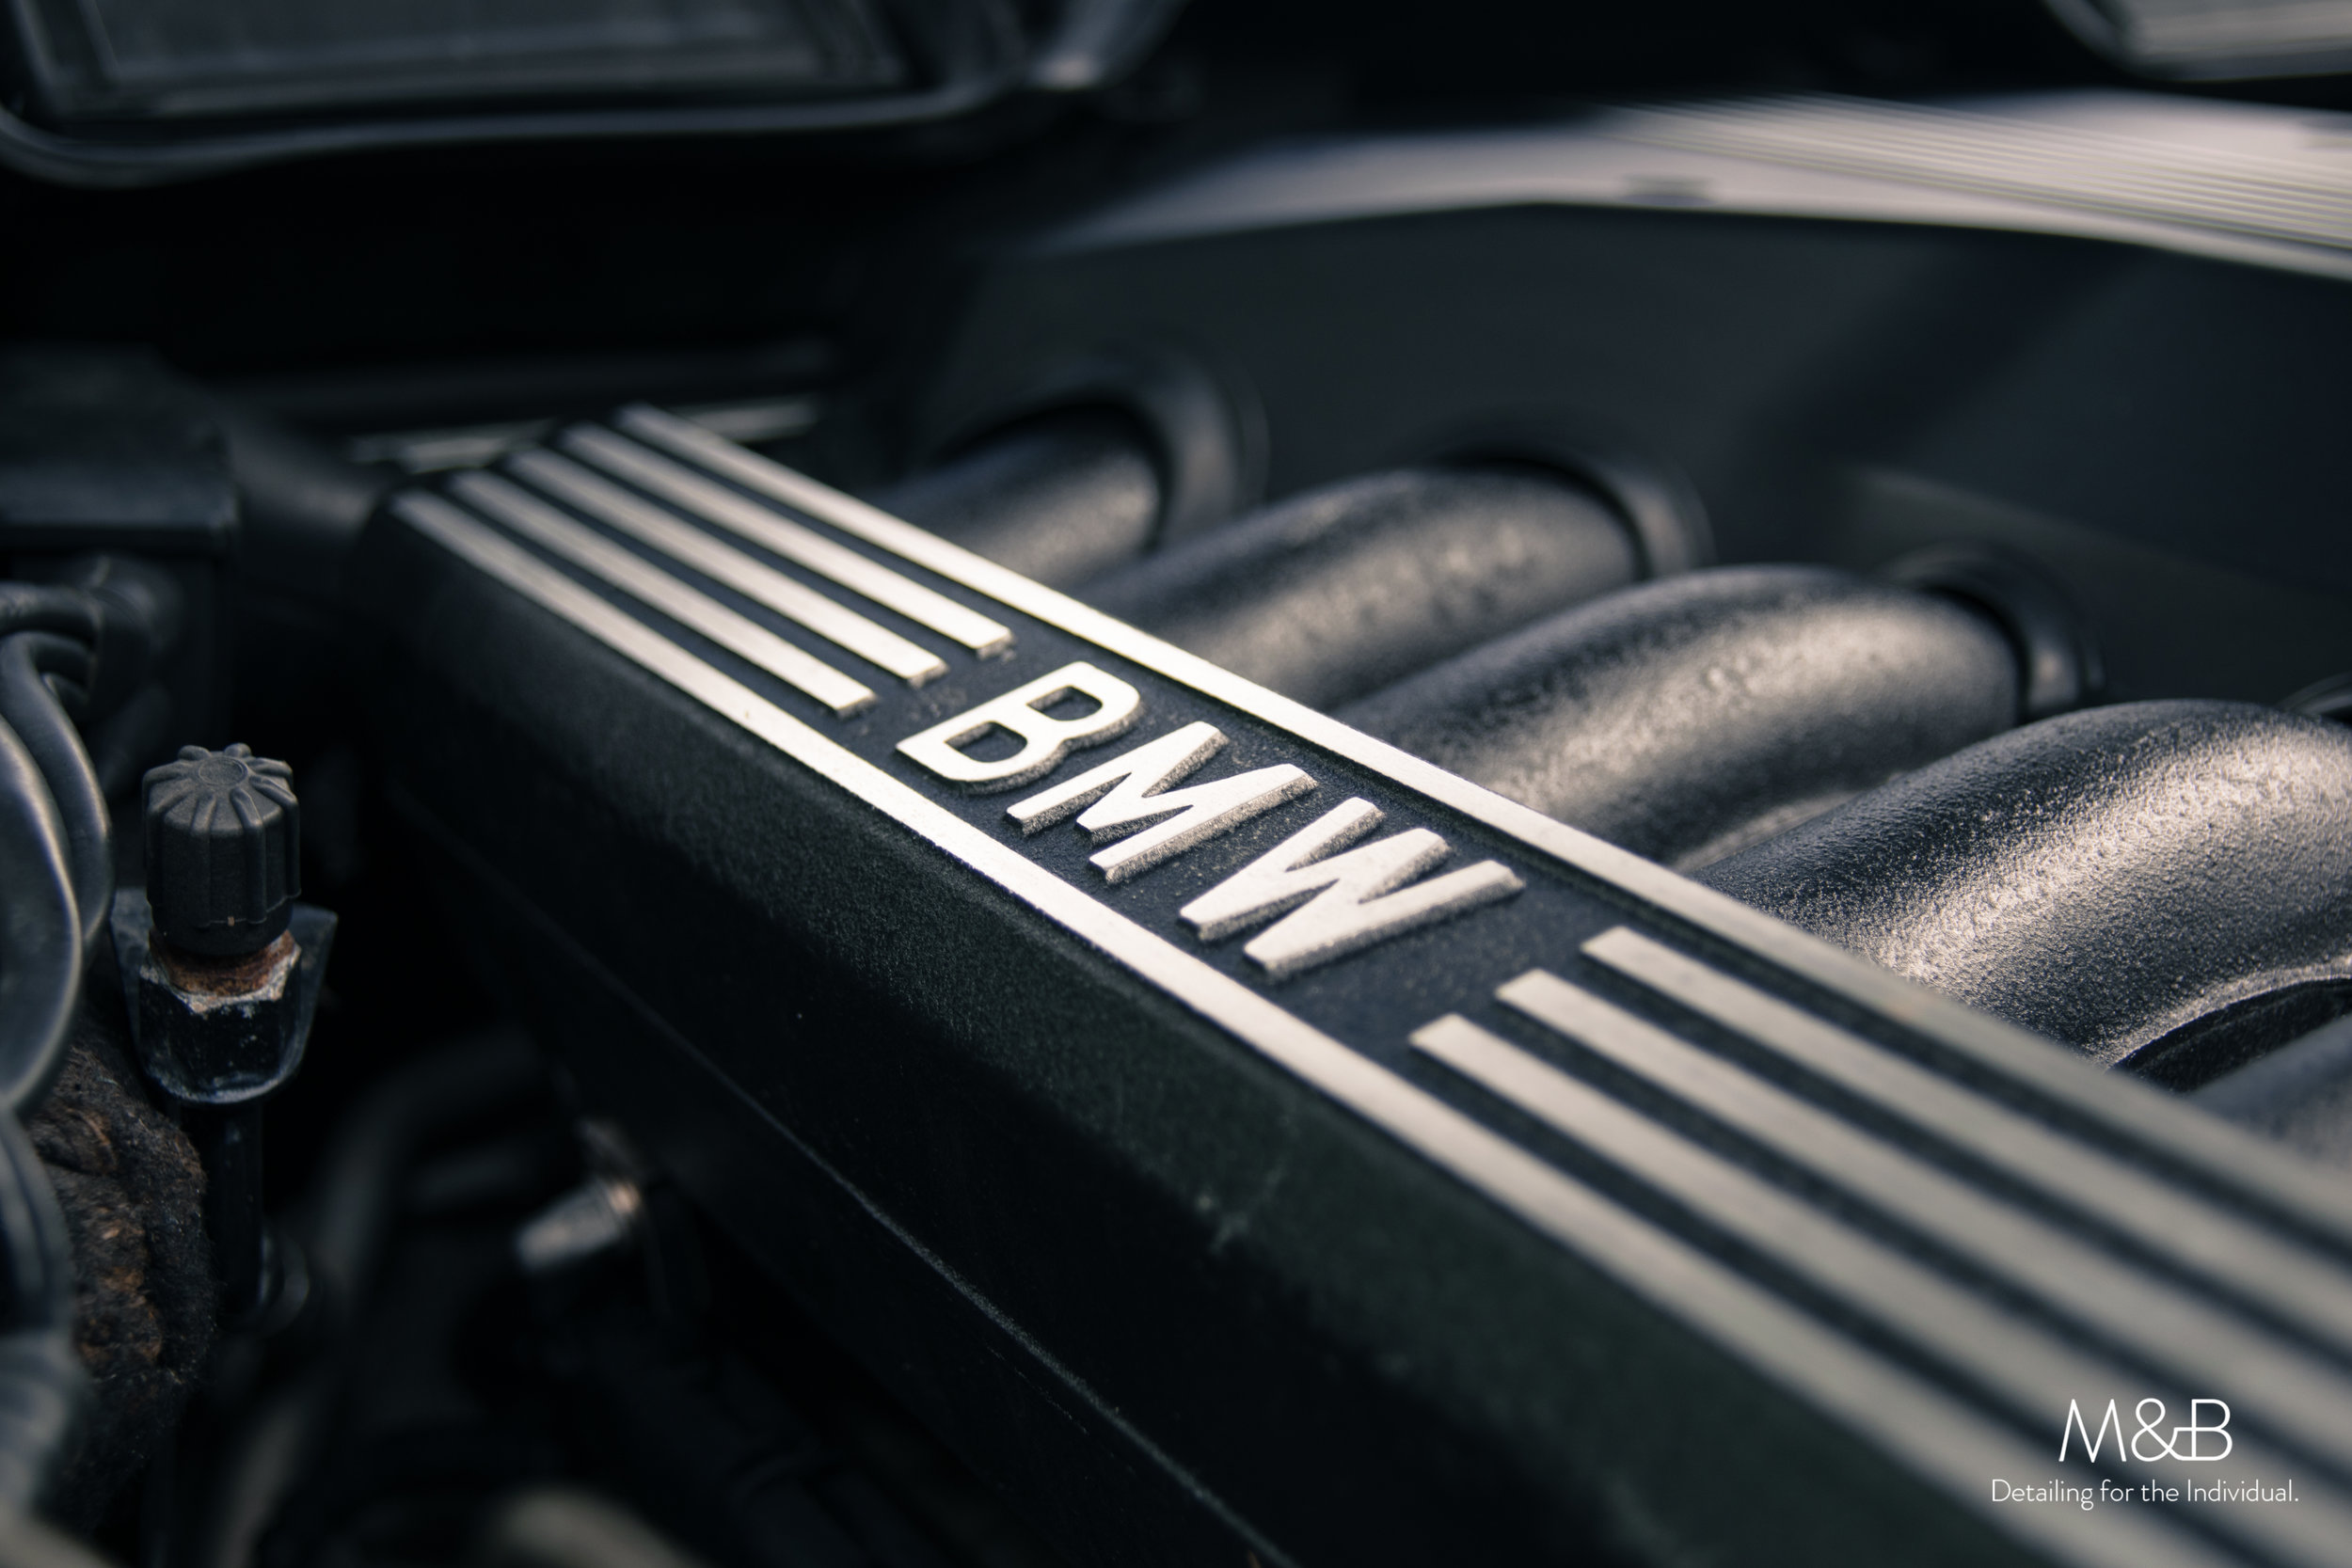
Notice slight oil buildup around the valve covers.
WHAT YOU'LL NEED:
- A bucket & dedicated microfiber or wool mitt
- A brush for agitating
- An all-purpose cleaner/degreaser such as IGL Multi
- Clean microfiber towels
- Compressed air
- Vinyl/Rubber/Plastic Dressing (IGL Dash)
- A steamer (not crucial, but it helps A LOT!)
- A pressure washer is also optional. Should you decide to use one, make sure that you use a low pressure setting or attachment!

STEP ONE.
Safety first! Before you go doing any spraying or cleaning, if your battery is up front and uncovered, disconnect the negative battery terminal to prevent short circuiting (you don't want fried electronics).
If your air intakes are exposed, cover them with plastic bags. This also goes for ignition components (coil packs, distributor, etc.)
STEP TWO.
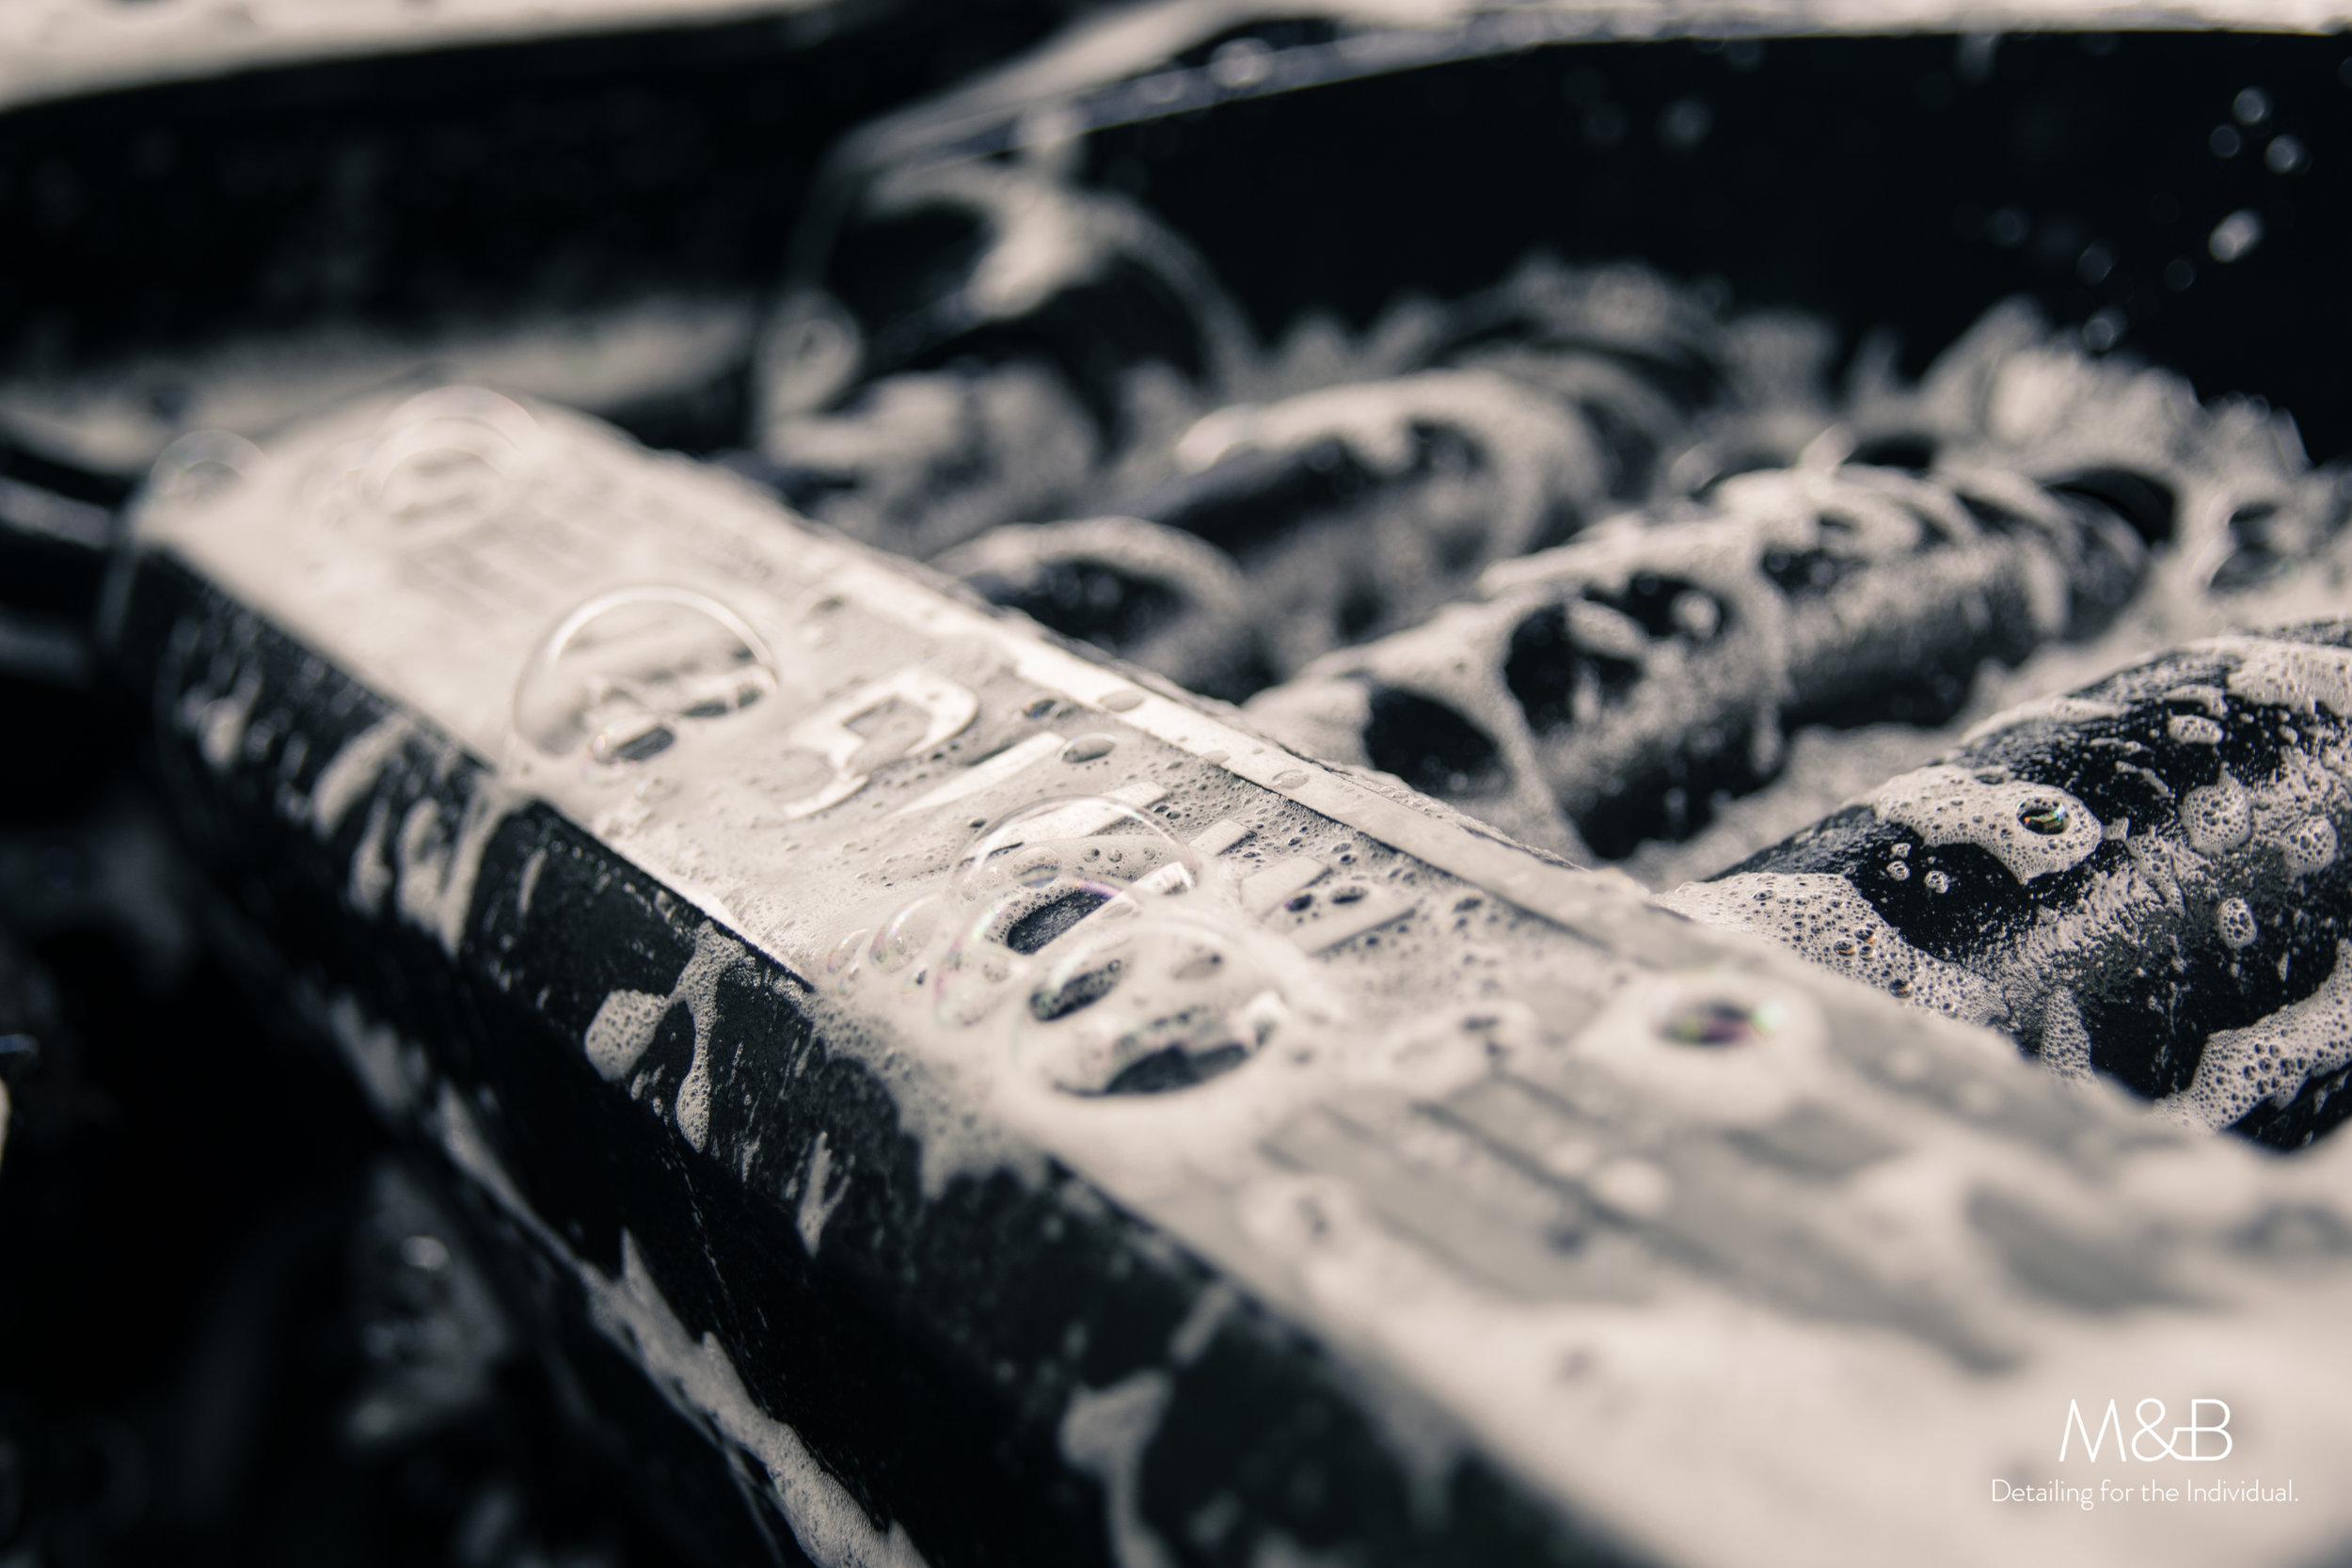
Hose 'er down! Water first, then APC/degreaser.
A preliminary rinse helps to knock the loosest dirt out first, acts as a cutting agent for the degreaser, and prevents the forthcoming soap from drying out.
Get trigger happy with the all-purpose cleaner. Spray it on areas with gunk/oil buildup.
STEP THREE.
Use your brush to agitate any sticky oils or residues from engine plastics. Following that, go into those areas of higher buildup with your agitating brush to knock the rest of it loose. Use a smaller brush for more detailed areas such as ribs of hoses or clamps.
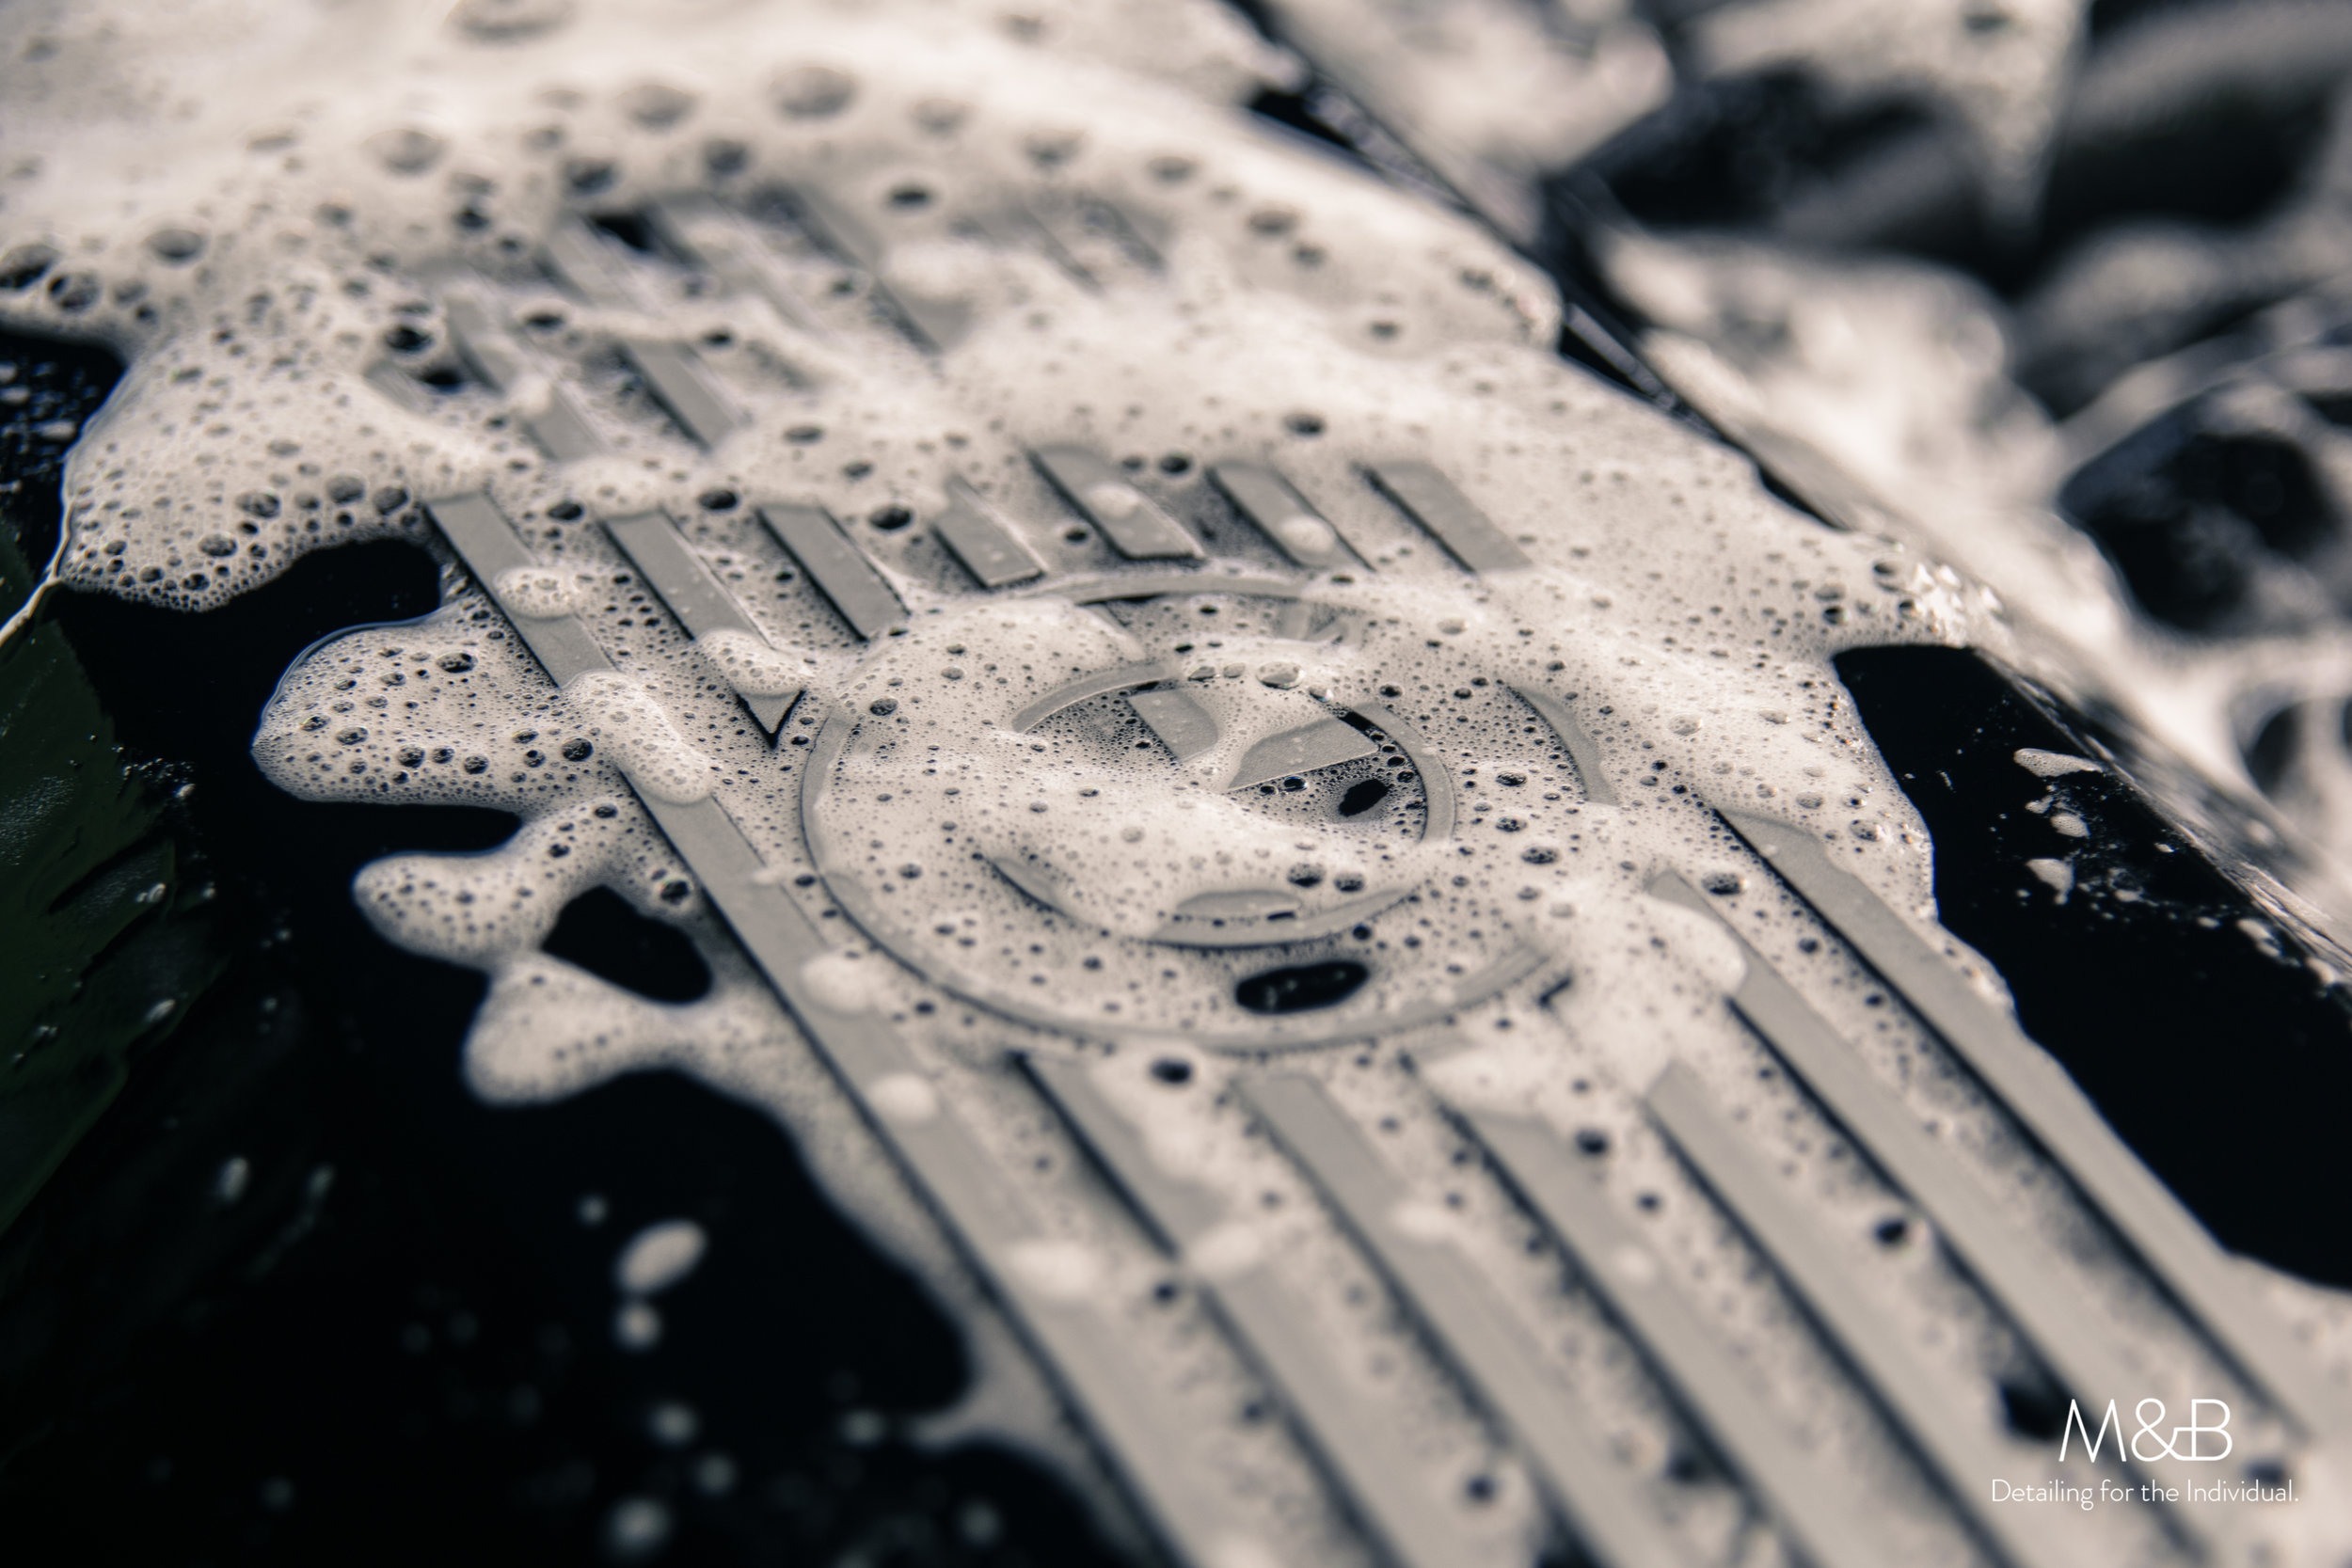
On your painted surfaces (intakes, wheel arches) use your wash mitt. Dunk it into your bucket full of soapy water and try to keep it plentifully lubricated and be easy! Remember, the goal is to clean, not to scratch.
*PRO-TIP: Mix your APC with your soap and GET FOAMY! It helps further absolve the bay of any loose dirt or particles while breaking down the tough stuff. The less you have to scrub any painted surfaces, the longer your finish will last.
STEP FOUR. (OPTIONAL)
Get steamy. Using a steamer with a small tip helps you get into cracks and crevices that may not have been accessible with your brush or pressure washer. You can get precise with it and get dirt from around bolt heads, in between ribs on hoses, clamps... The possibilities with steam are endless! To see more fun with the steamer - check out our 733i's engine bay.

STEP FIVE.
Rinse thoroughly. Be careful not to soak the bay, but just enough to remove the soap residues. Don't sit in one area too long(especially coil packs/ignition components), keep the water moving.

STEP SIX.
DRY EVERYTHING. This cannot be stressed enough. Use compressed air, or set your vacuum to blow instead - whatever you can do to get water out of the crevices of electrical parts such as sensors, alternator or coil packs. You can't be too careful!
Once you've blown water from these crevices, follow behind on the larger surfaces with a microfiber towel to absorb the rest. Remove any plastic bags you may have placed about the bay.
On your painted surfaces, use a drying aid/lubricant like IGL Enhancer or Premier.

STEP SEVEN.
Dress. Being well-dressed is a beautiful form of politeness.
Keep in mind that a greasy engine bay is not attractive to the eye, but extremely attractive to dirt and dust. Using a greasy product will guarantee you to be cleaning your engine bay more often, so work smarter, not harder! Use a waterbased dressing like IGL Dash - it can be sprayed into an applicator or microfiber for easy dressing, and it penetrates and conditions the surfaces. Moreover, it leaves a natural finish - the intended finish. Succinct detail, but not over the top.
DELIBERATE DETAILS.
While dressing, you'll likely find small areas you missed; keep another microfiber handy to get into those places as you finish up. Another pro-tip is to use a metal polish to shine up the brightwork.
You don't have to have your bay Concours ready, but such is a standard we always strive for at M&B. The key to looking well-dressed is to seem as if your appearance is deliberate, not accidental.

IN PARTING...
Reconnect your battery, and stand back to enjoy a job well done. Go to your local meet or show and be proud of it or just go for a drive to enjoy your freshly cleaned engine. This is often an overlooked detail, but every part of the car counts. Remember, how you do one thing is how you do everything.

Like M&B on Facebook and share this post with someone whose bay needs attention!