

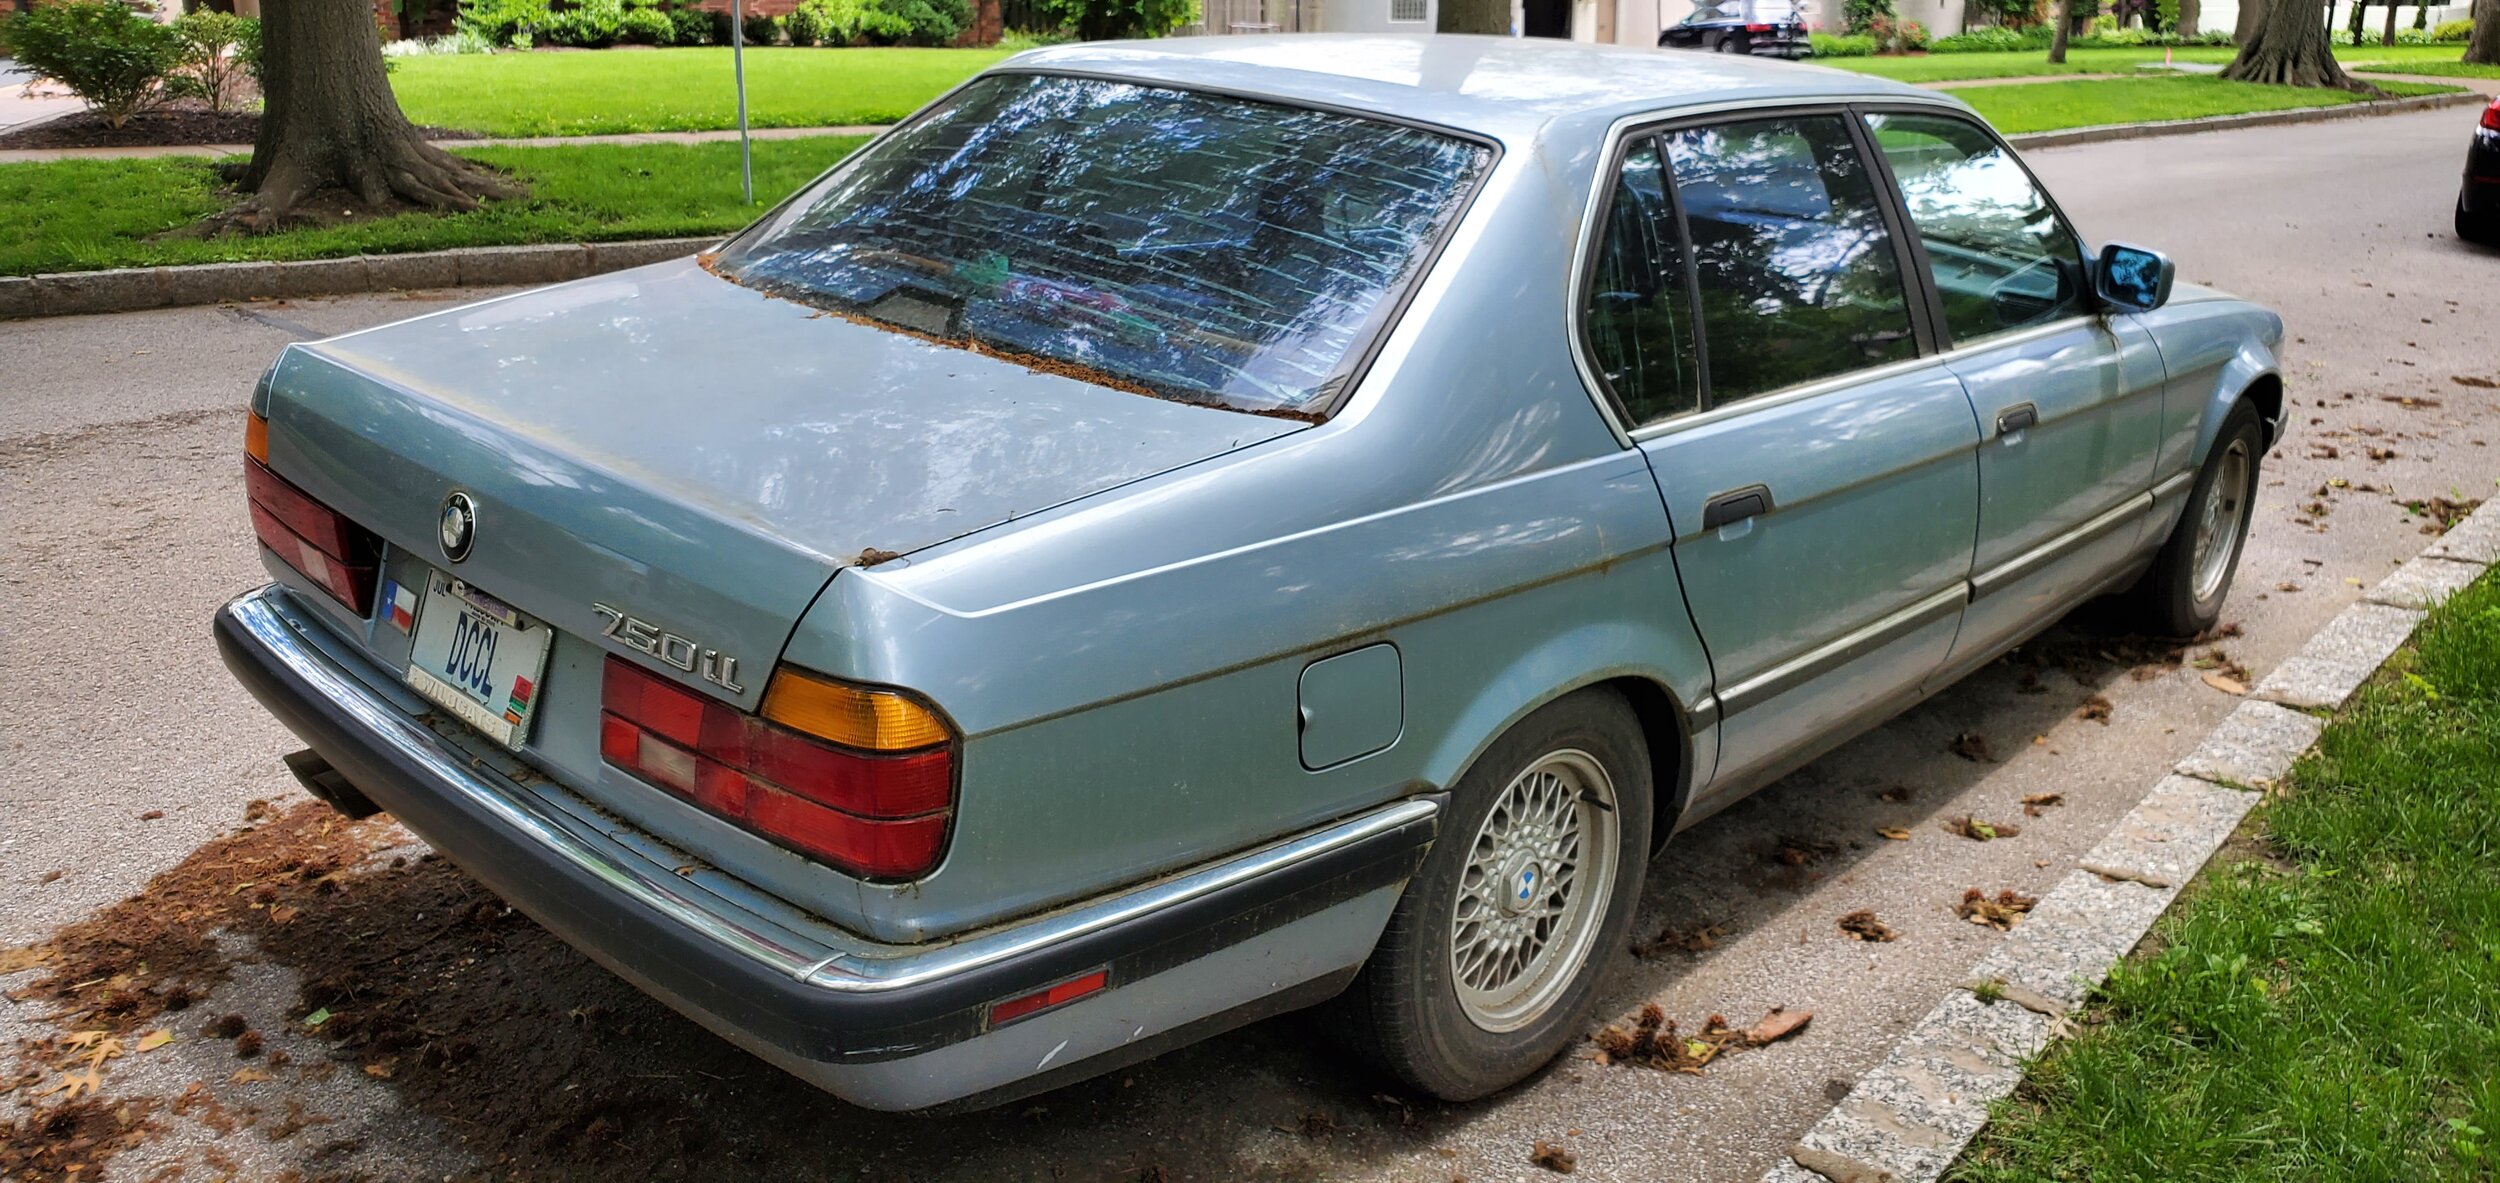
Lets first set the scene:
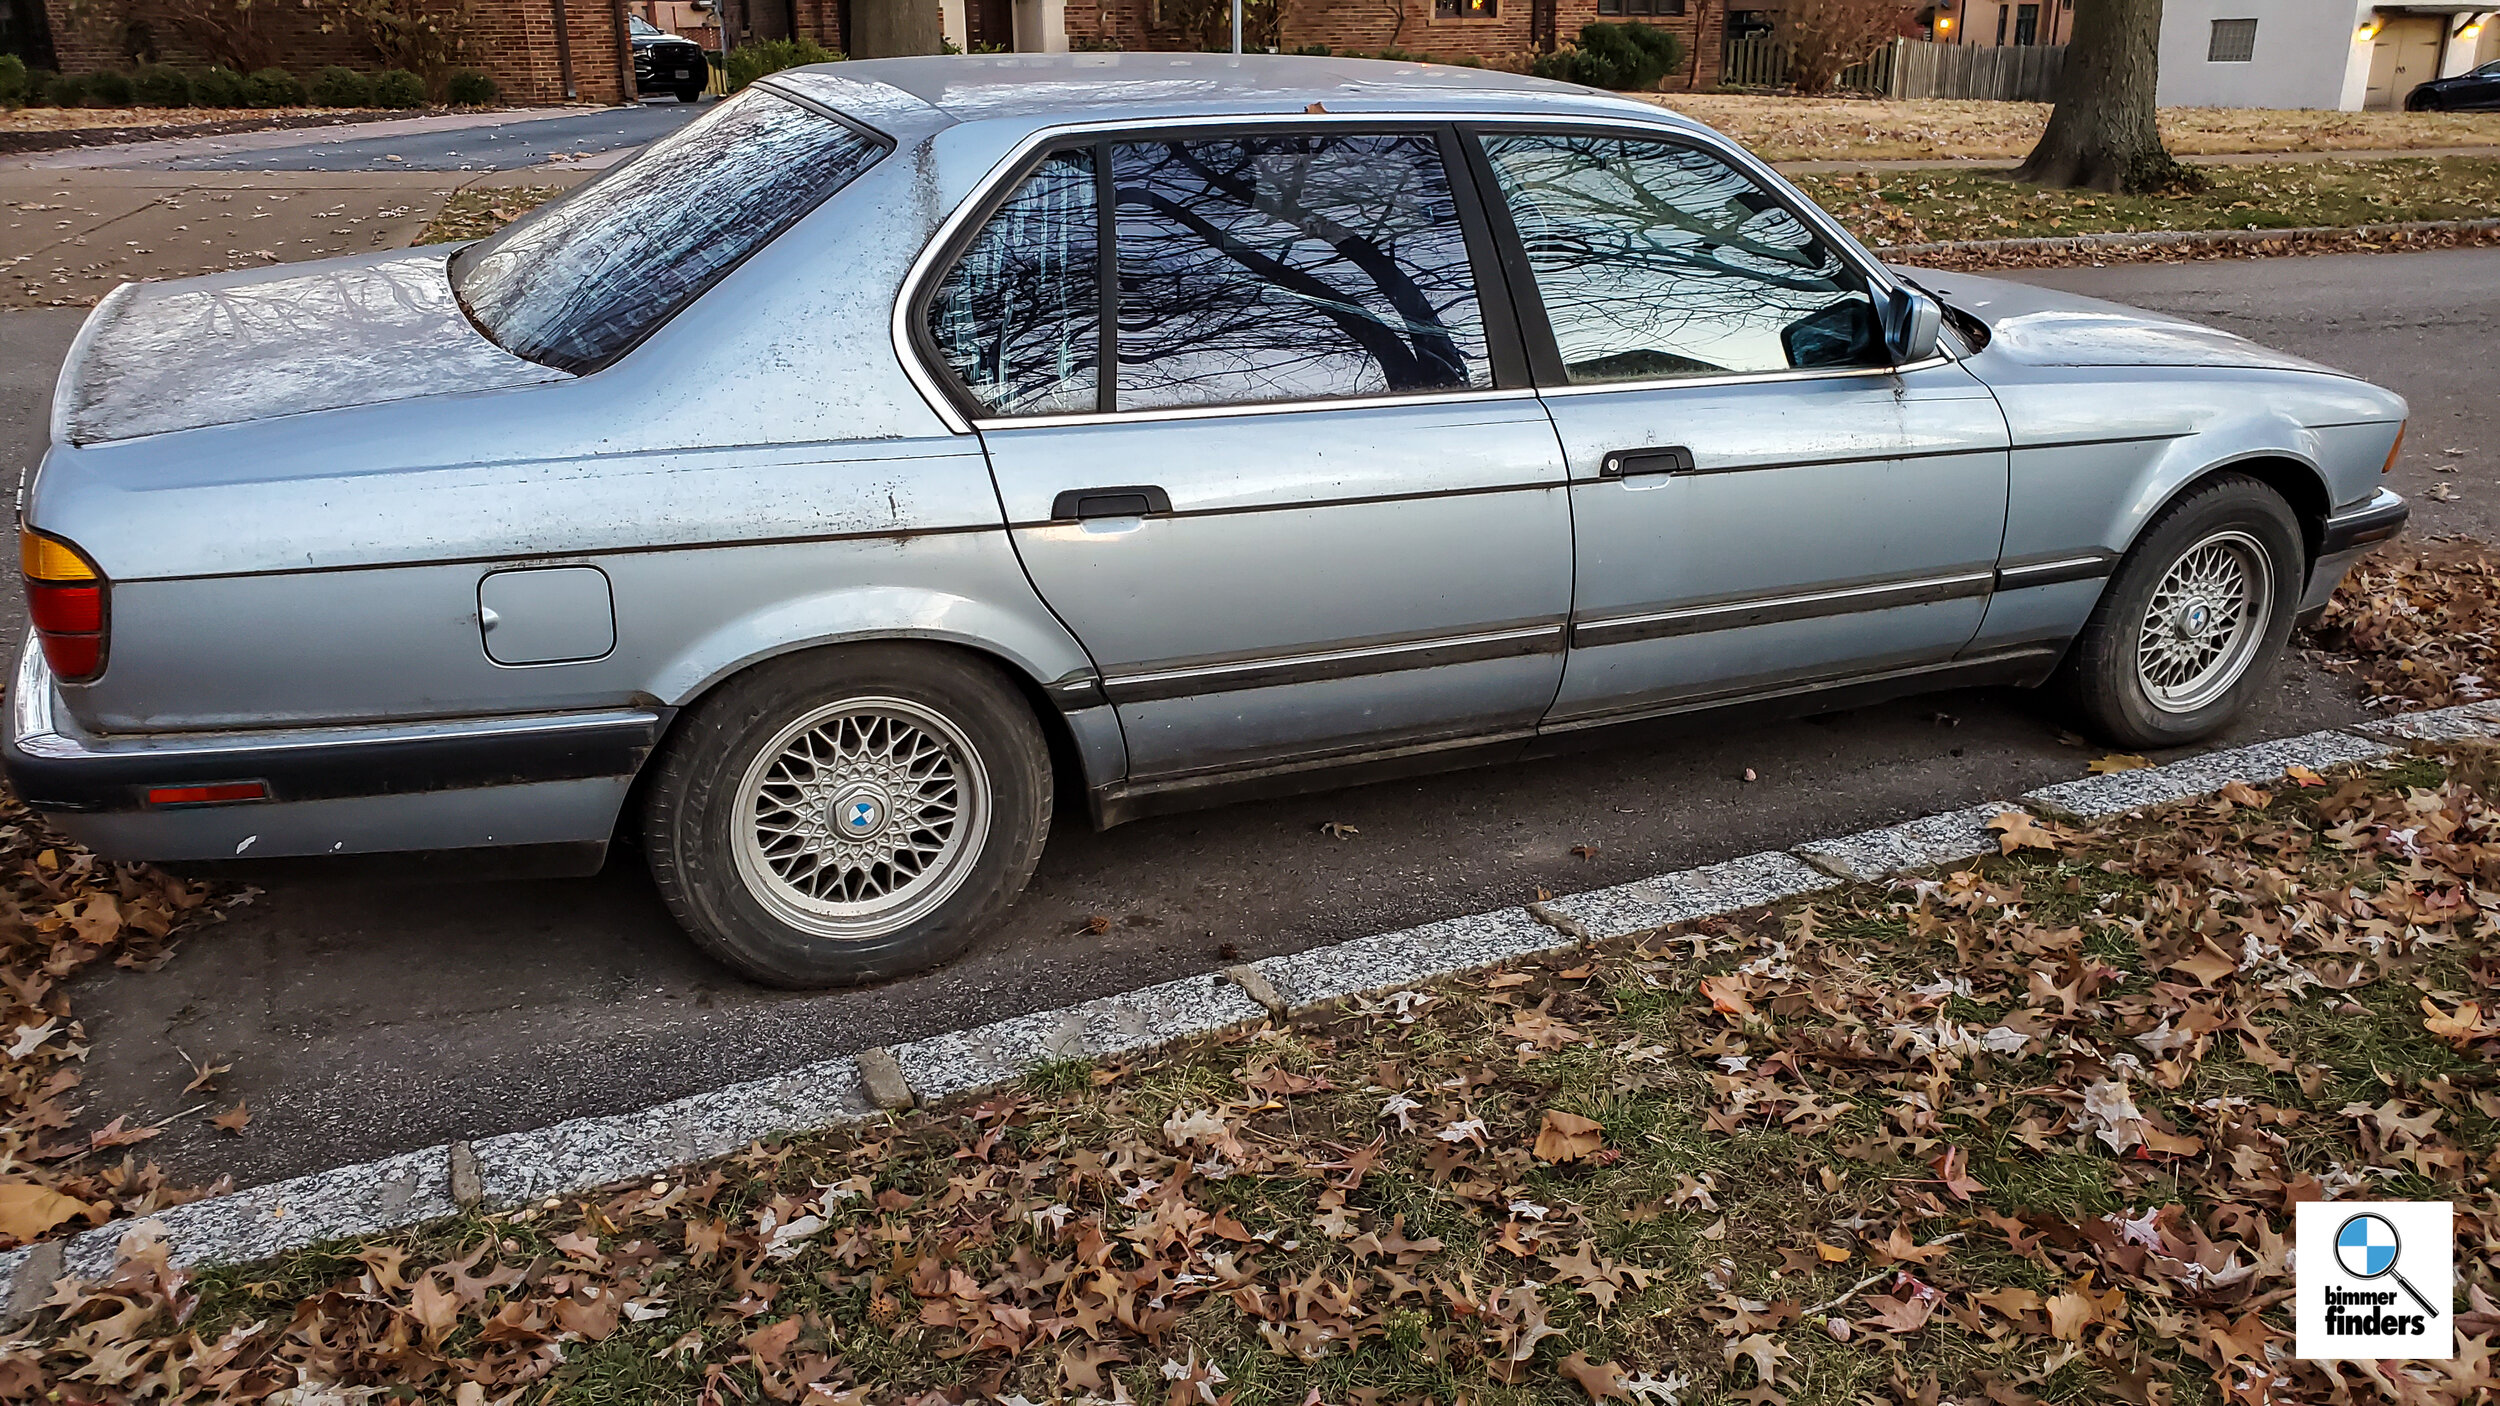
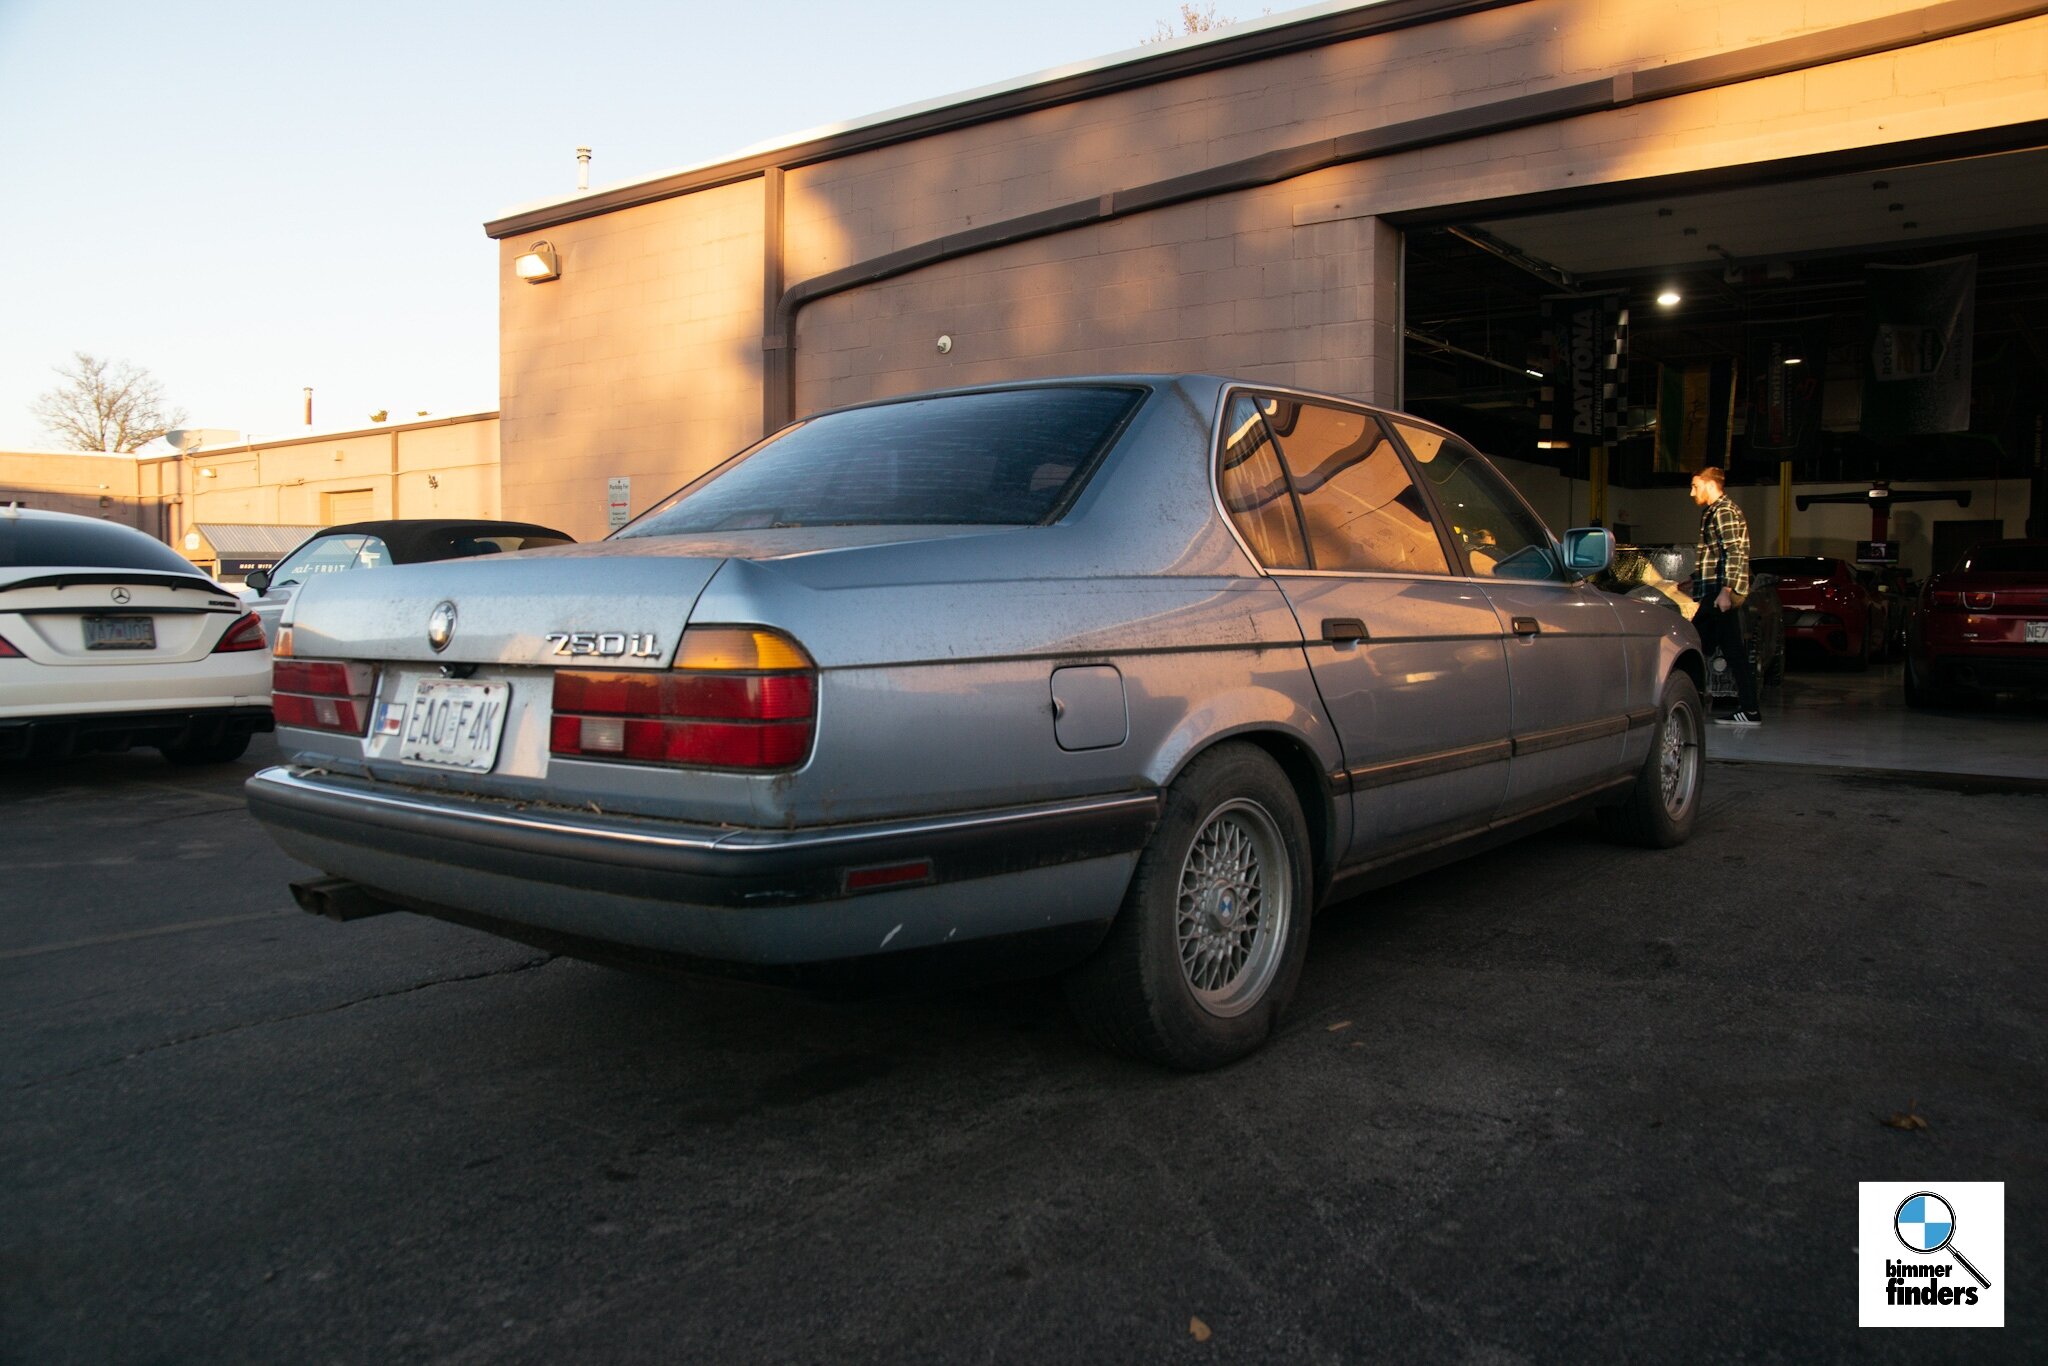
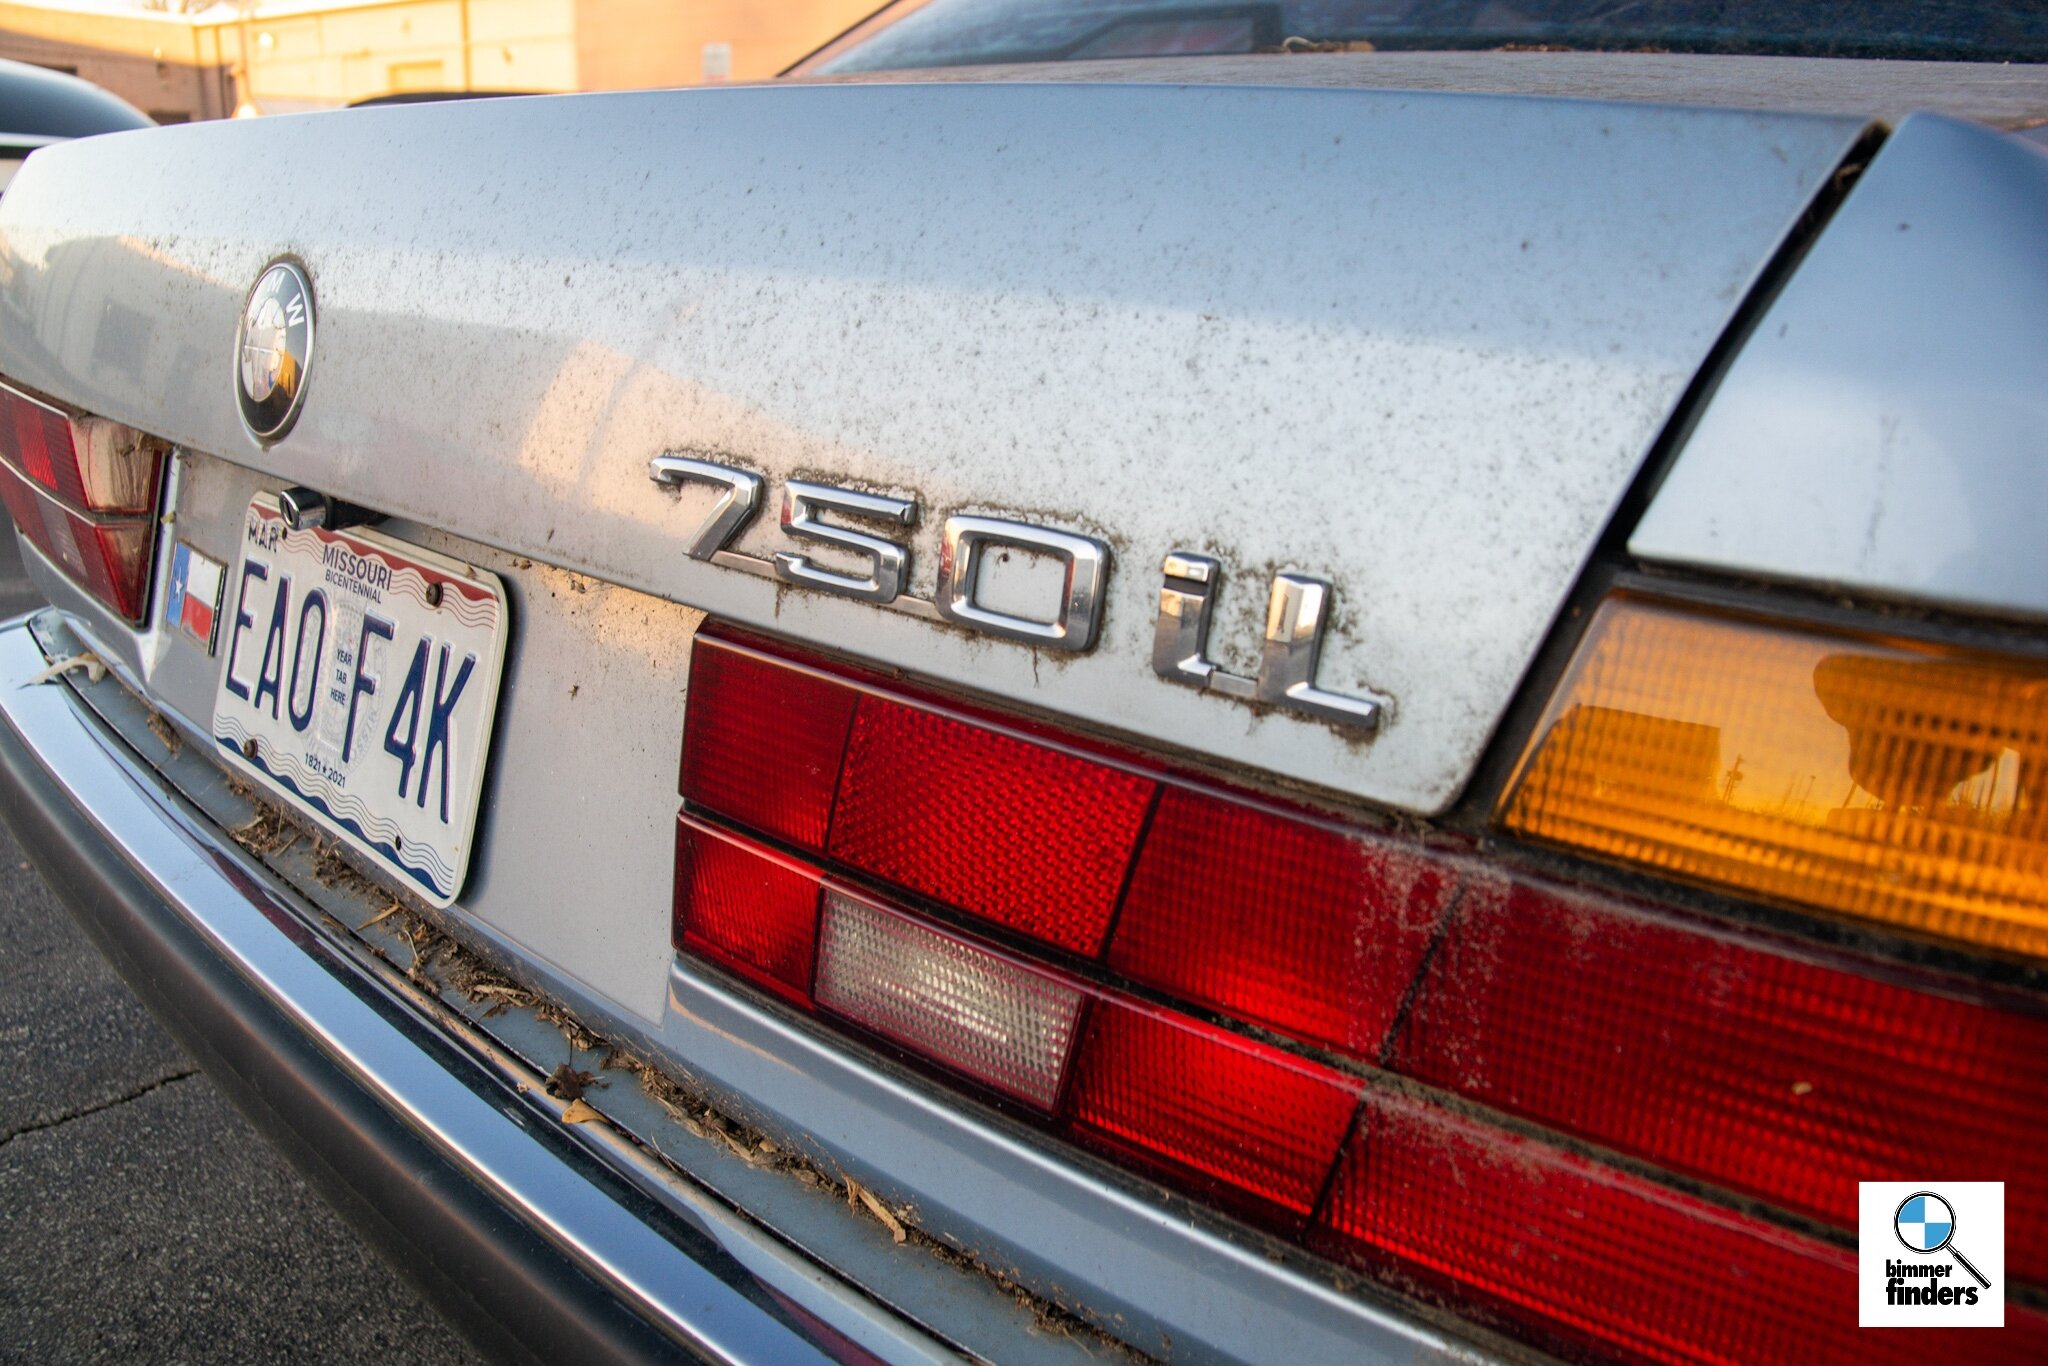
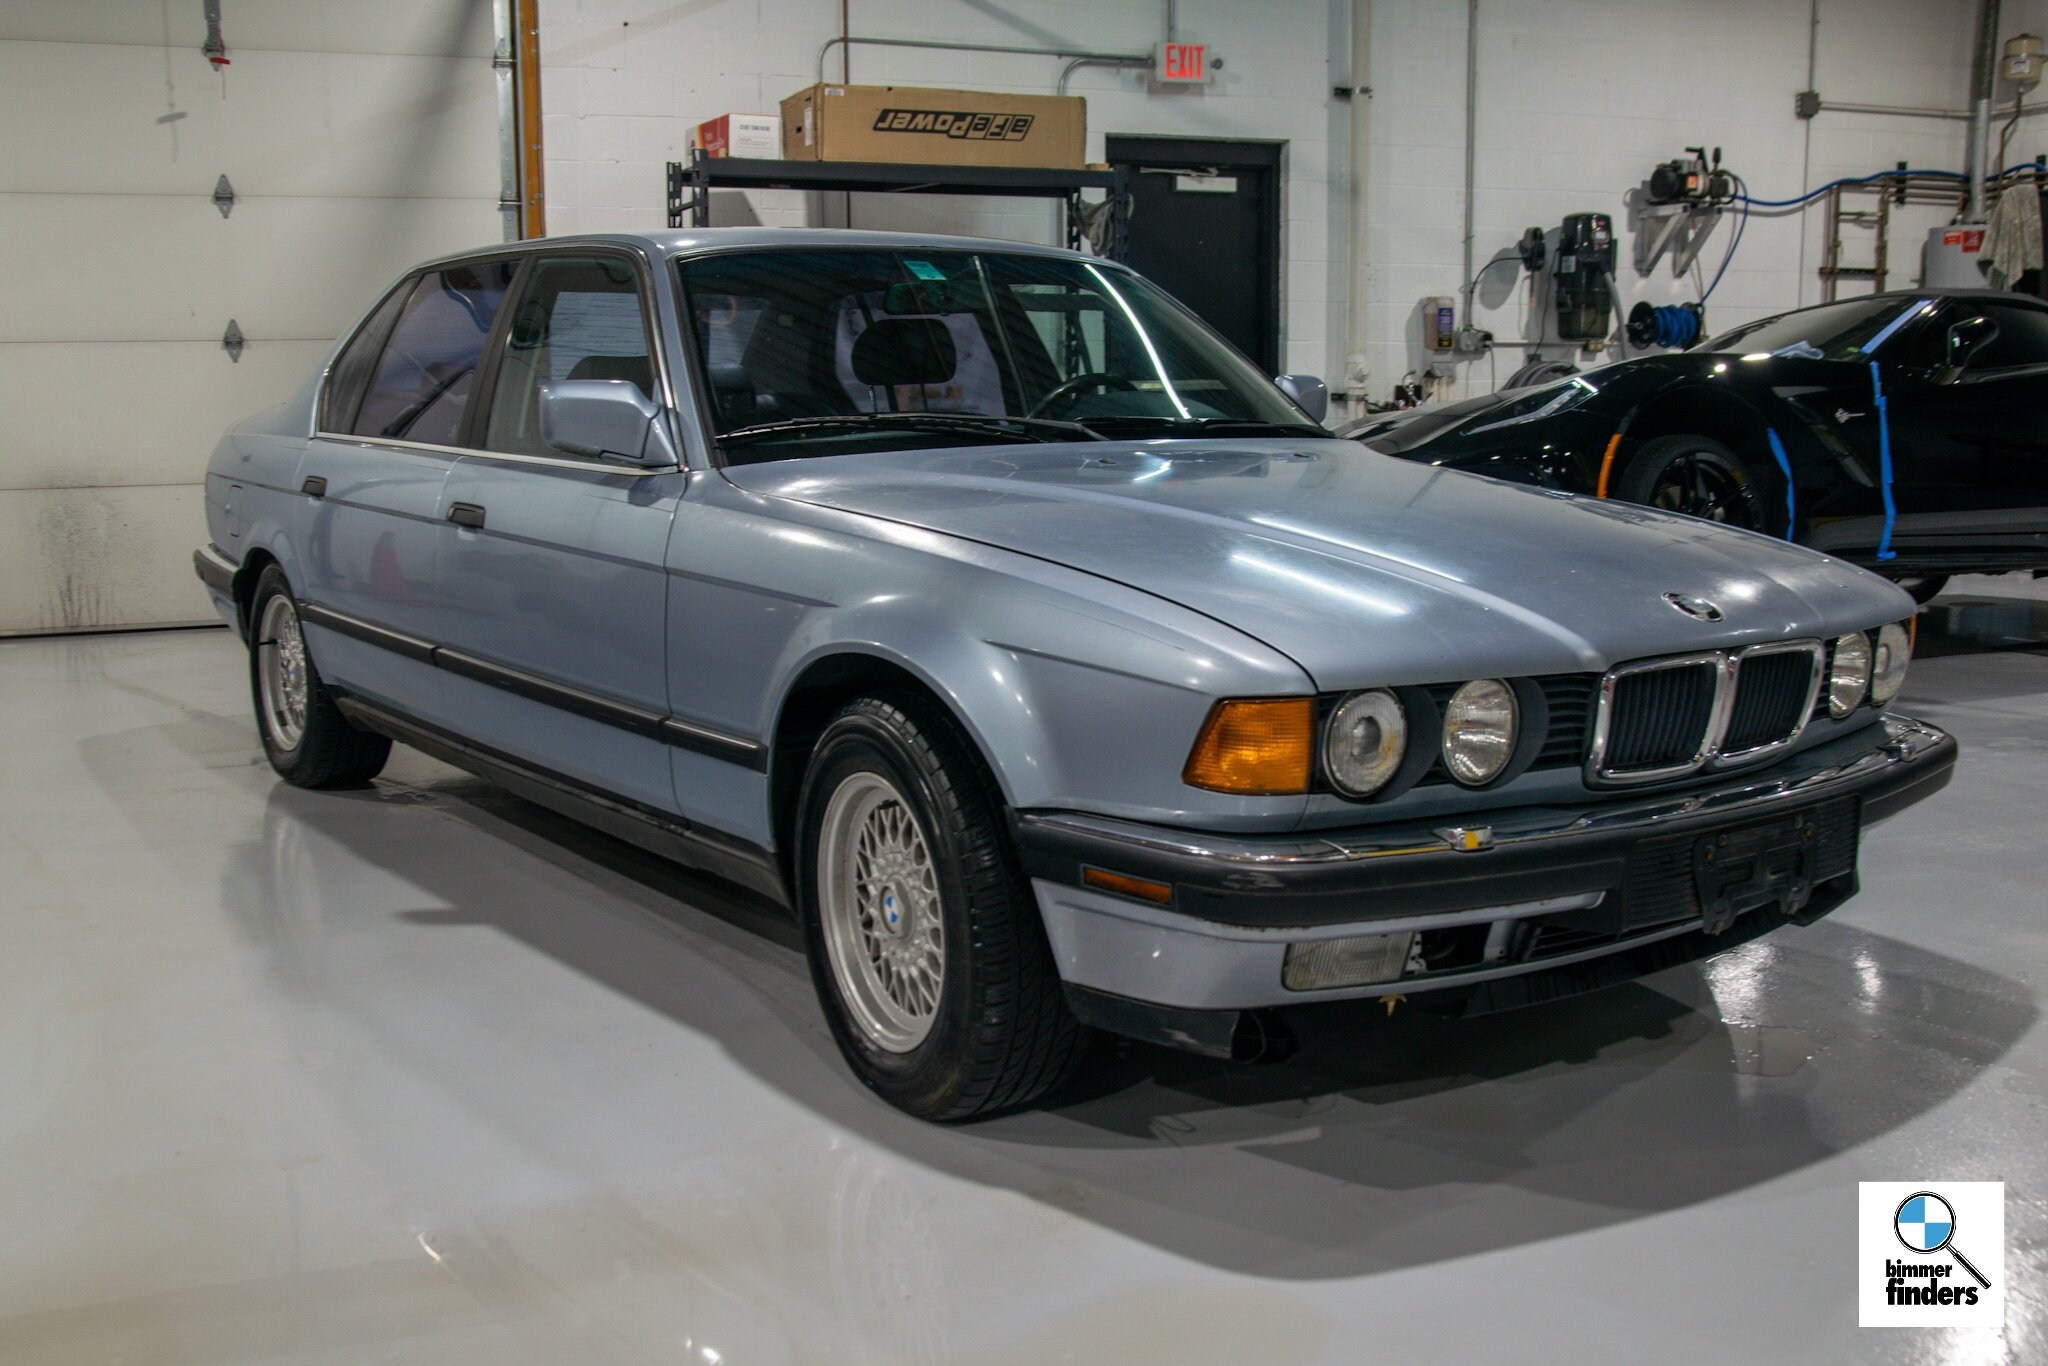
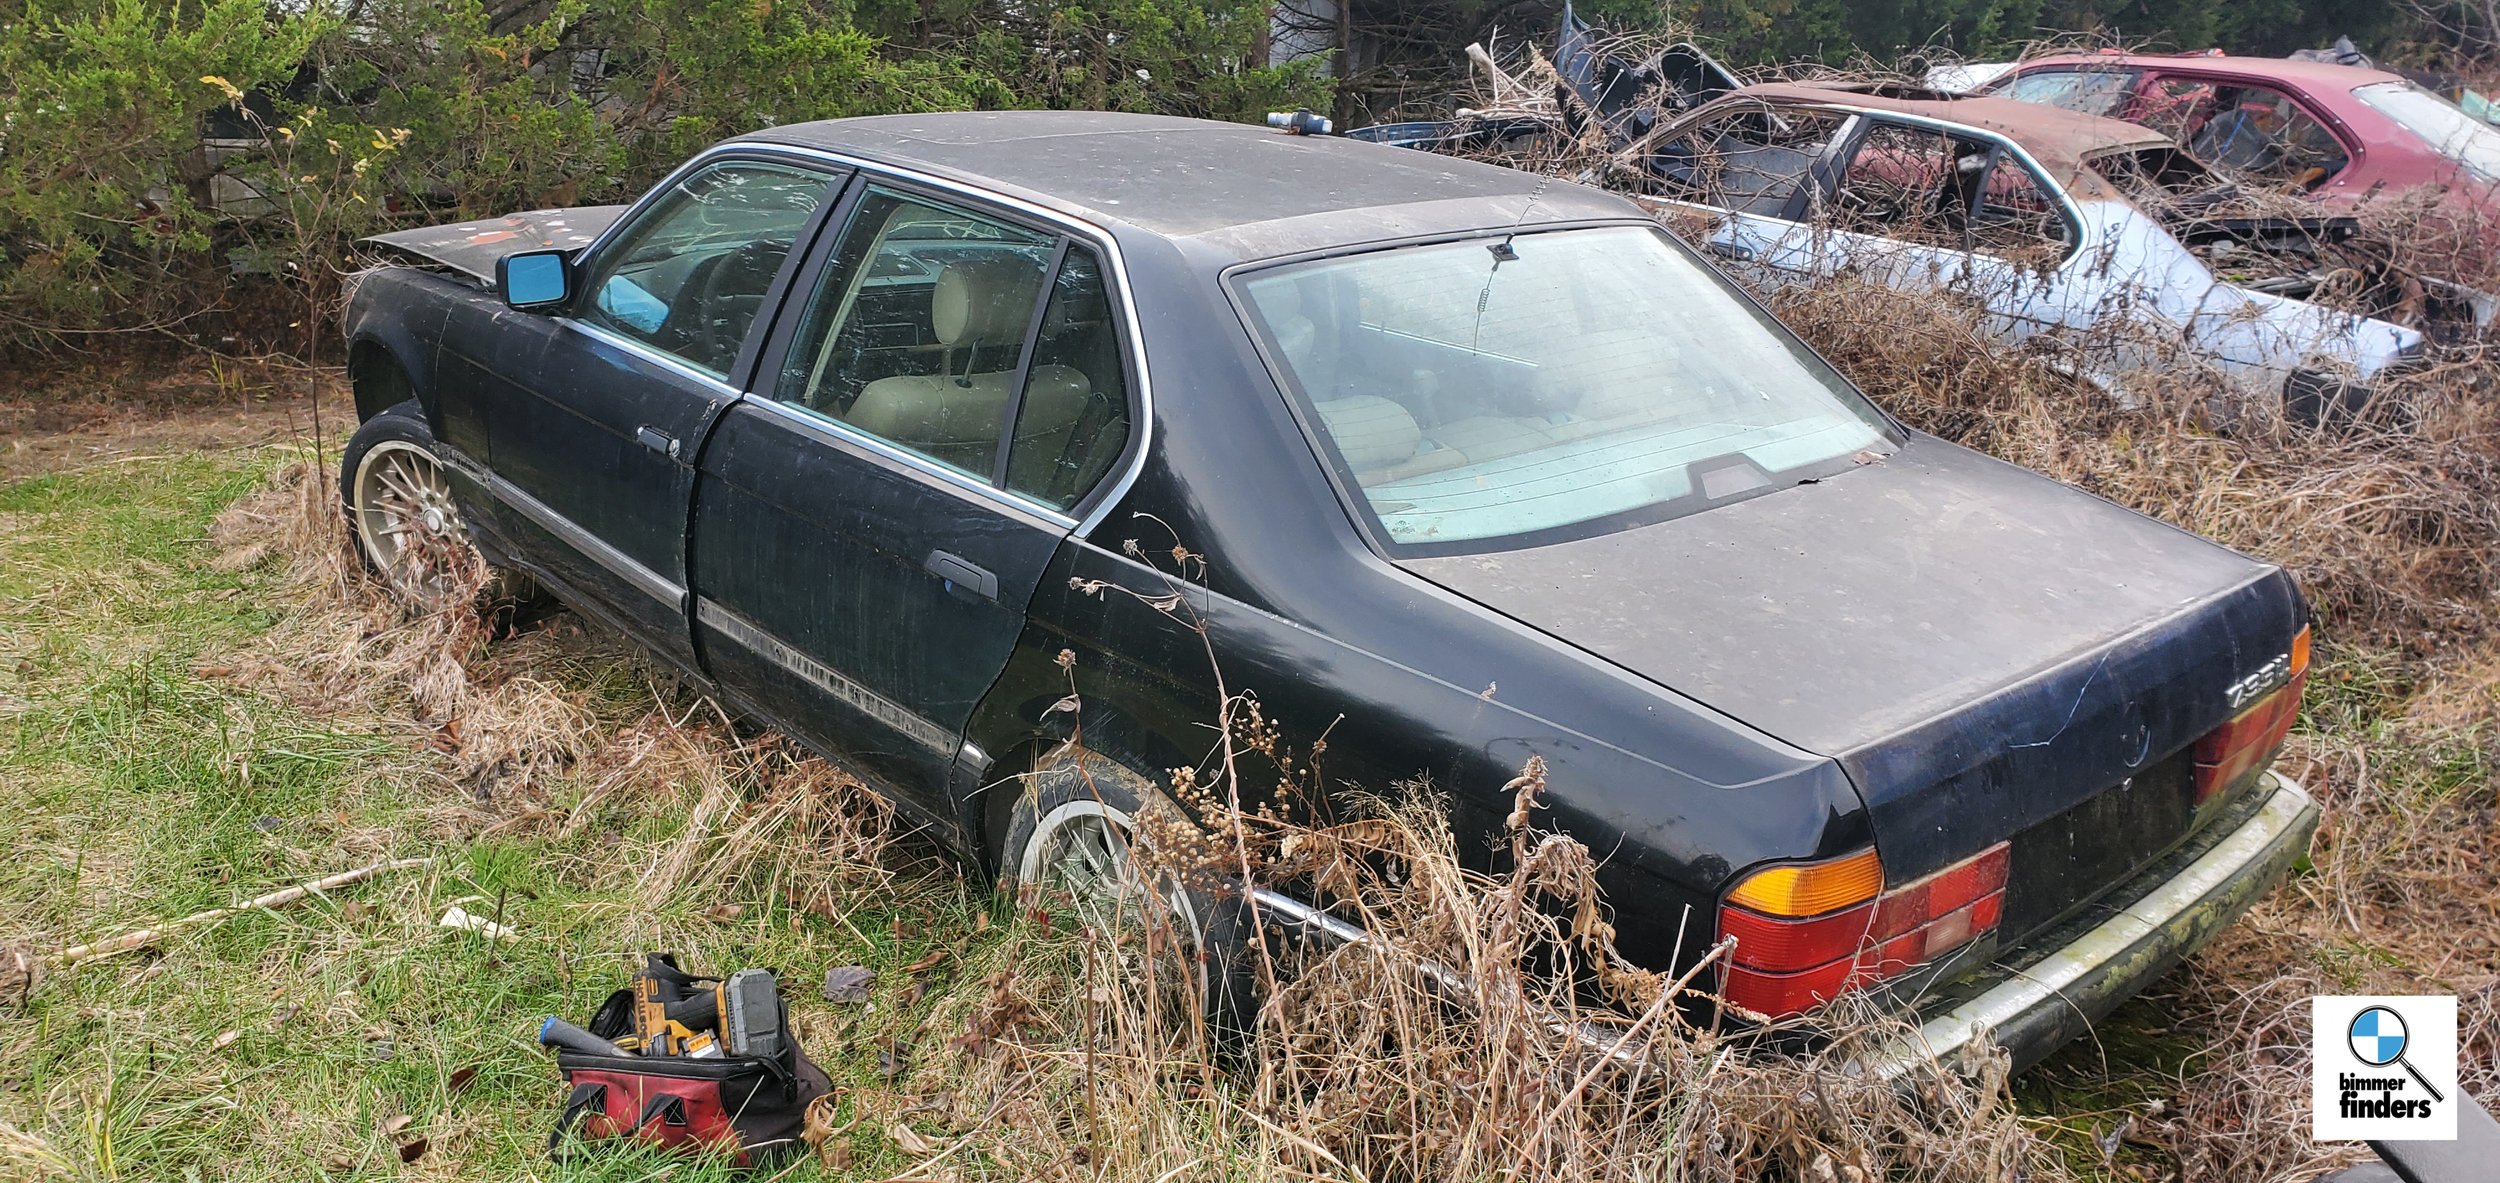
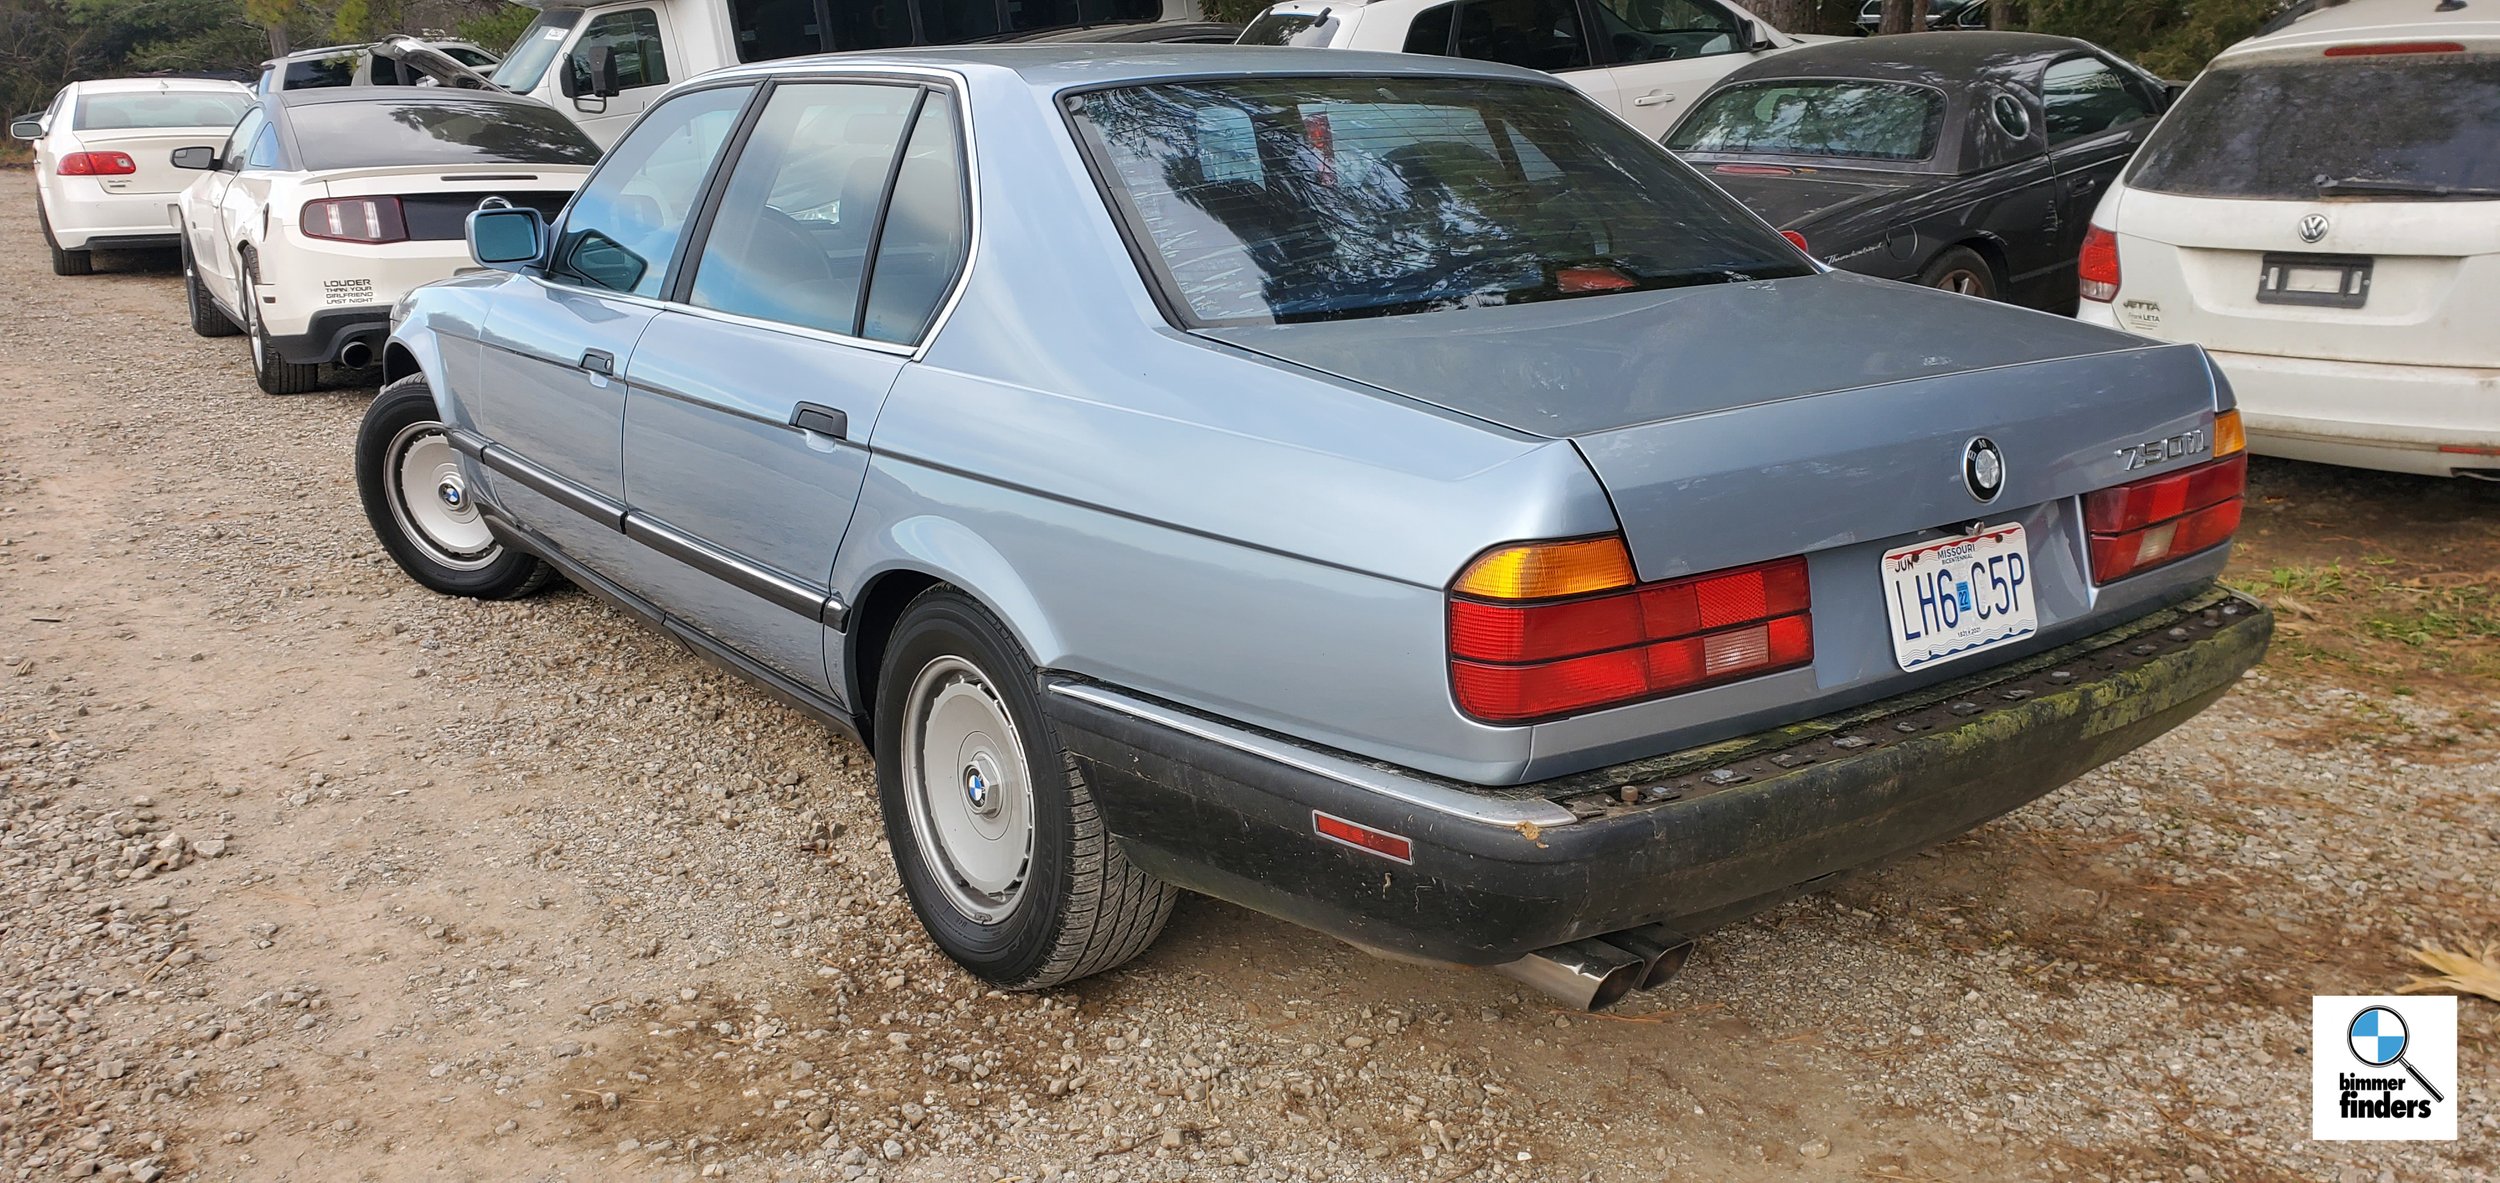
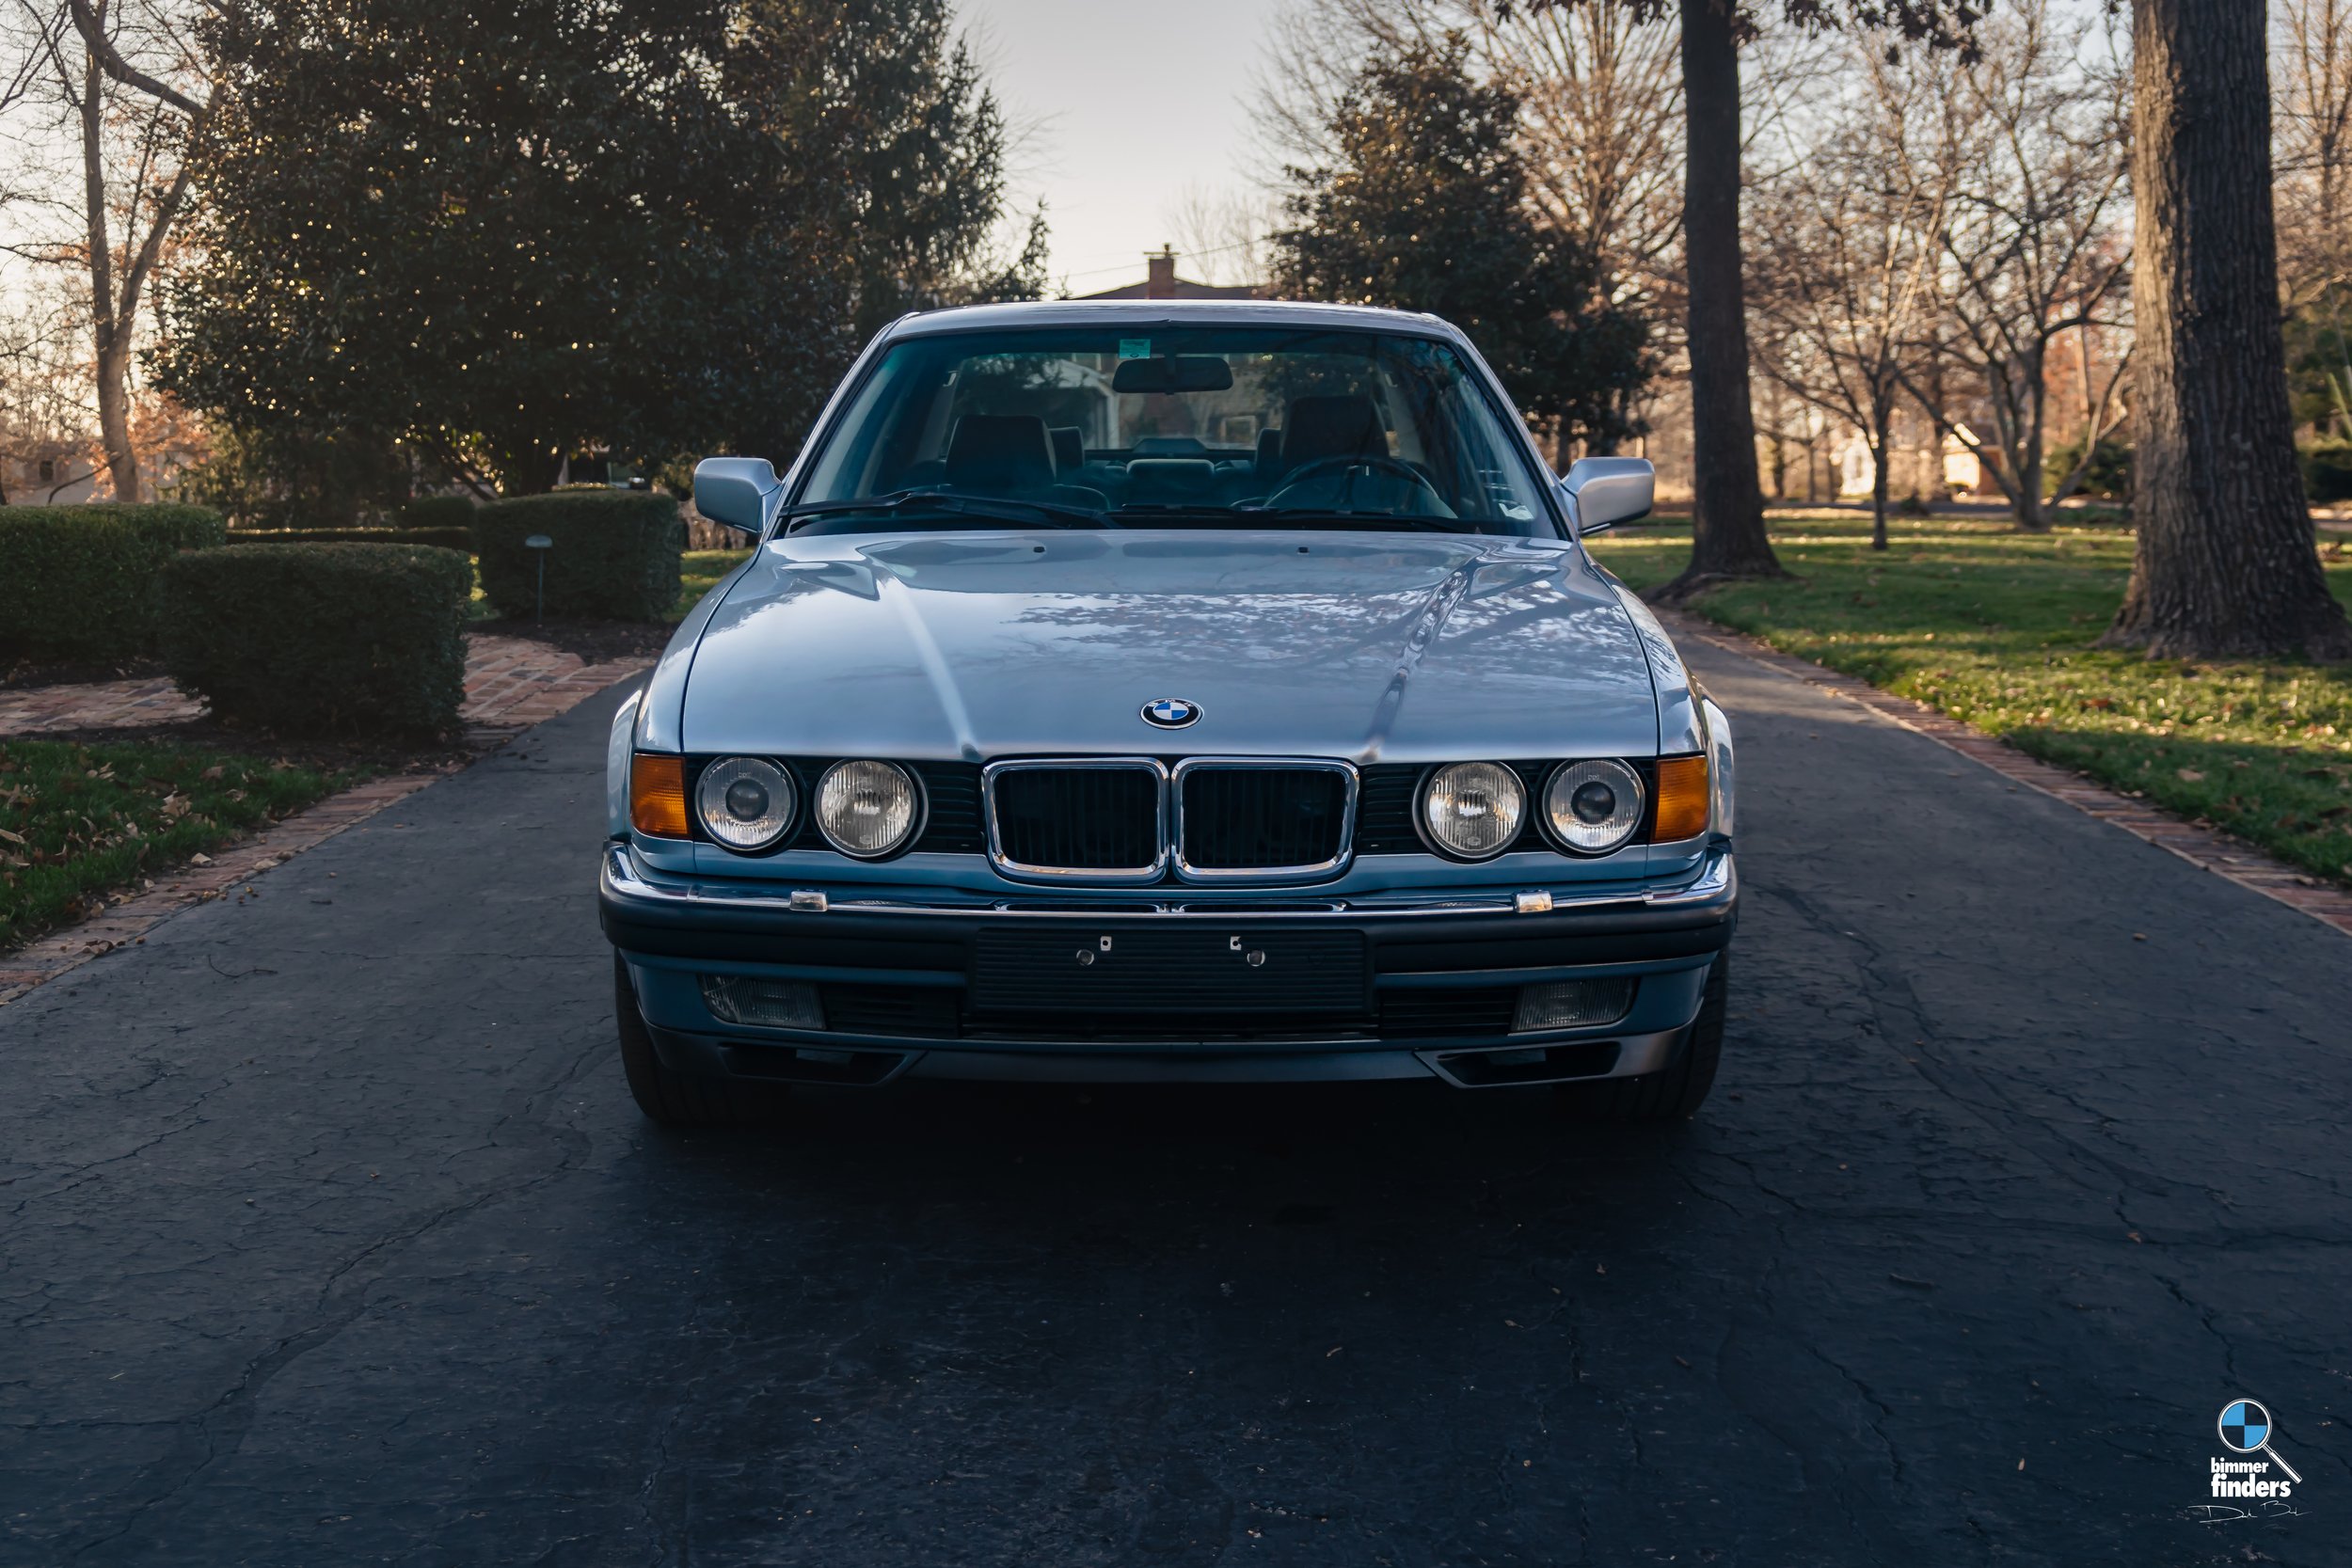
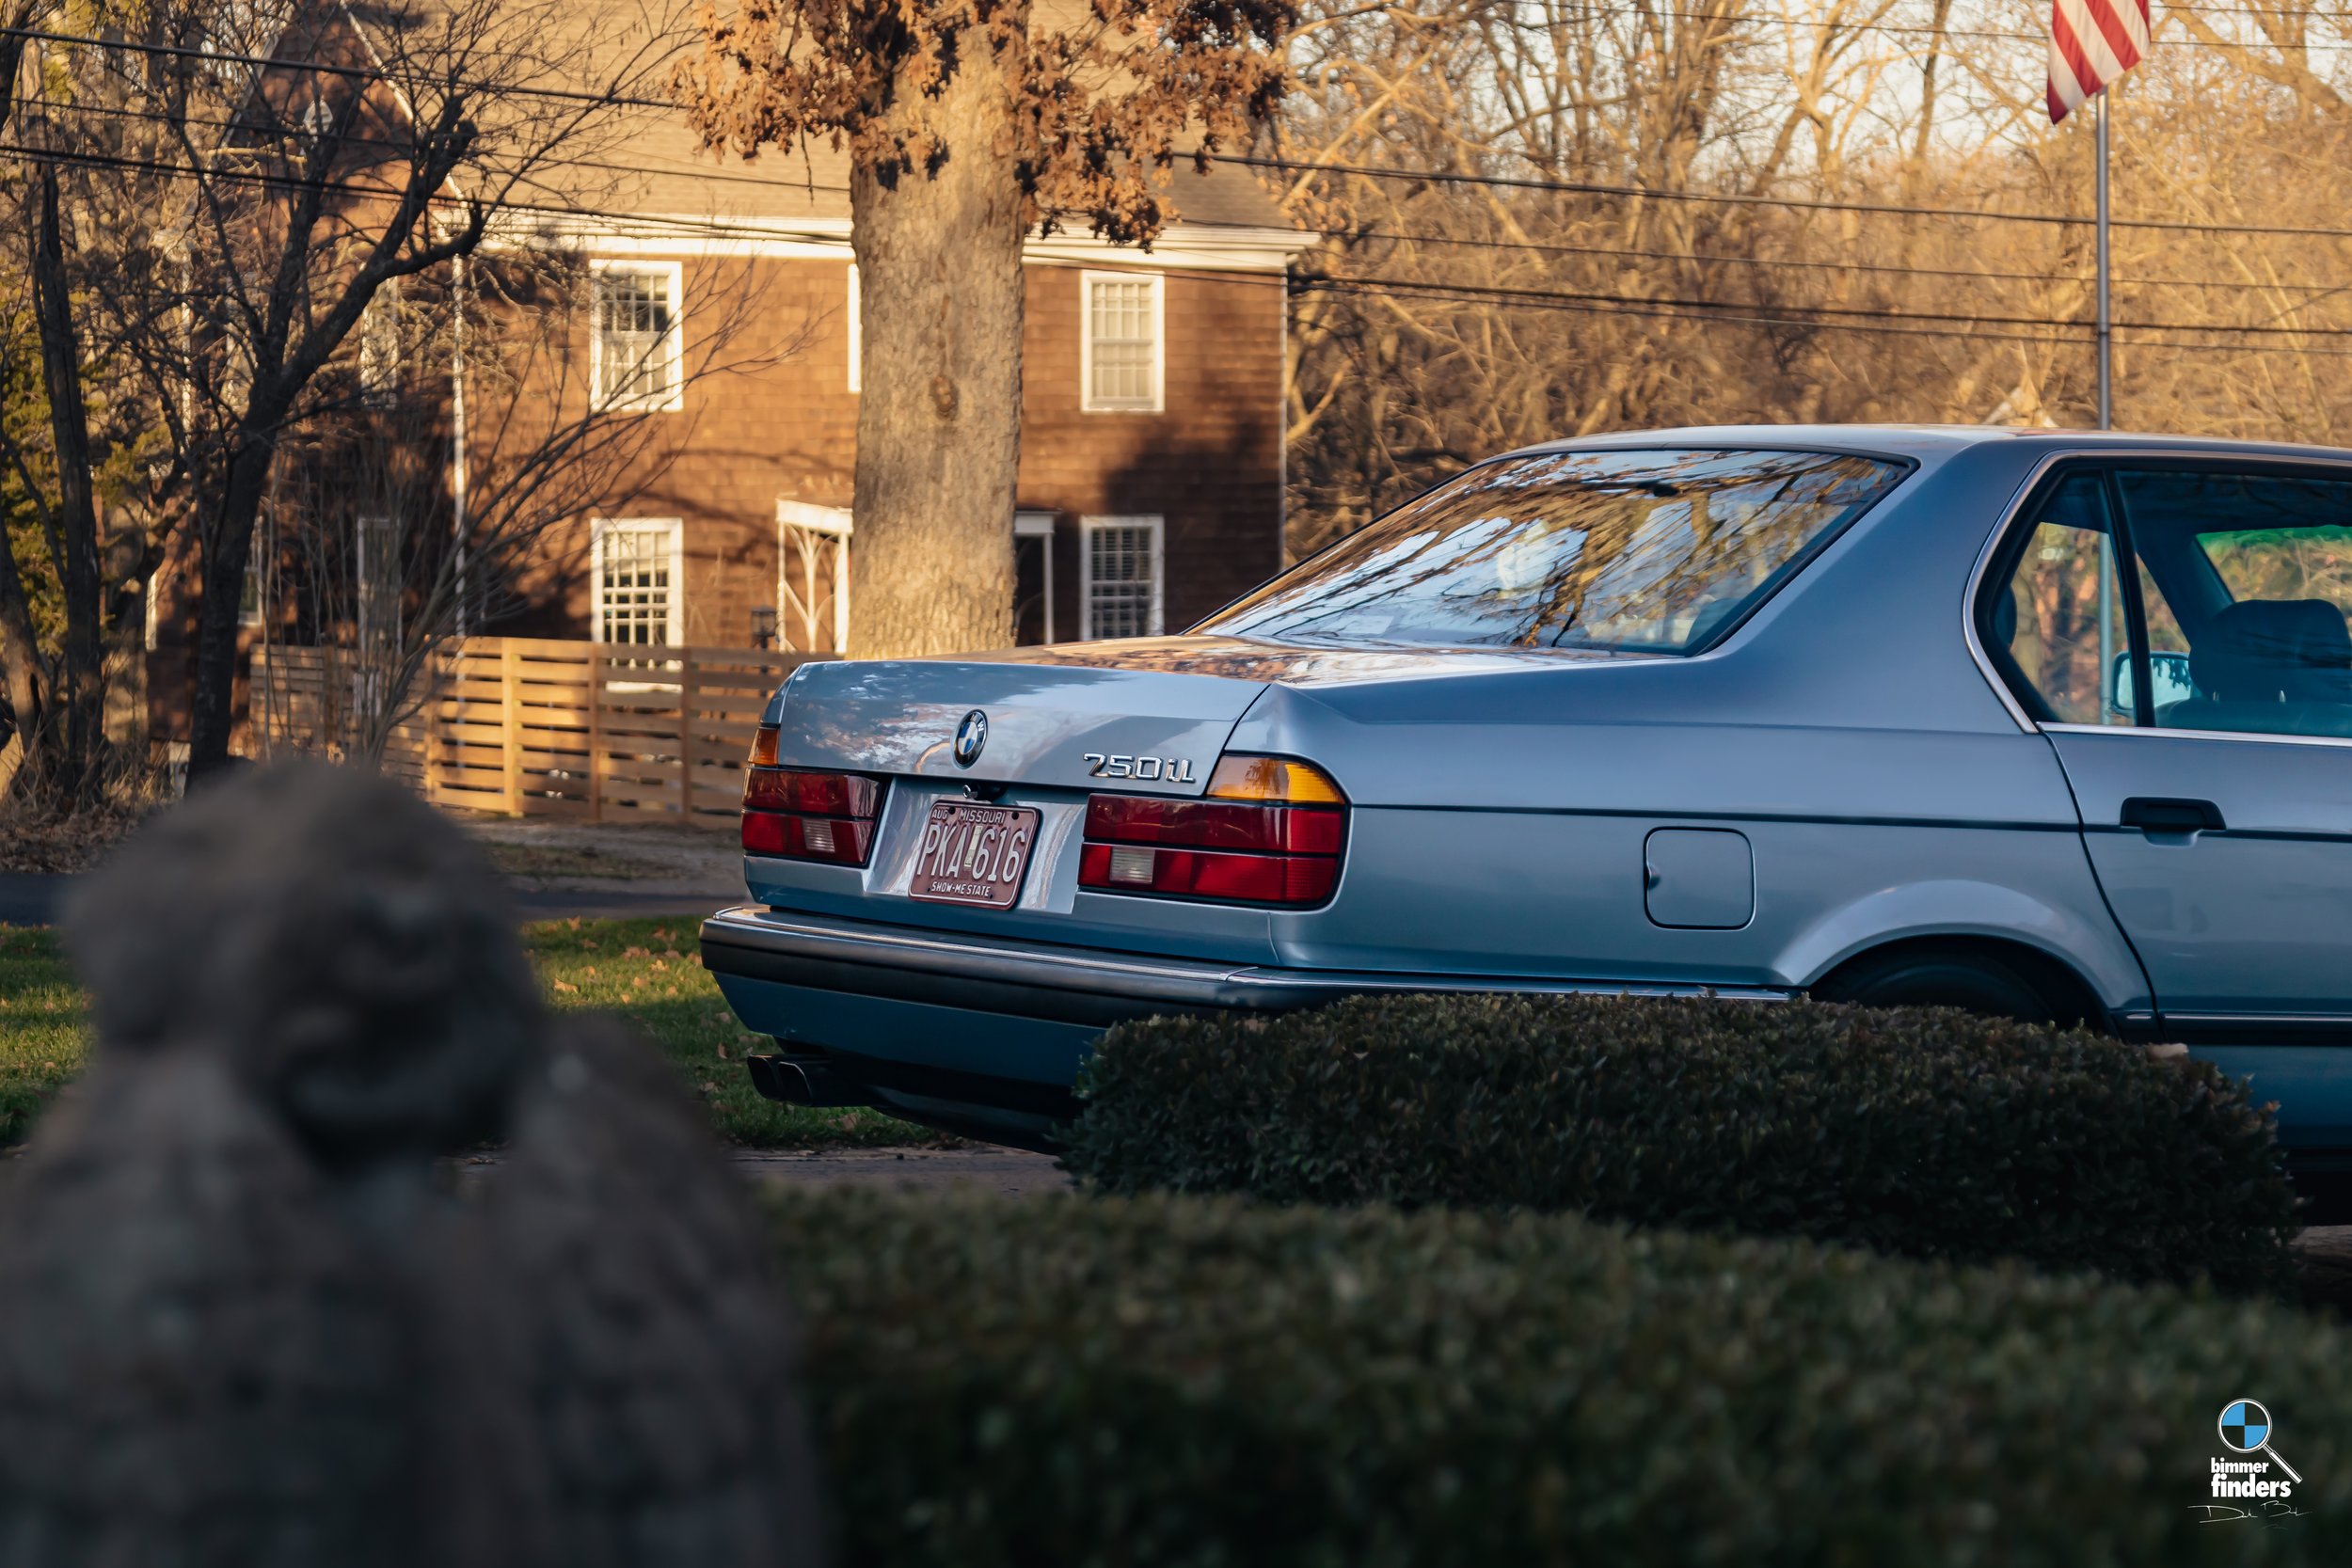
Its a cool, overcast day of May 2020 in Clayton, Missouri and we’re cruising through in a modern 750i(G12) when I spot a familiar rear end with square exhaust tips — its an e32 750iL! Naturally, I had to stop and get the details on it; if not at least to see if it was for sale as well as grab the VIN to get a full spec list on it. I rang the doorbell and out came the owner who described the car as having belonged to his father from new until 1997, upon whose death he inherited the car and has had it since. He wasn’t sure if he wanted to part with it, so I left my information with him (including the link to the other restorations we’ve done on the site) and told him to reach out with any new developments, just to stay updated on the car.
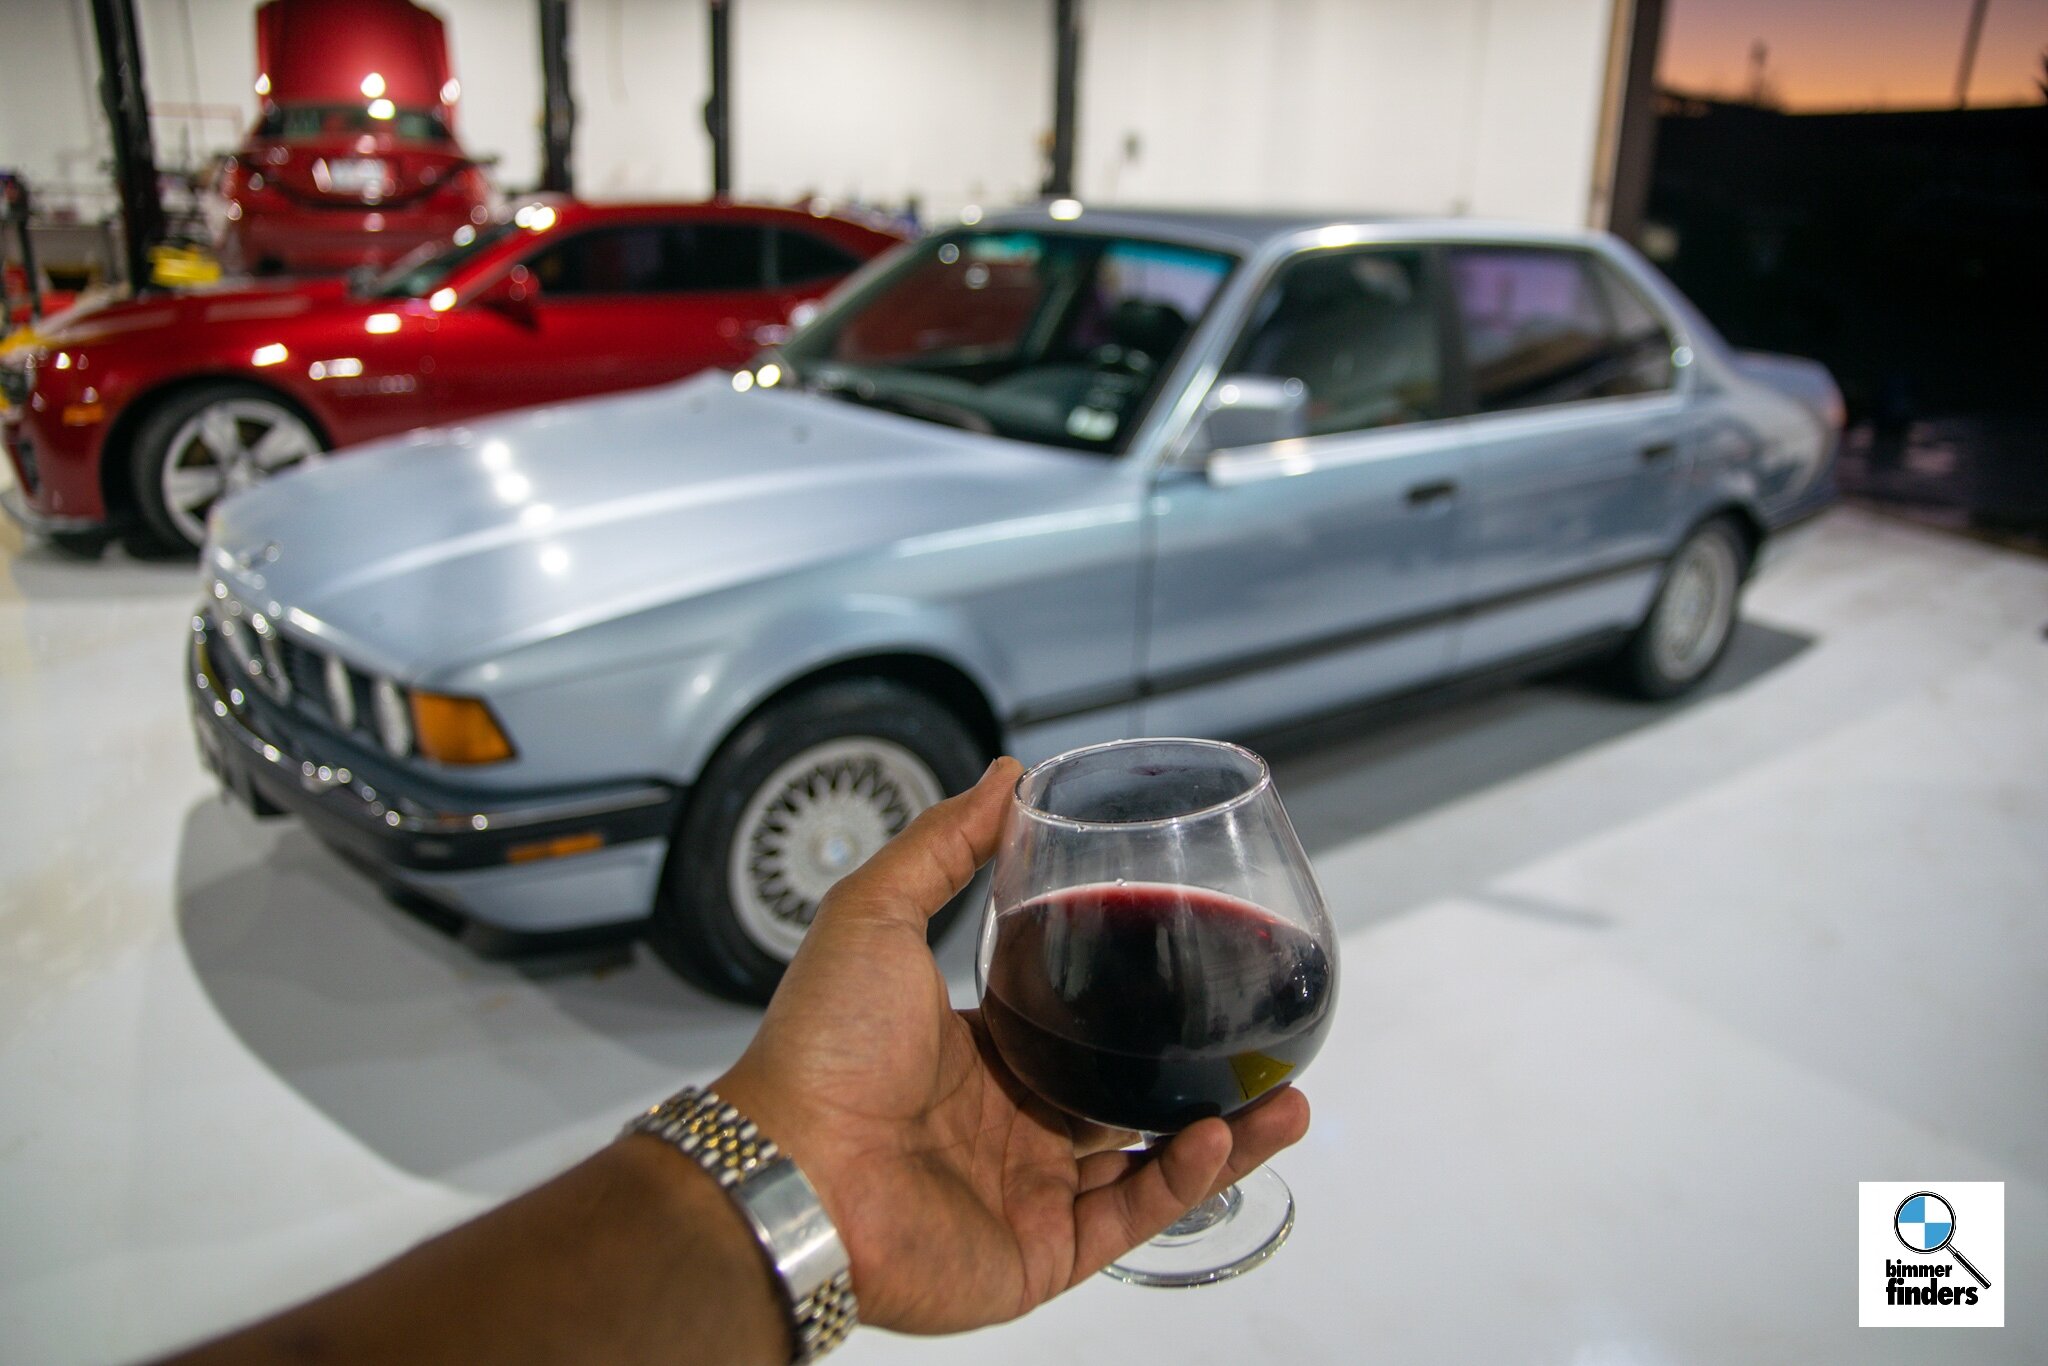
SHES MINE
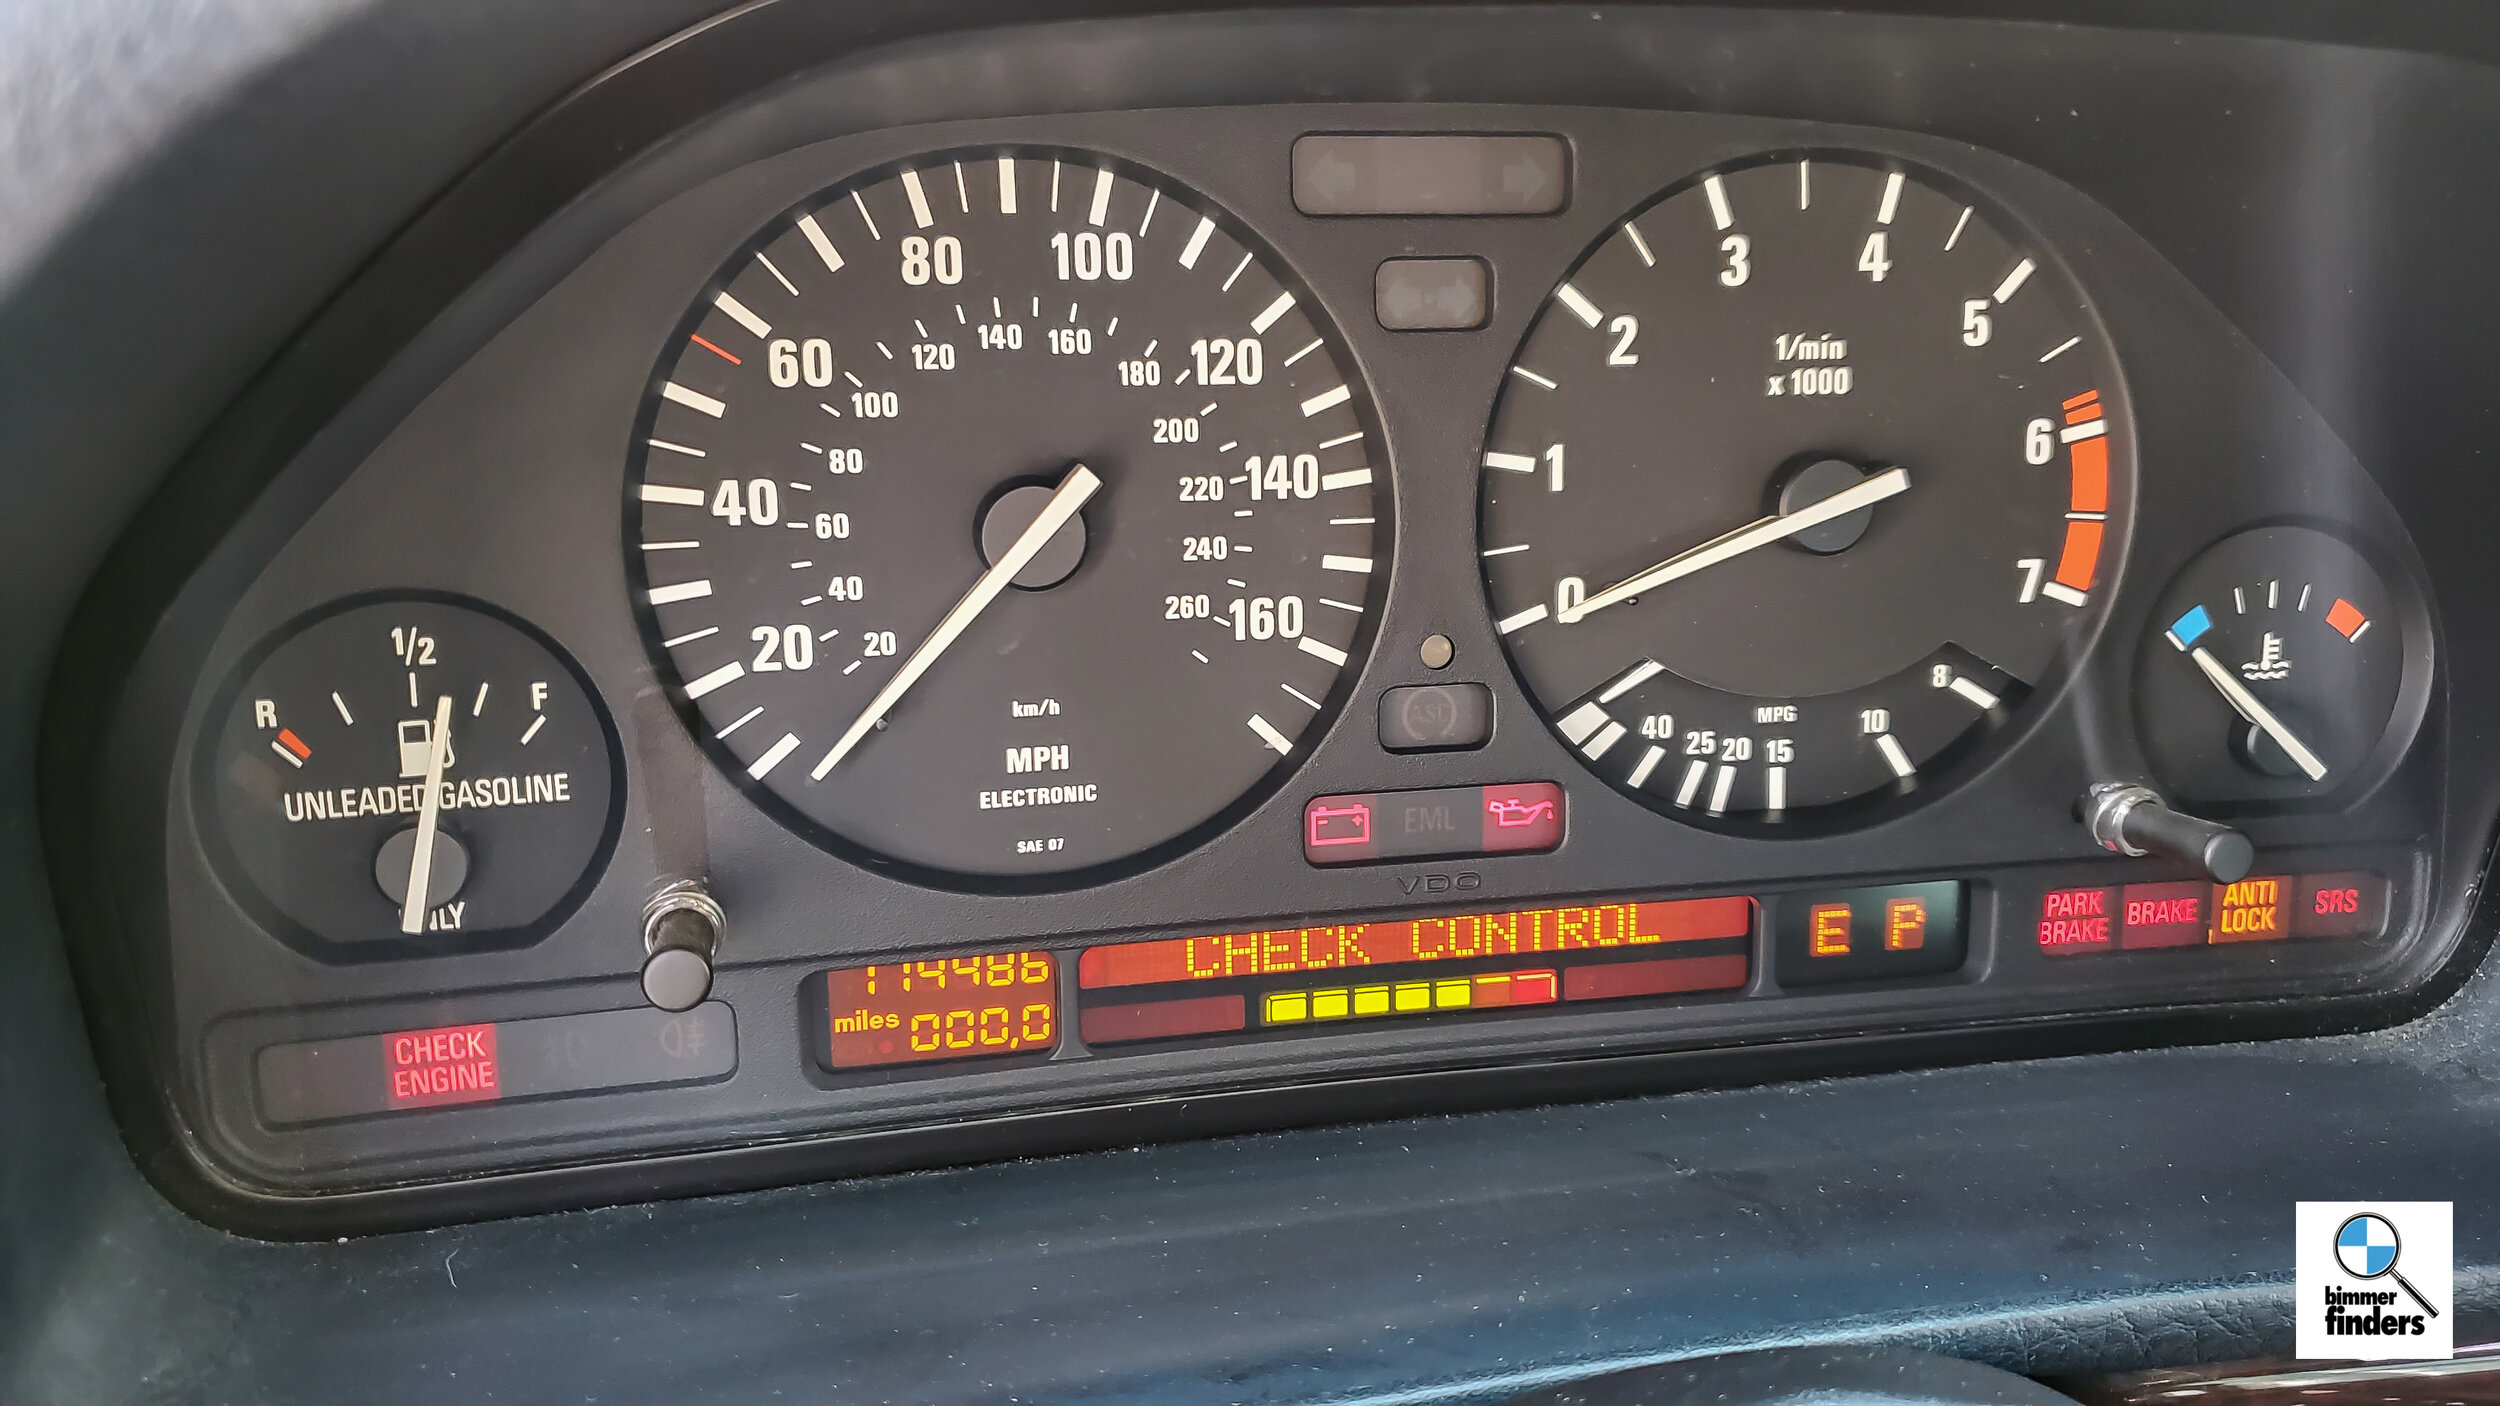
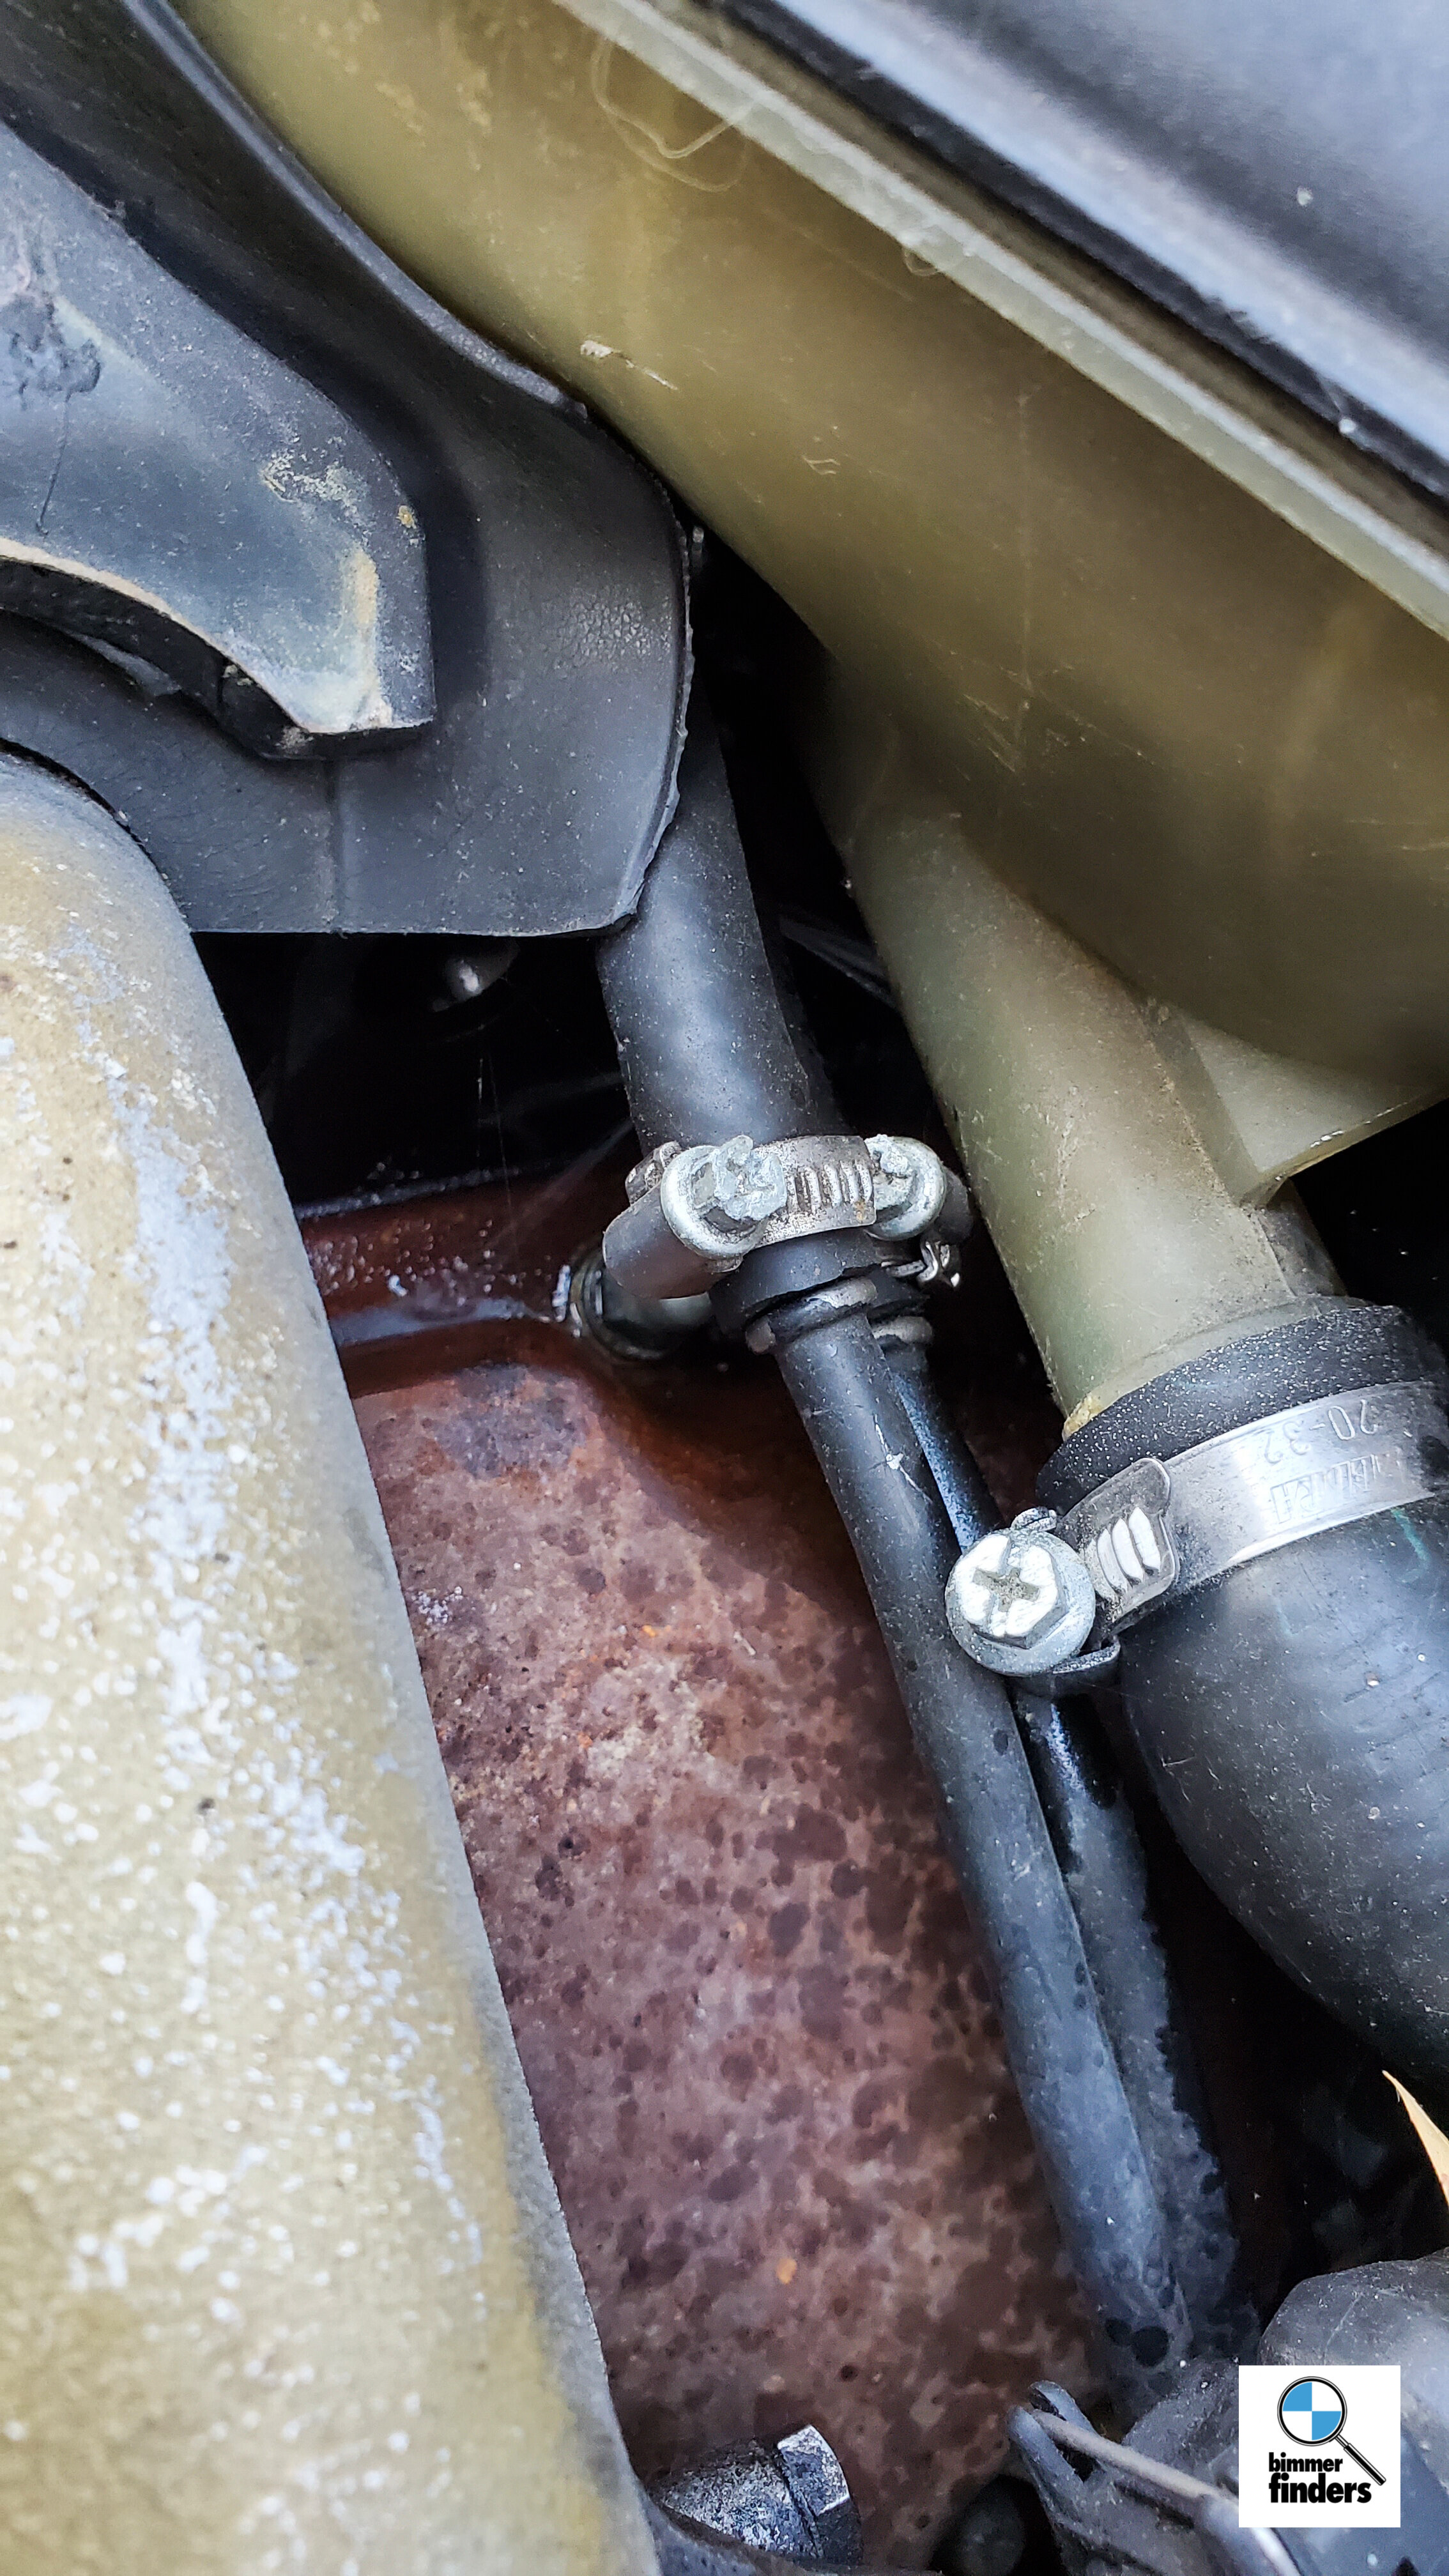
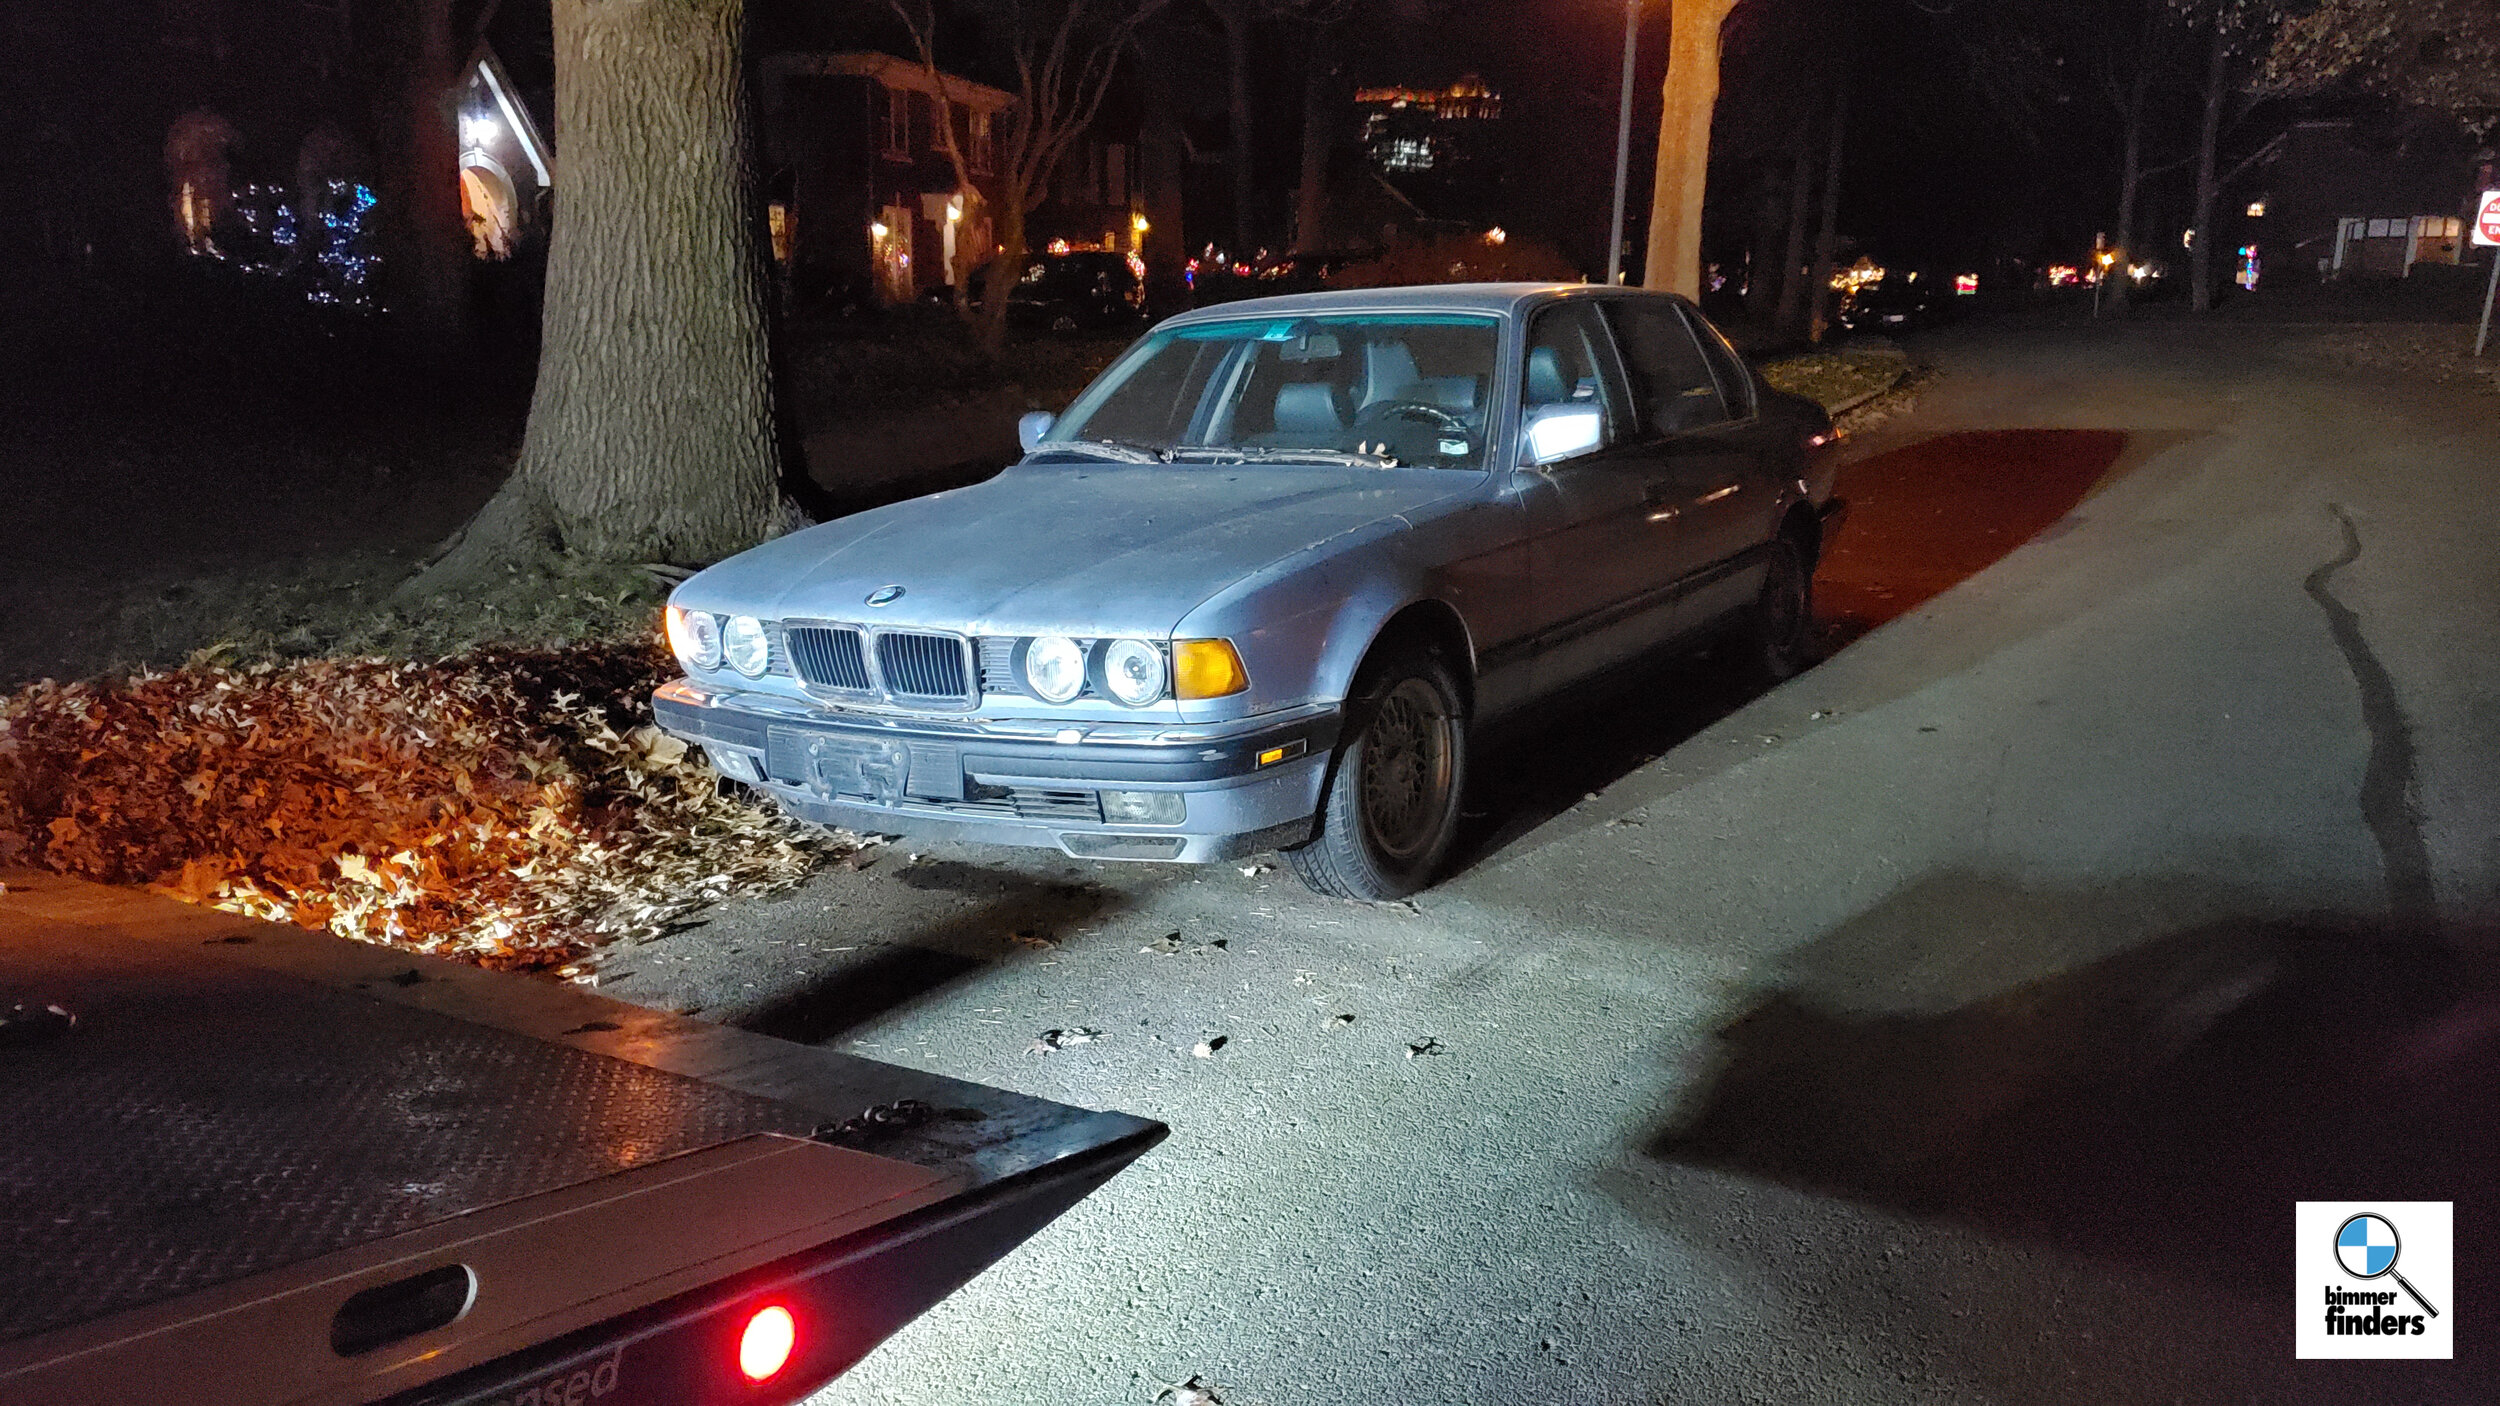
A few weeks had passed and I got an email from him, surprisingly inquiring about having M&B restore the car for him, but he was still thinking about it. More months pass, and in November, he reaches out again, this time with the intention of selling; we settle on a number, I go to stick a battery in it to start it, get the actual mileage, and a few more detailed photos, of course. As discussed the car did have a massive fuel leak(rubber lines had dry-rotted), so I scheduled the car to be picked up that night.

Oh yeah, it also came with a fat stack of service records from right there in St. Louis. Every service from 1997 (when he took ownership & the car arrived in MO from TX) to 2018. Some was done at one of the local BMW dealers, the rest of it done at GLB Motors, a more than reputable indie shop working on high-end euros such as this. I documented and organized every record based on date, what was done, and the price — amounting to just shy of $50,000 just in maintenance. Batteries. Oil changes. Light bulbs. Its all there.

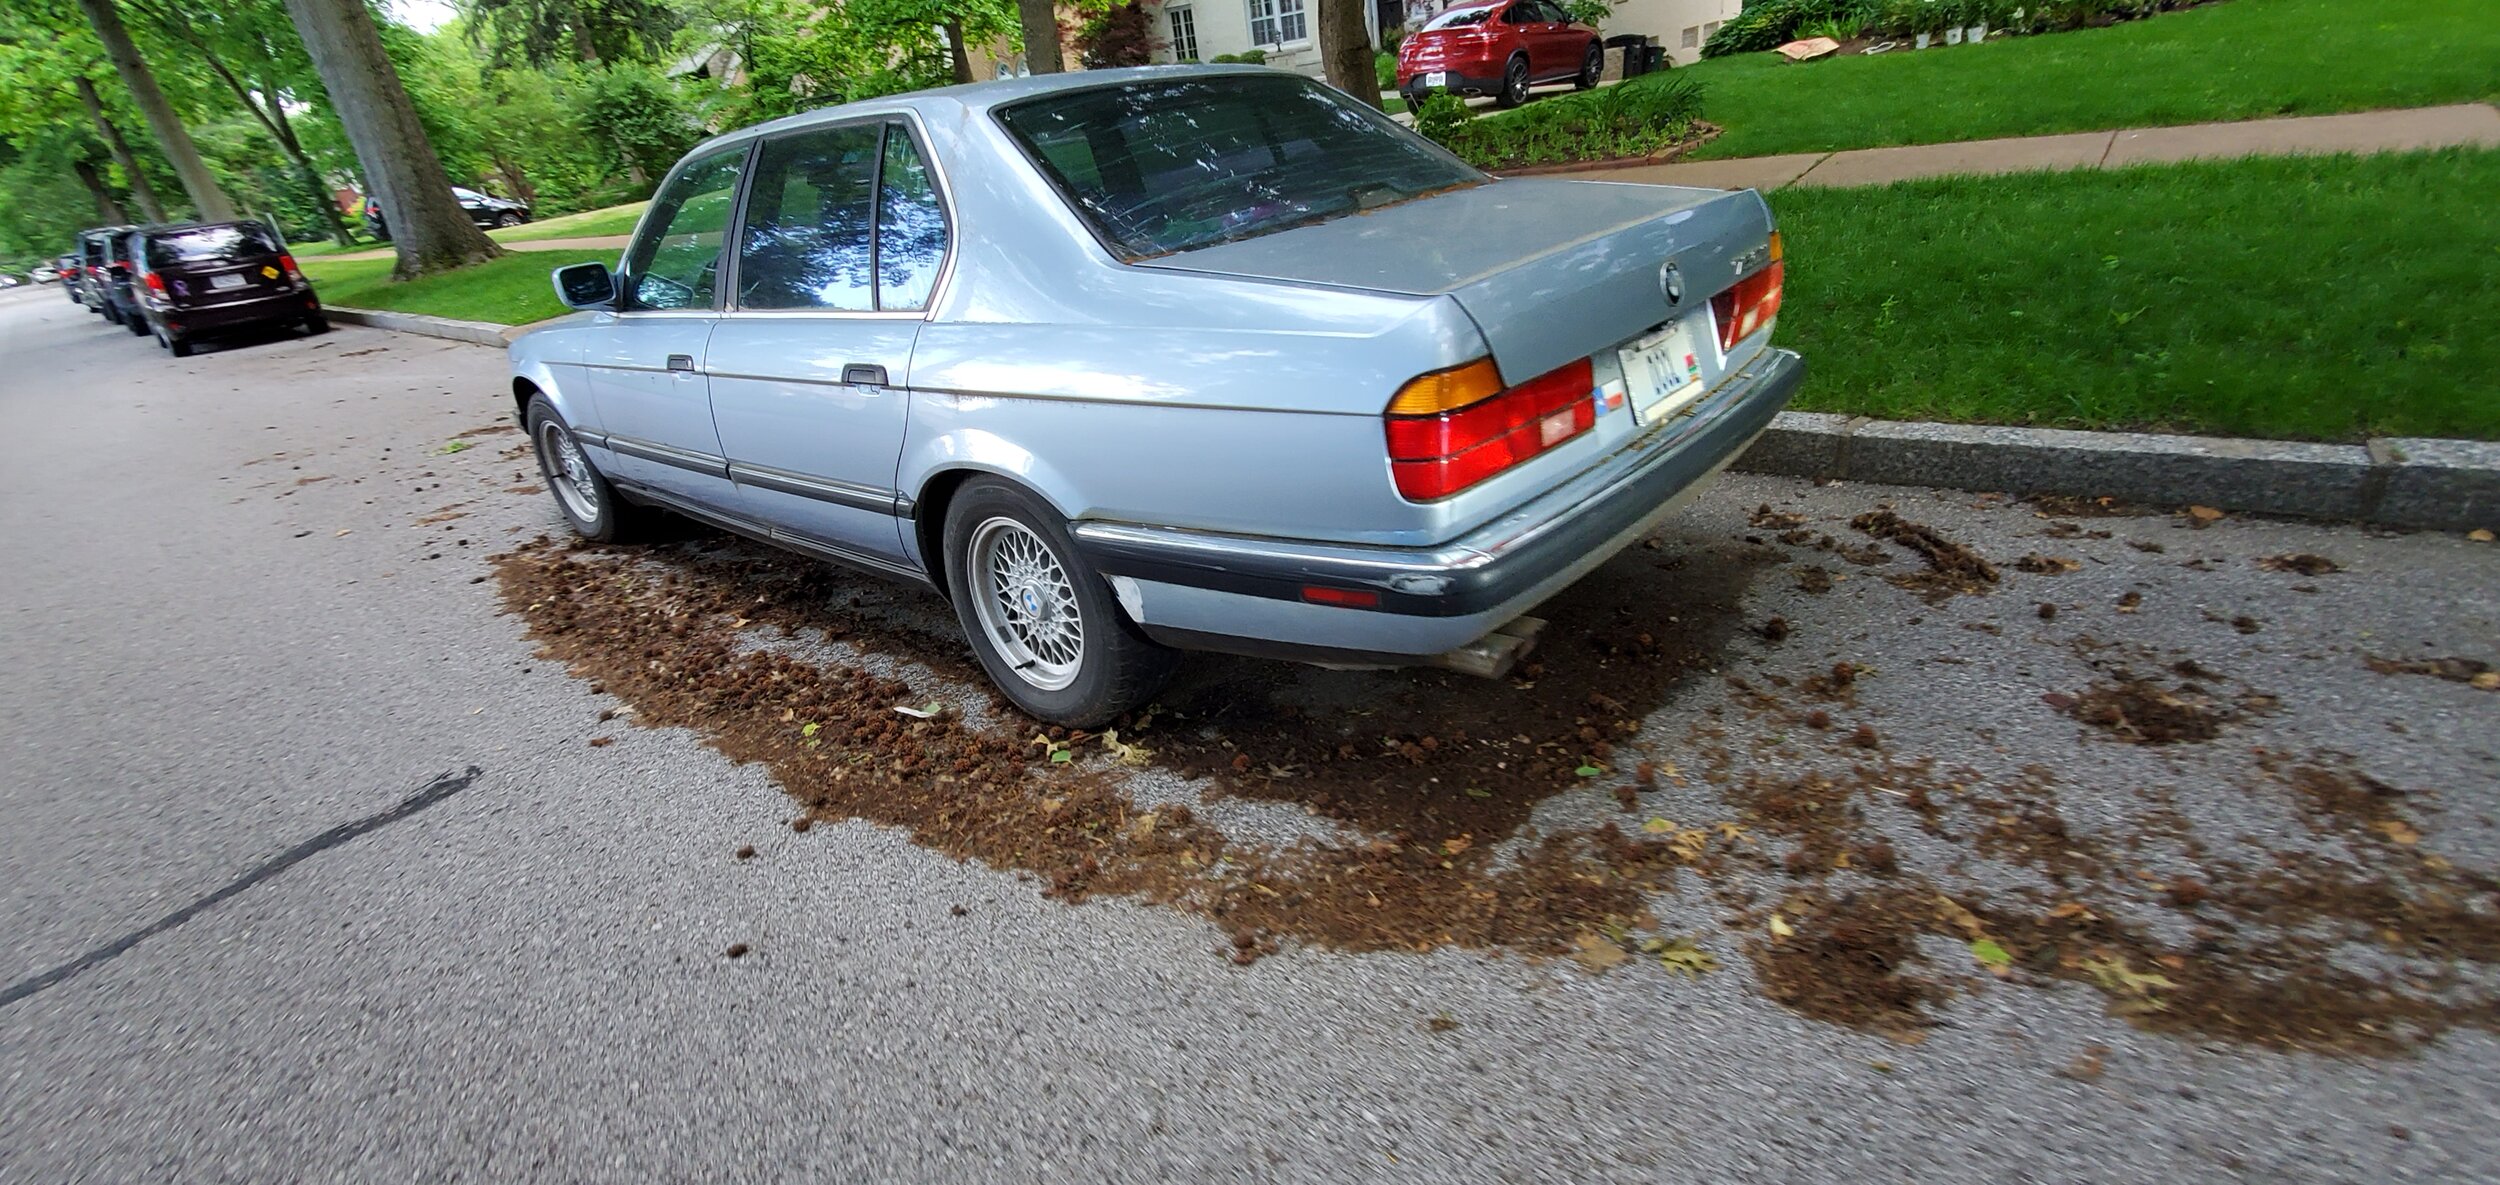
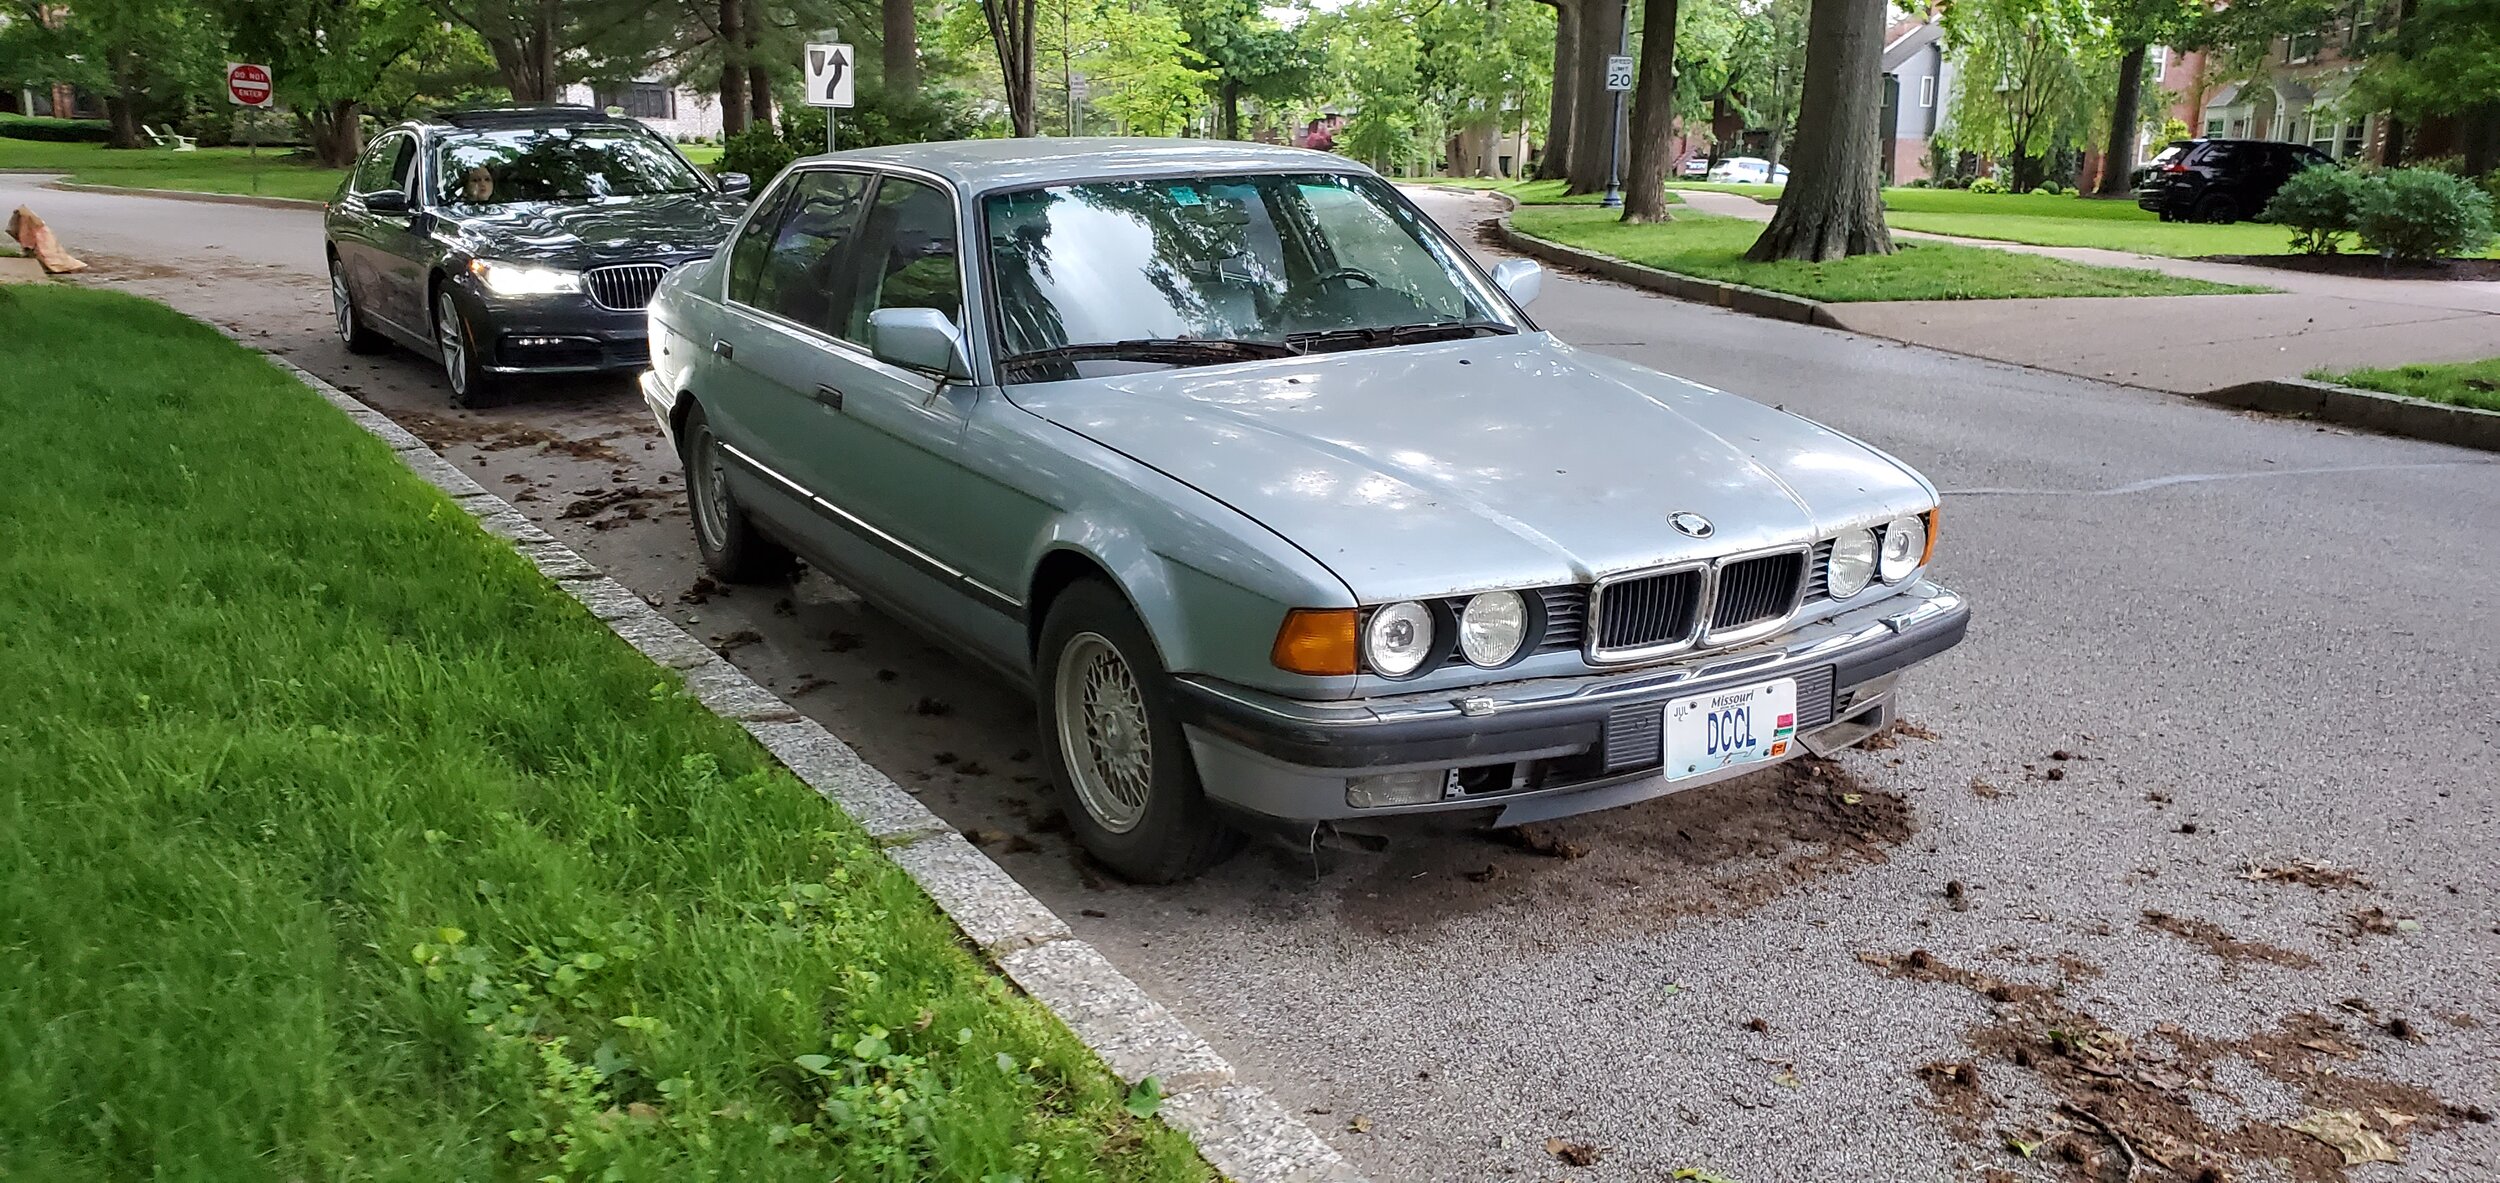
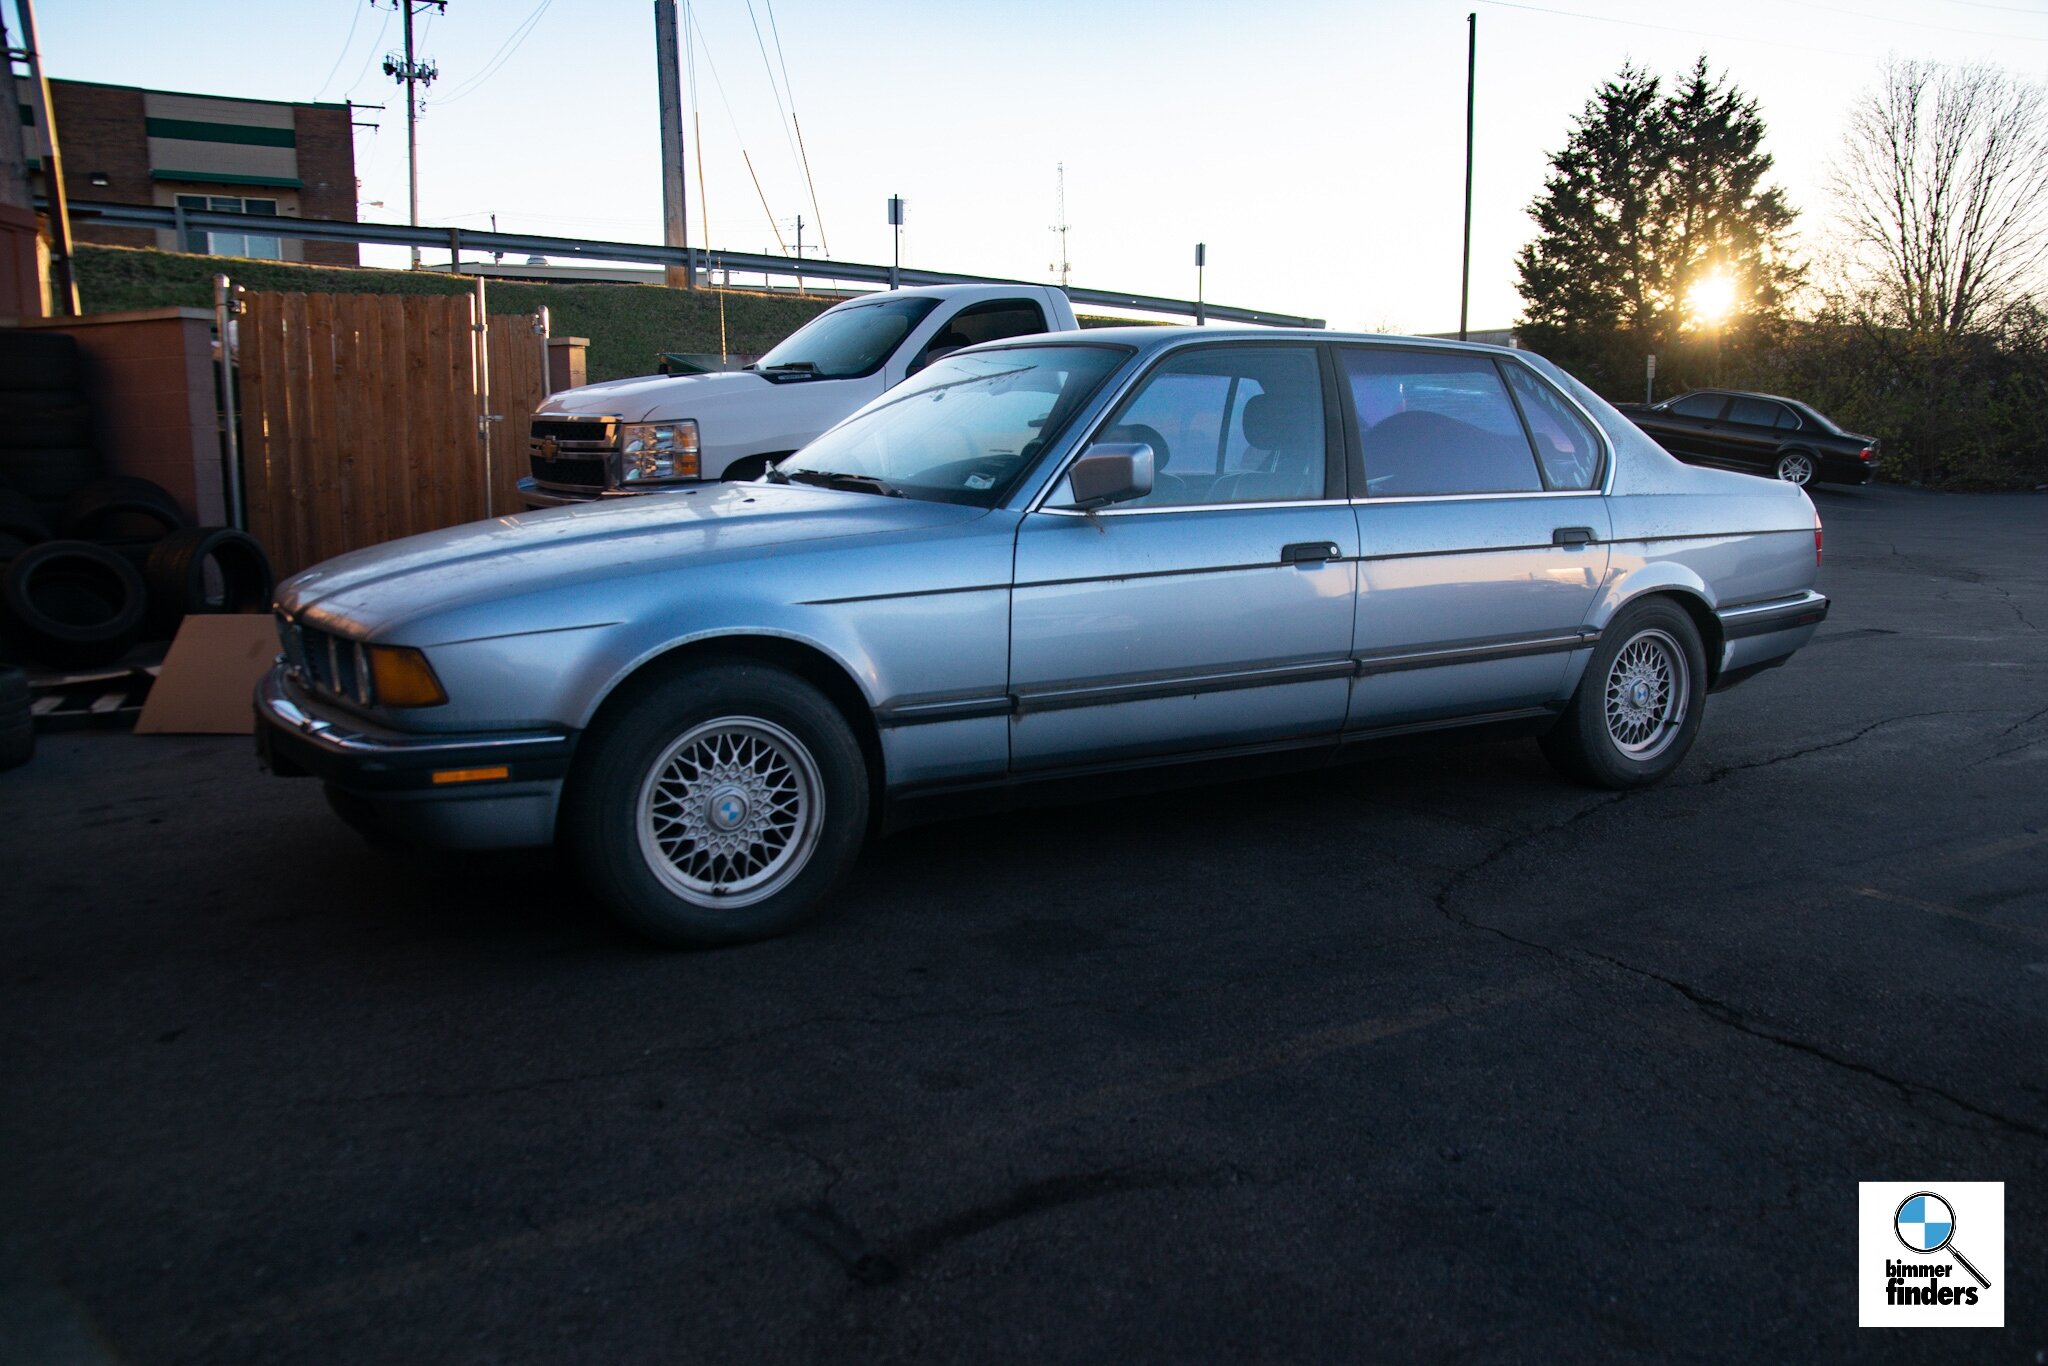
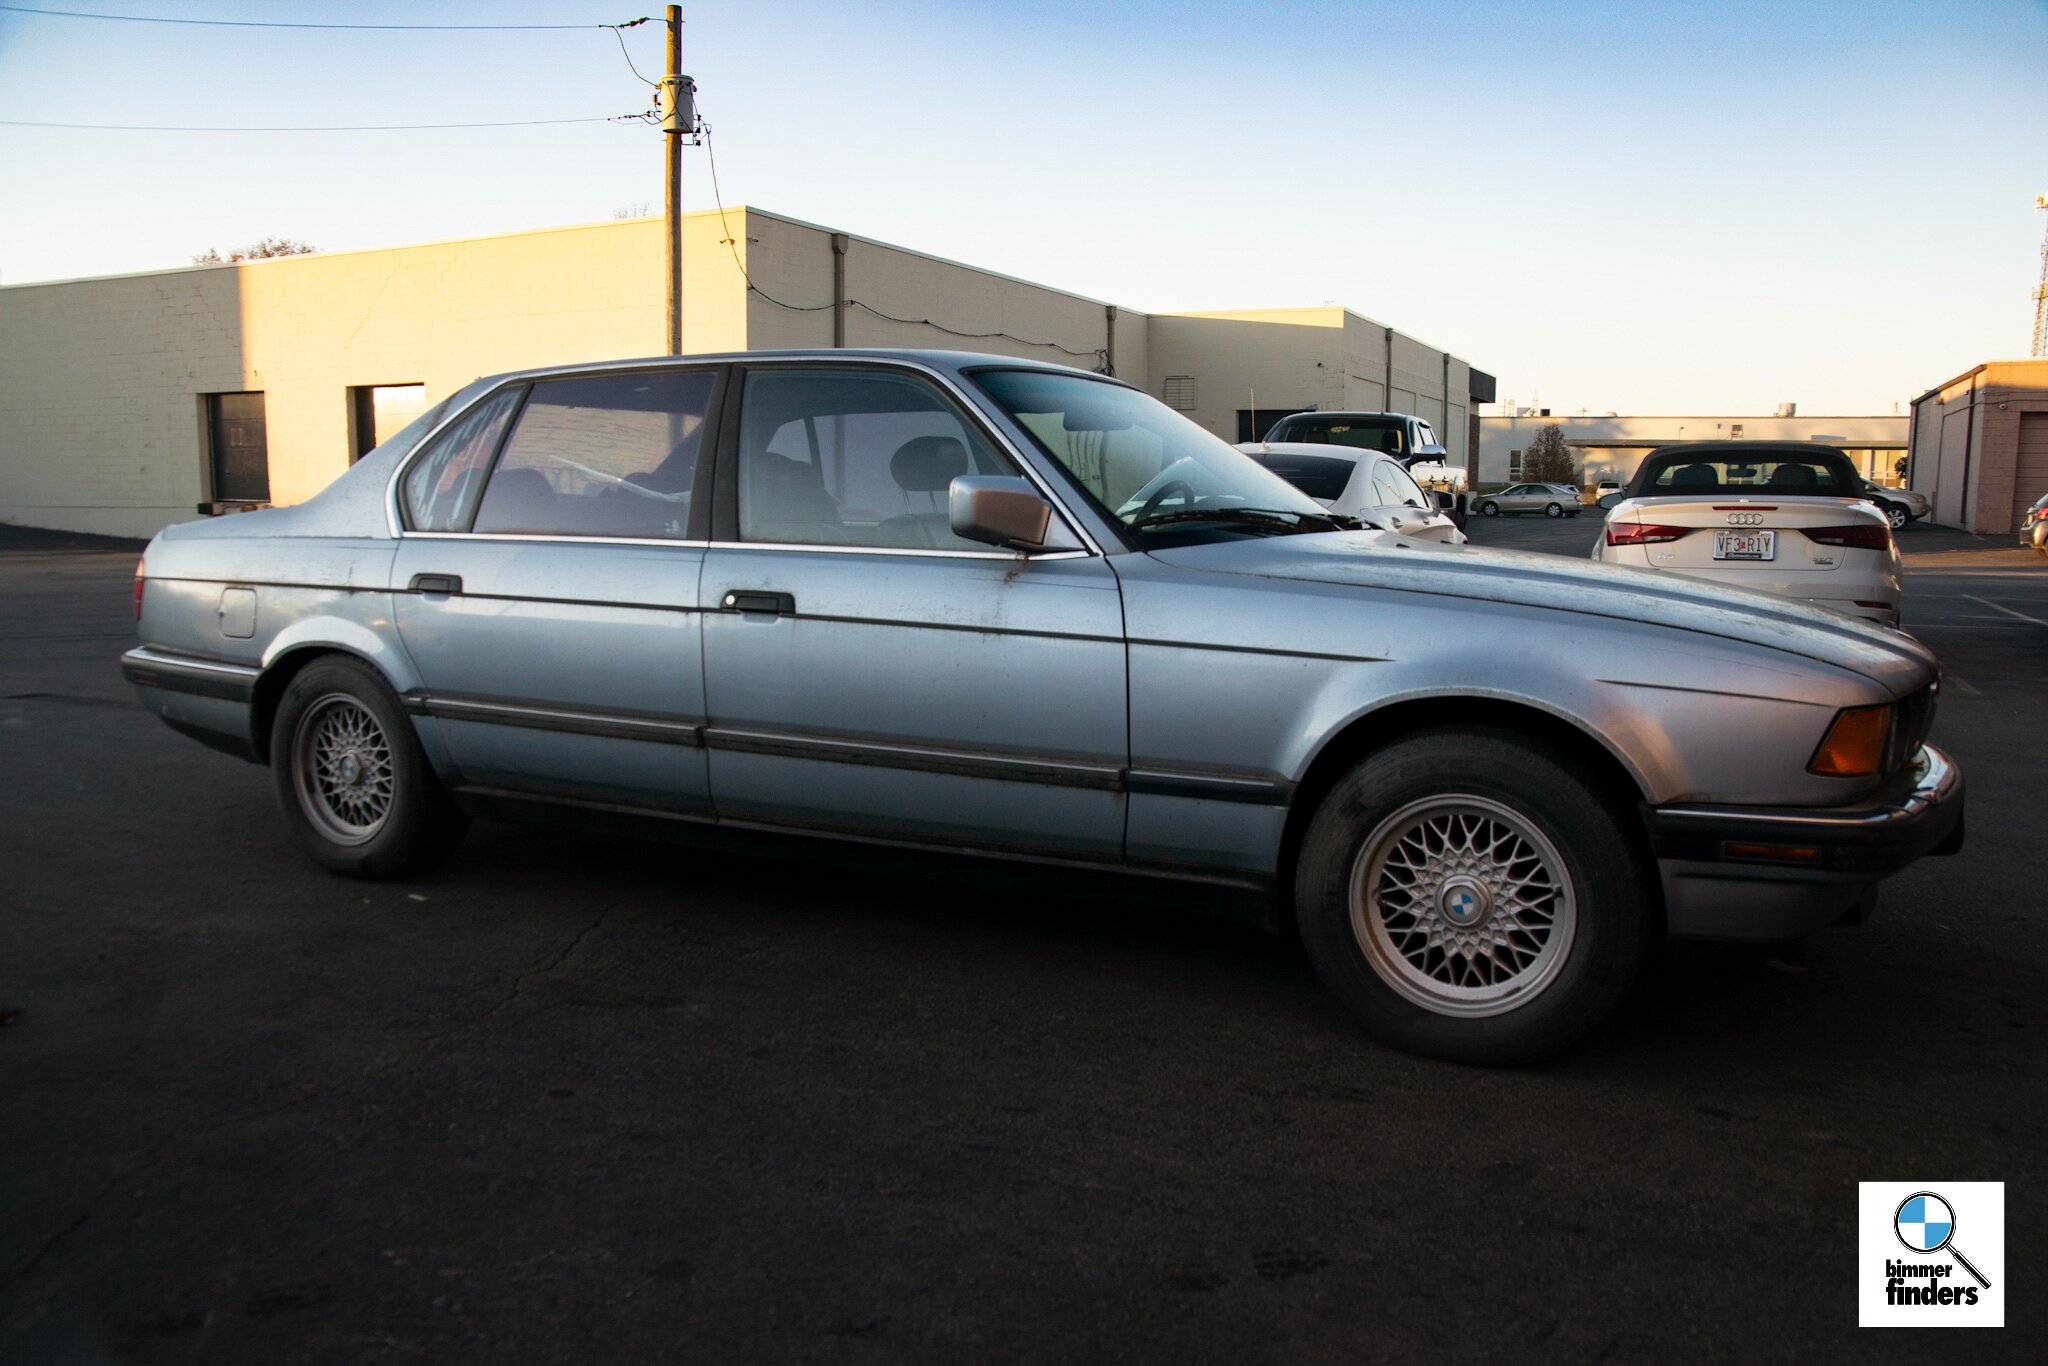
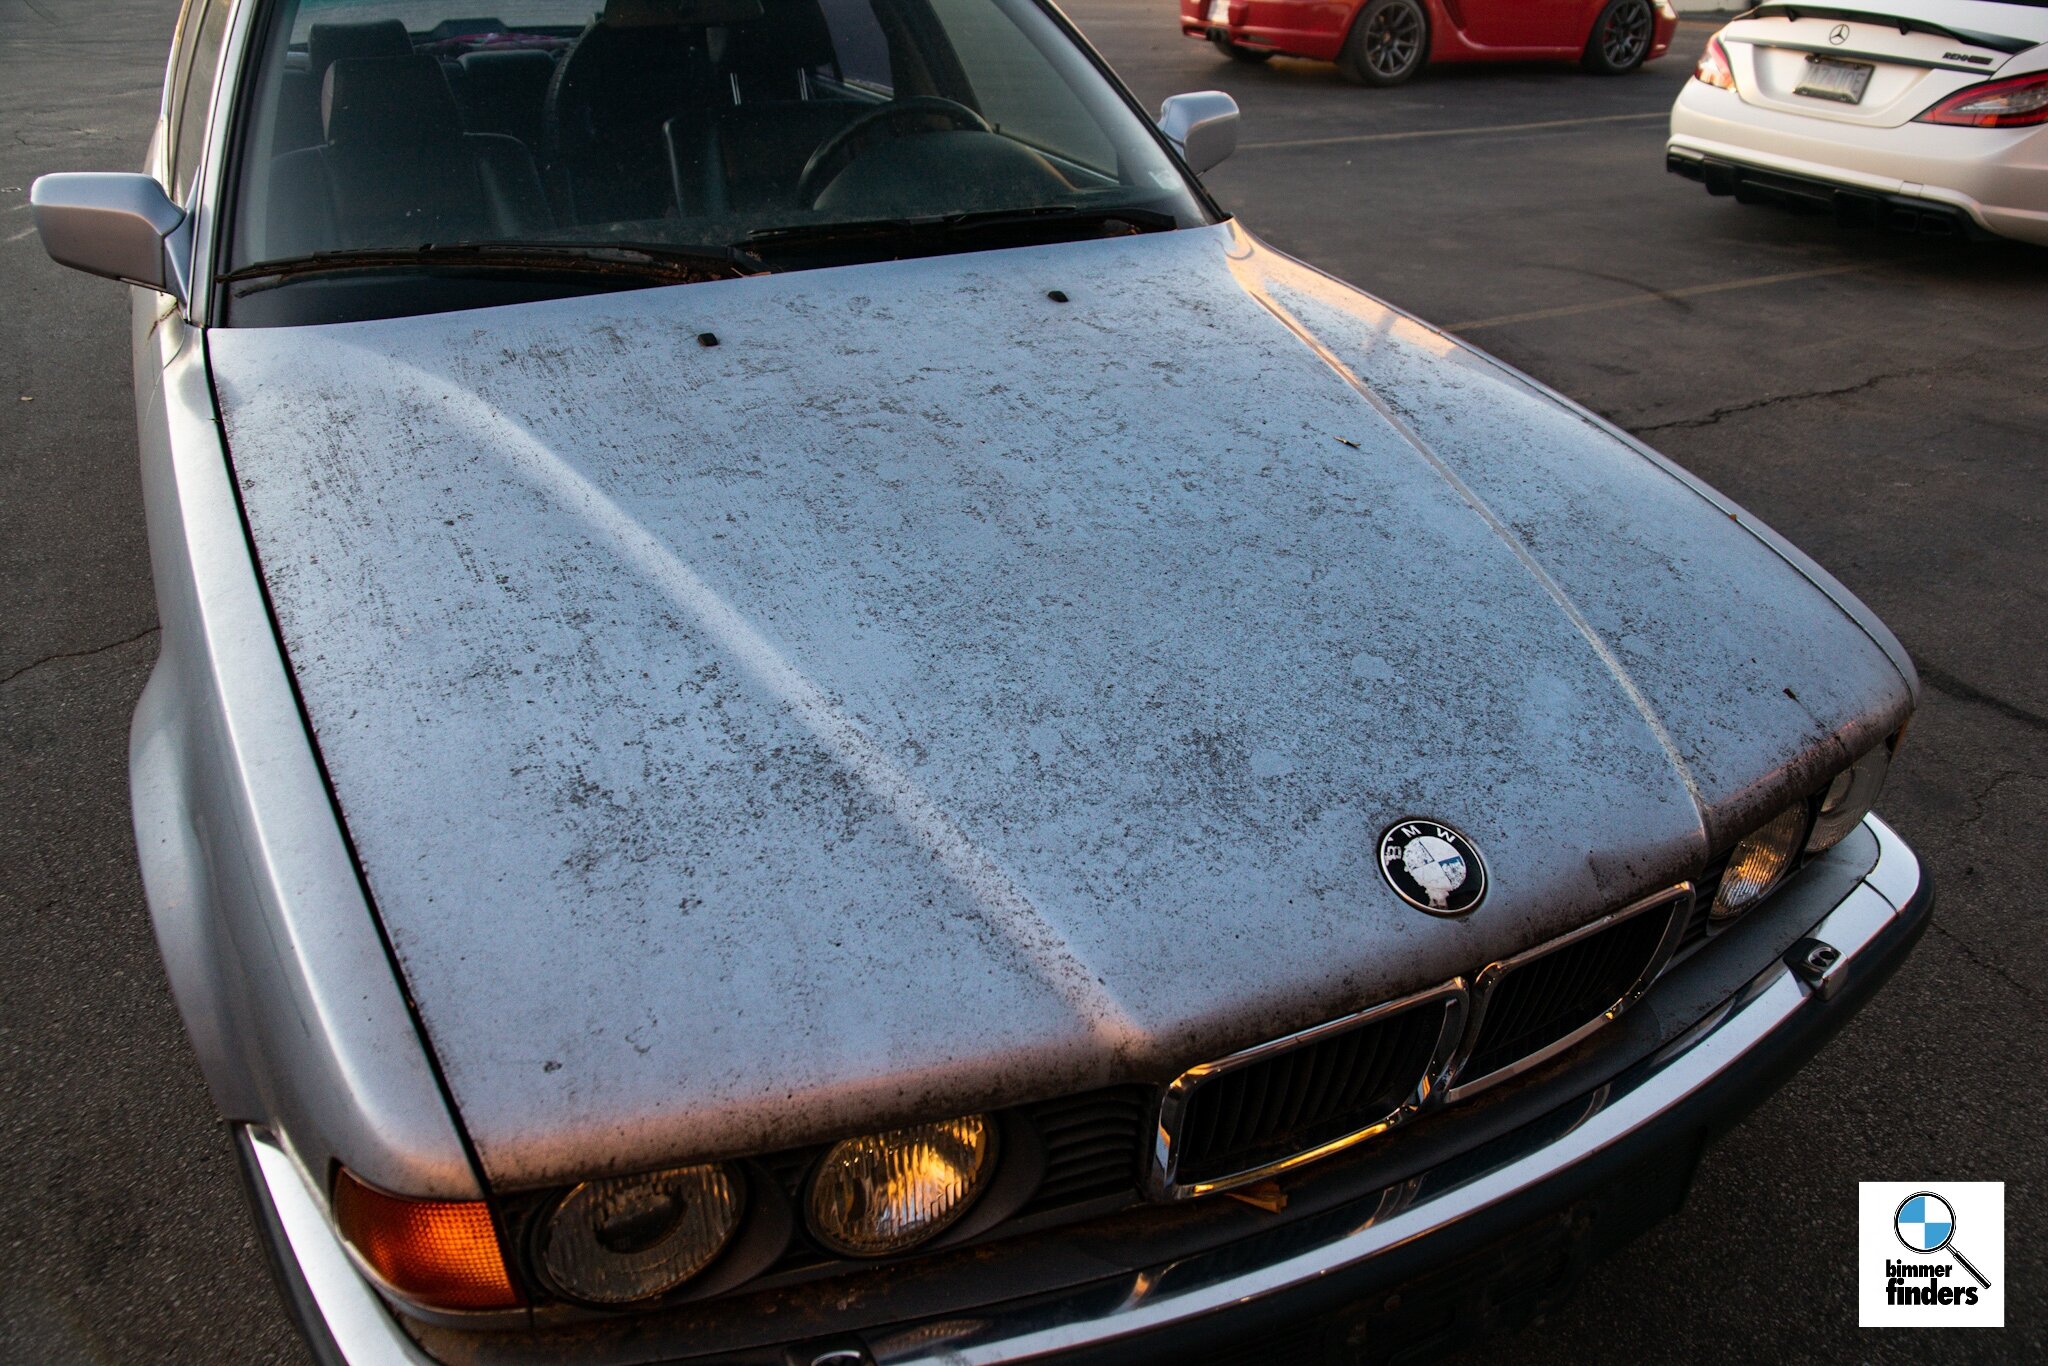
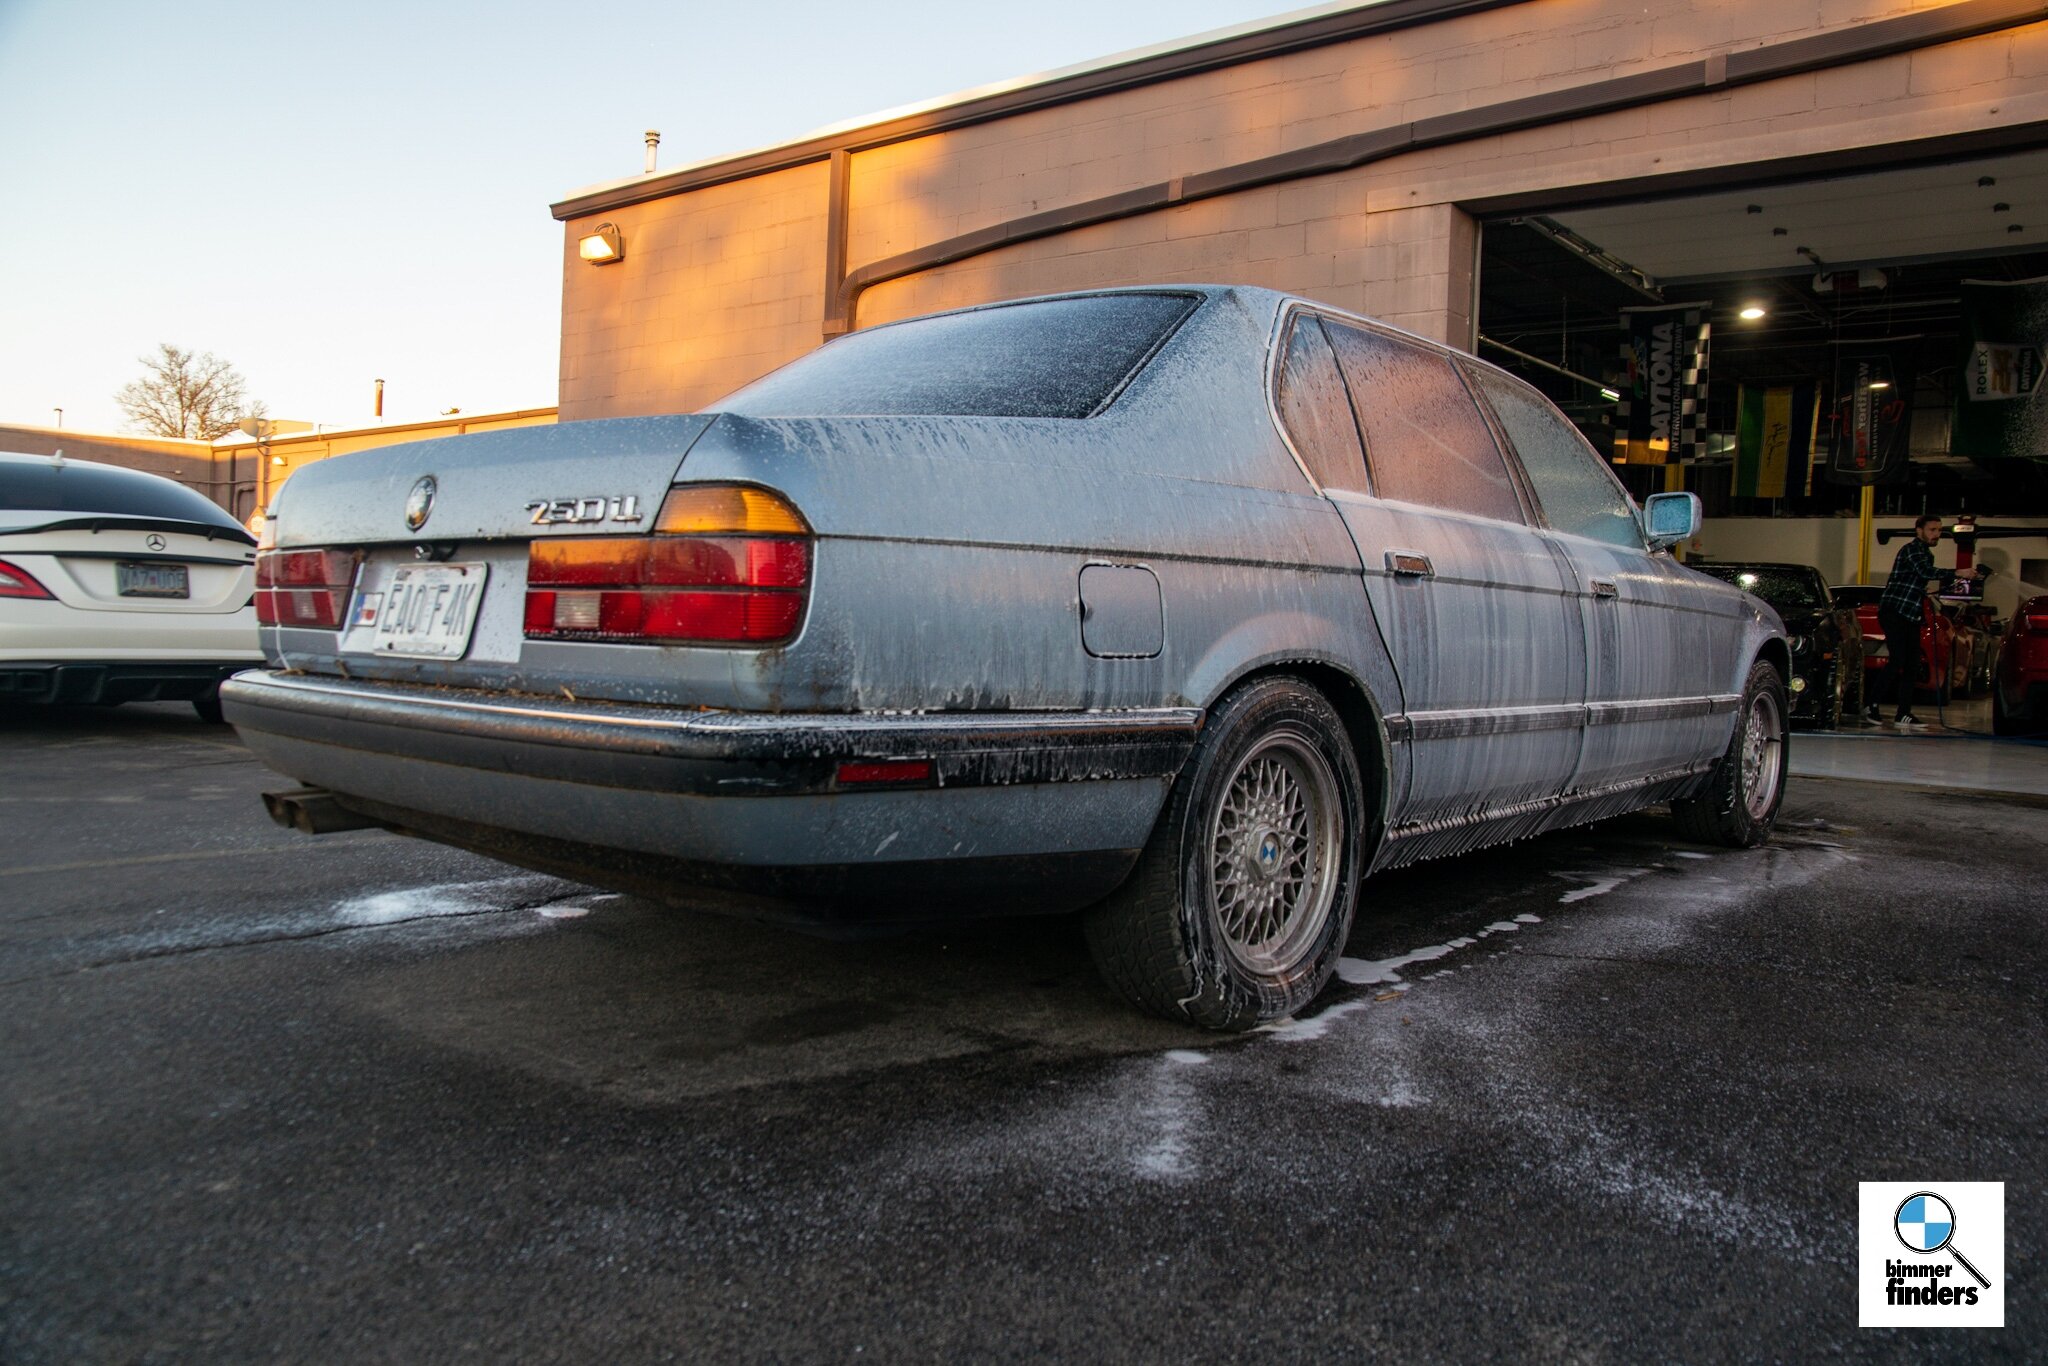
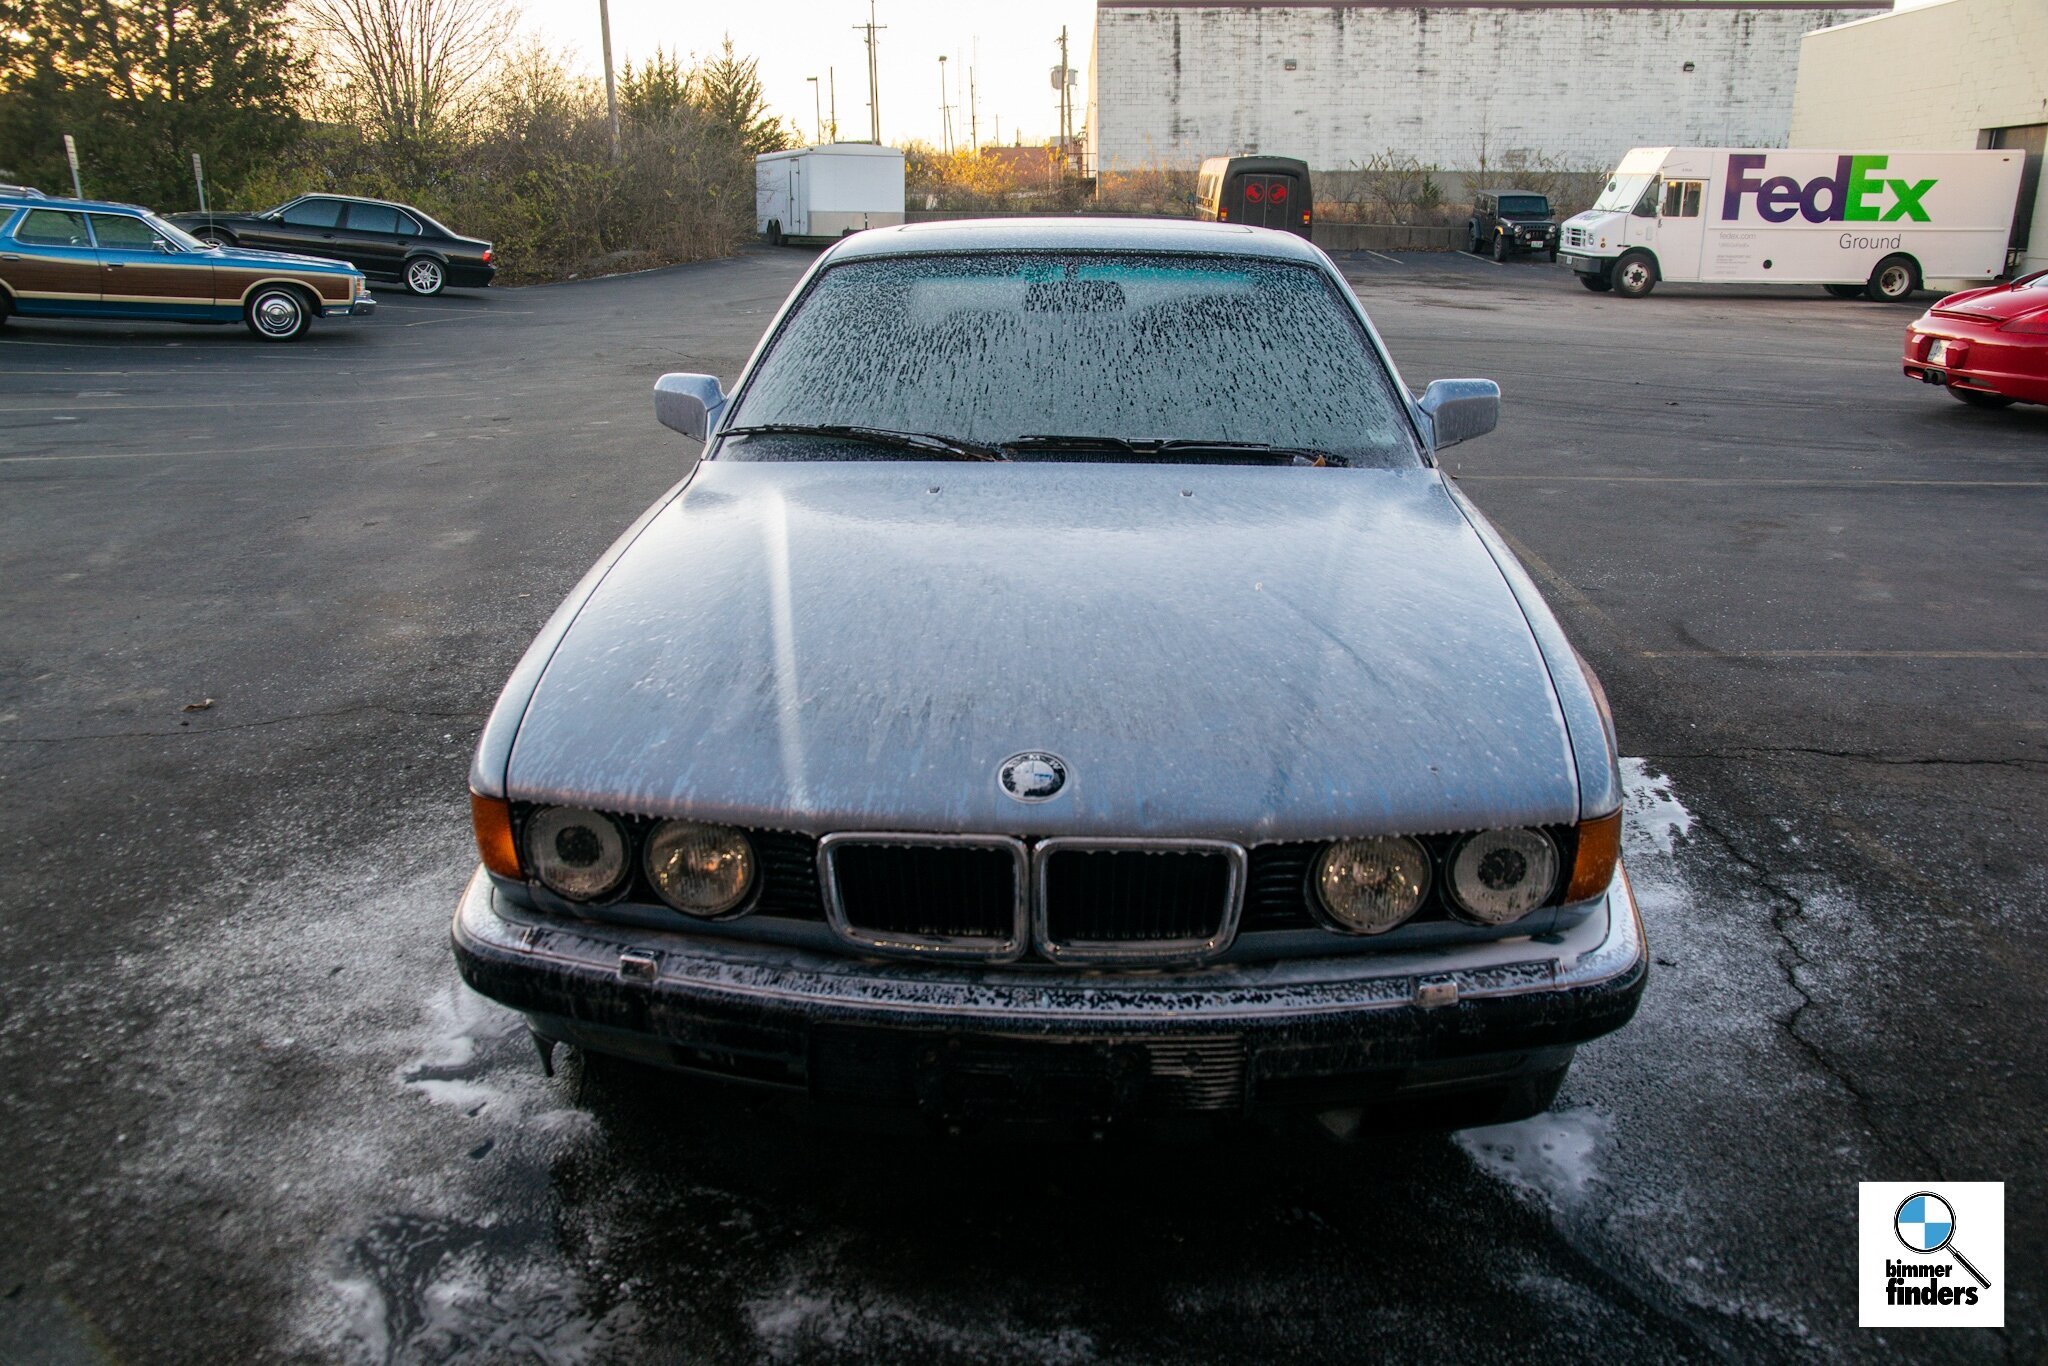
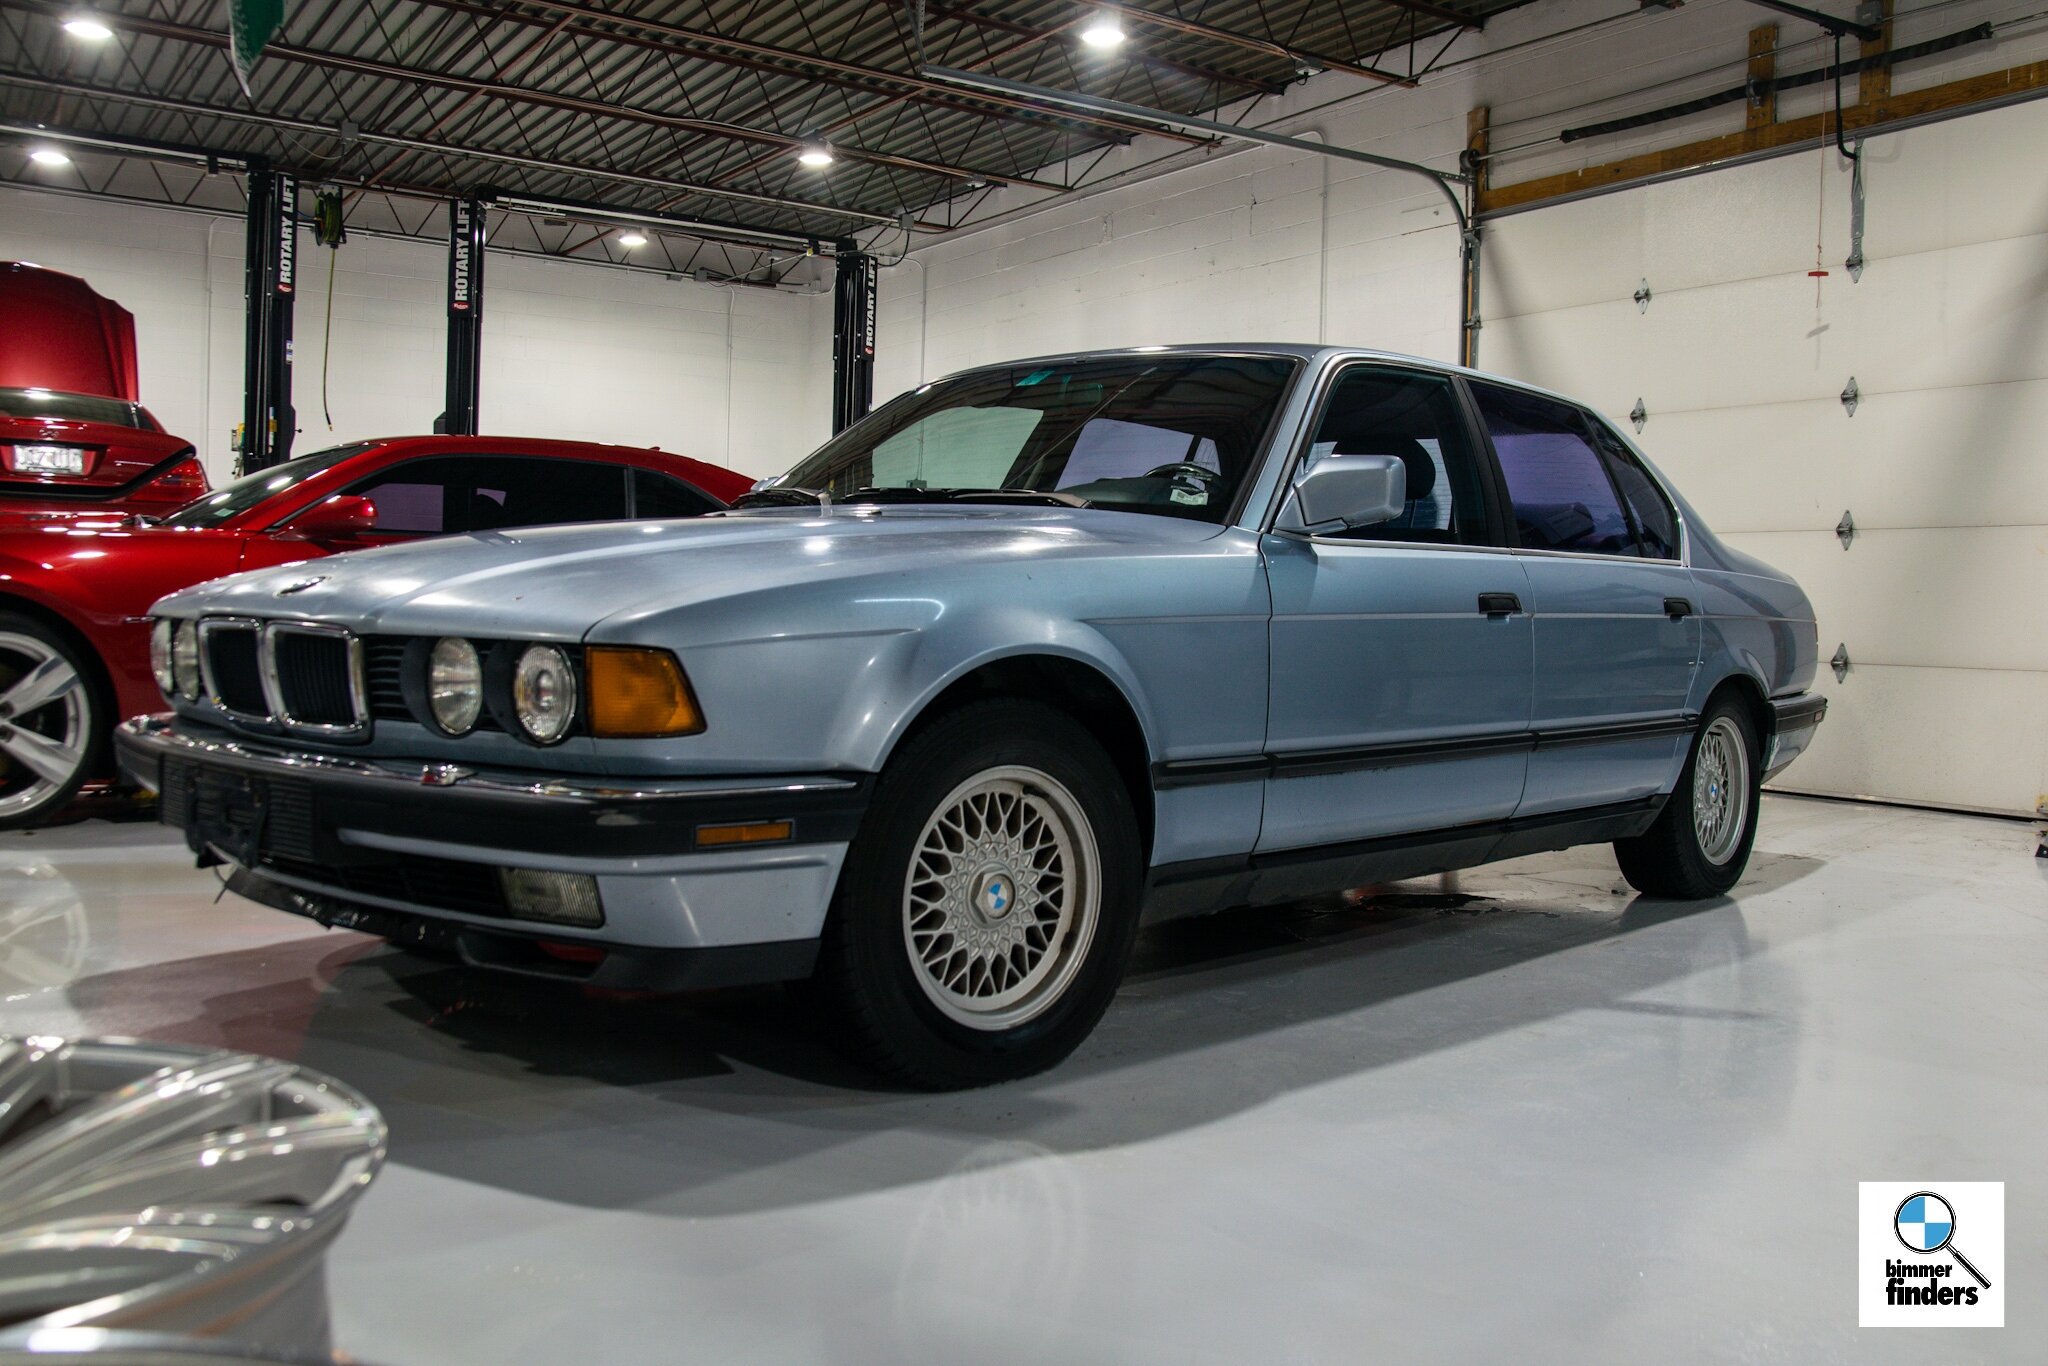
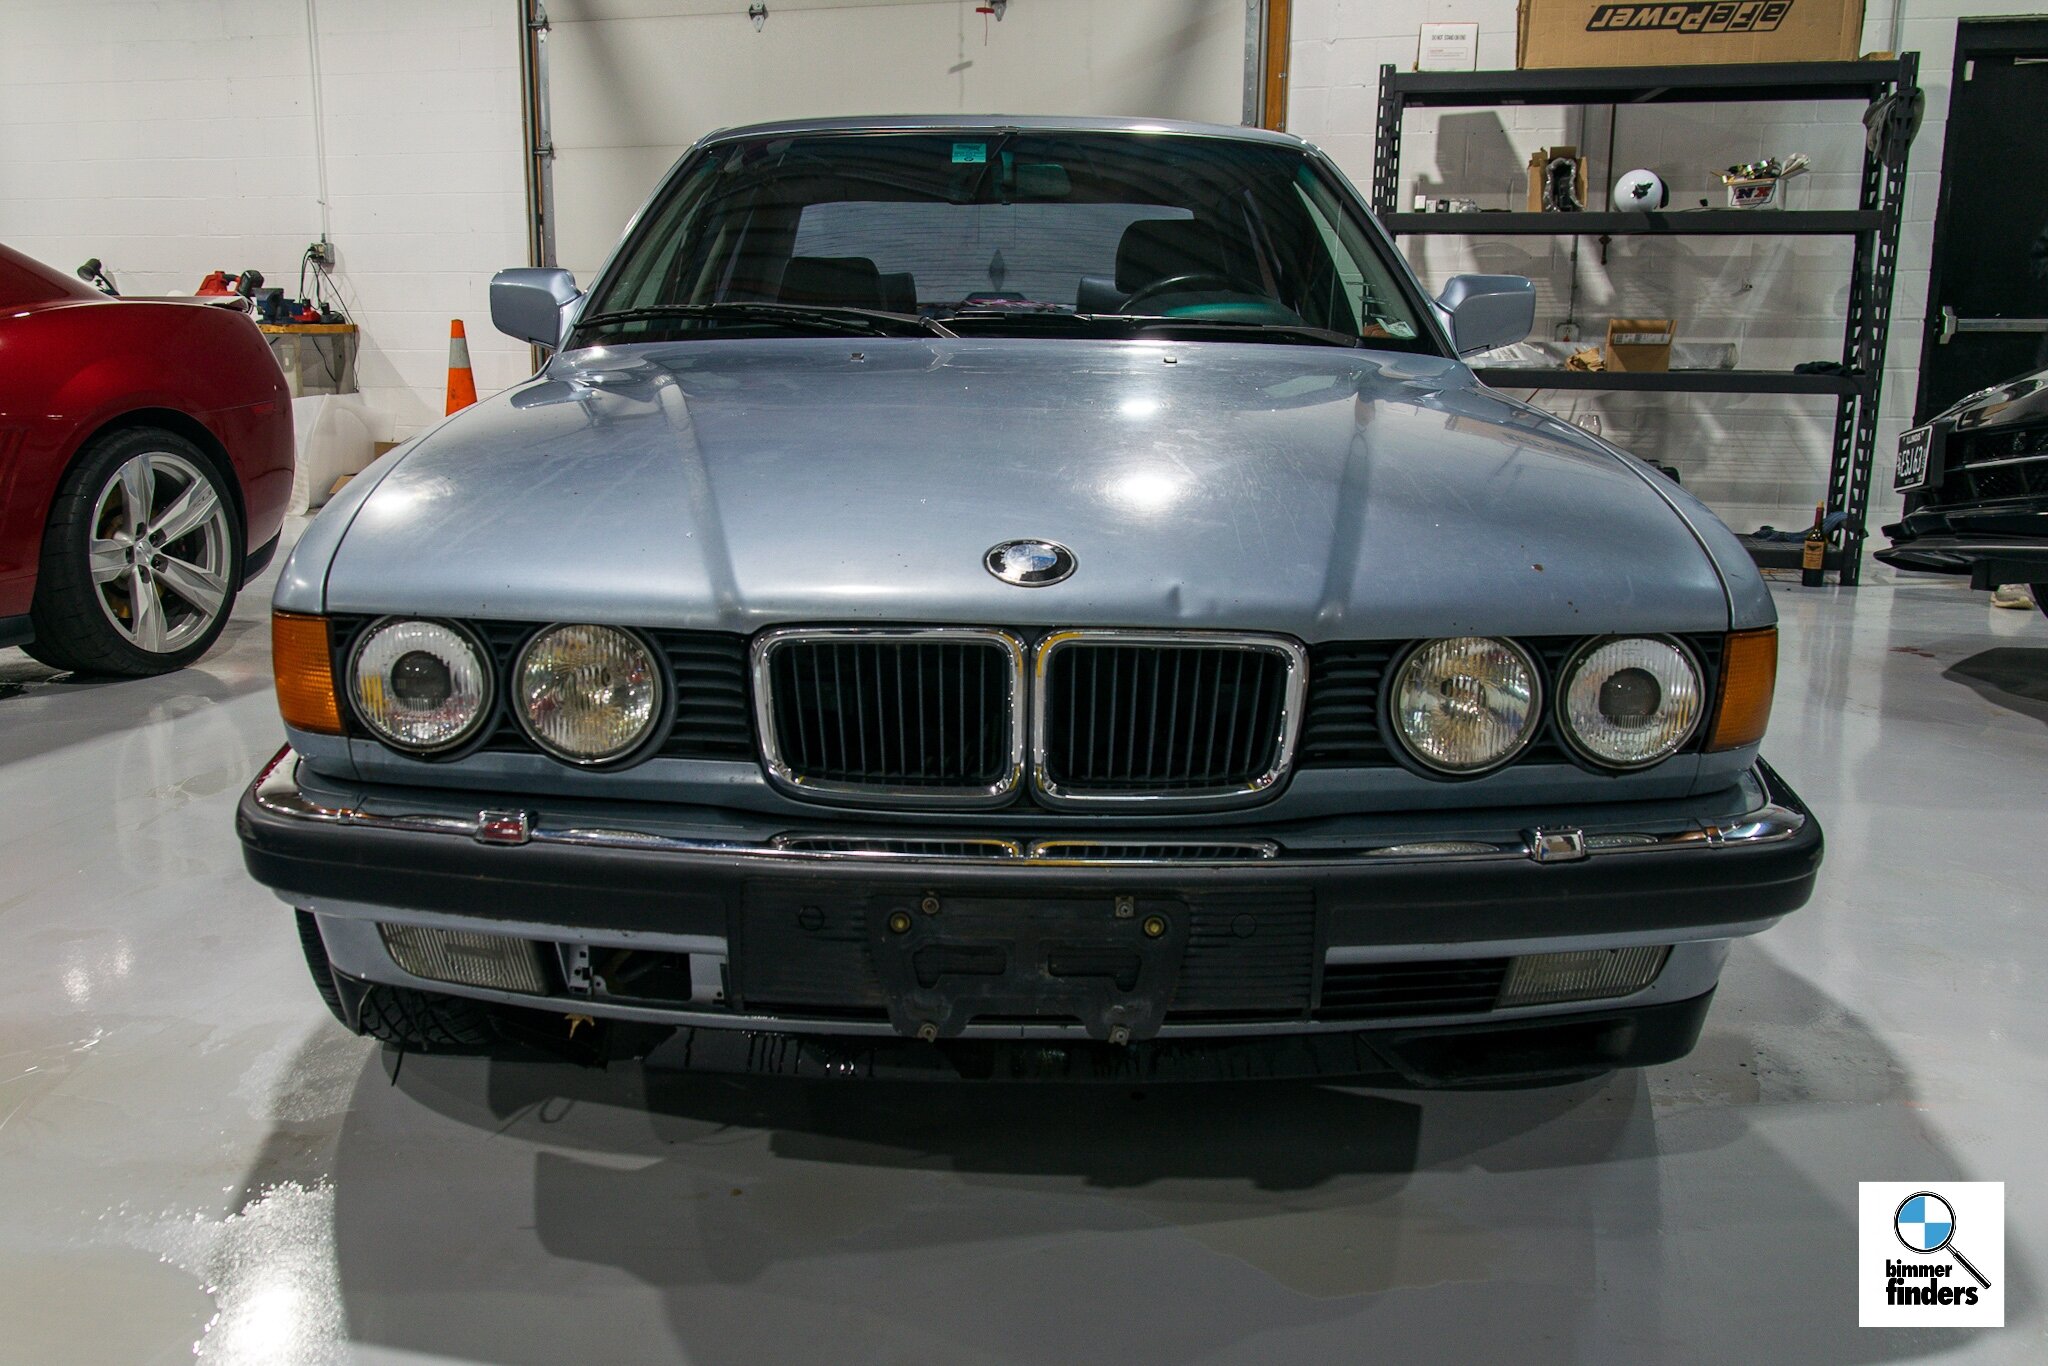
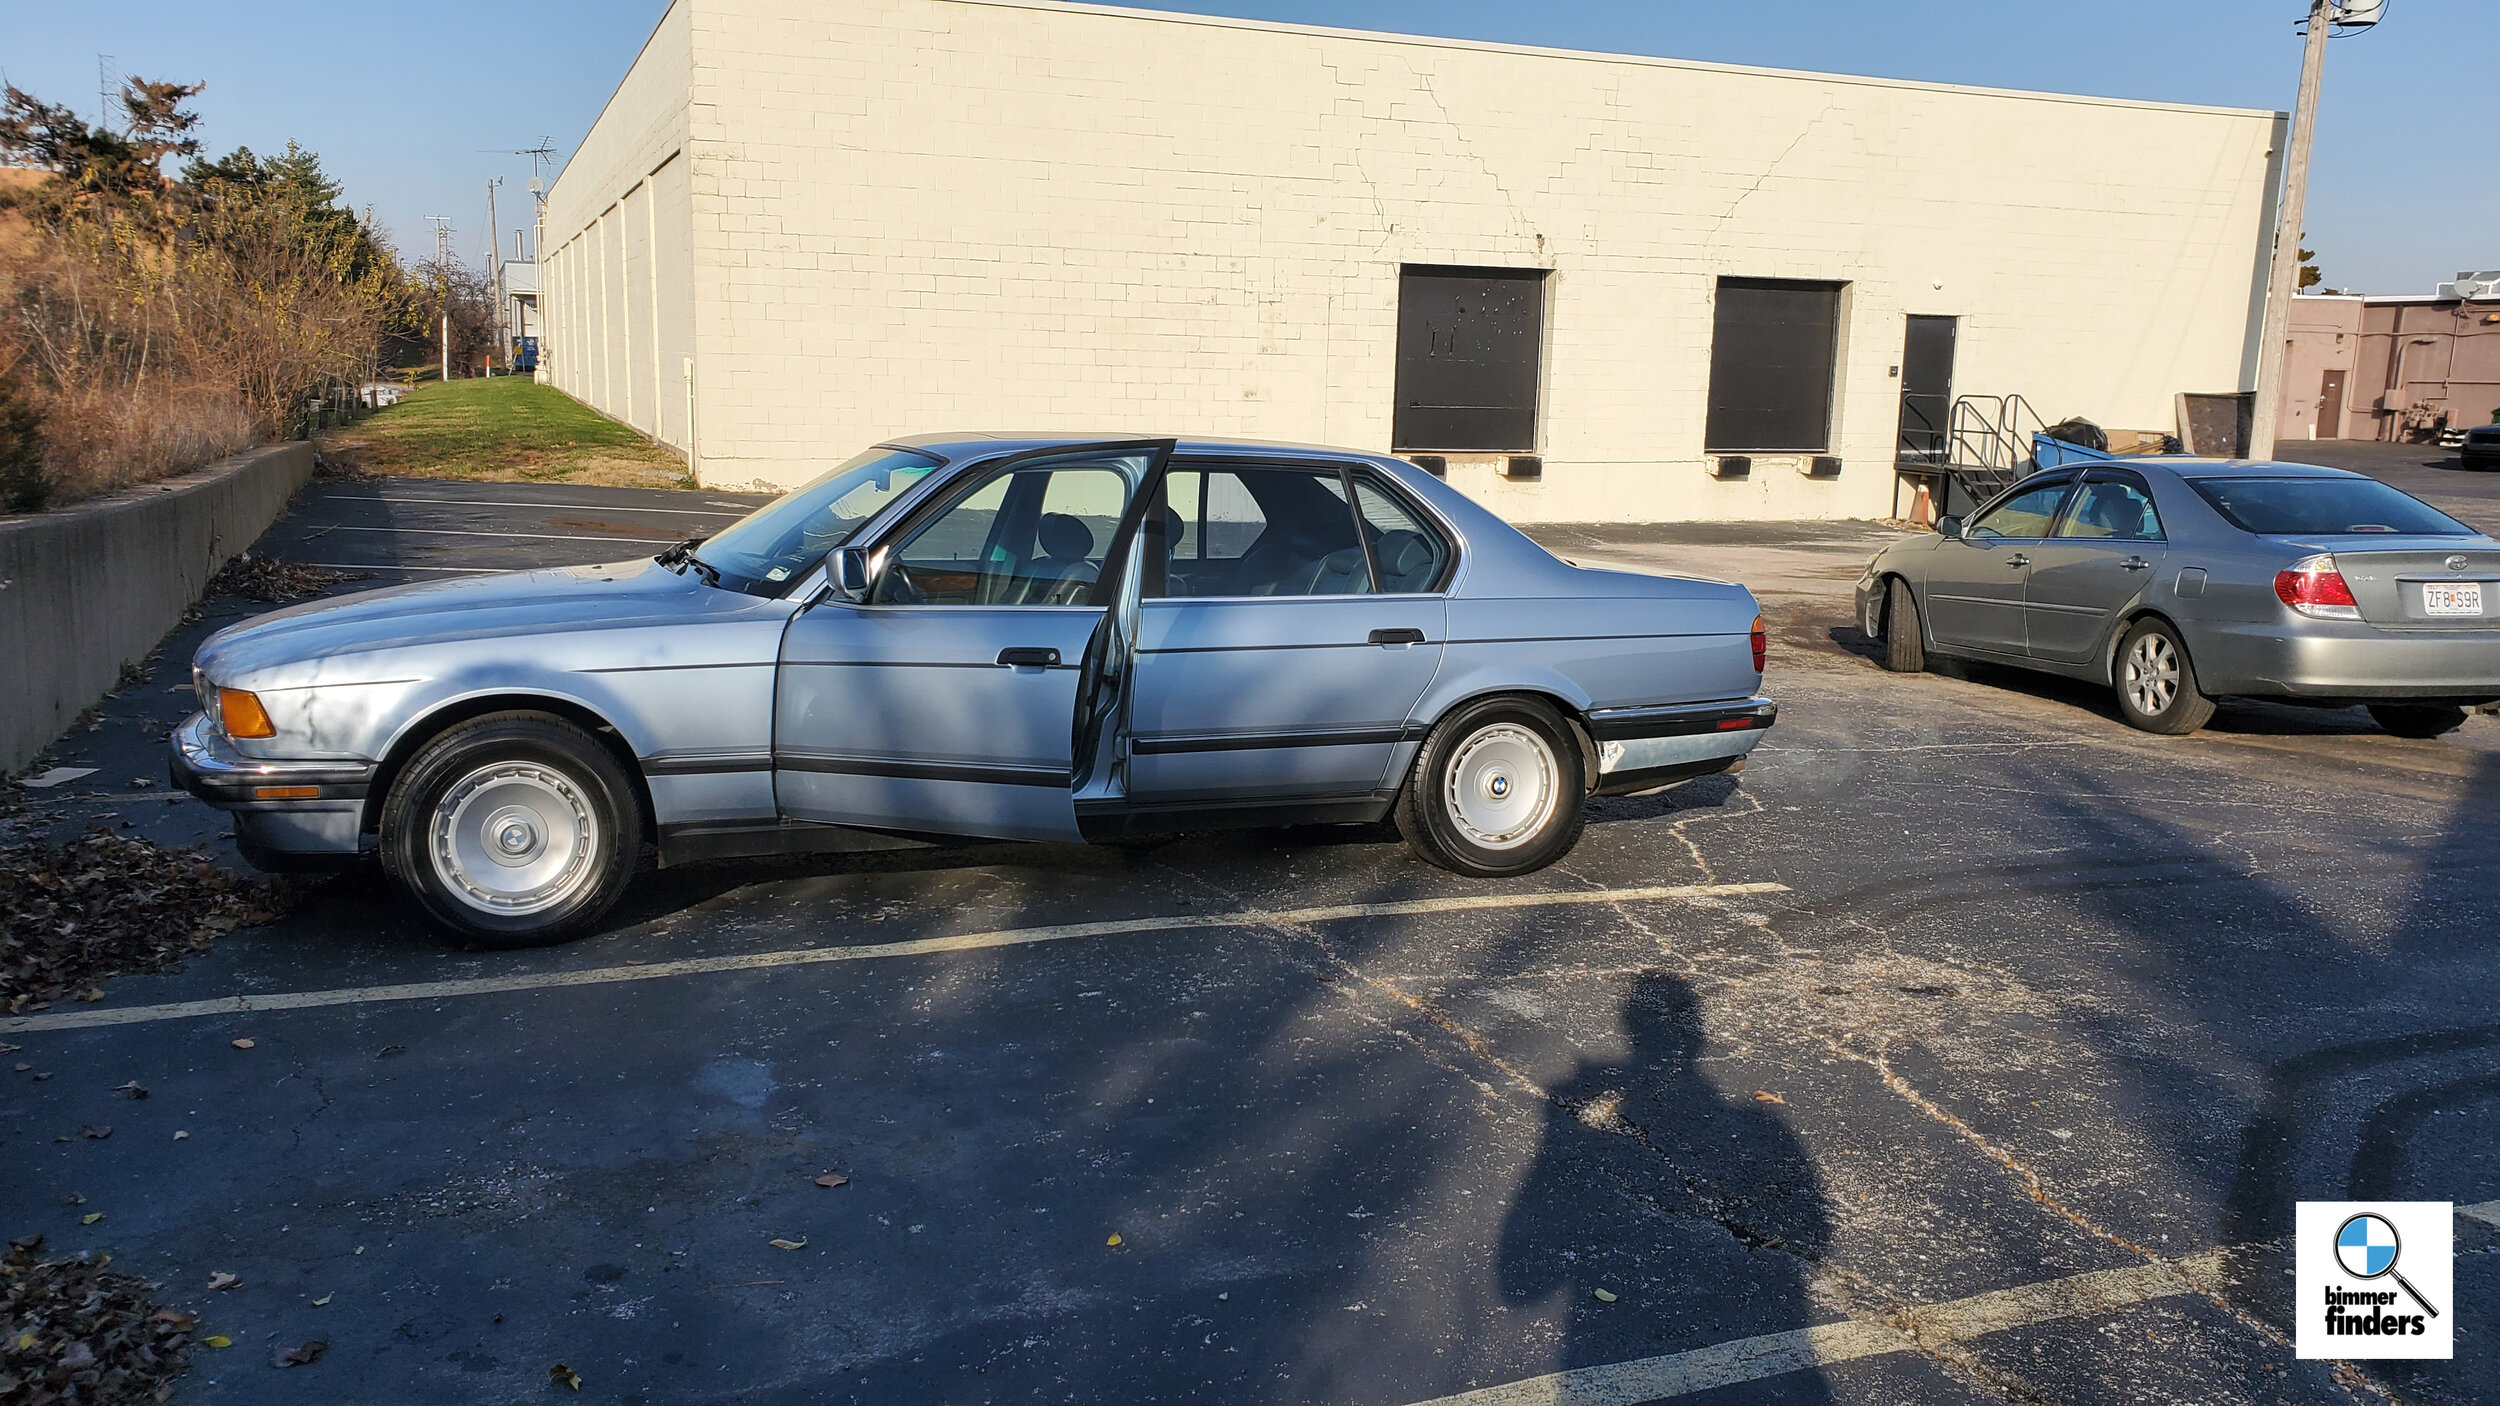
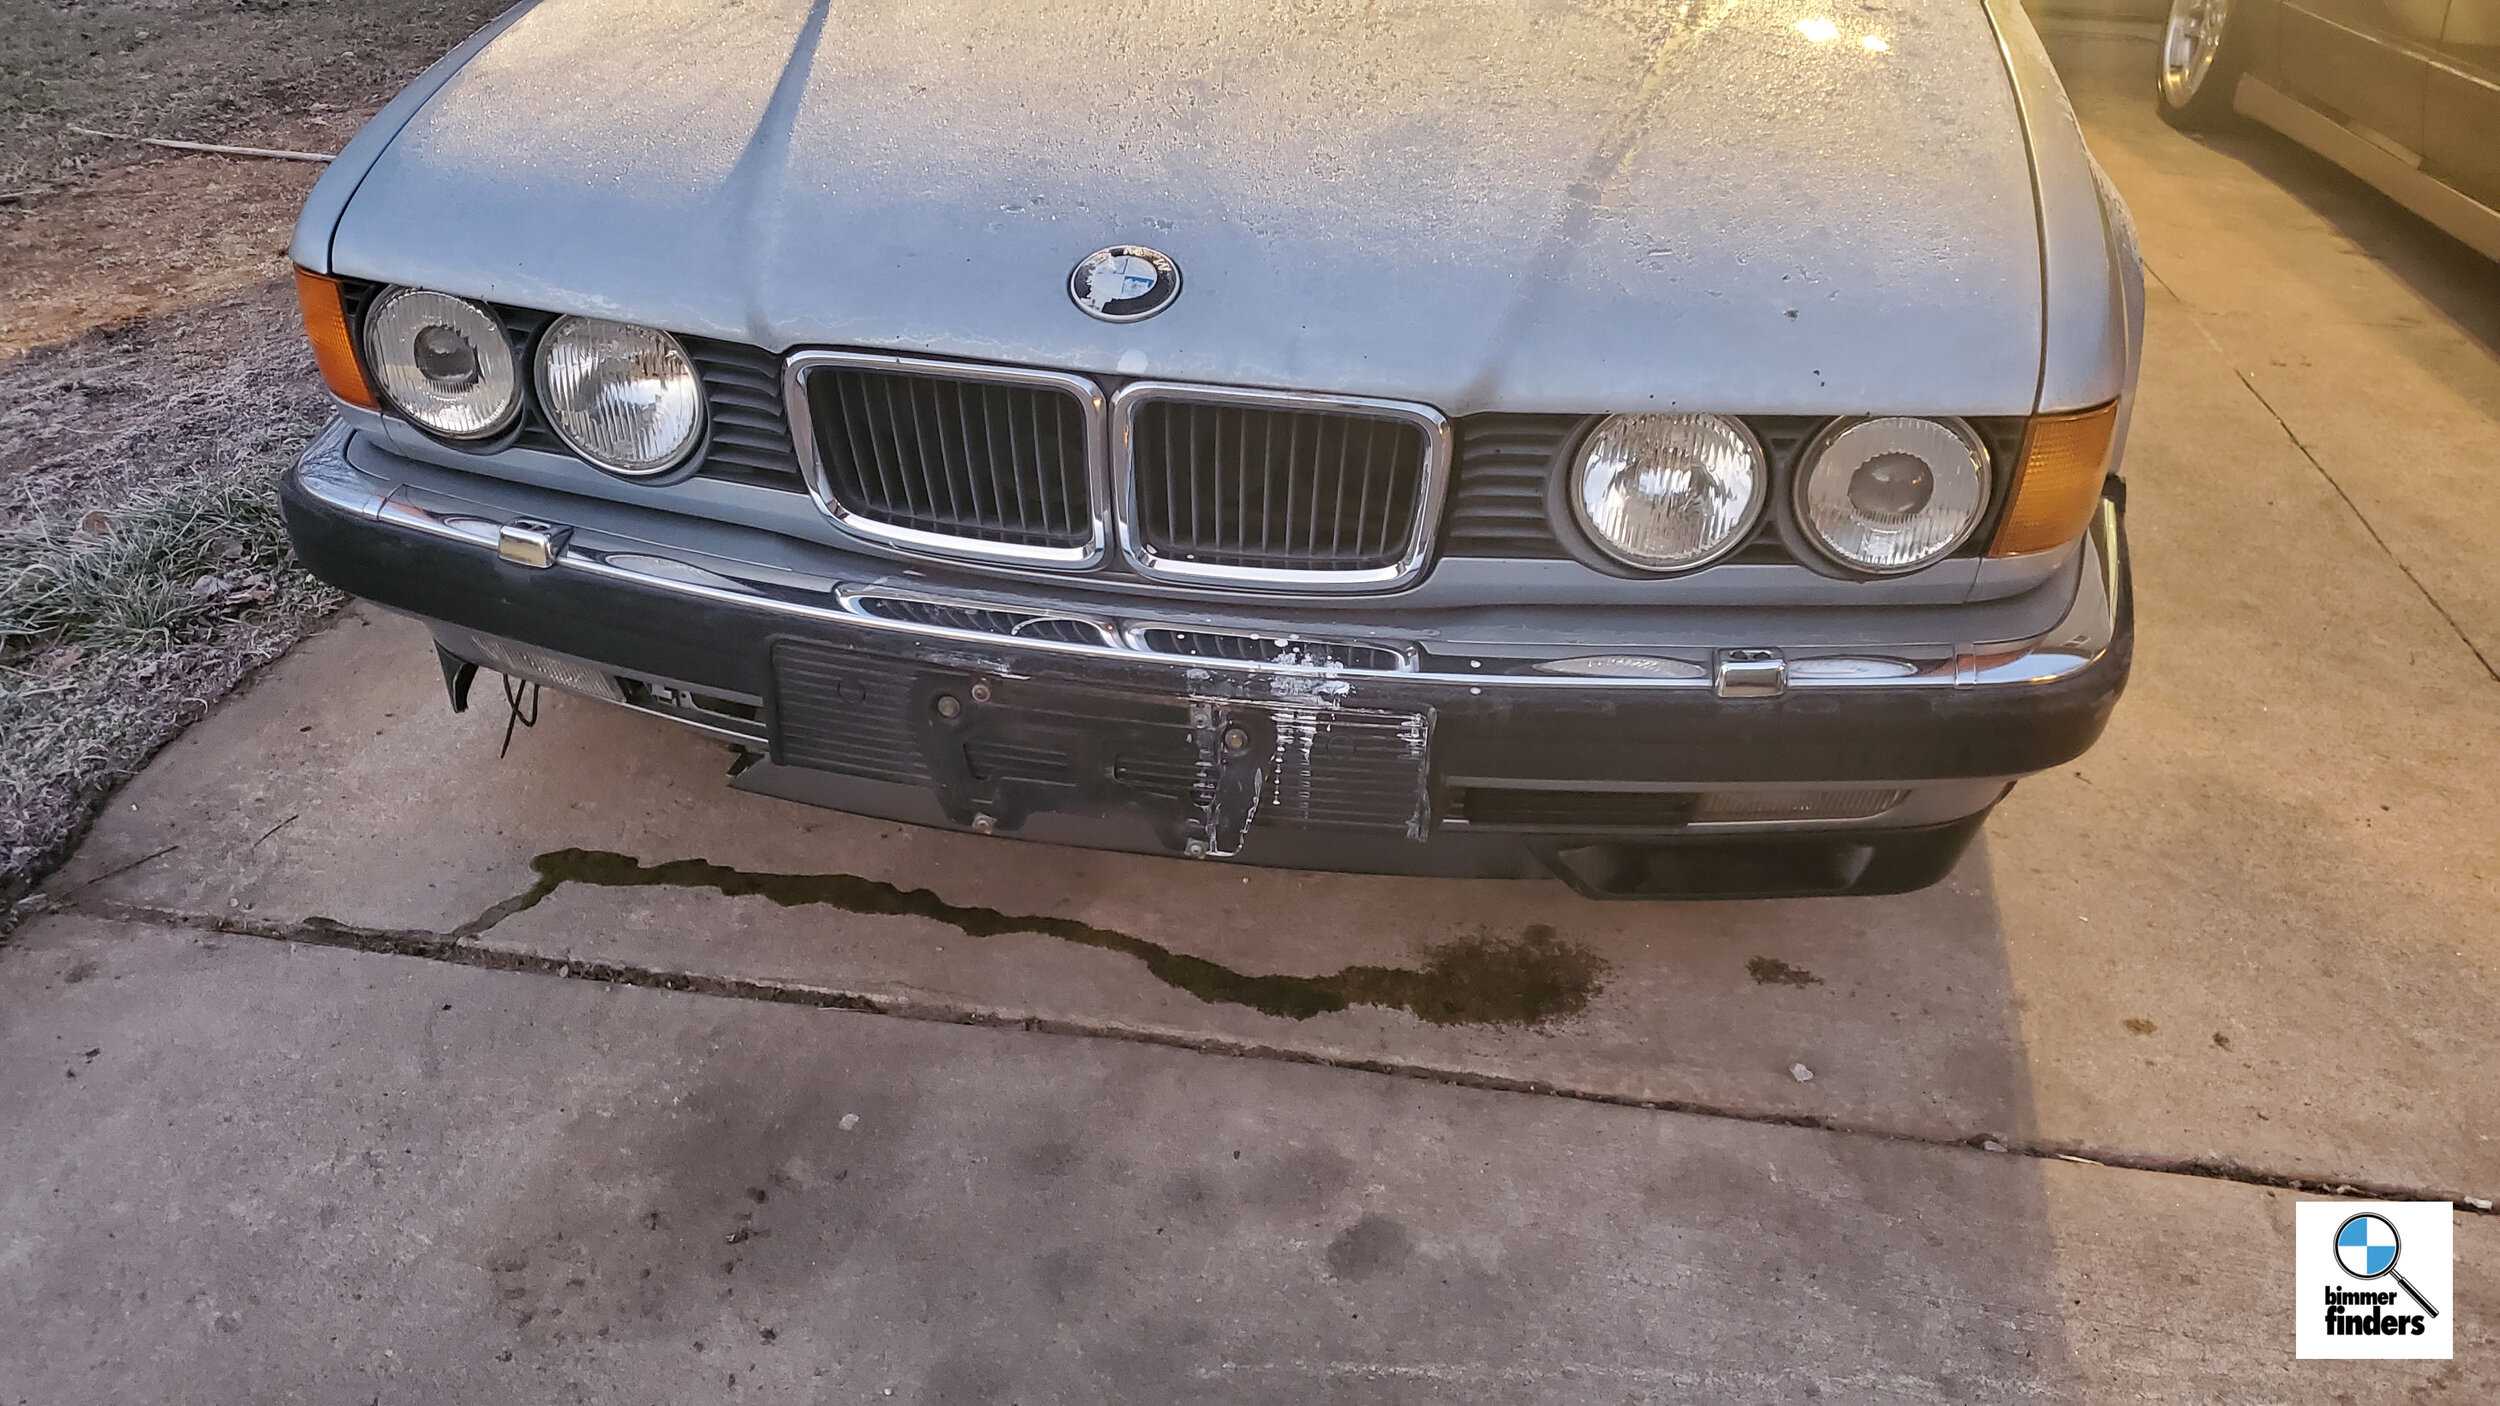
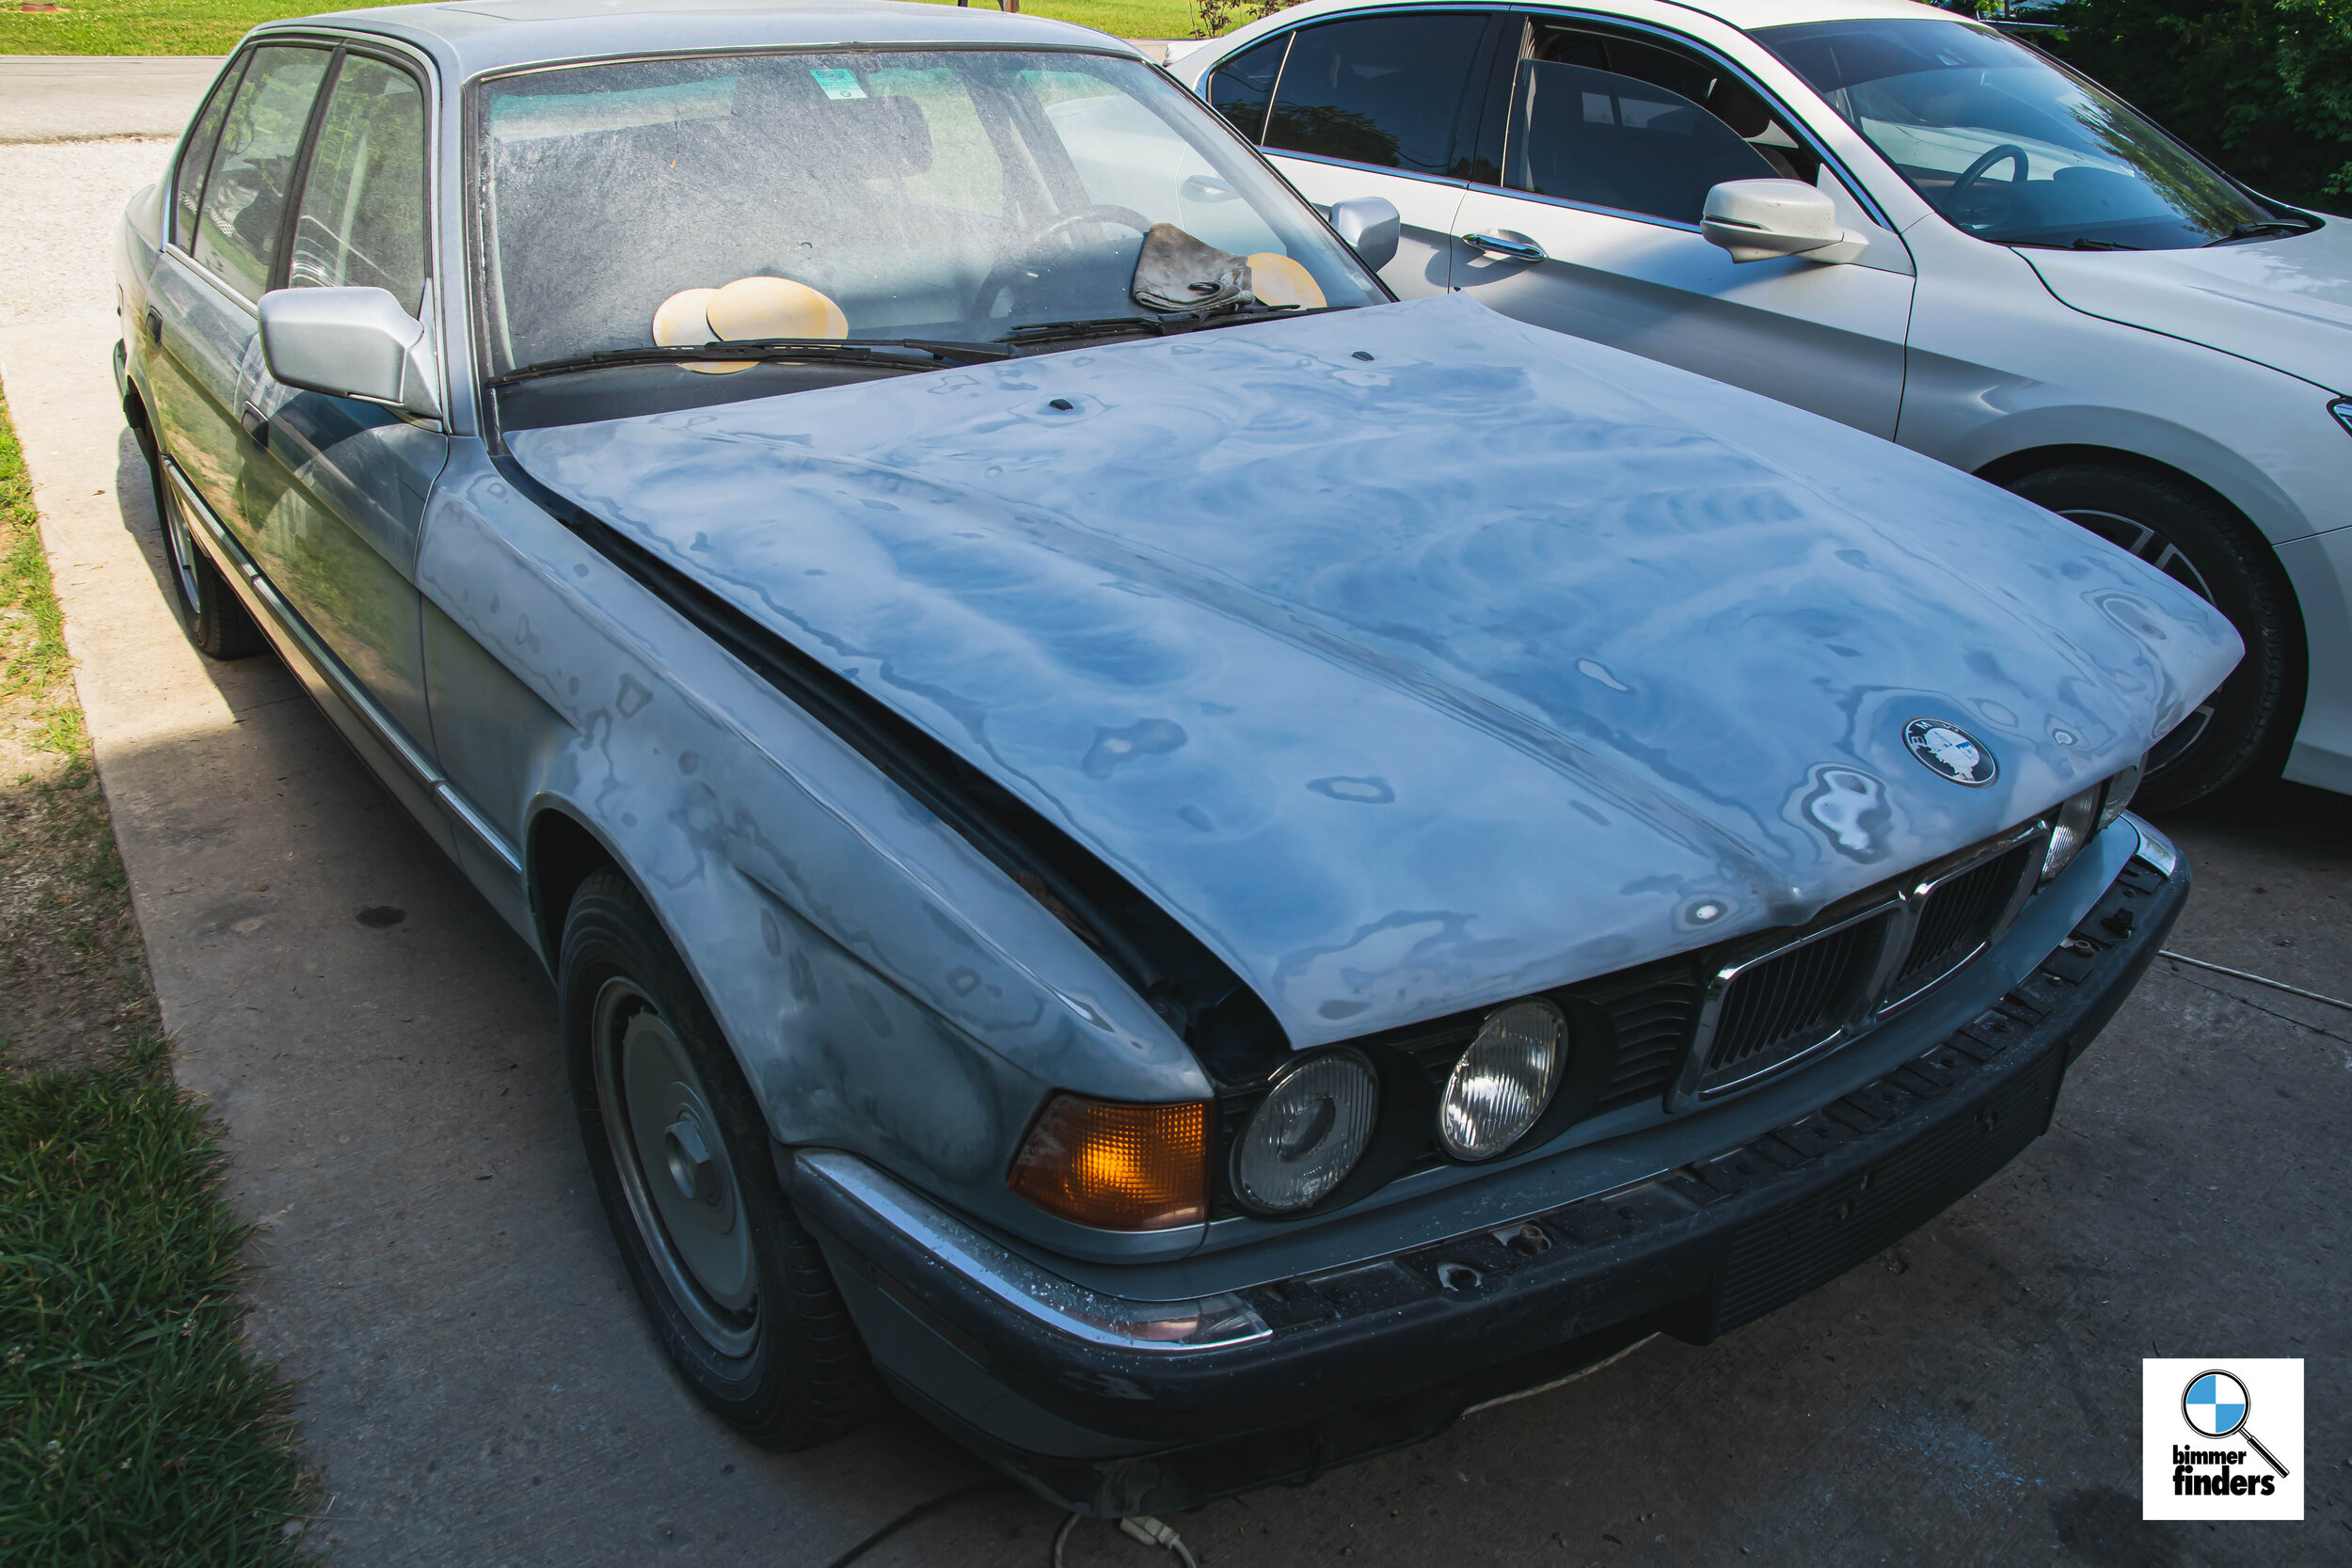
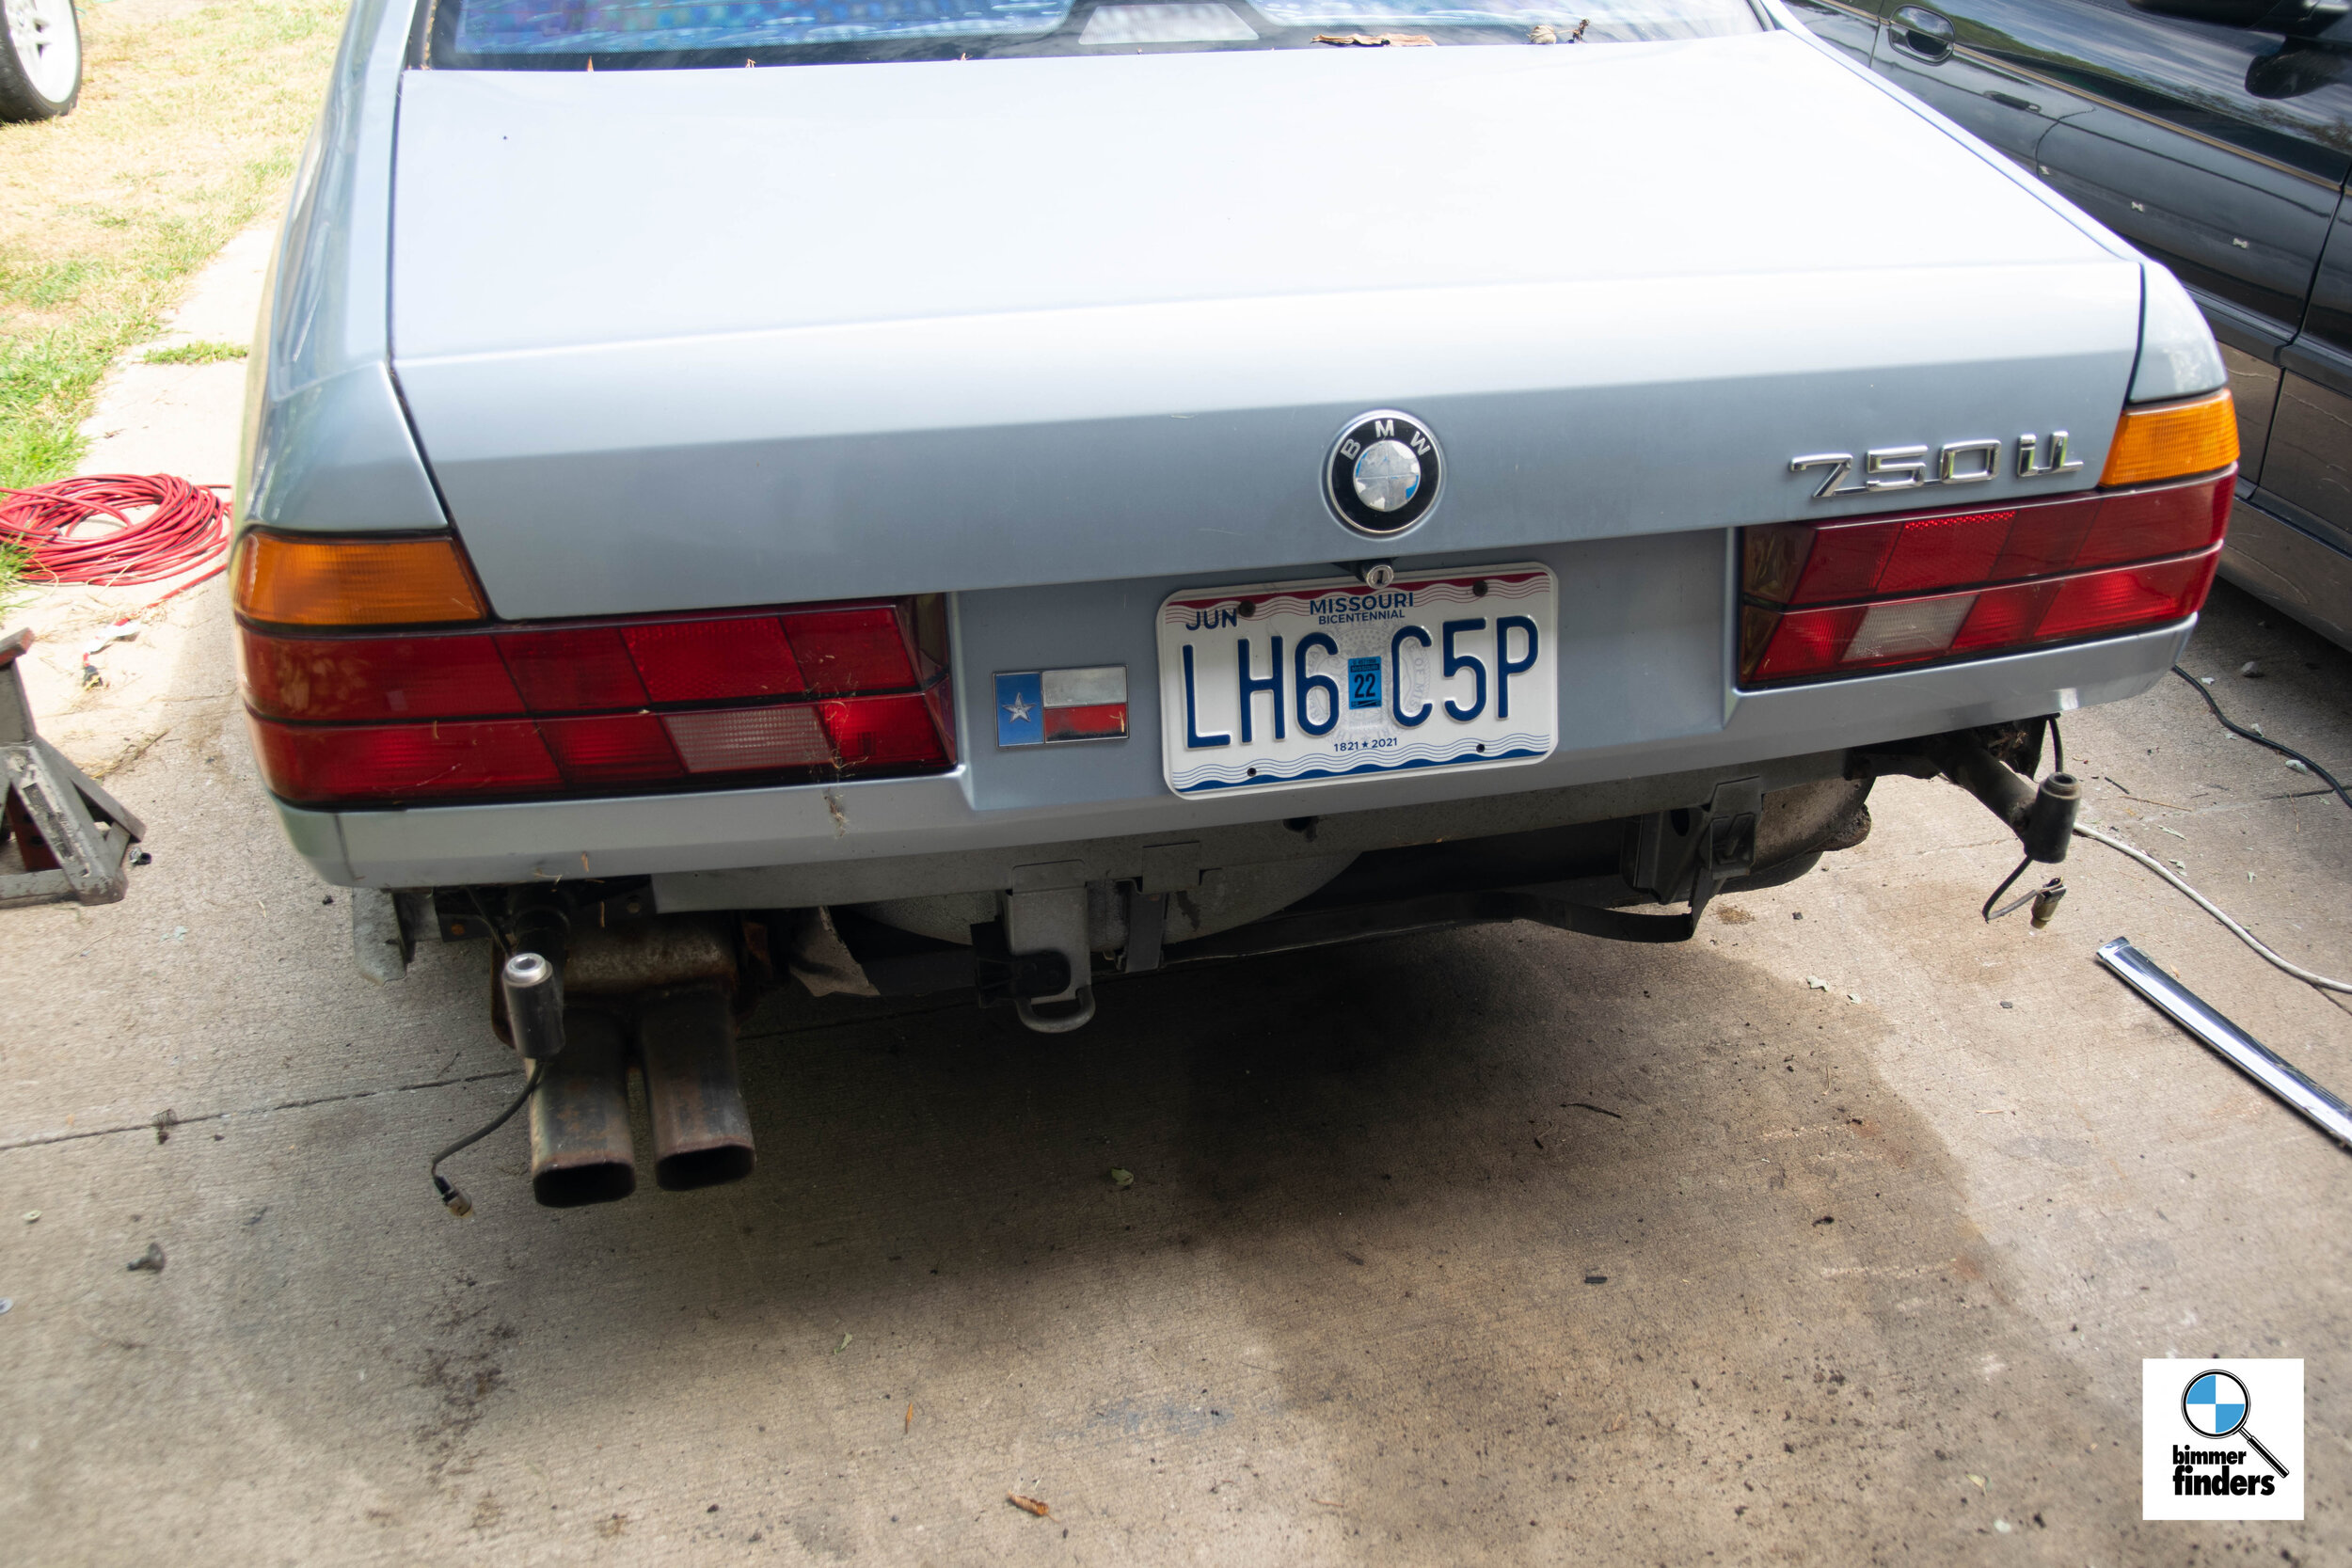
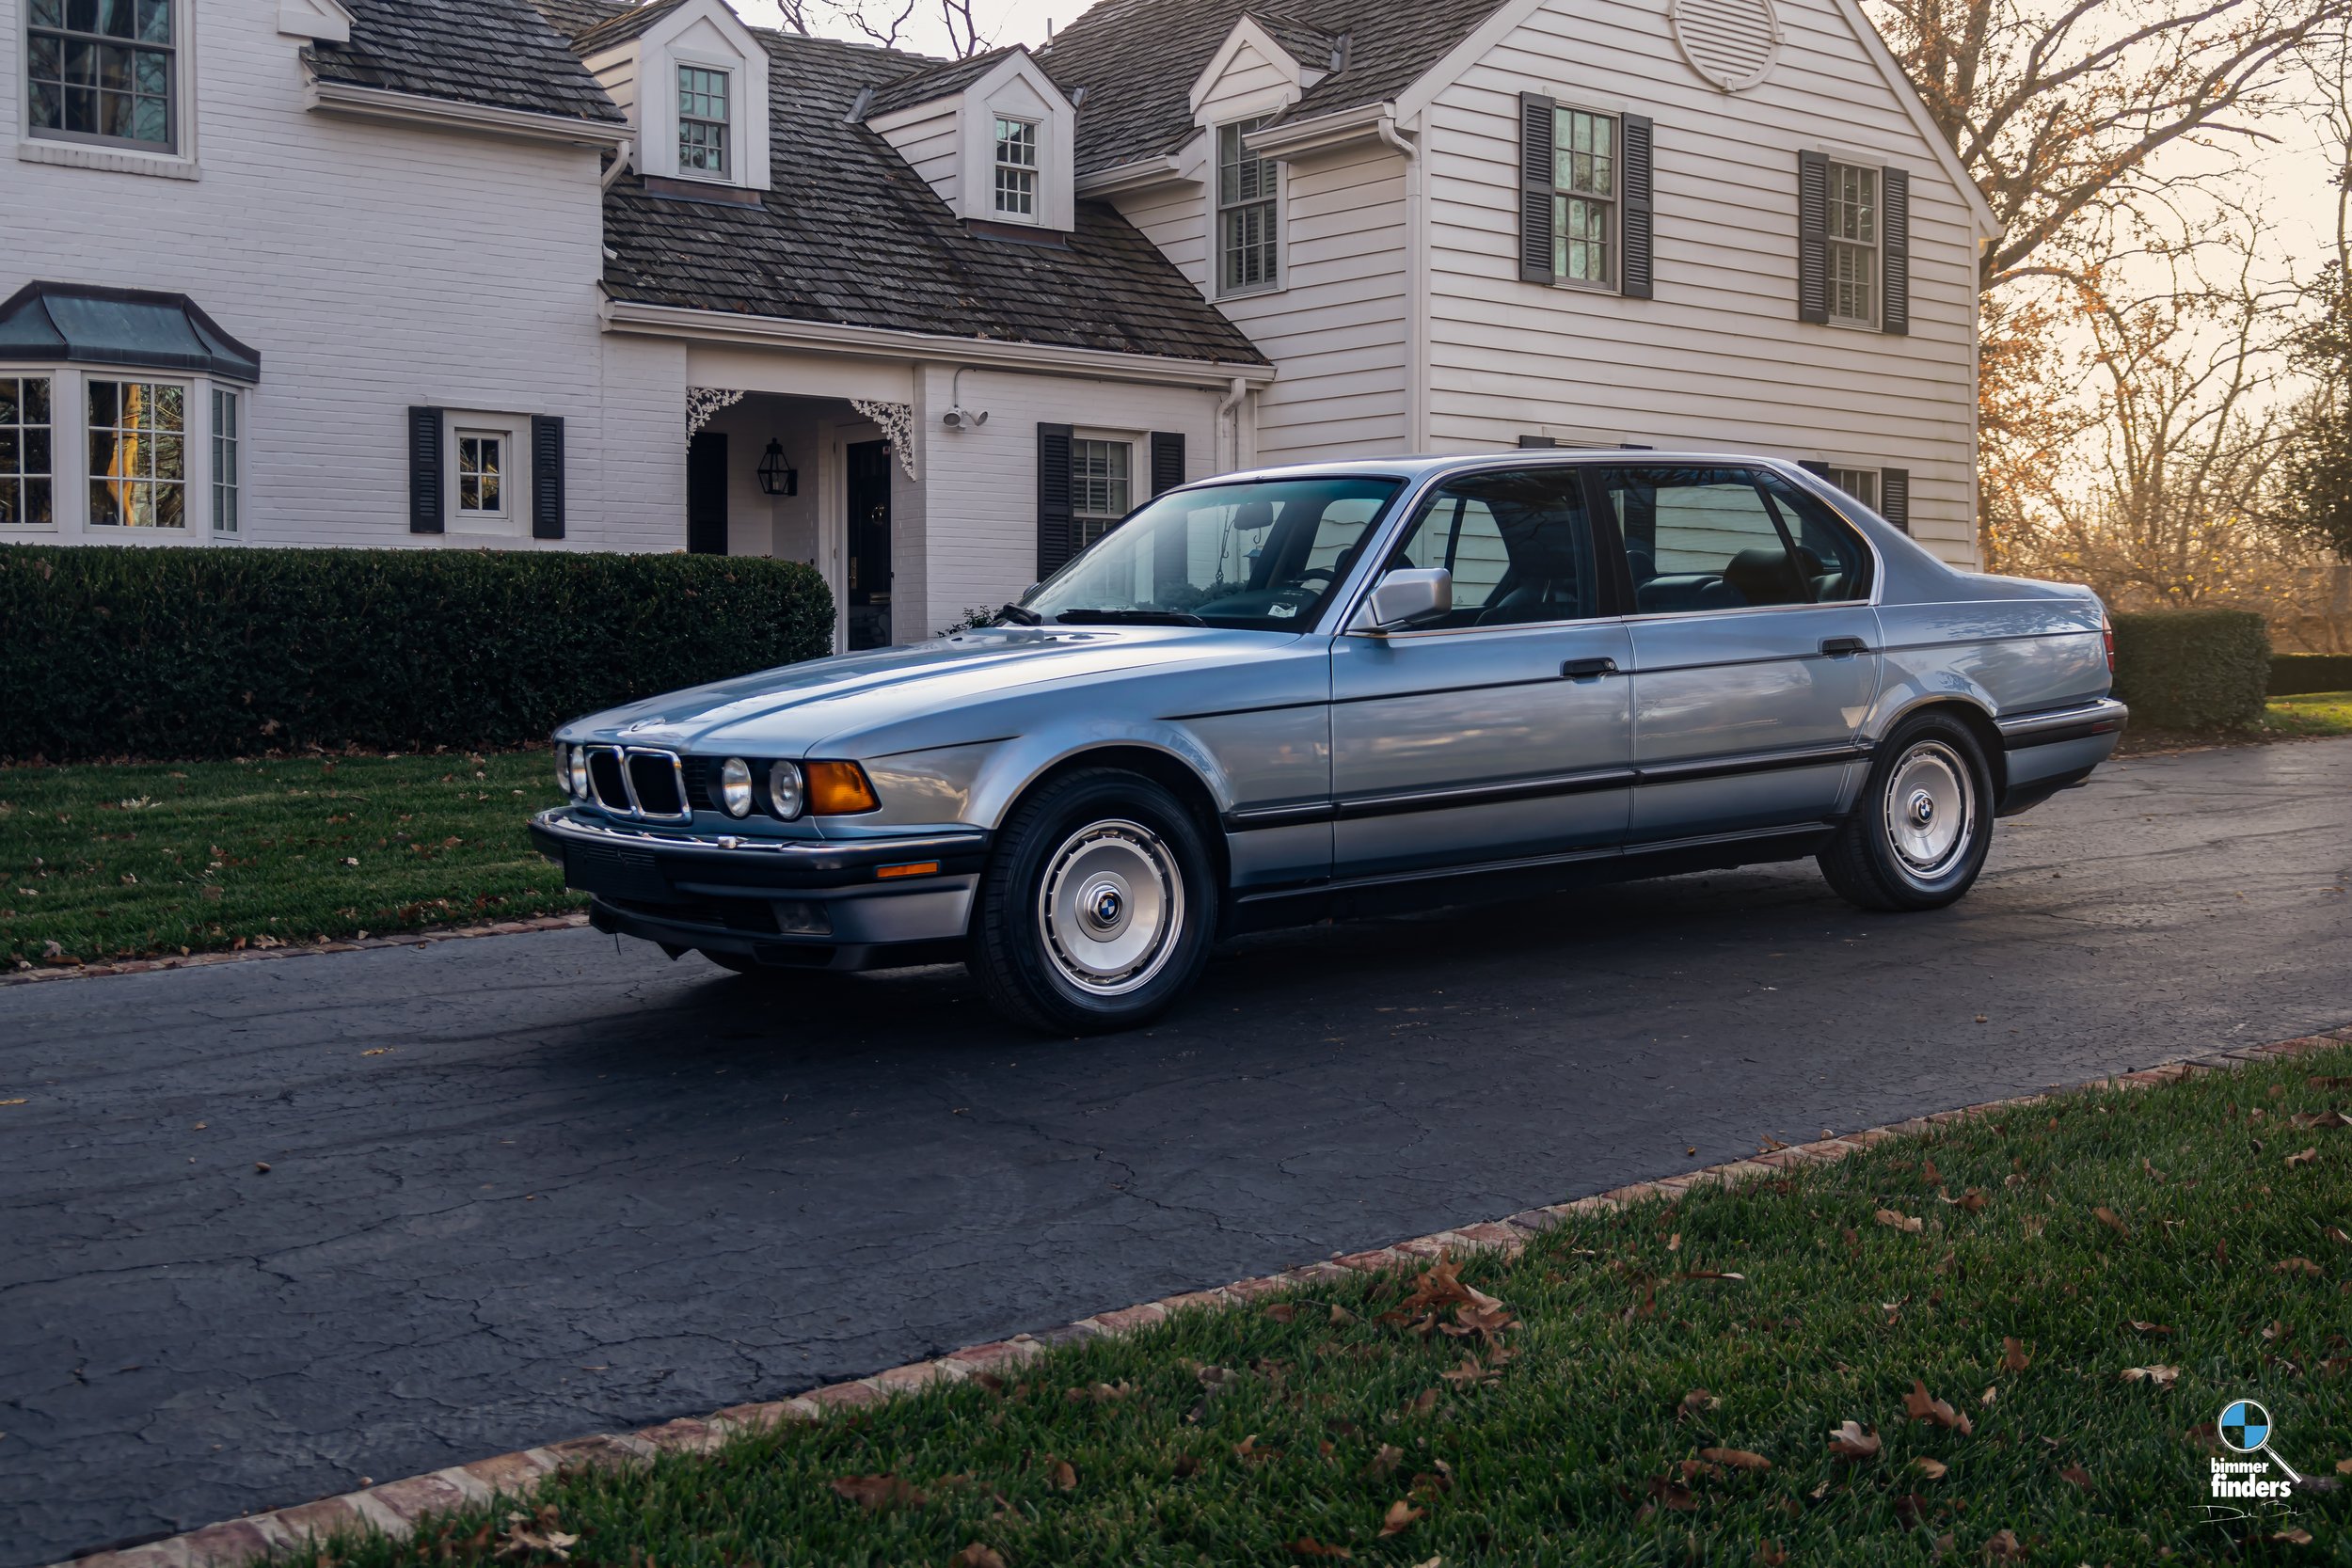
Fresh daylight picture, my first morning of ownership. Notice the fuel puddle beneath it — we’ve got some work ahead of this to return it to its former glory.

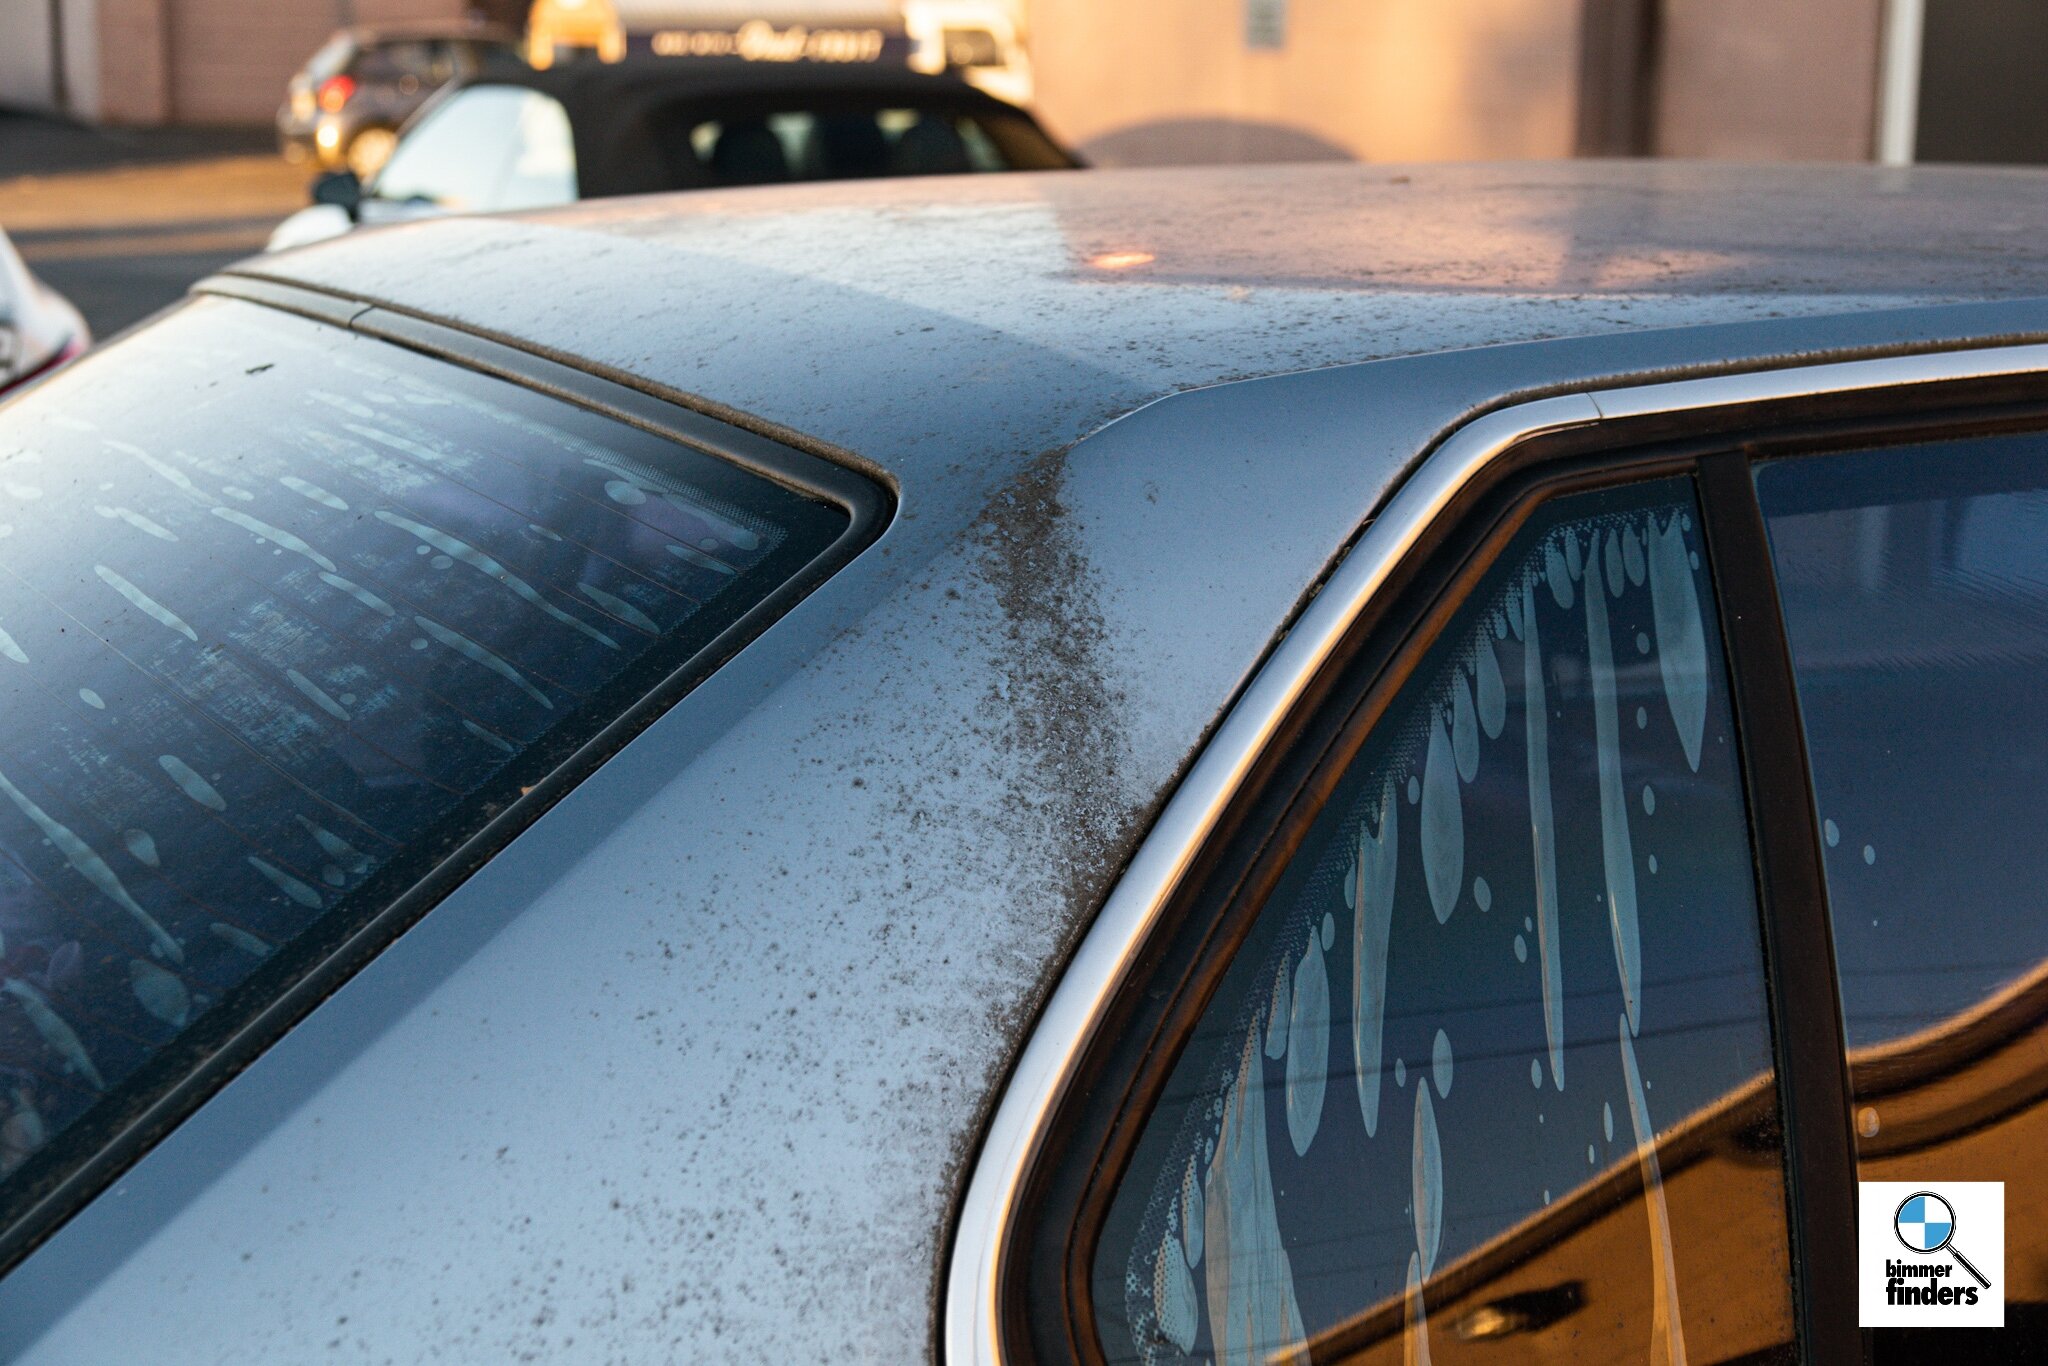
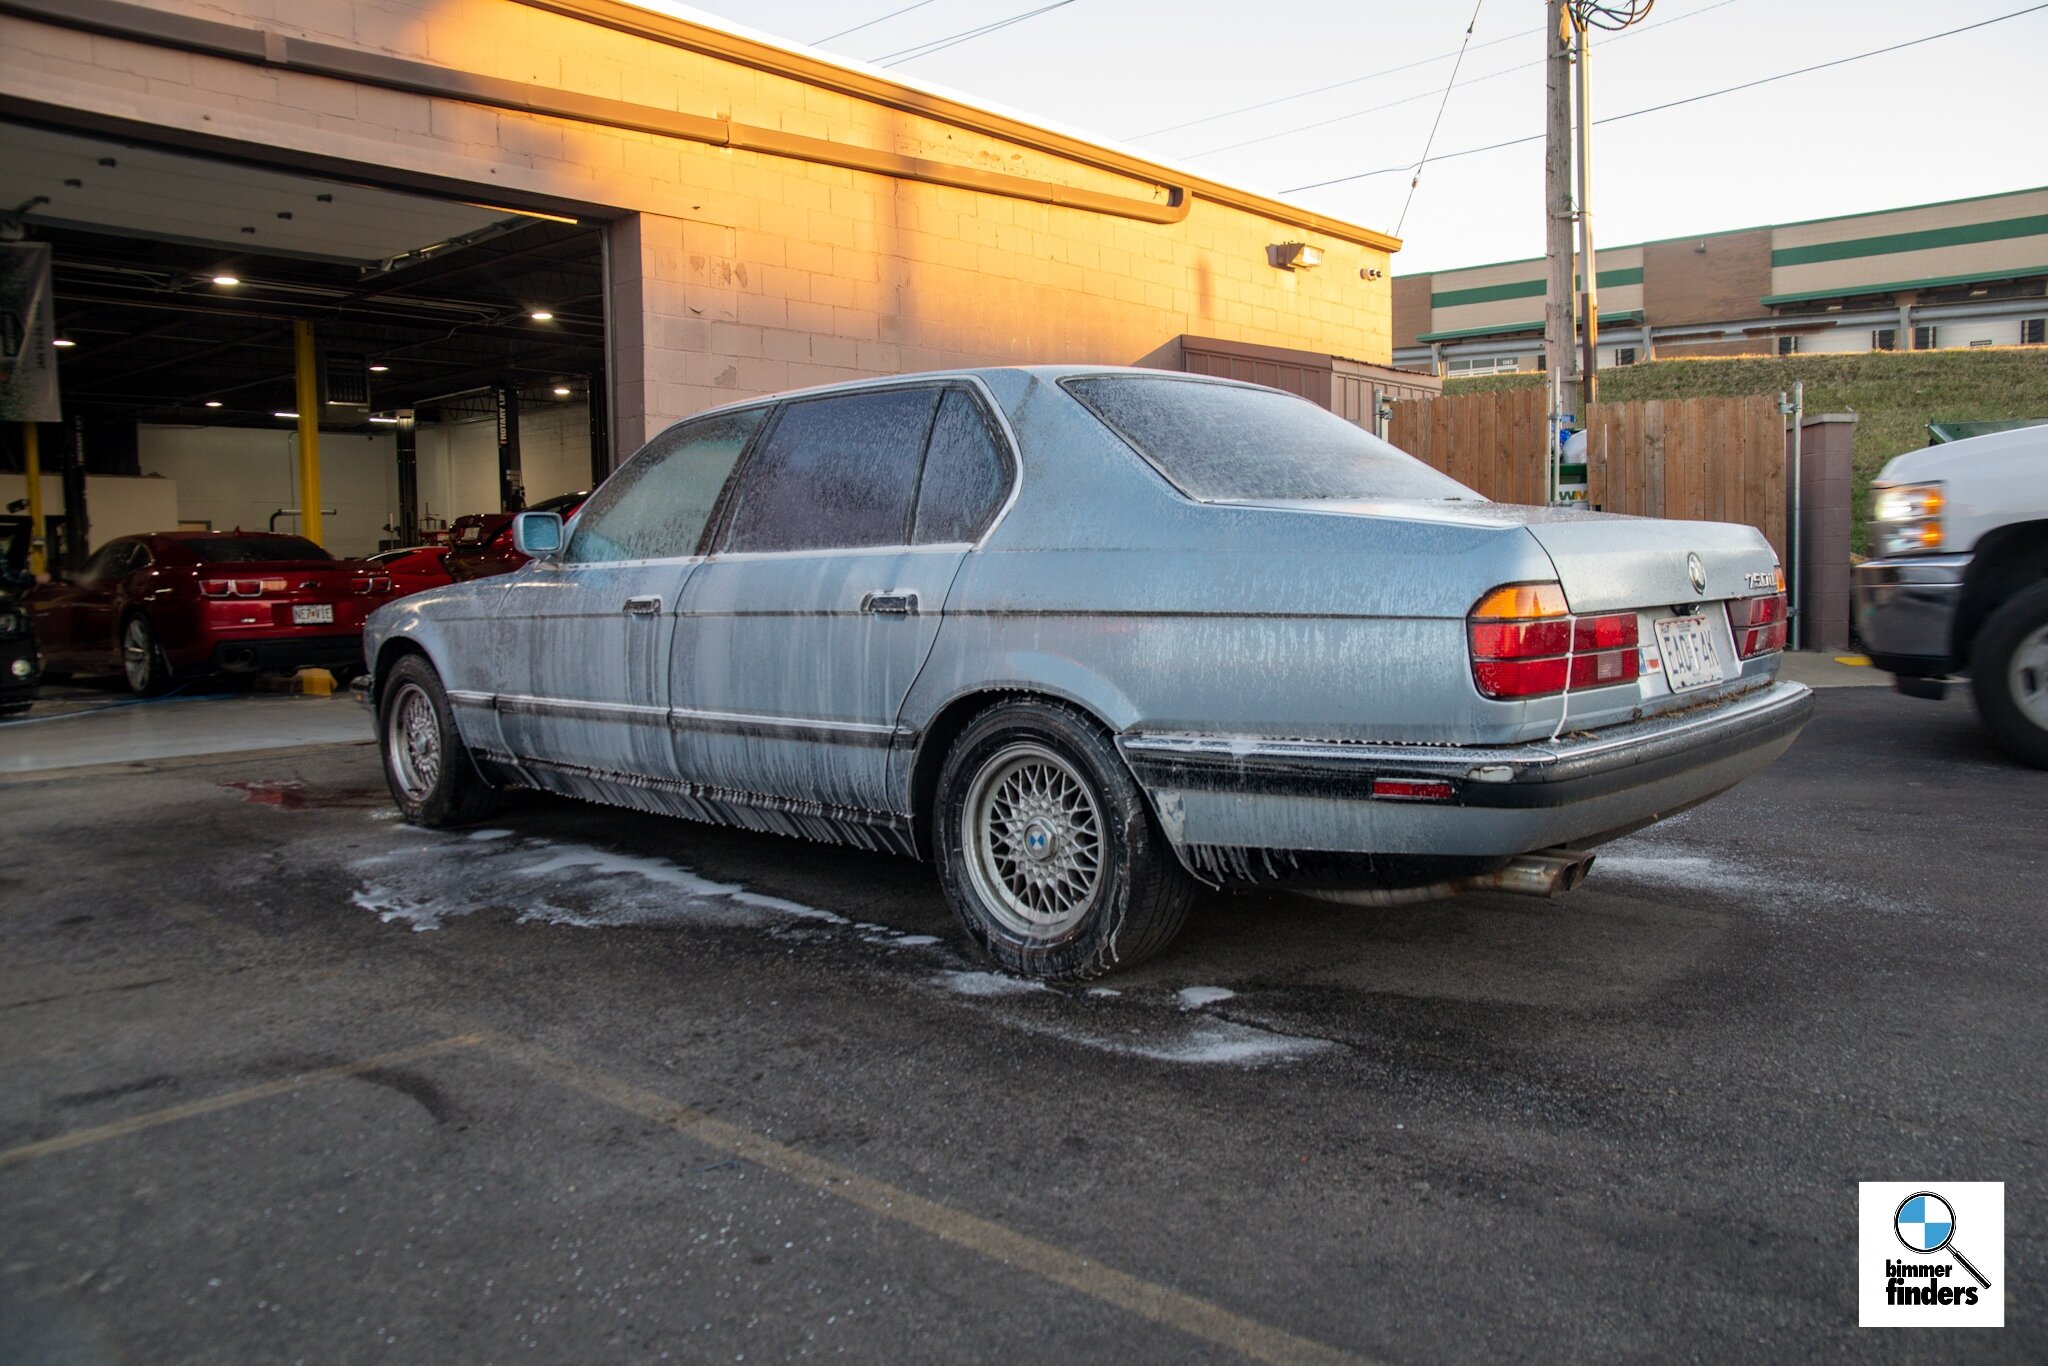
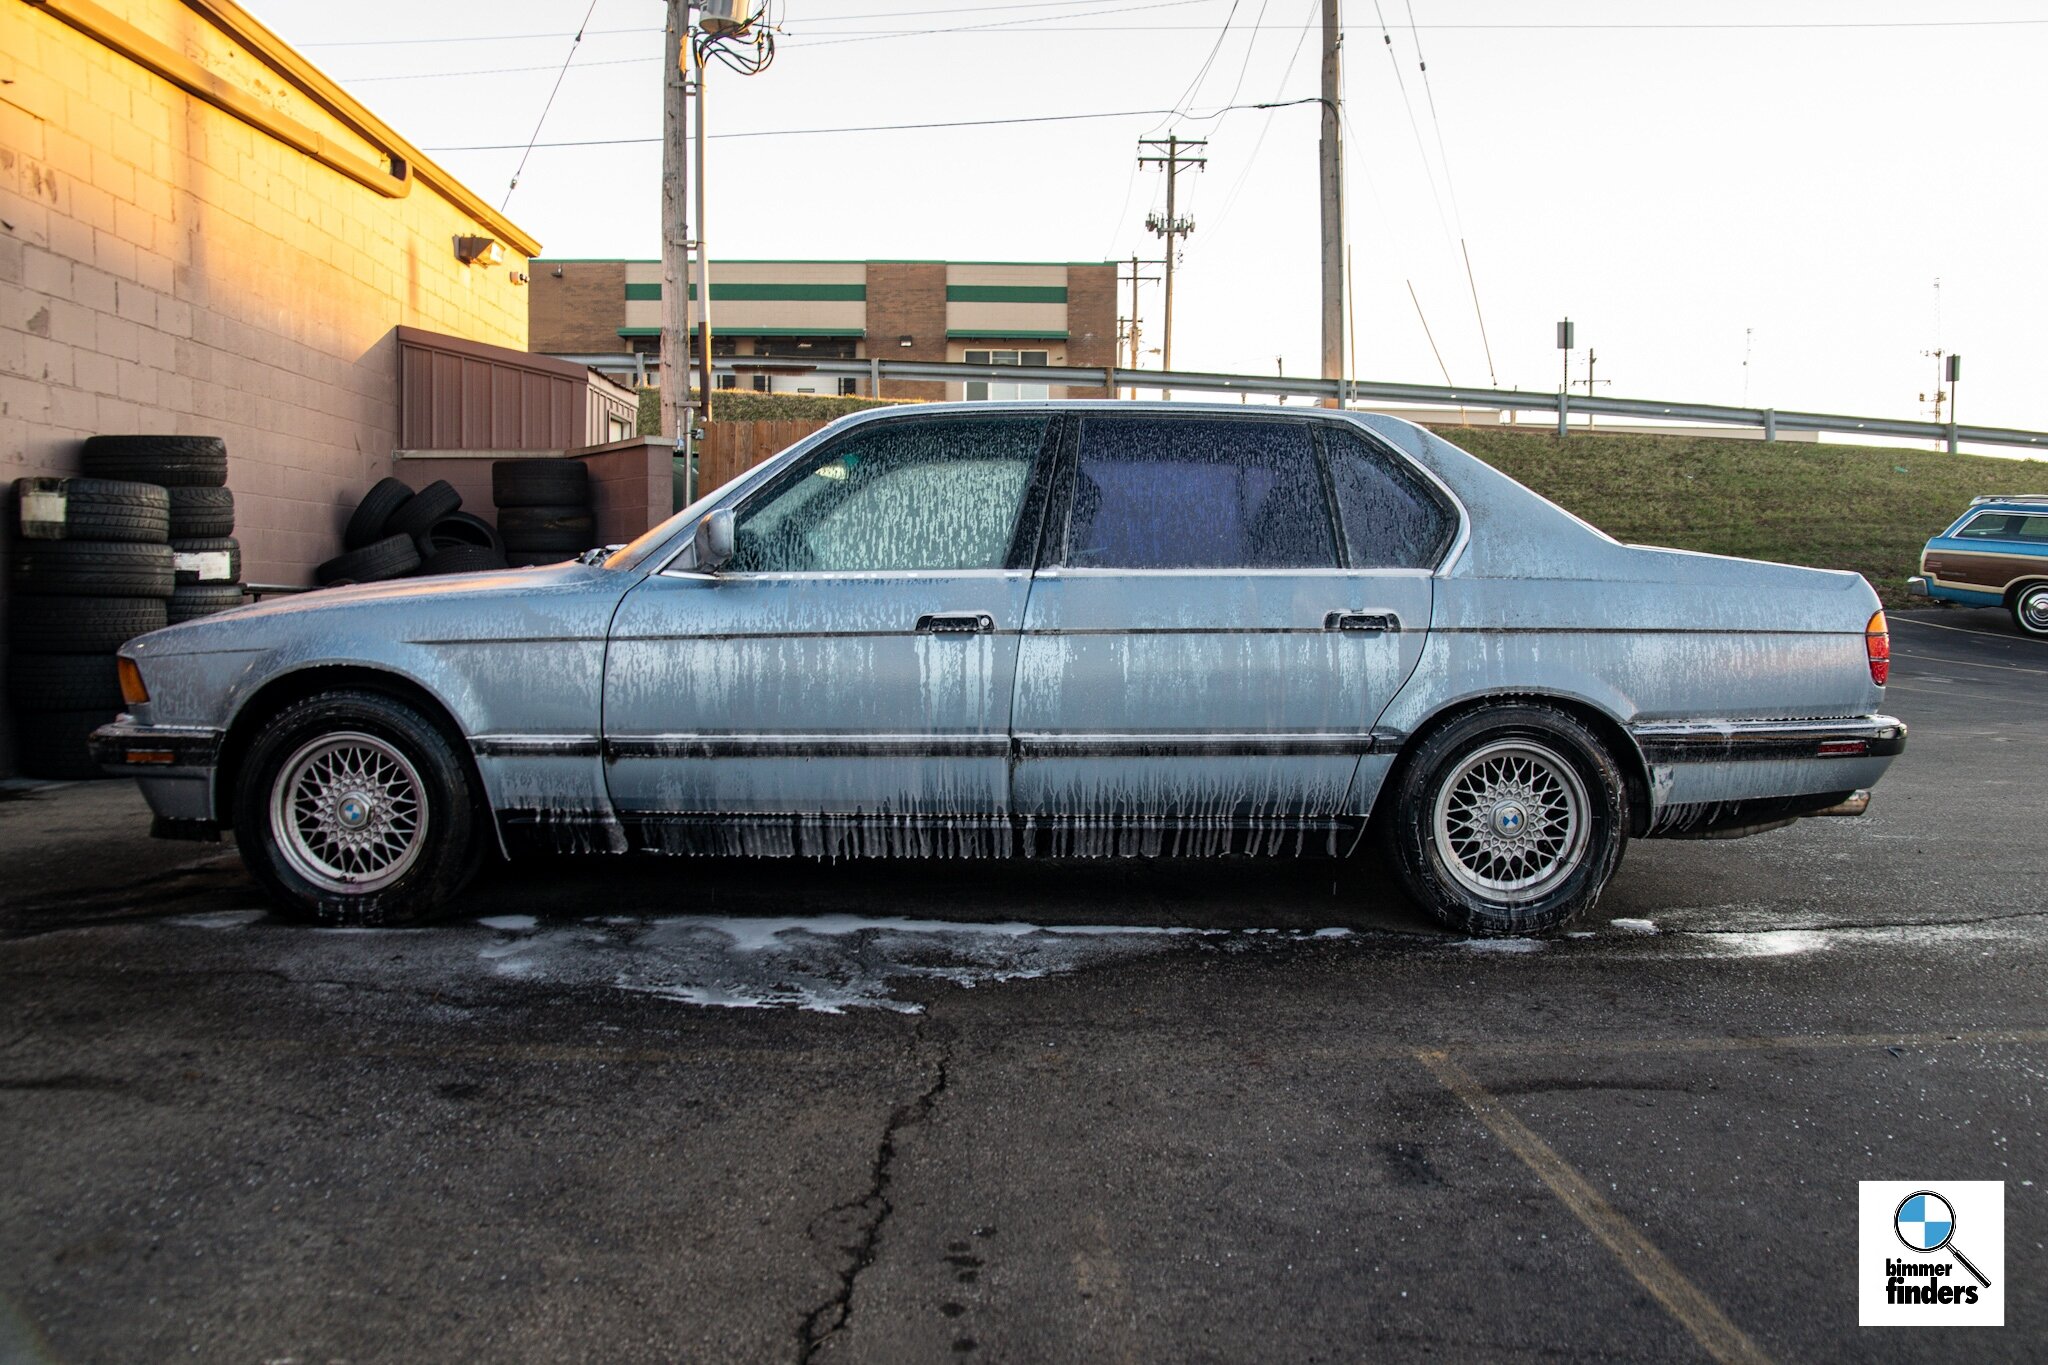
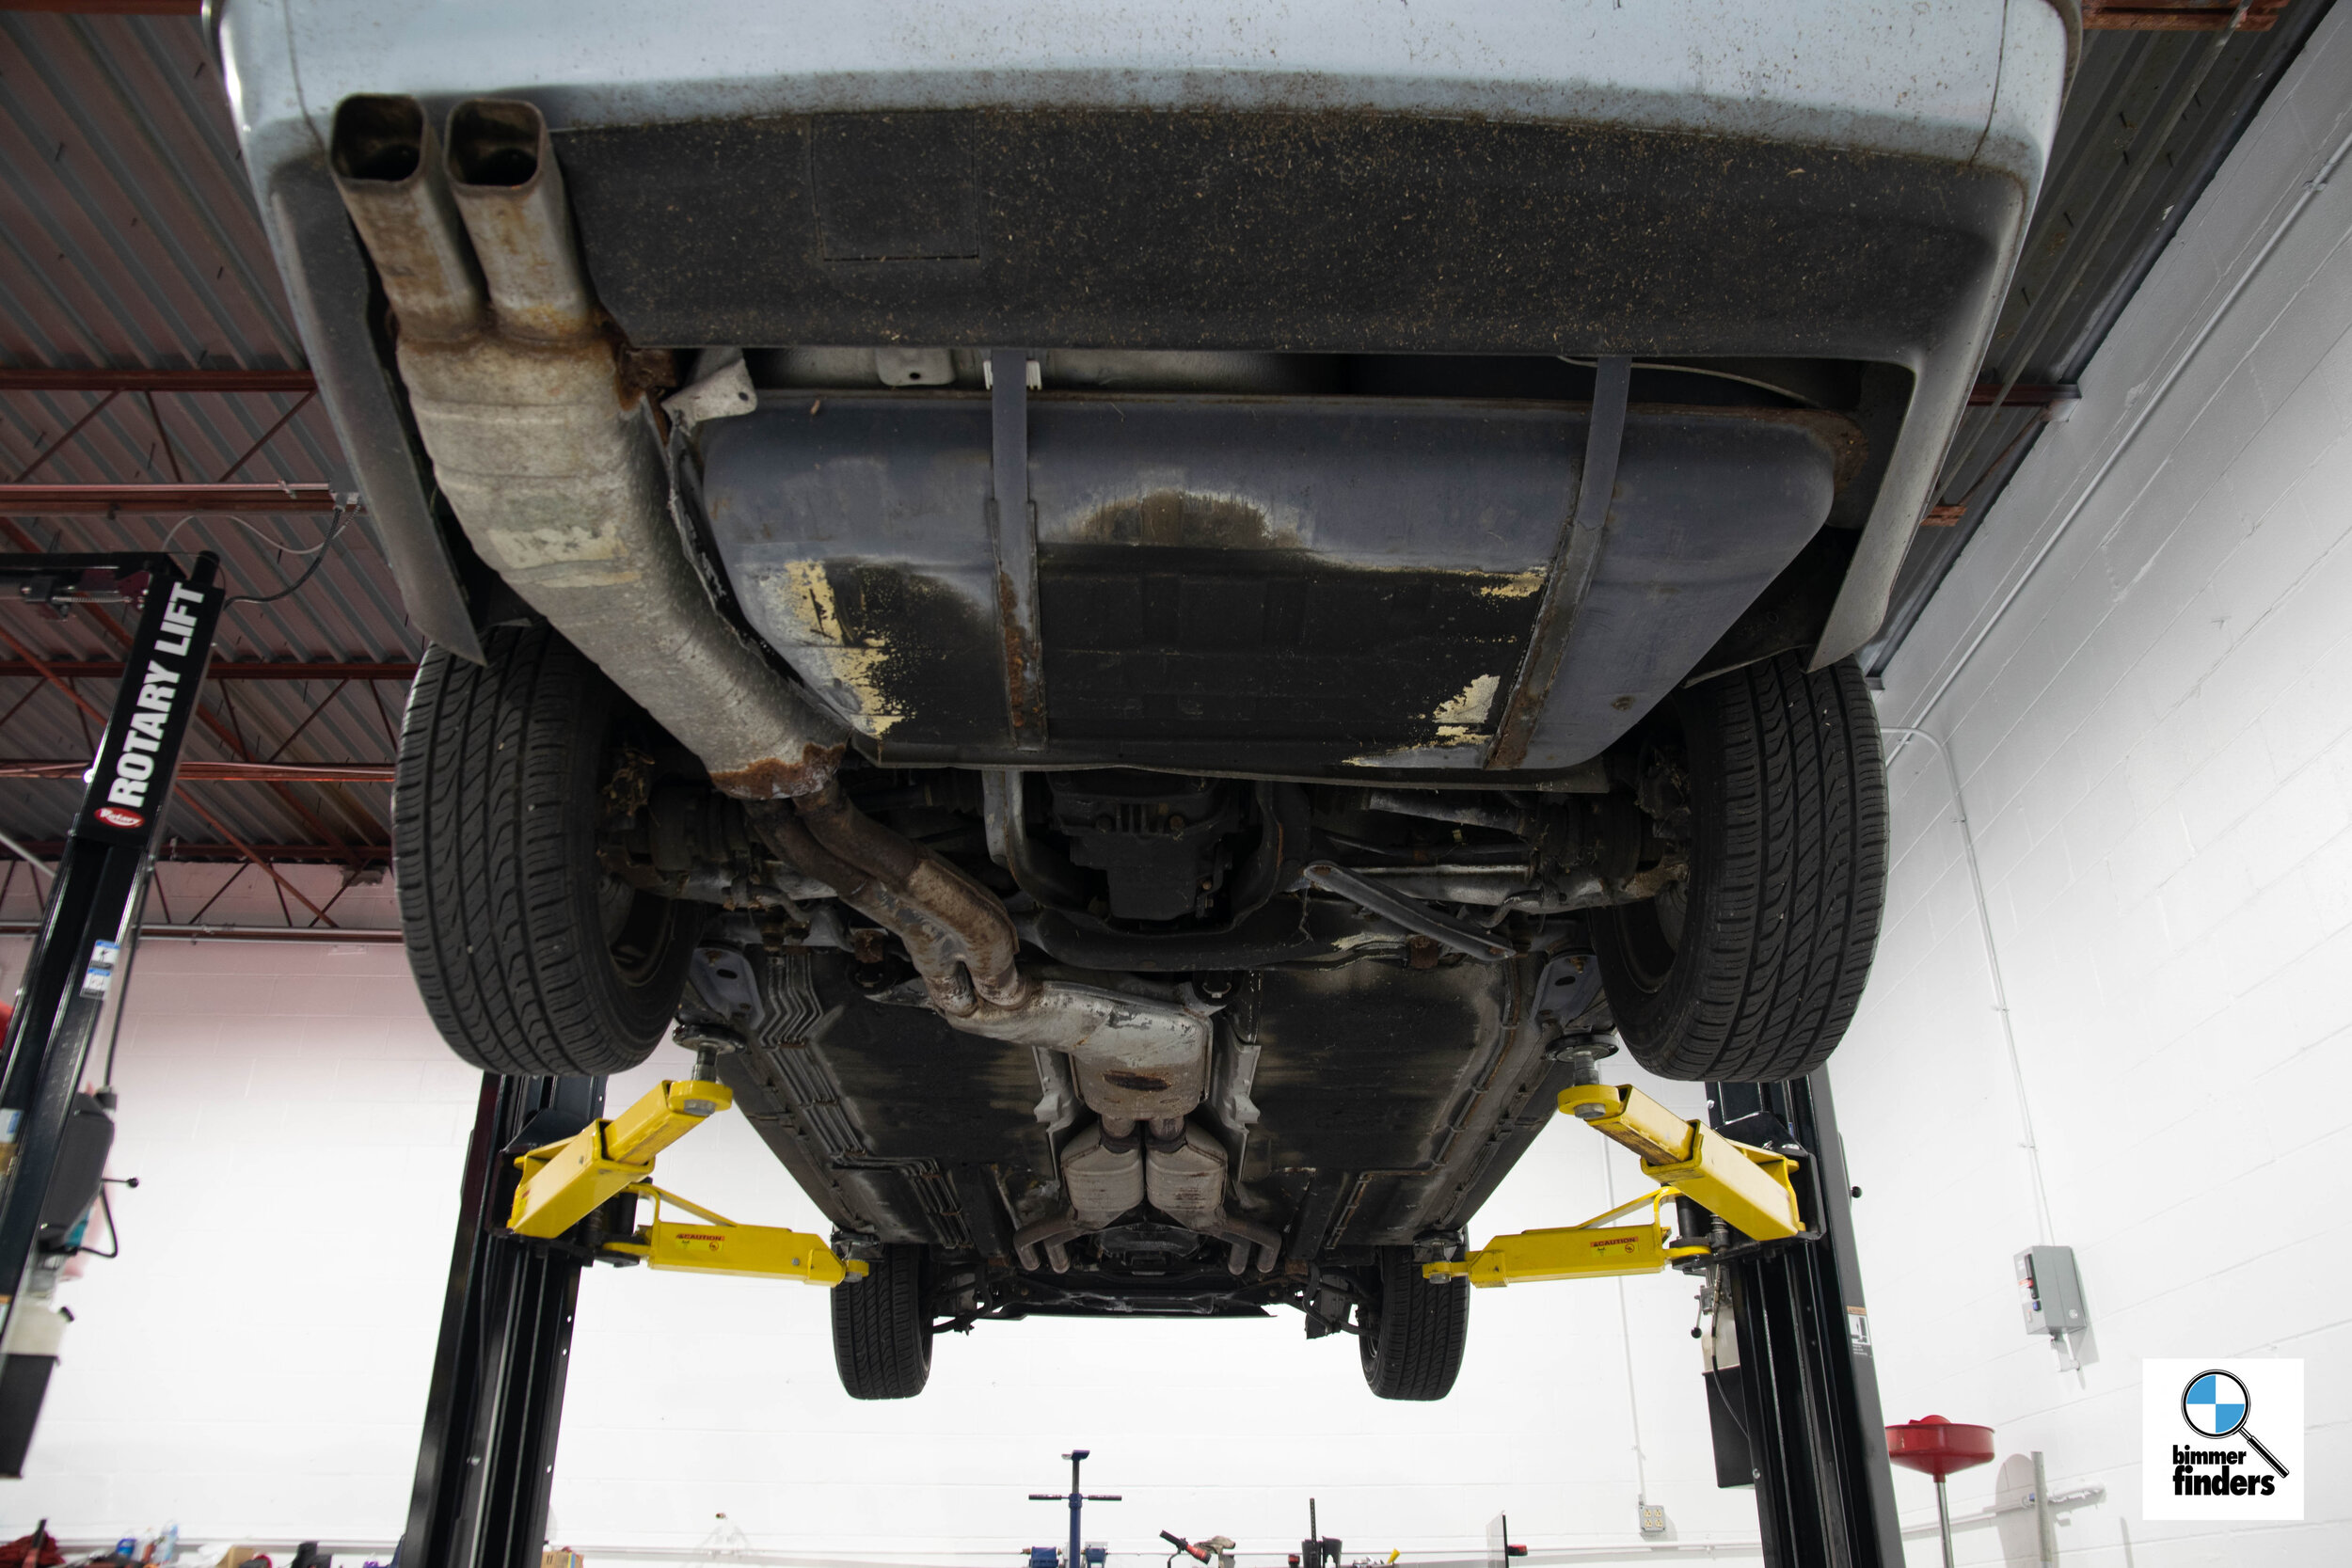
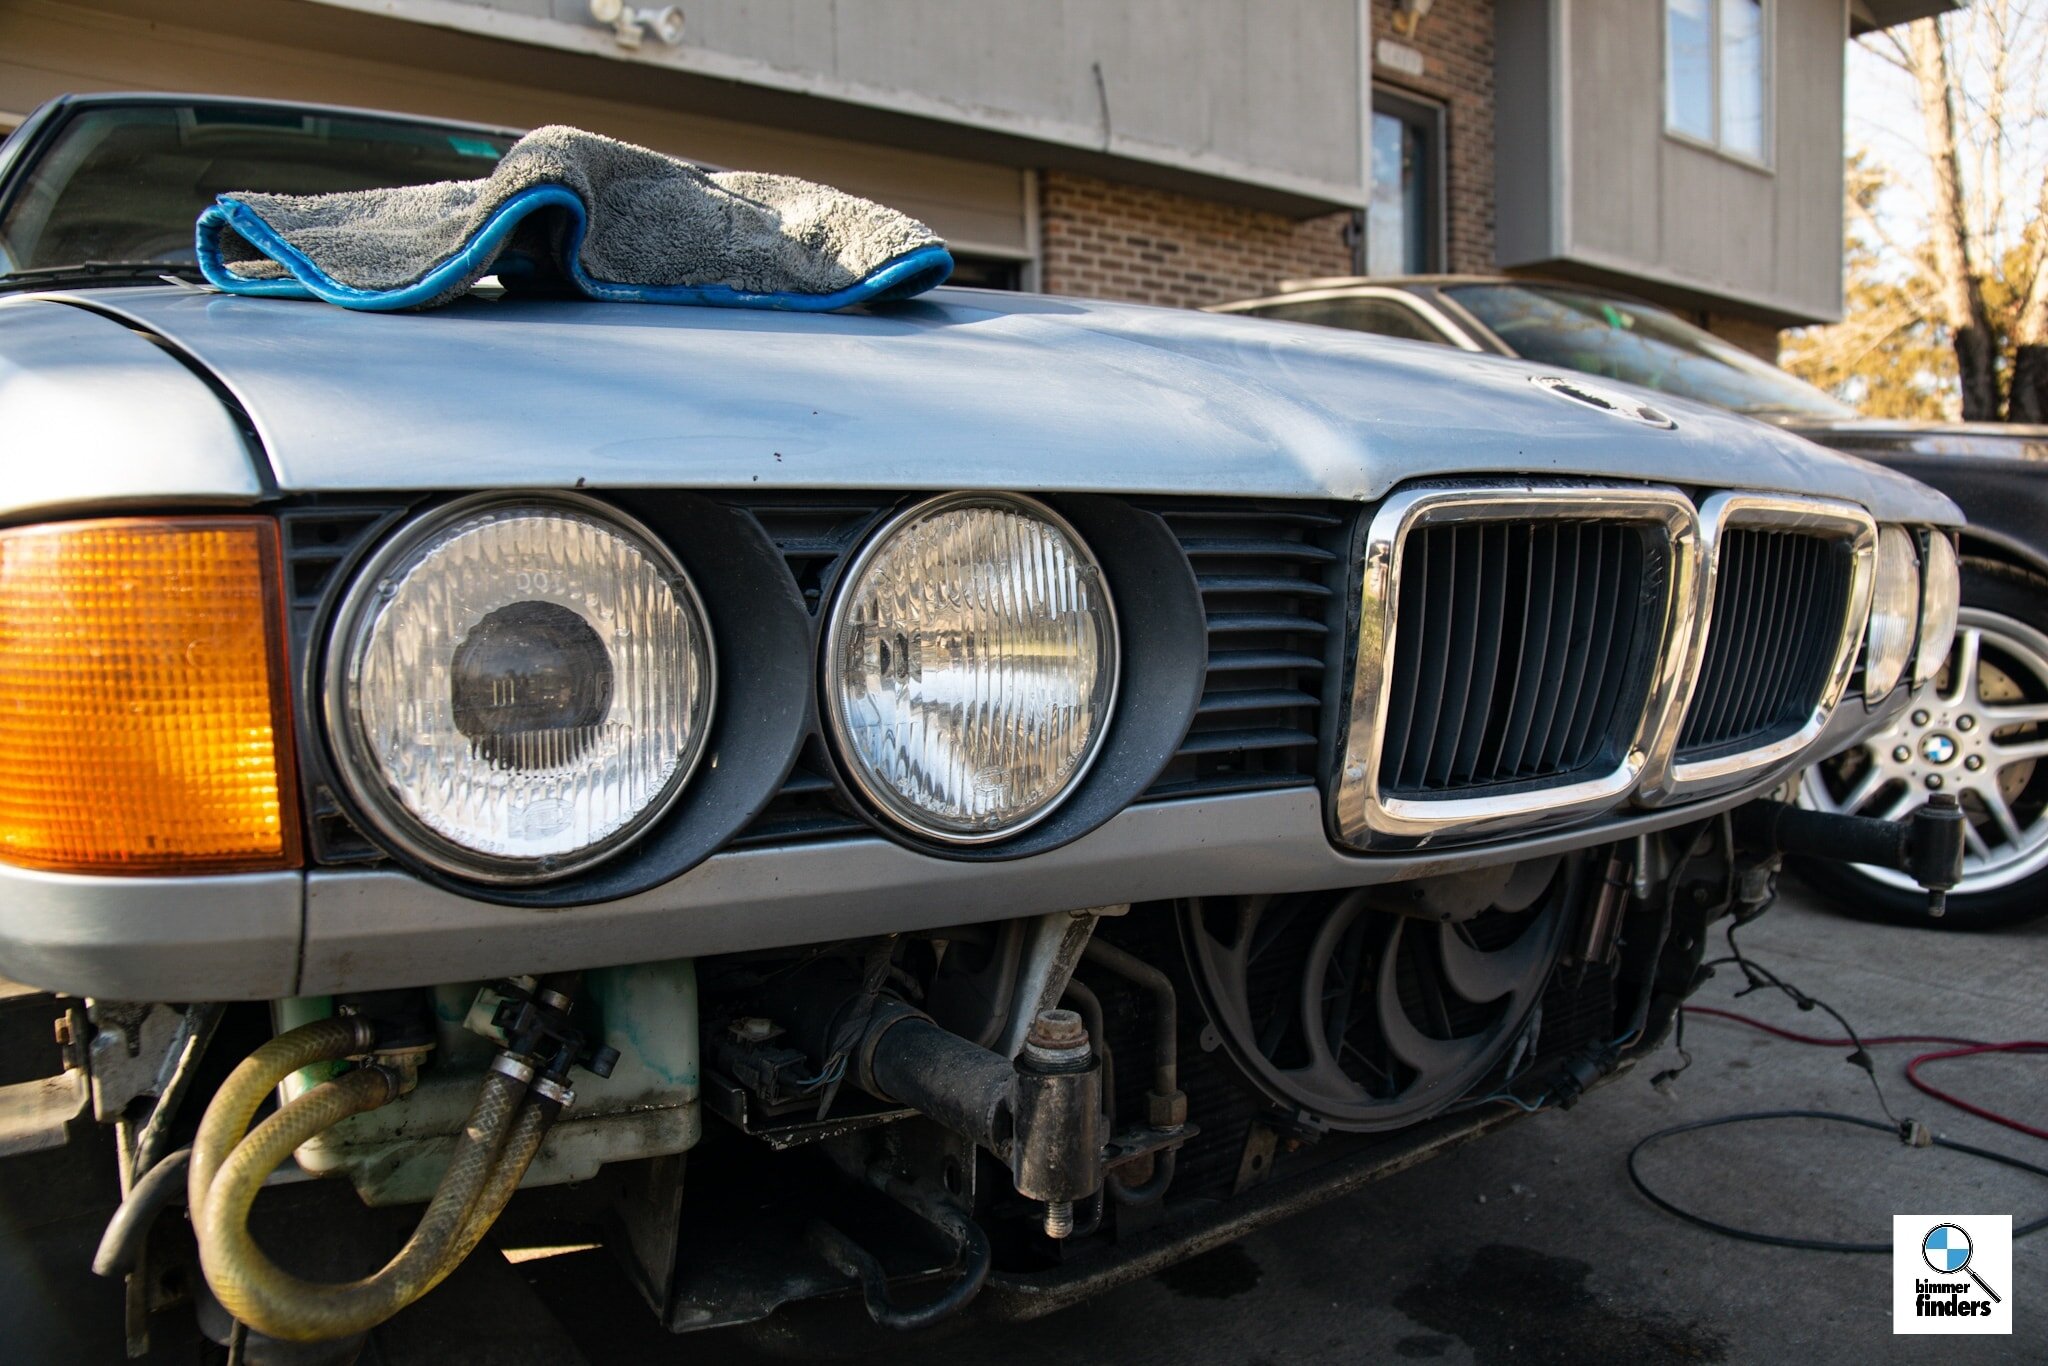
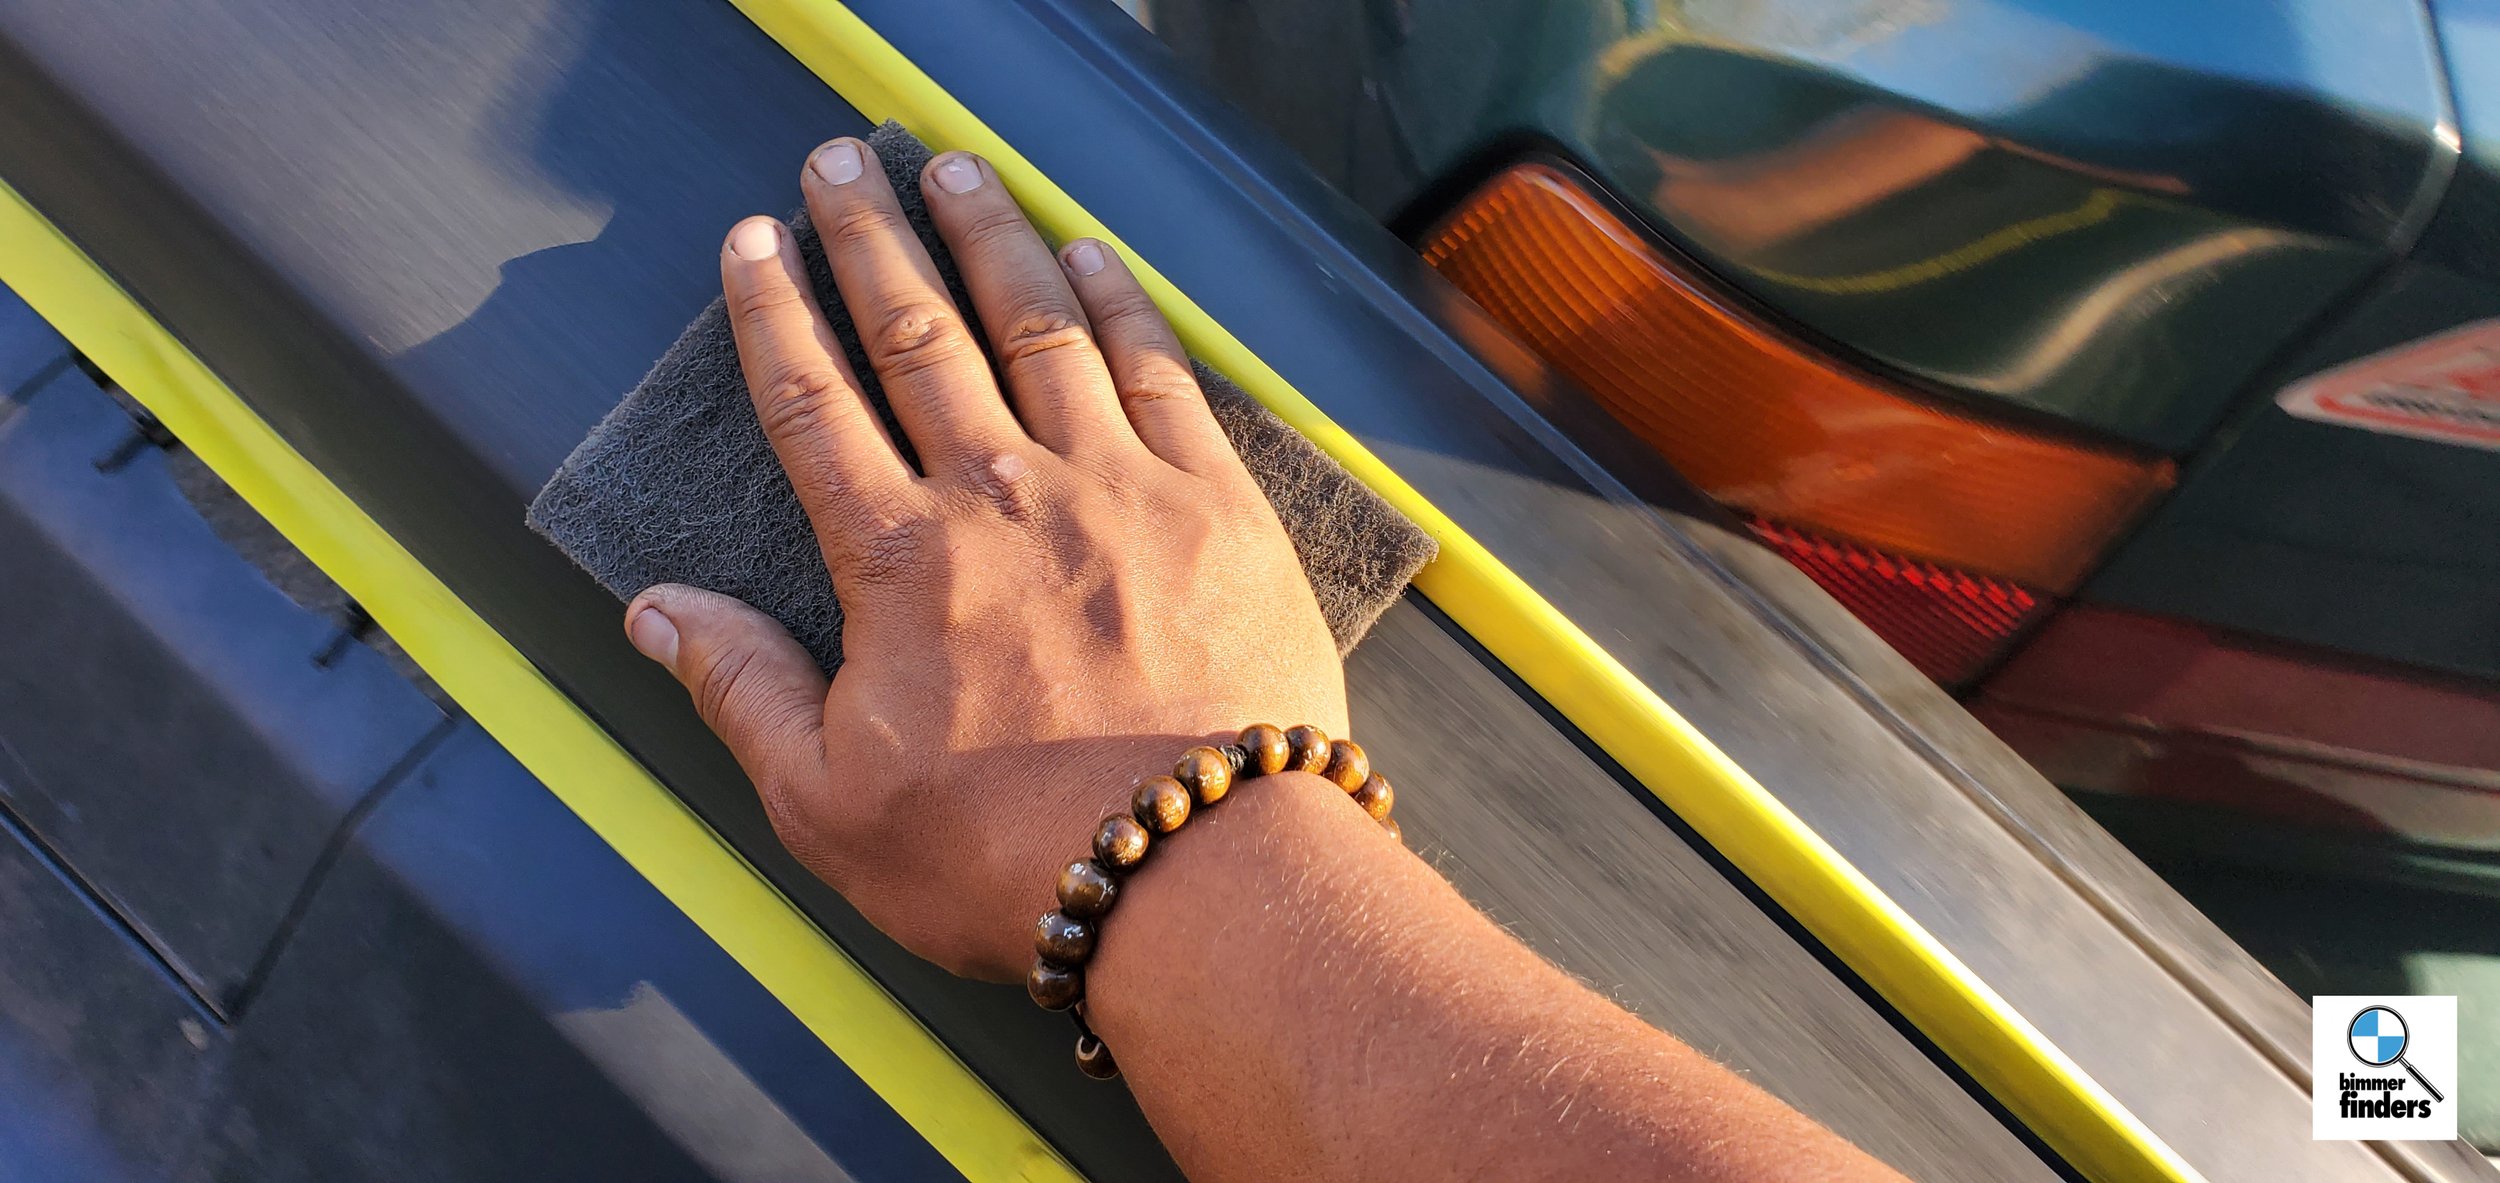
Of course, the first order of business, per the usual, was to do a preliminary wash on it and see what we were dealing with underneath all of the stuck on grime that had accumulated from sitting.

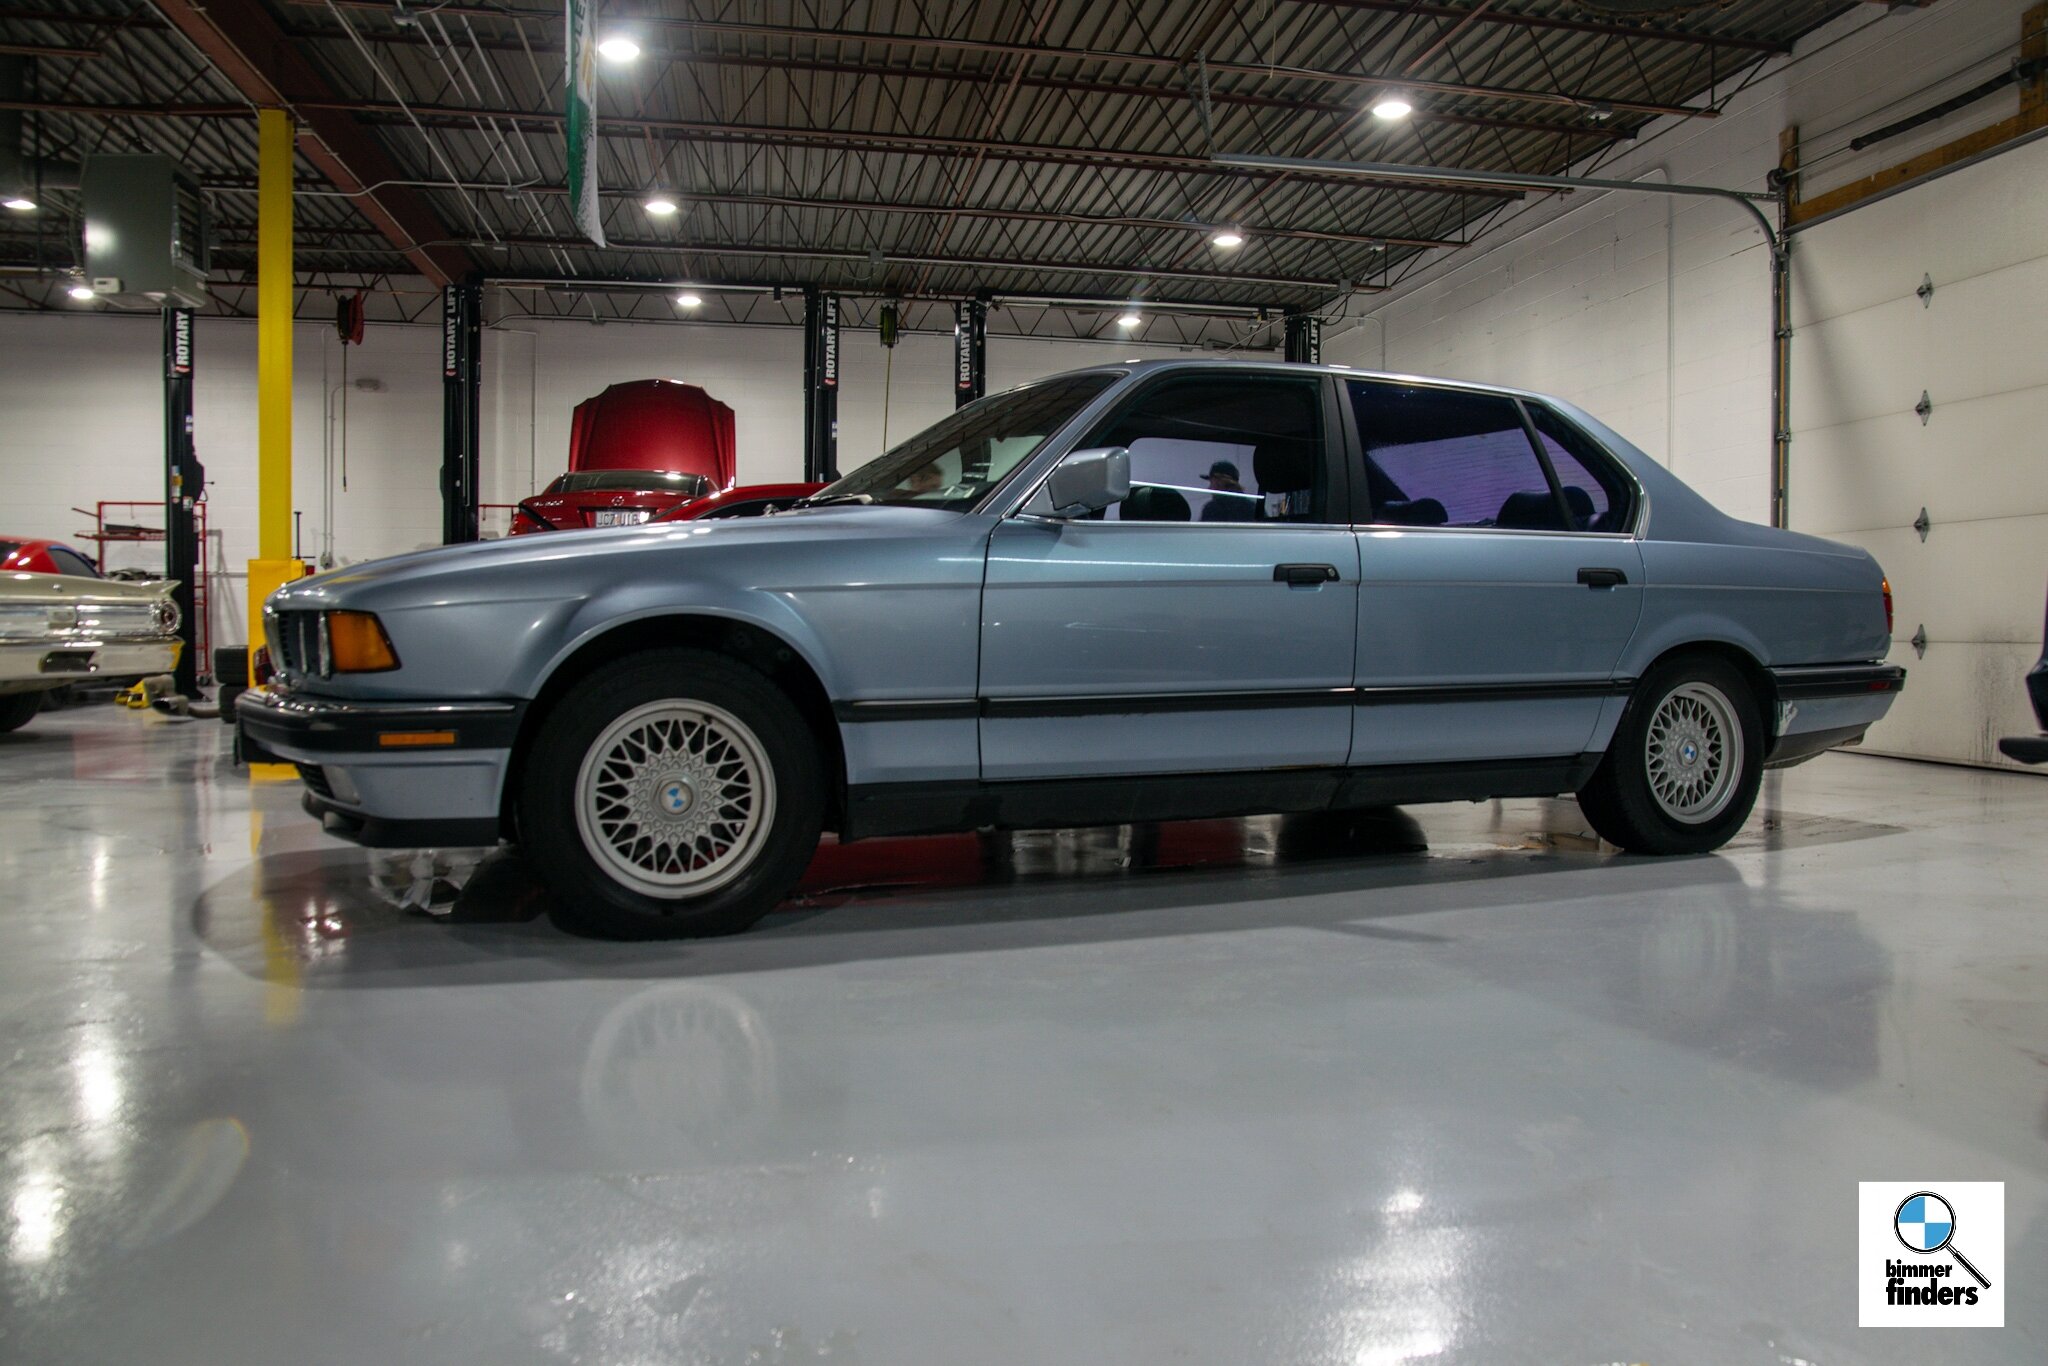
Next up on the things easiest to do was to begin removal of the god-awful-purple-hued tint.


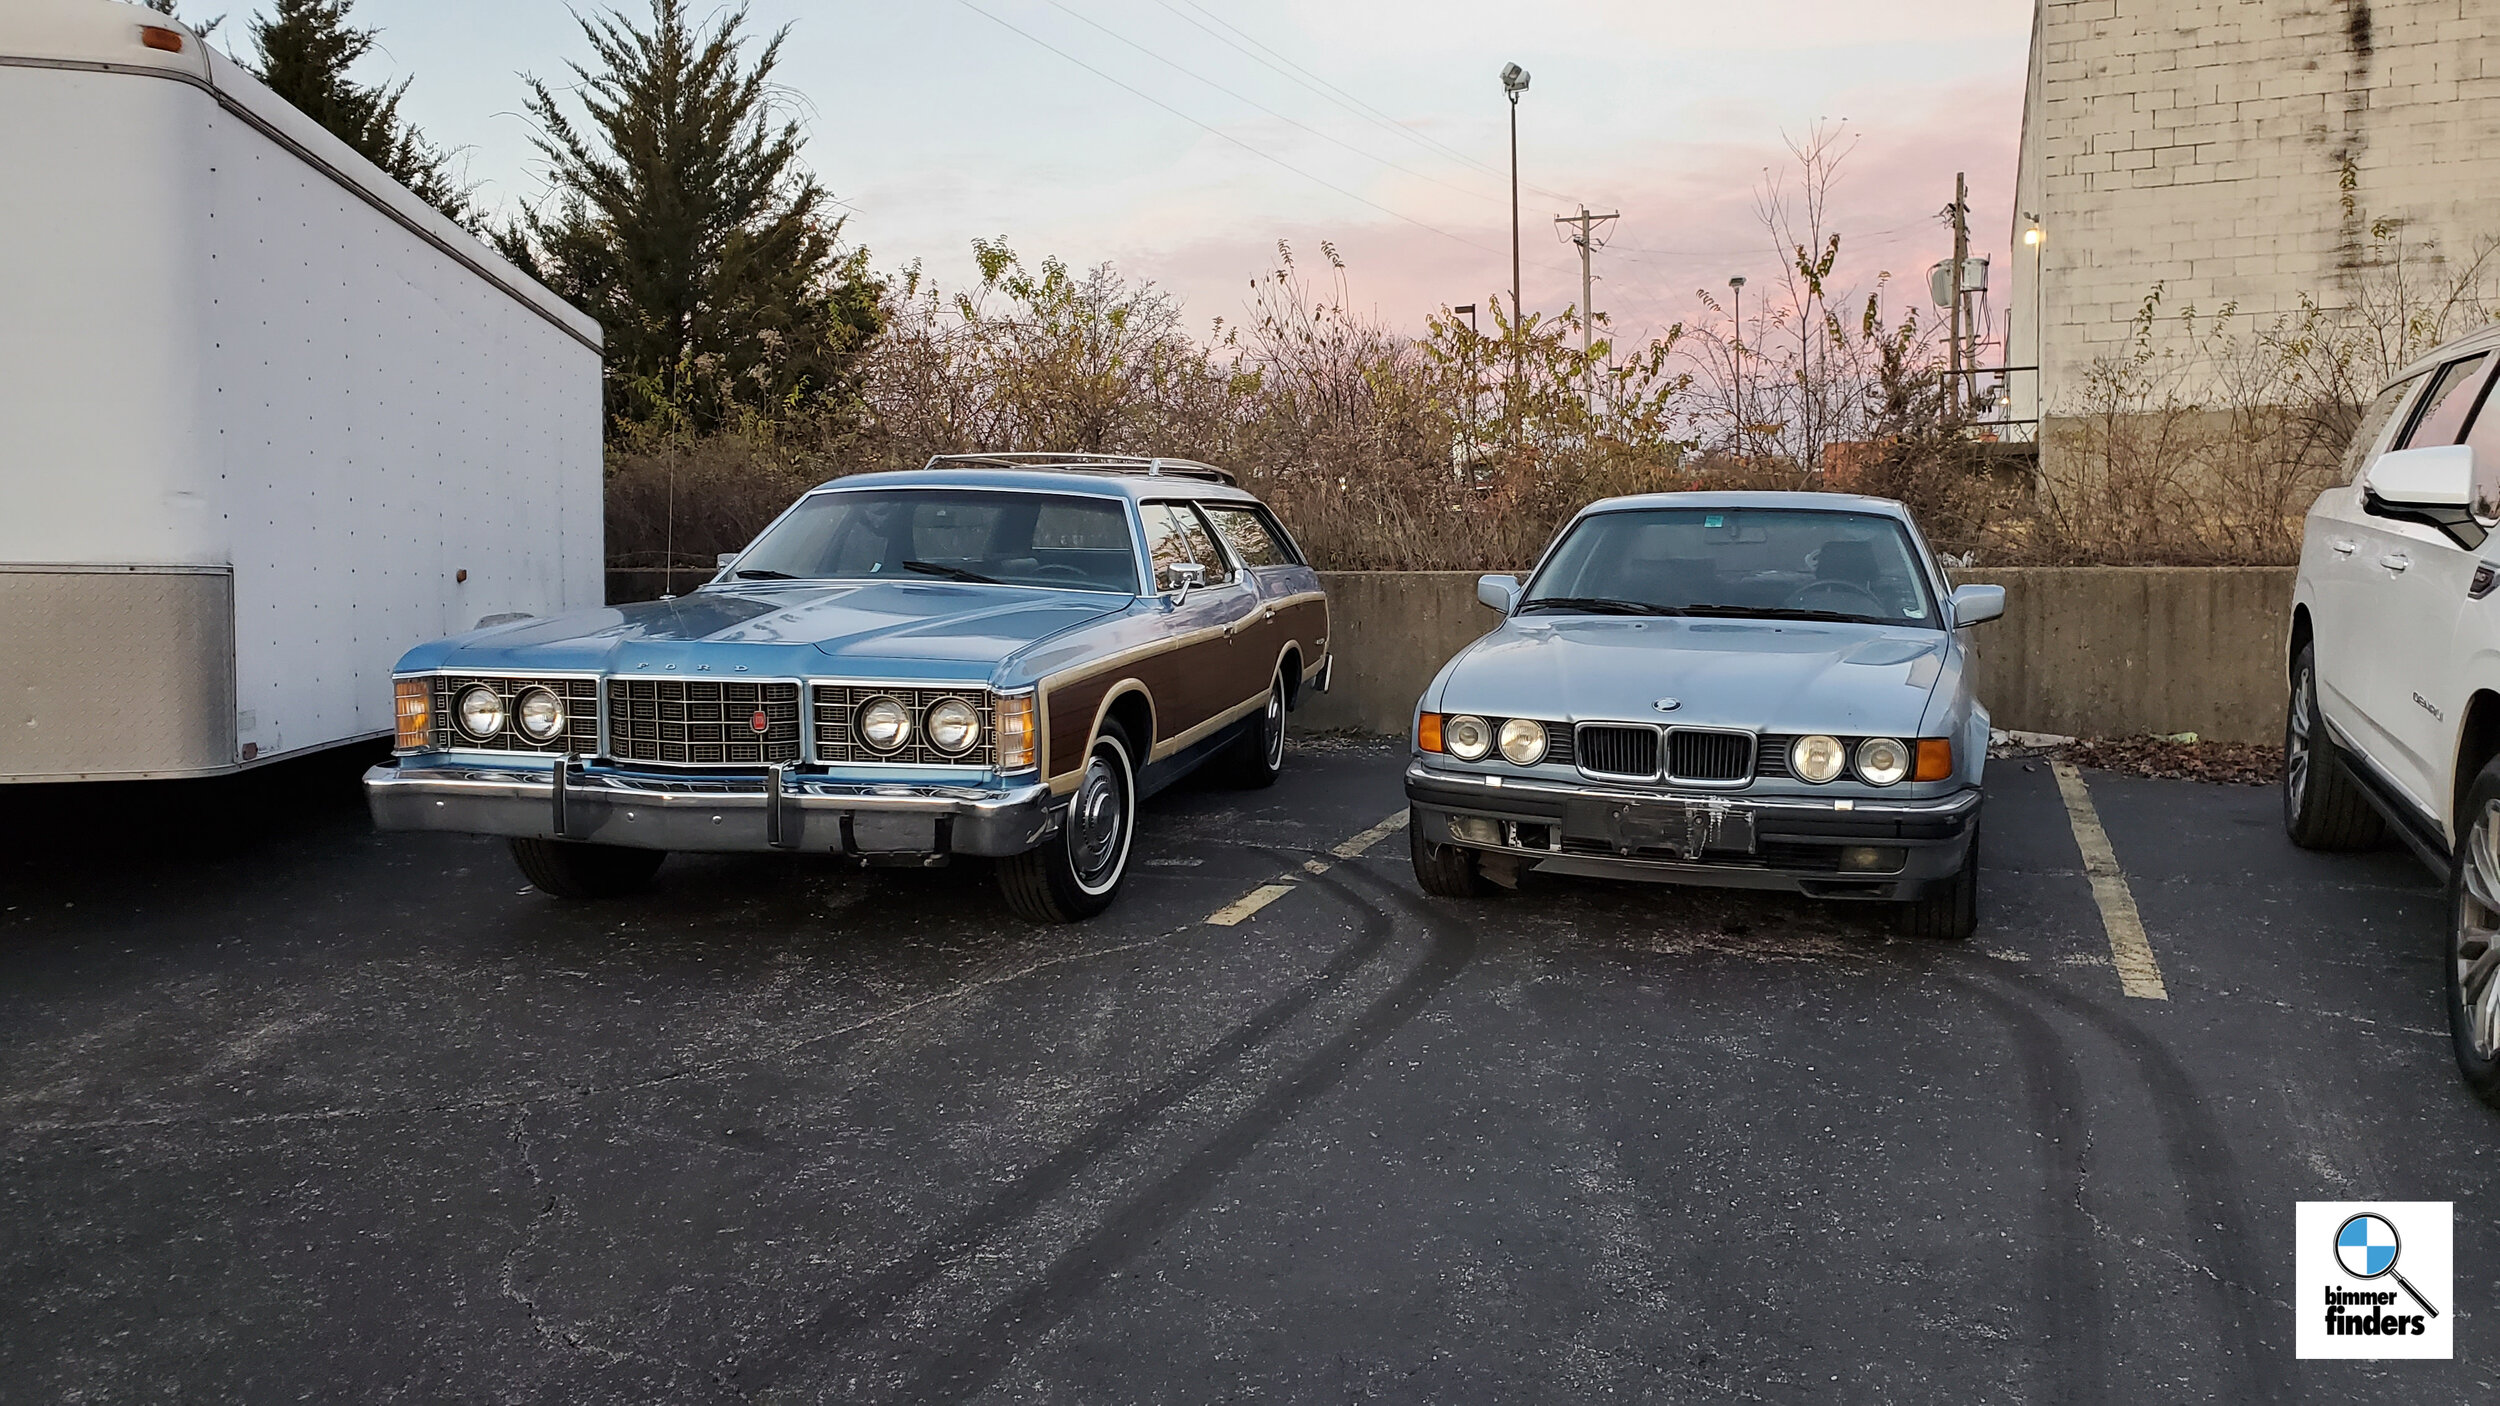
If you thought this car was big… You’ve never seen it next to a full-sized ‘73 Ford.
LETS GO HOME
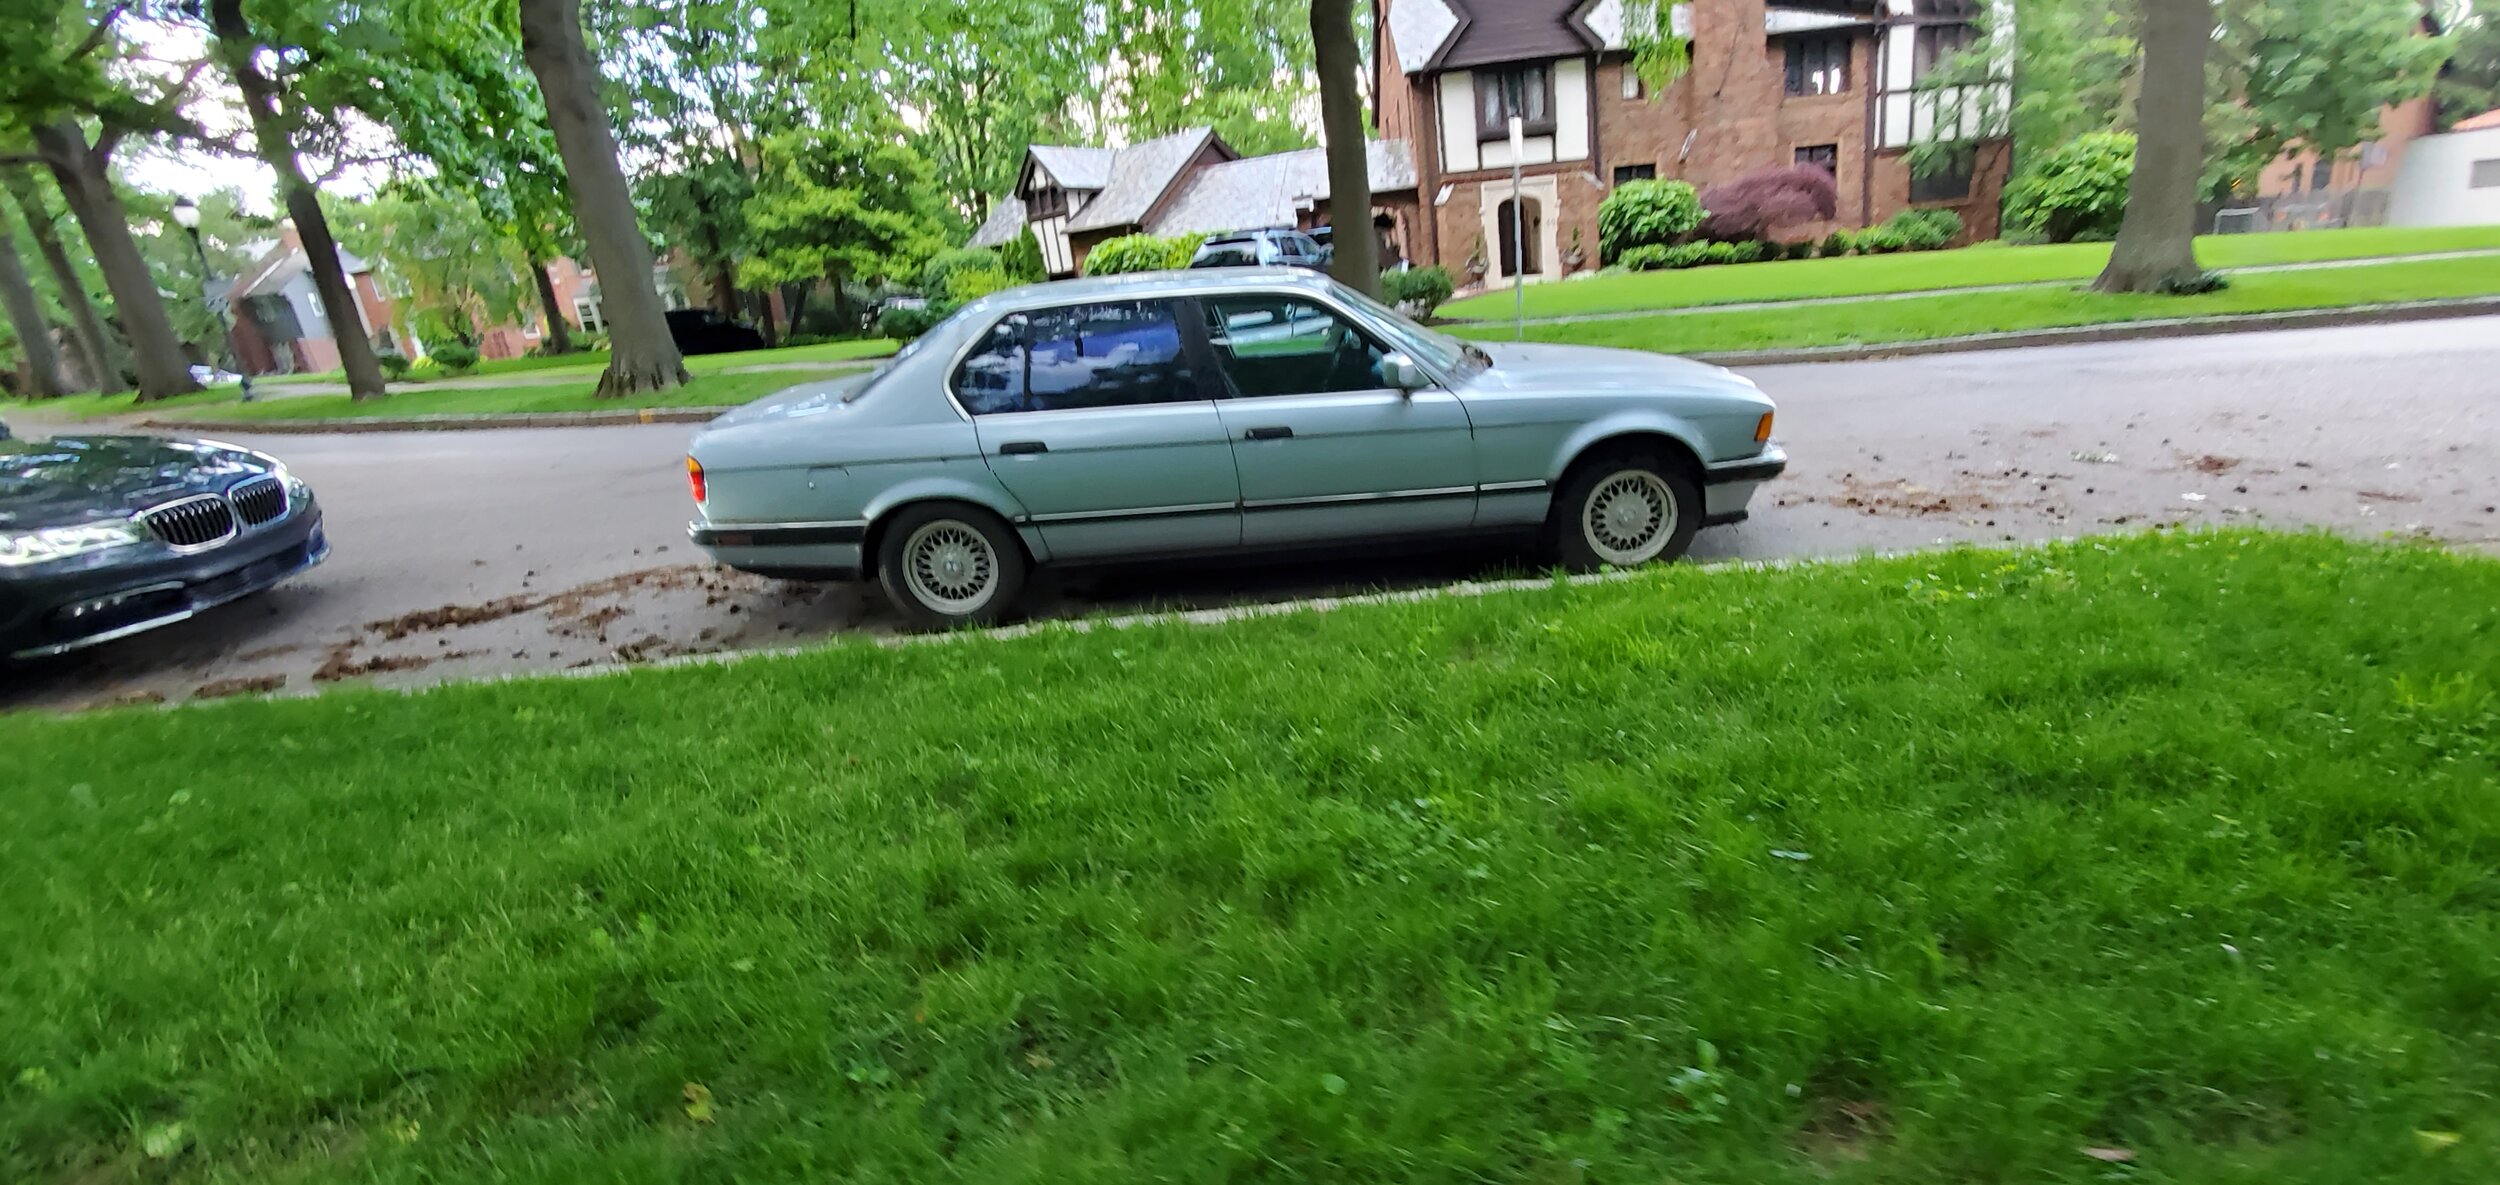
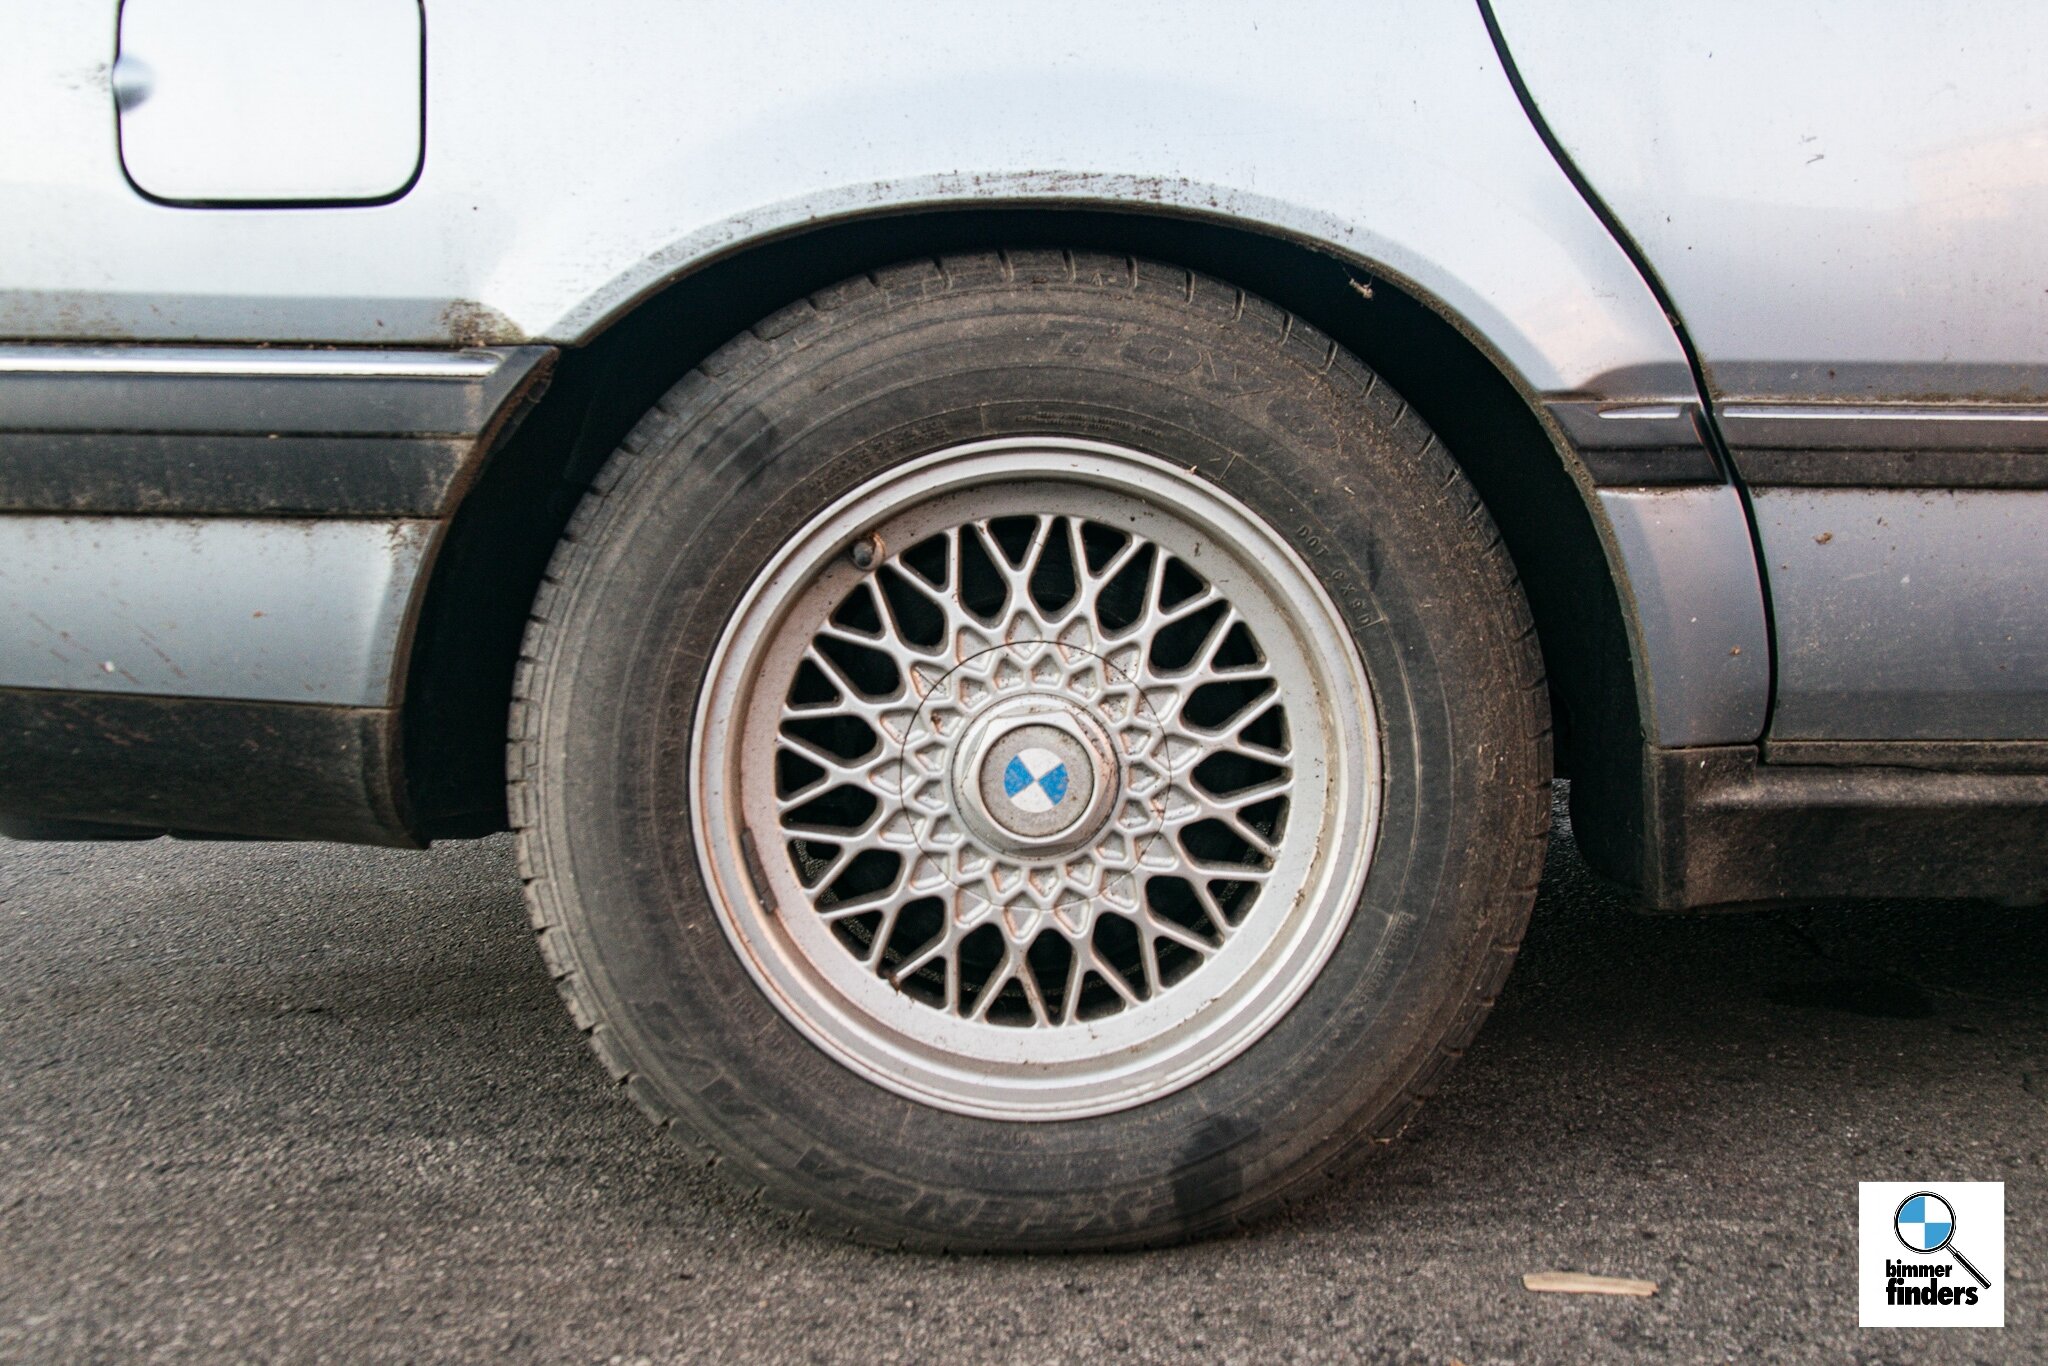
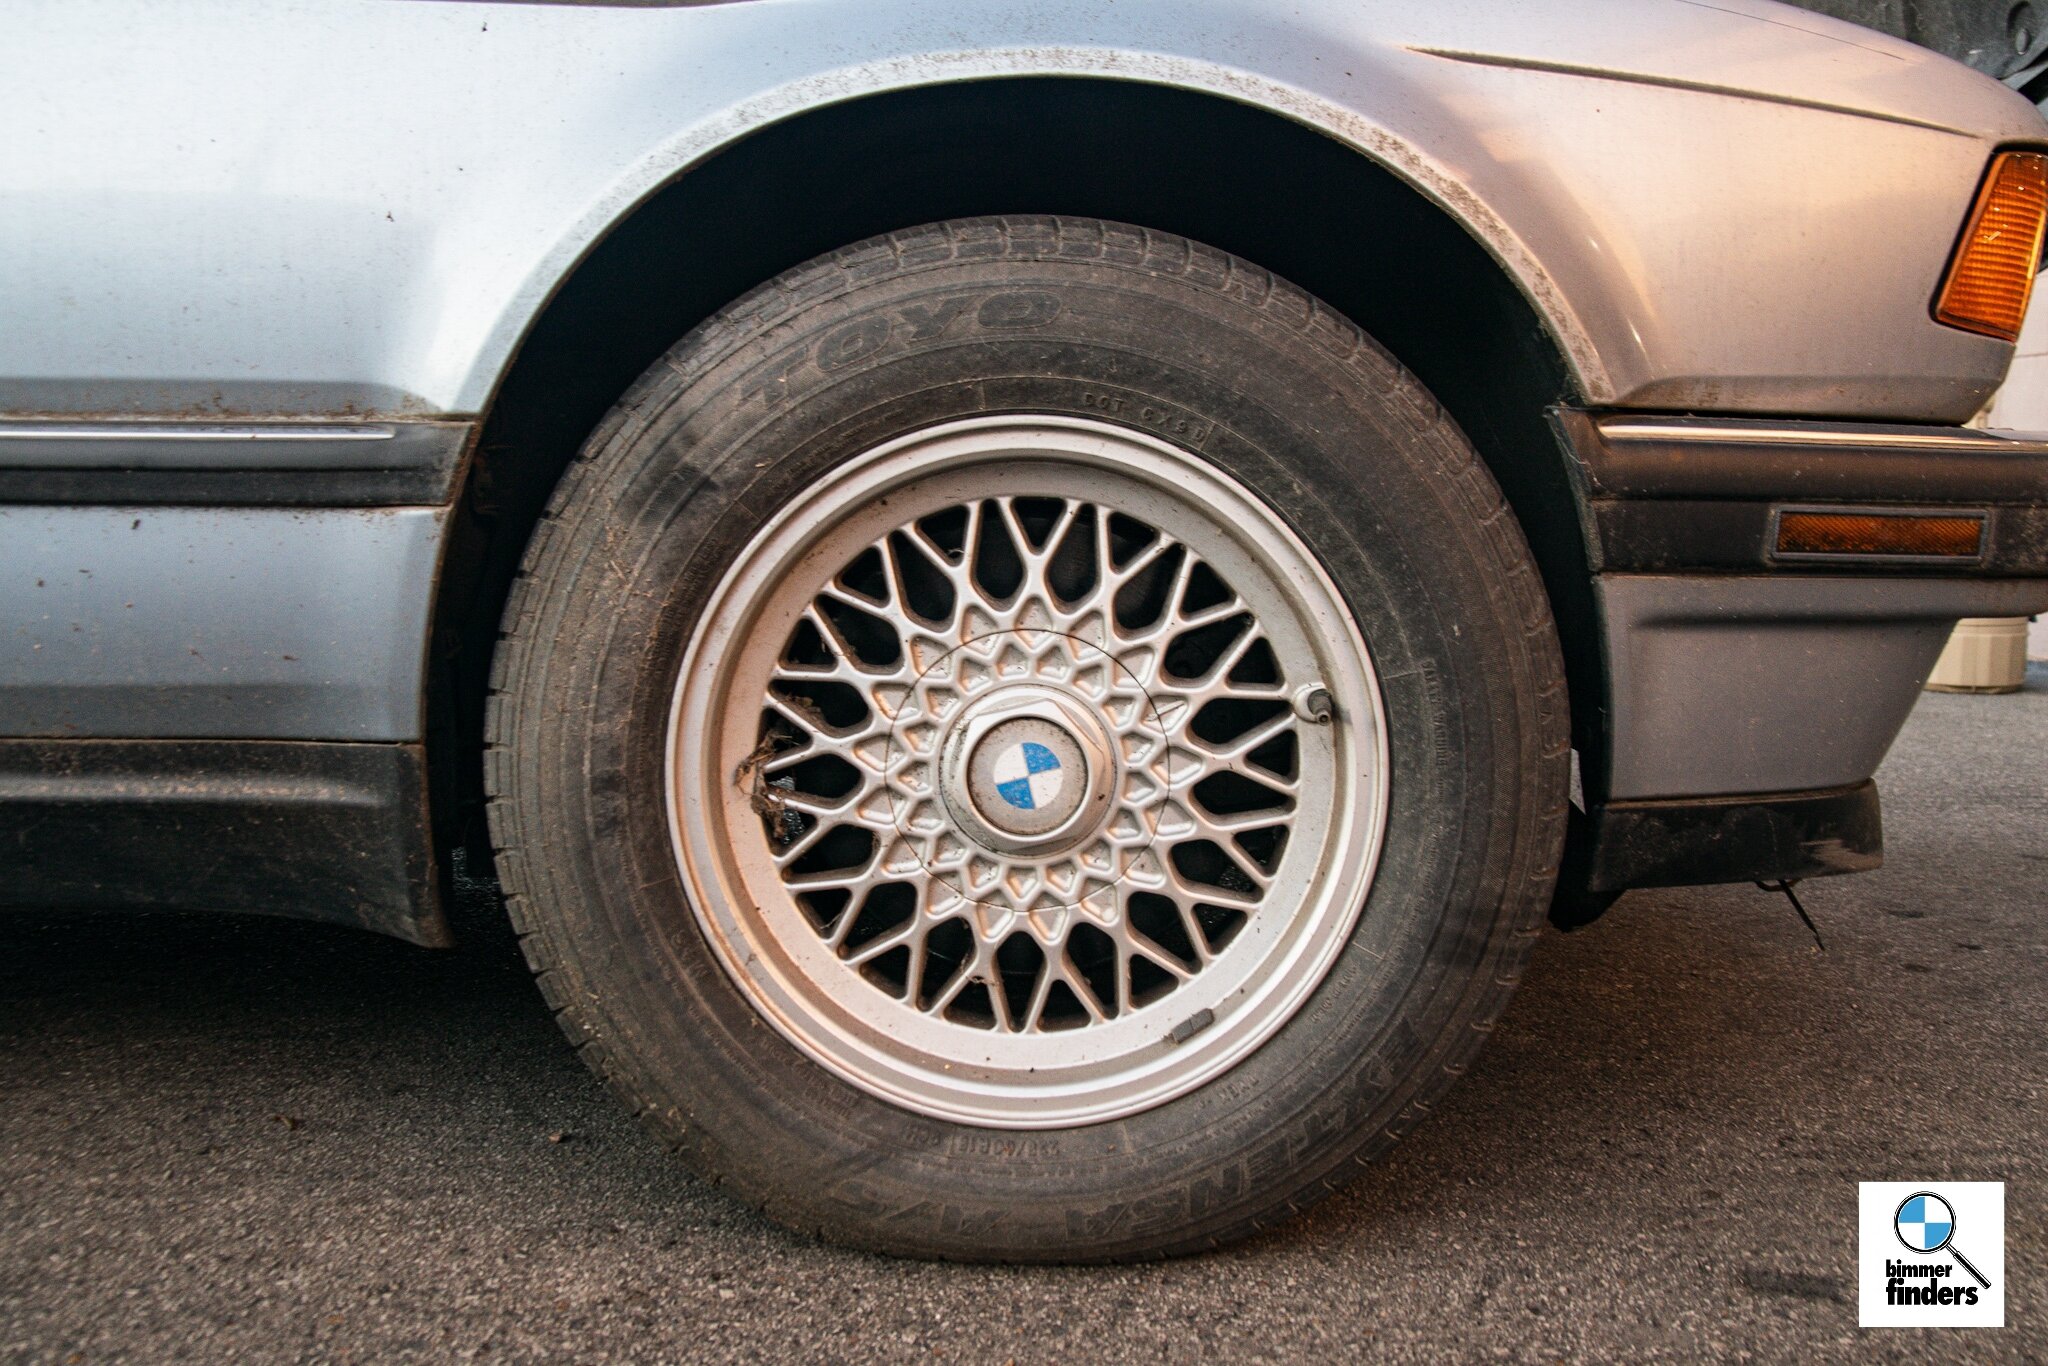
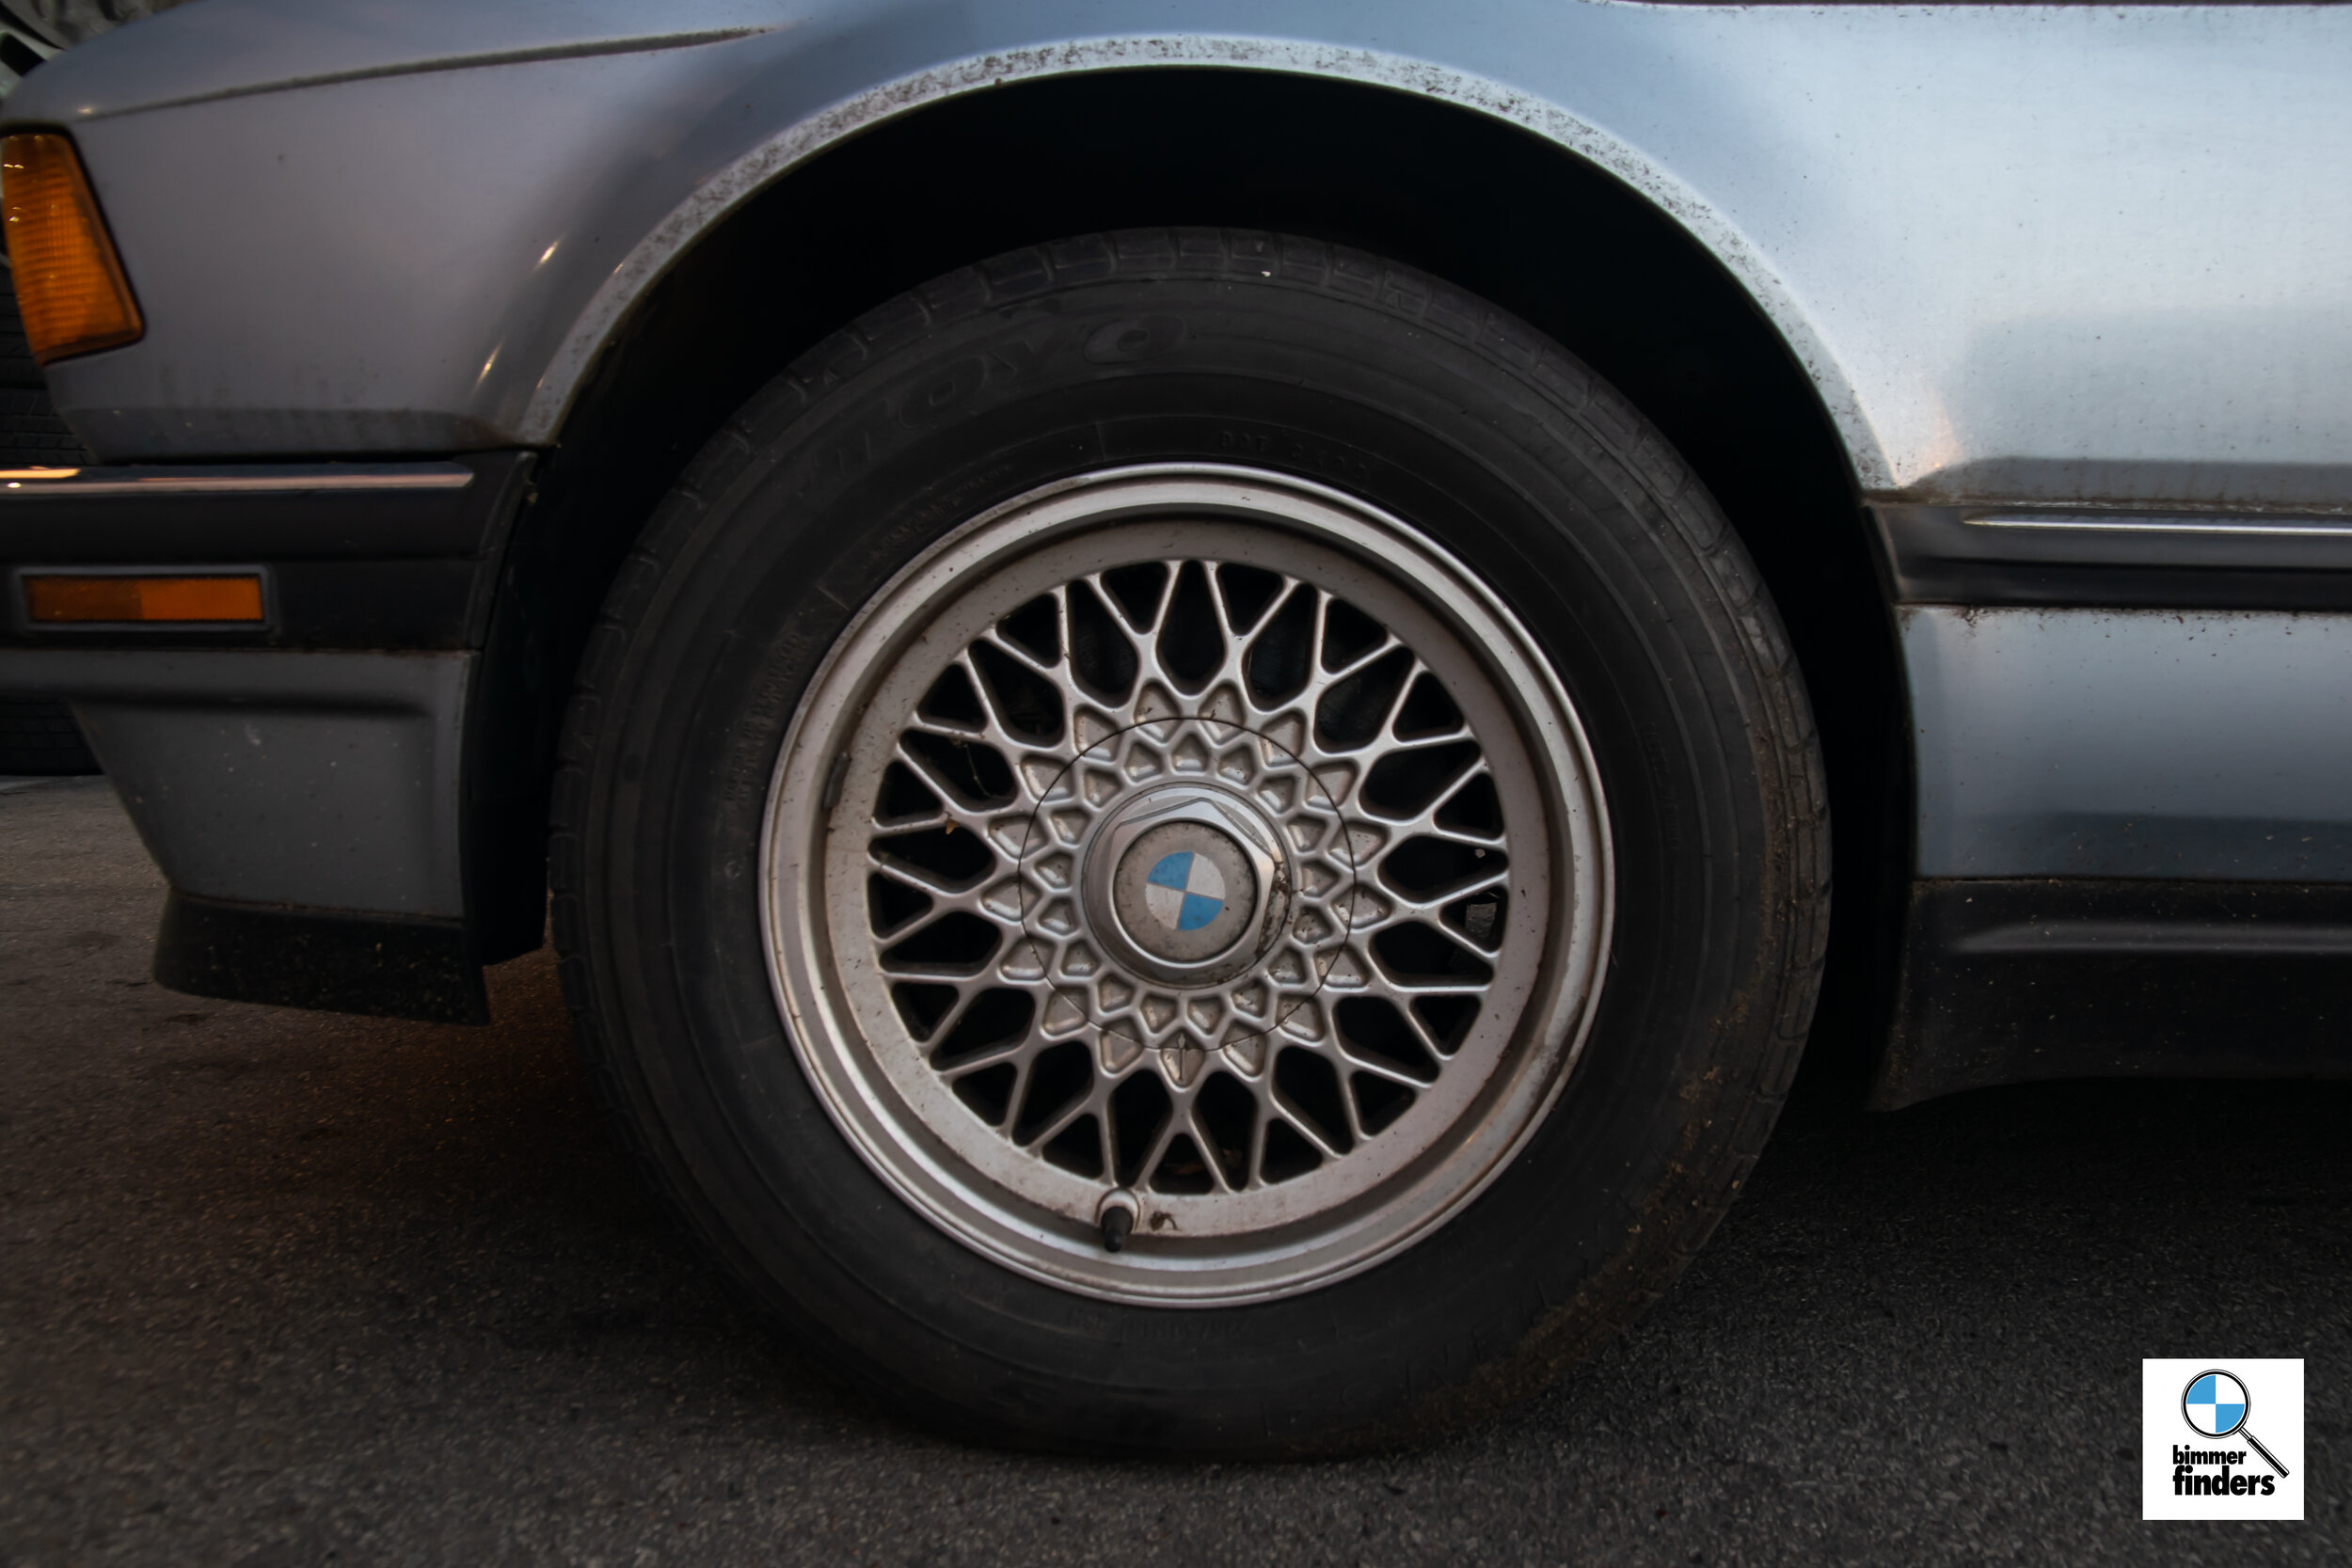
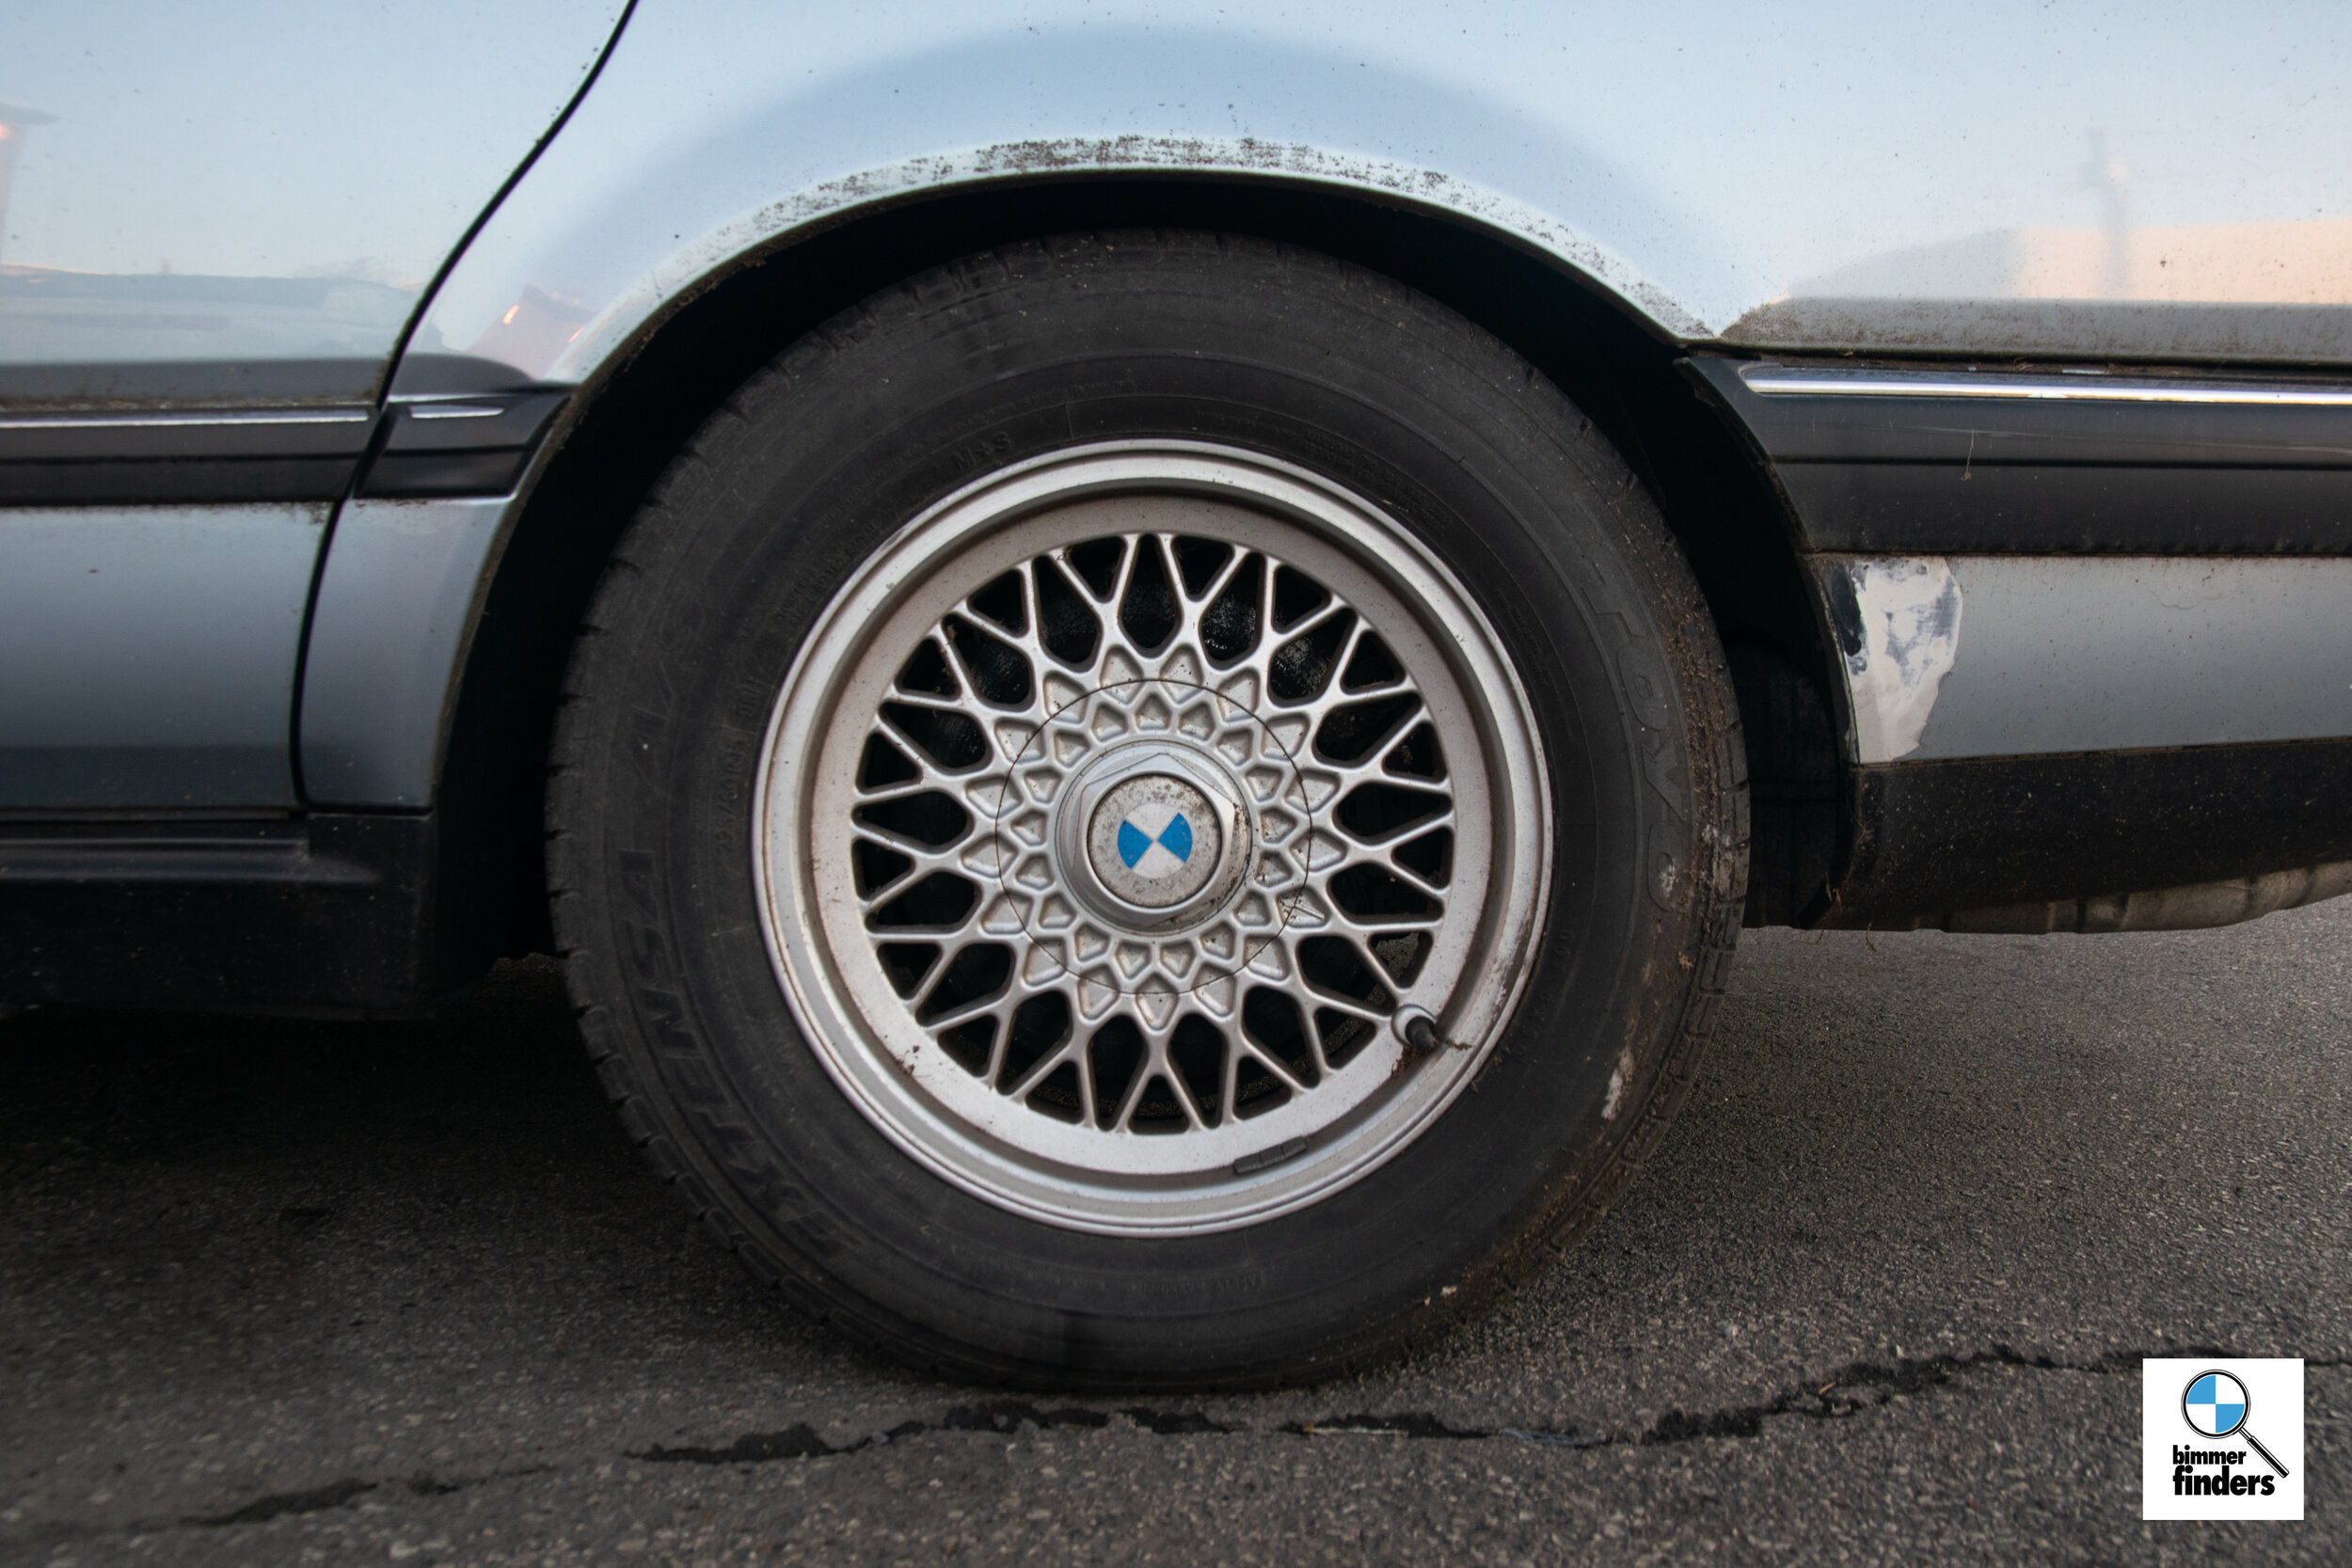
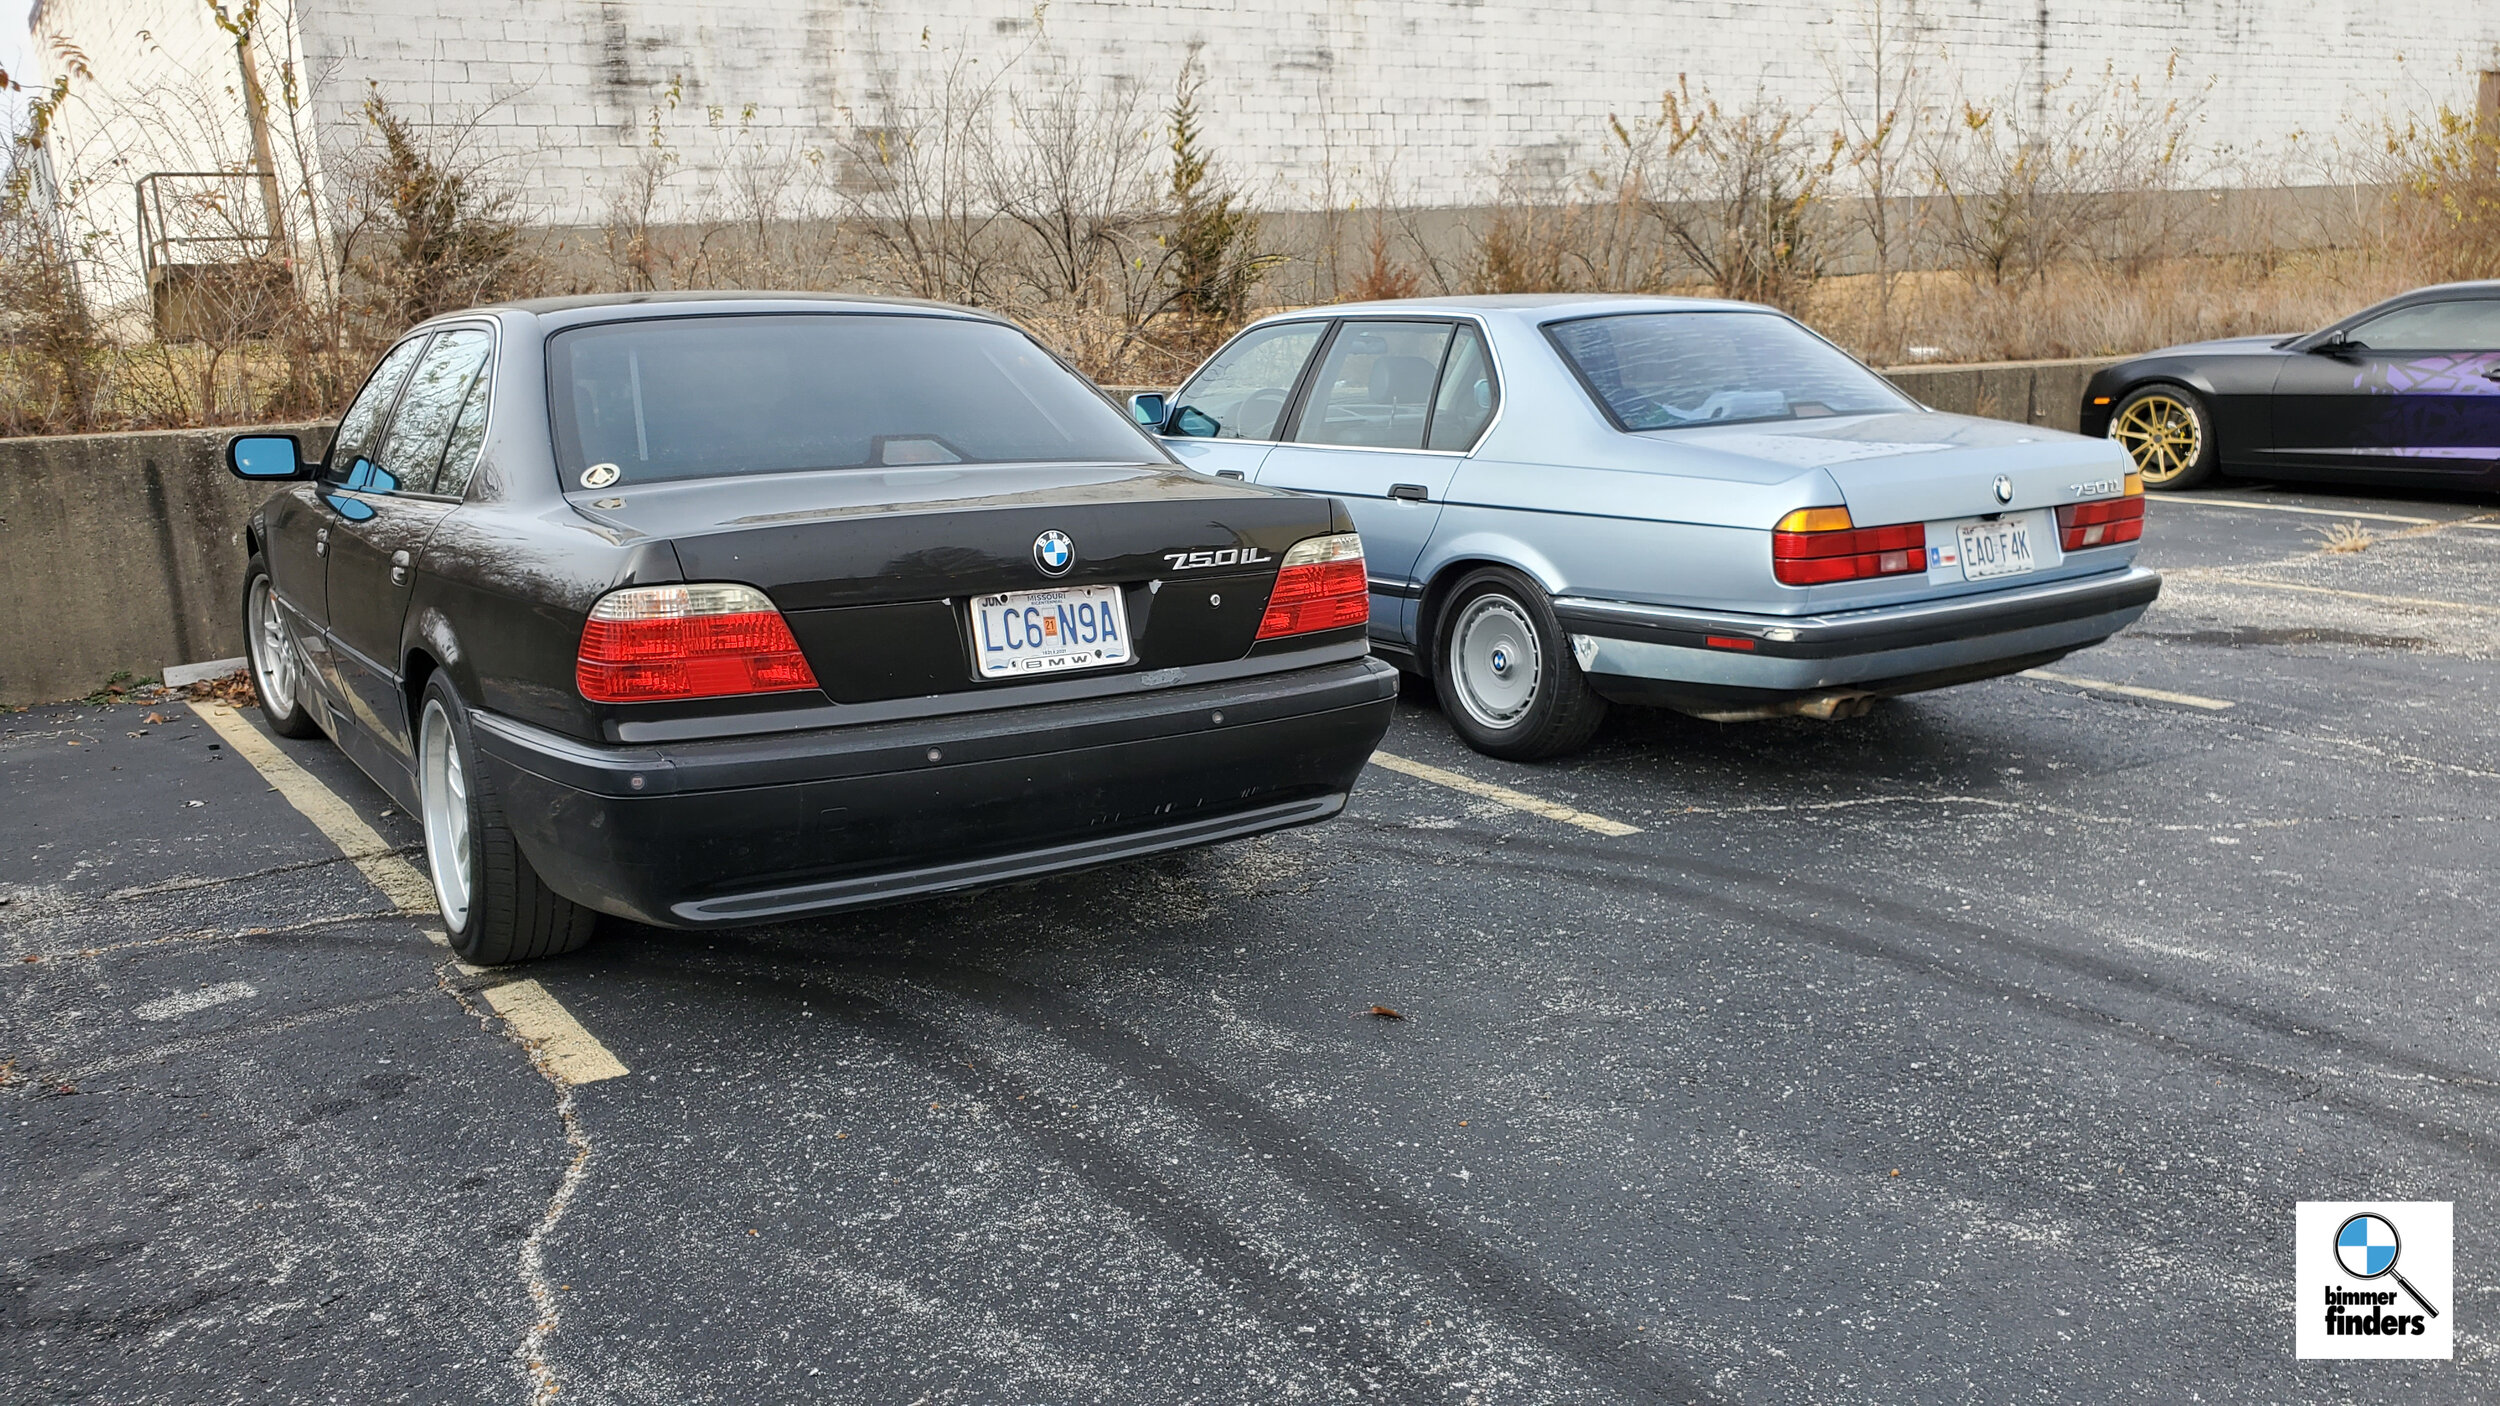
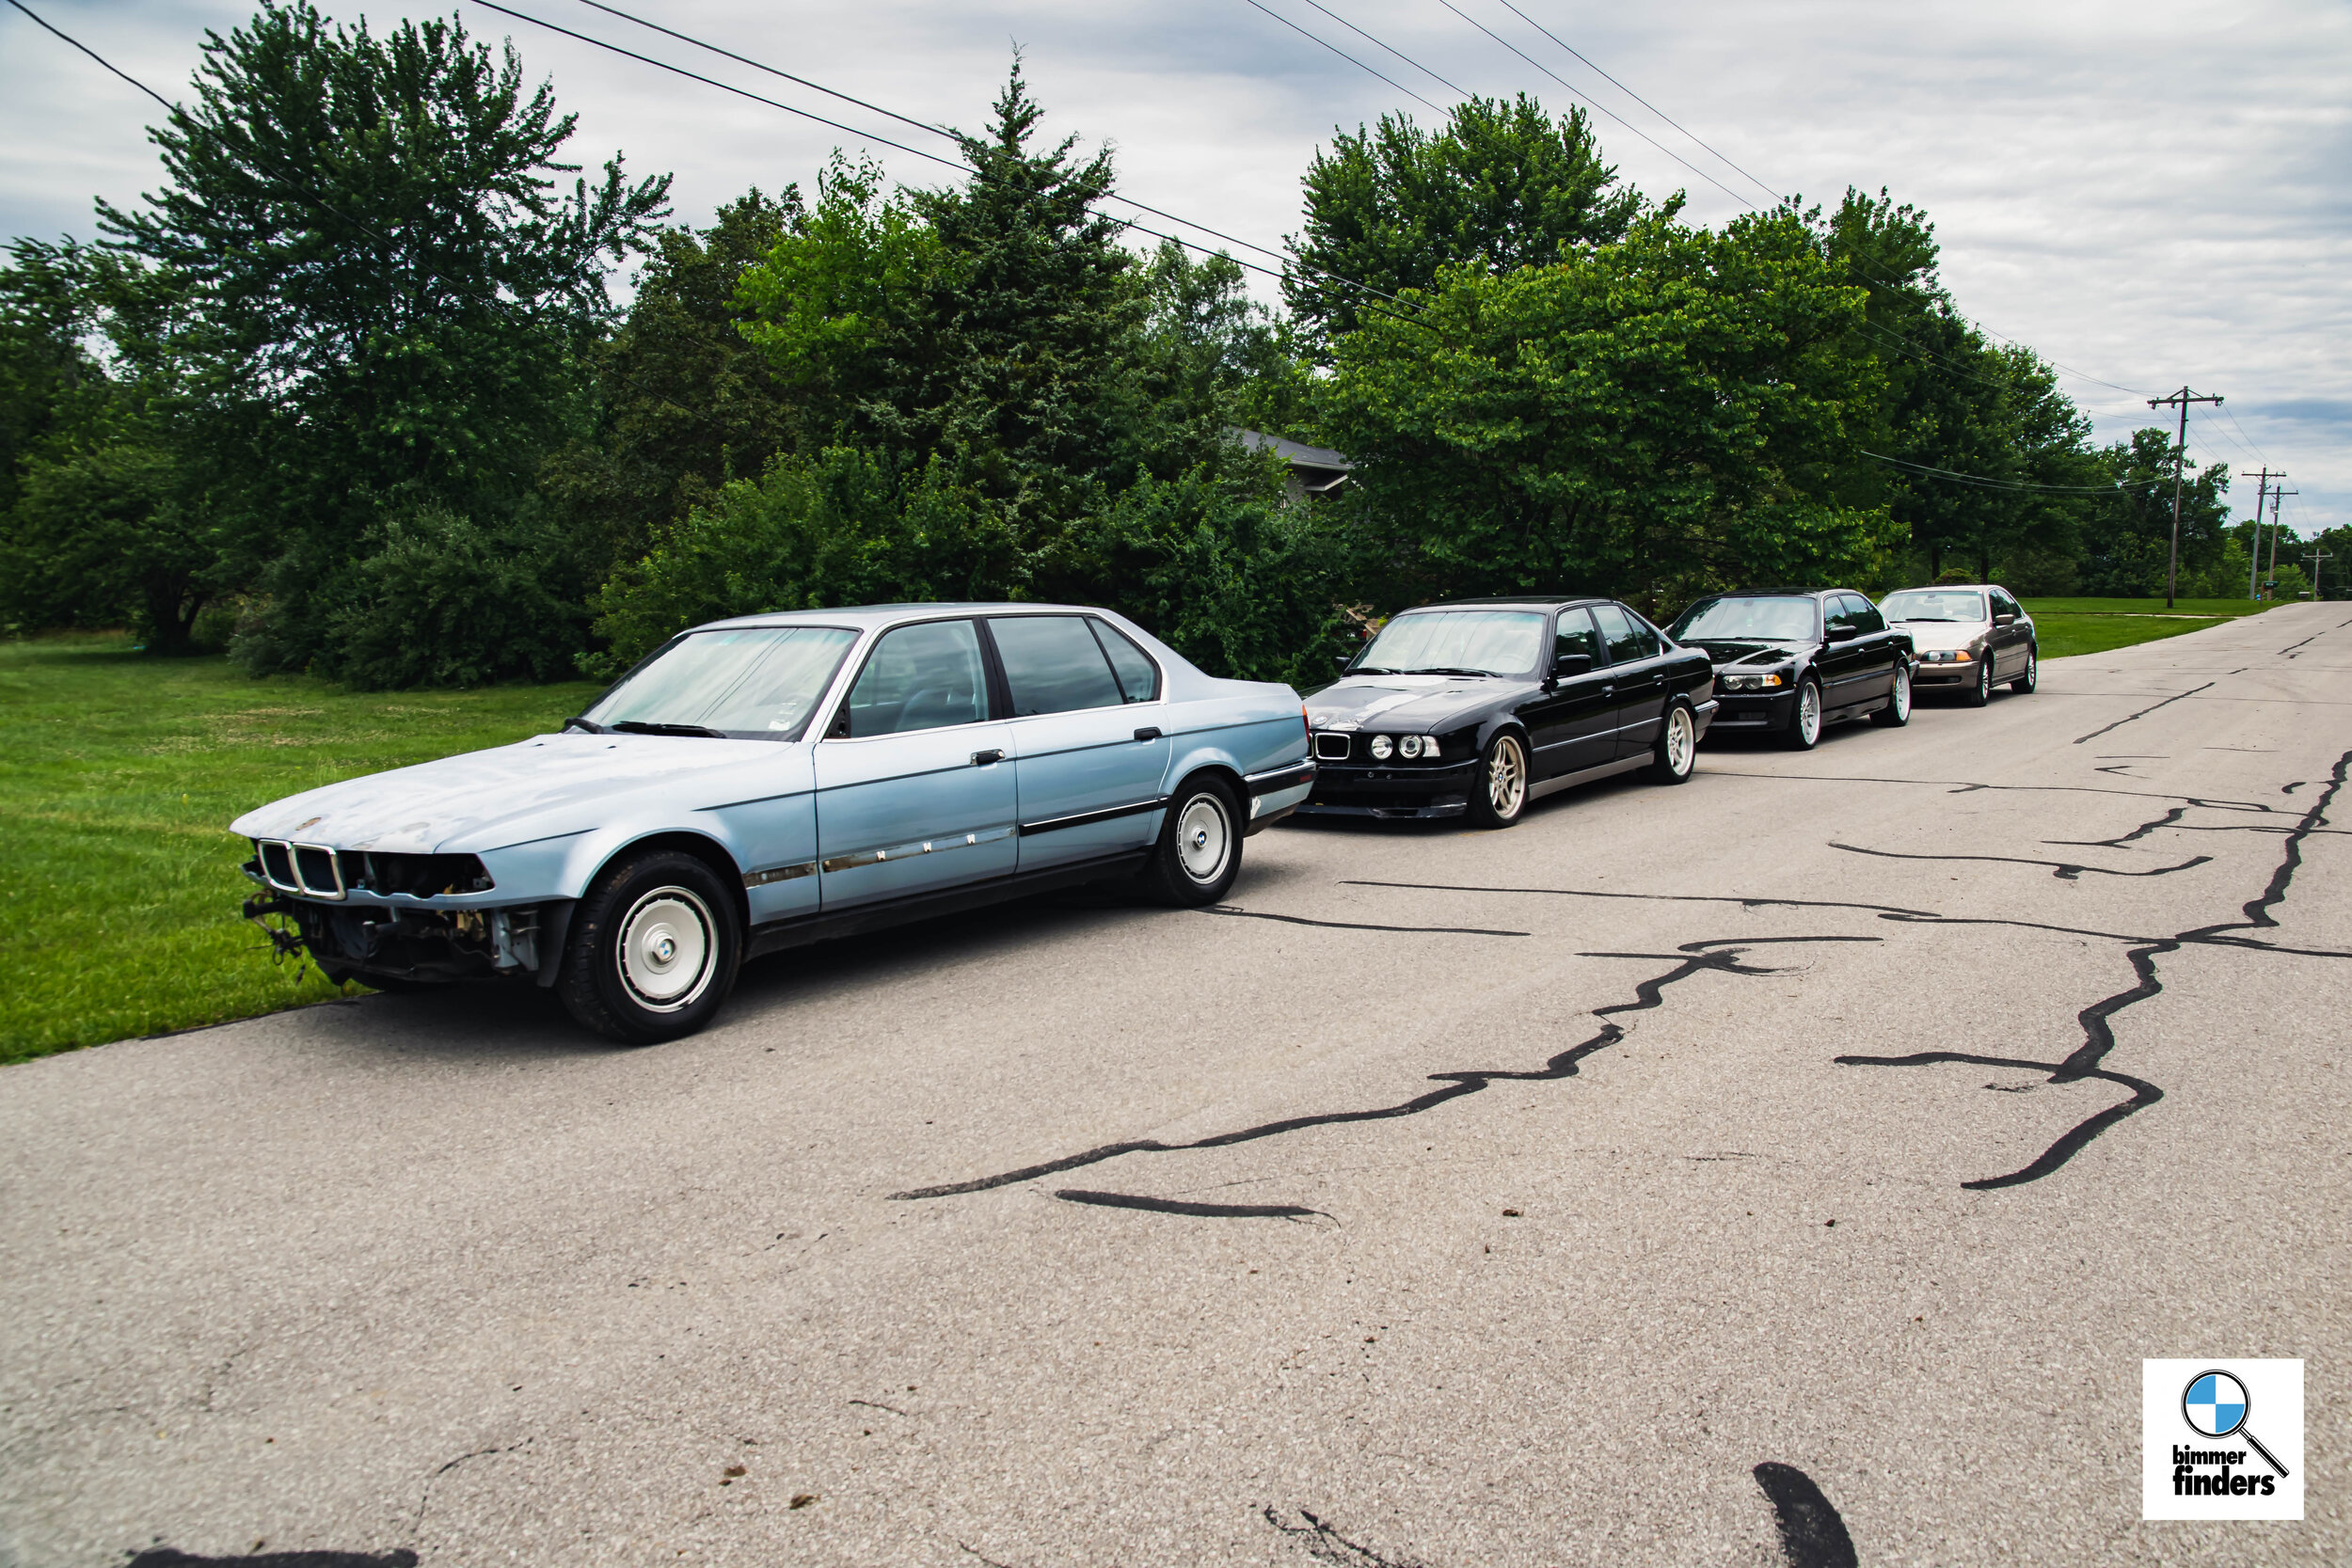
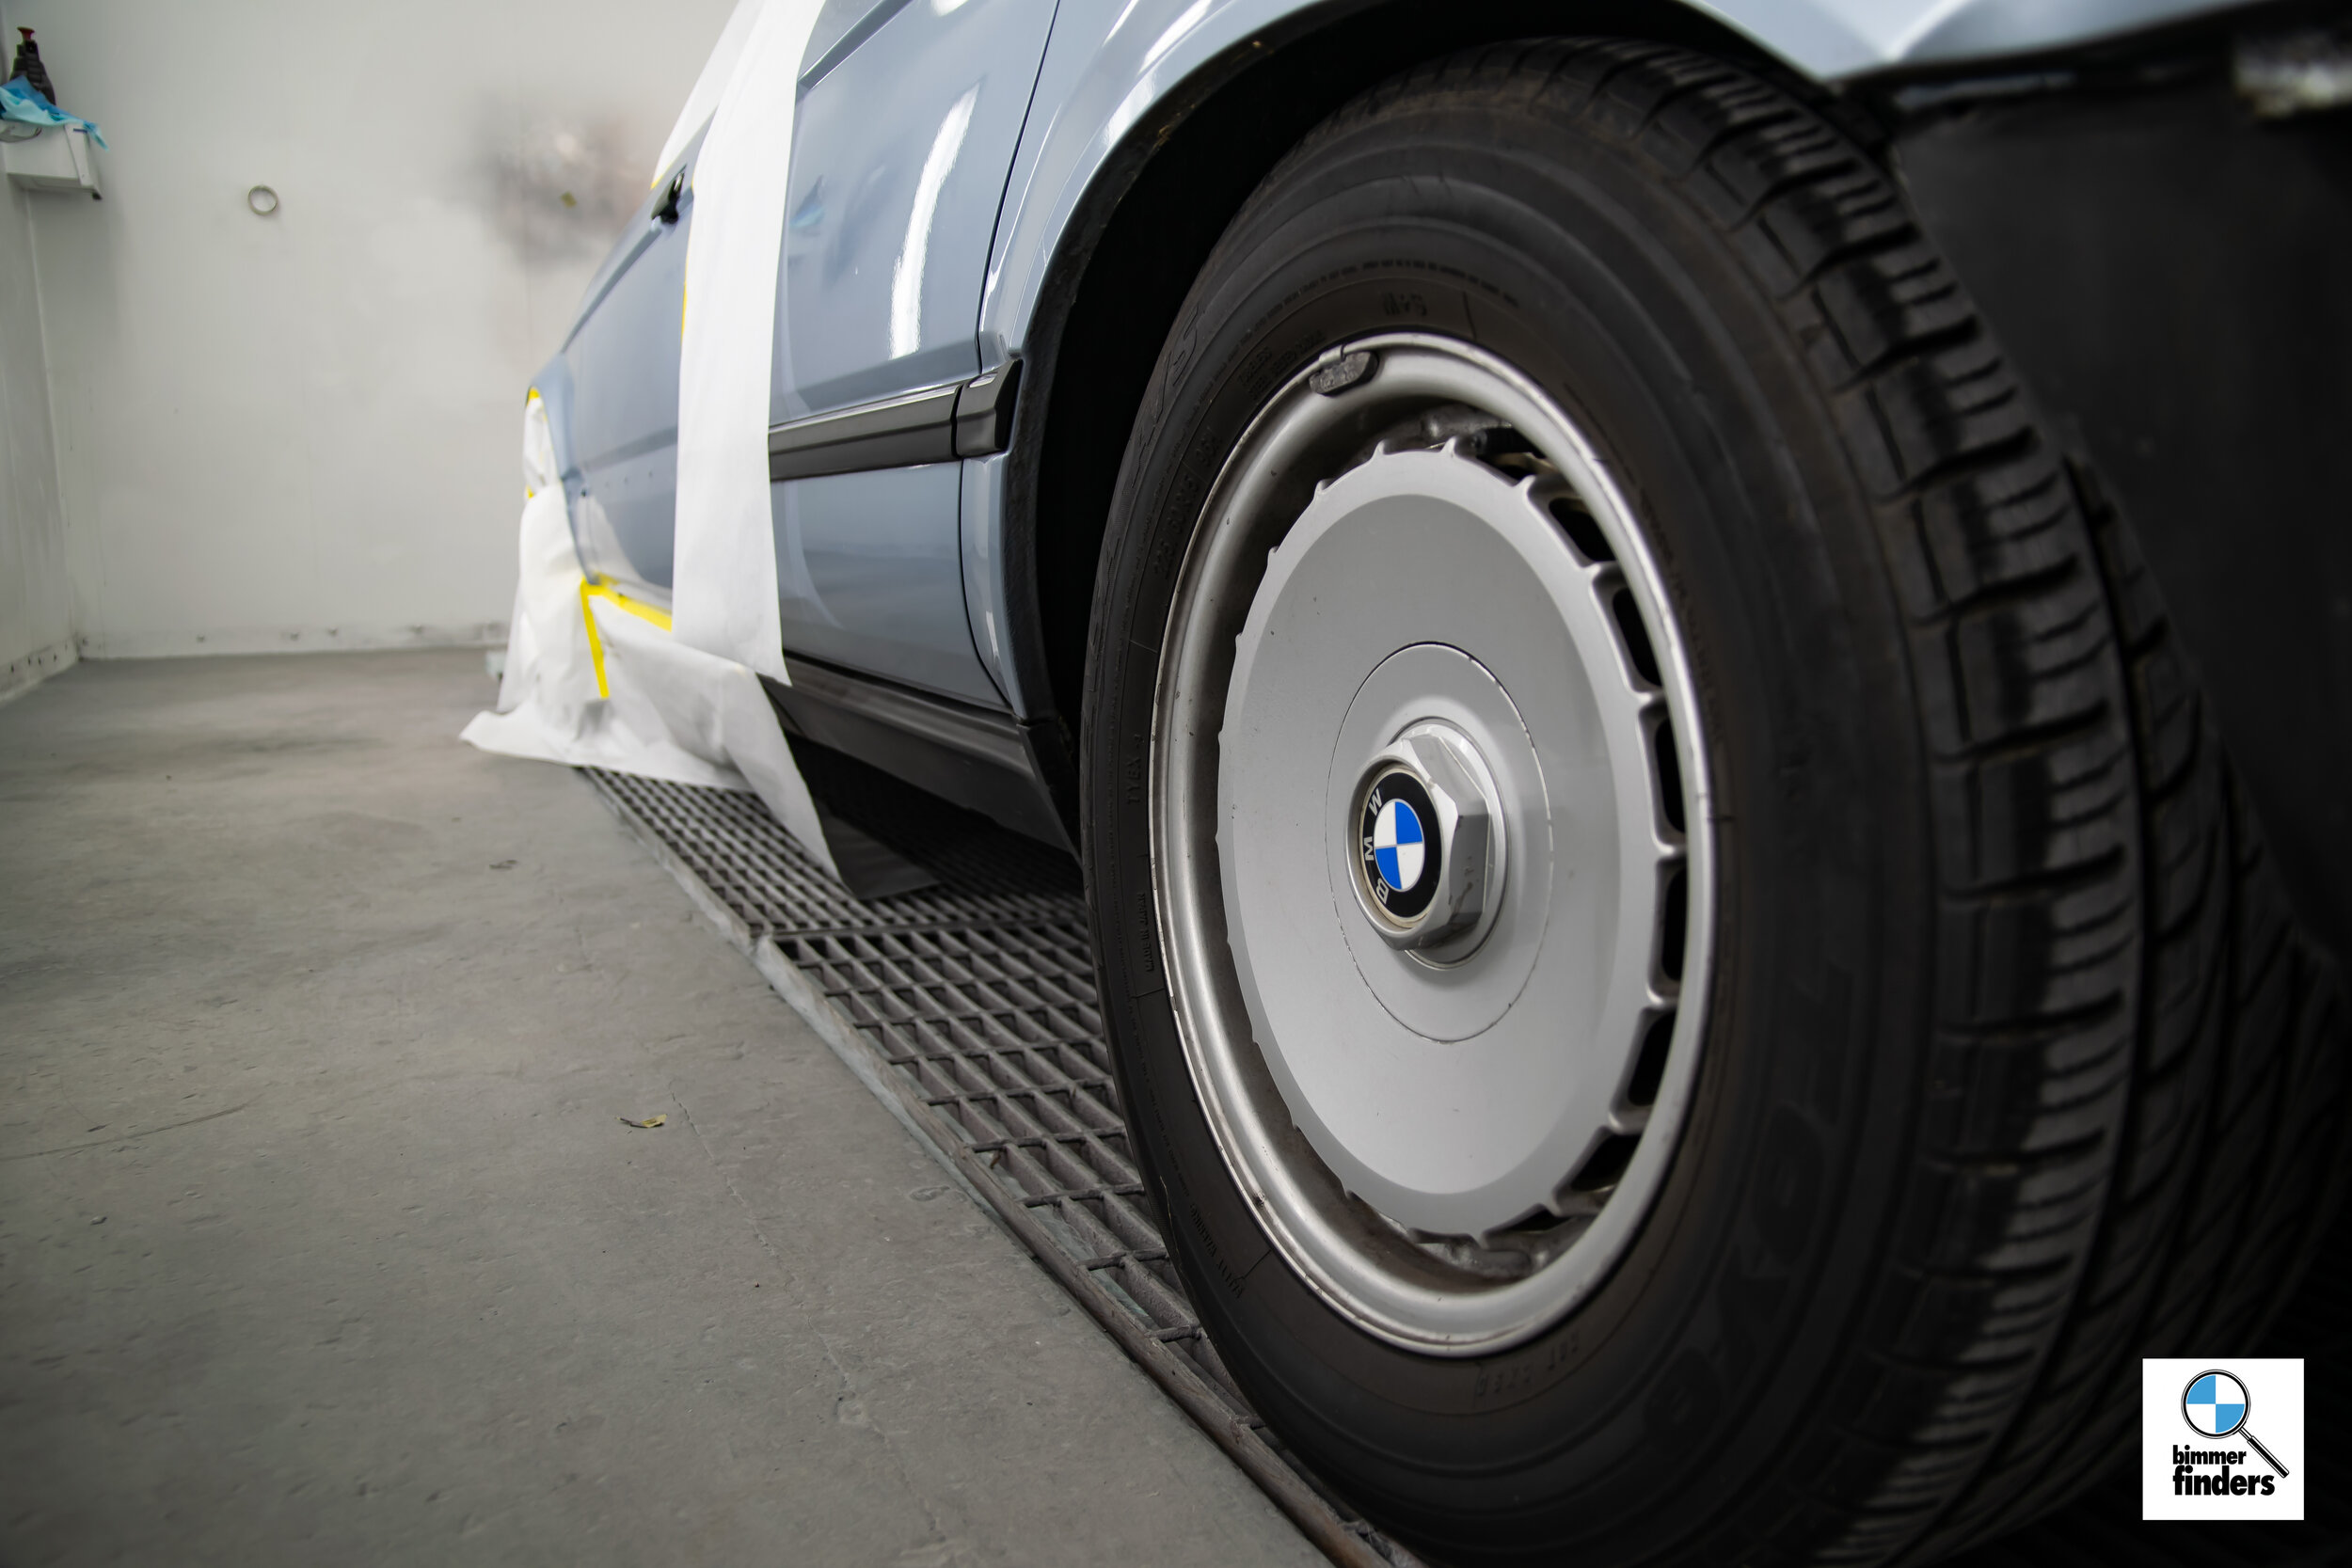
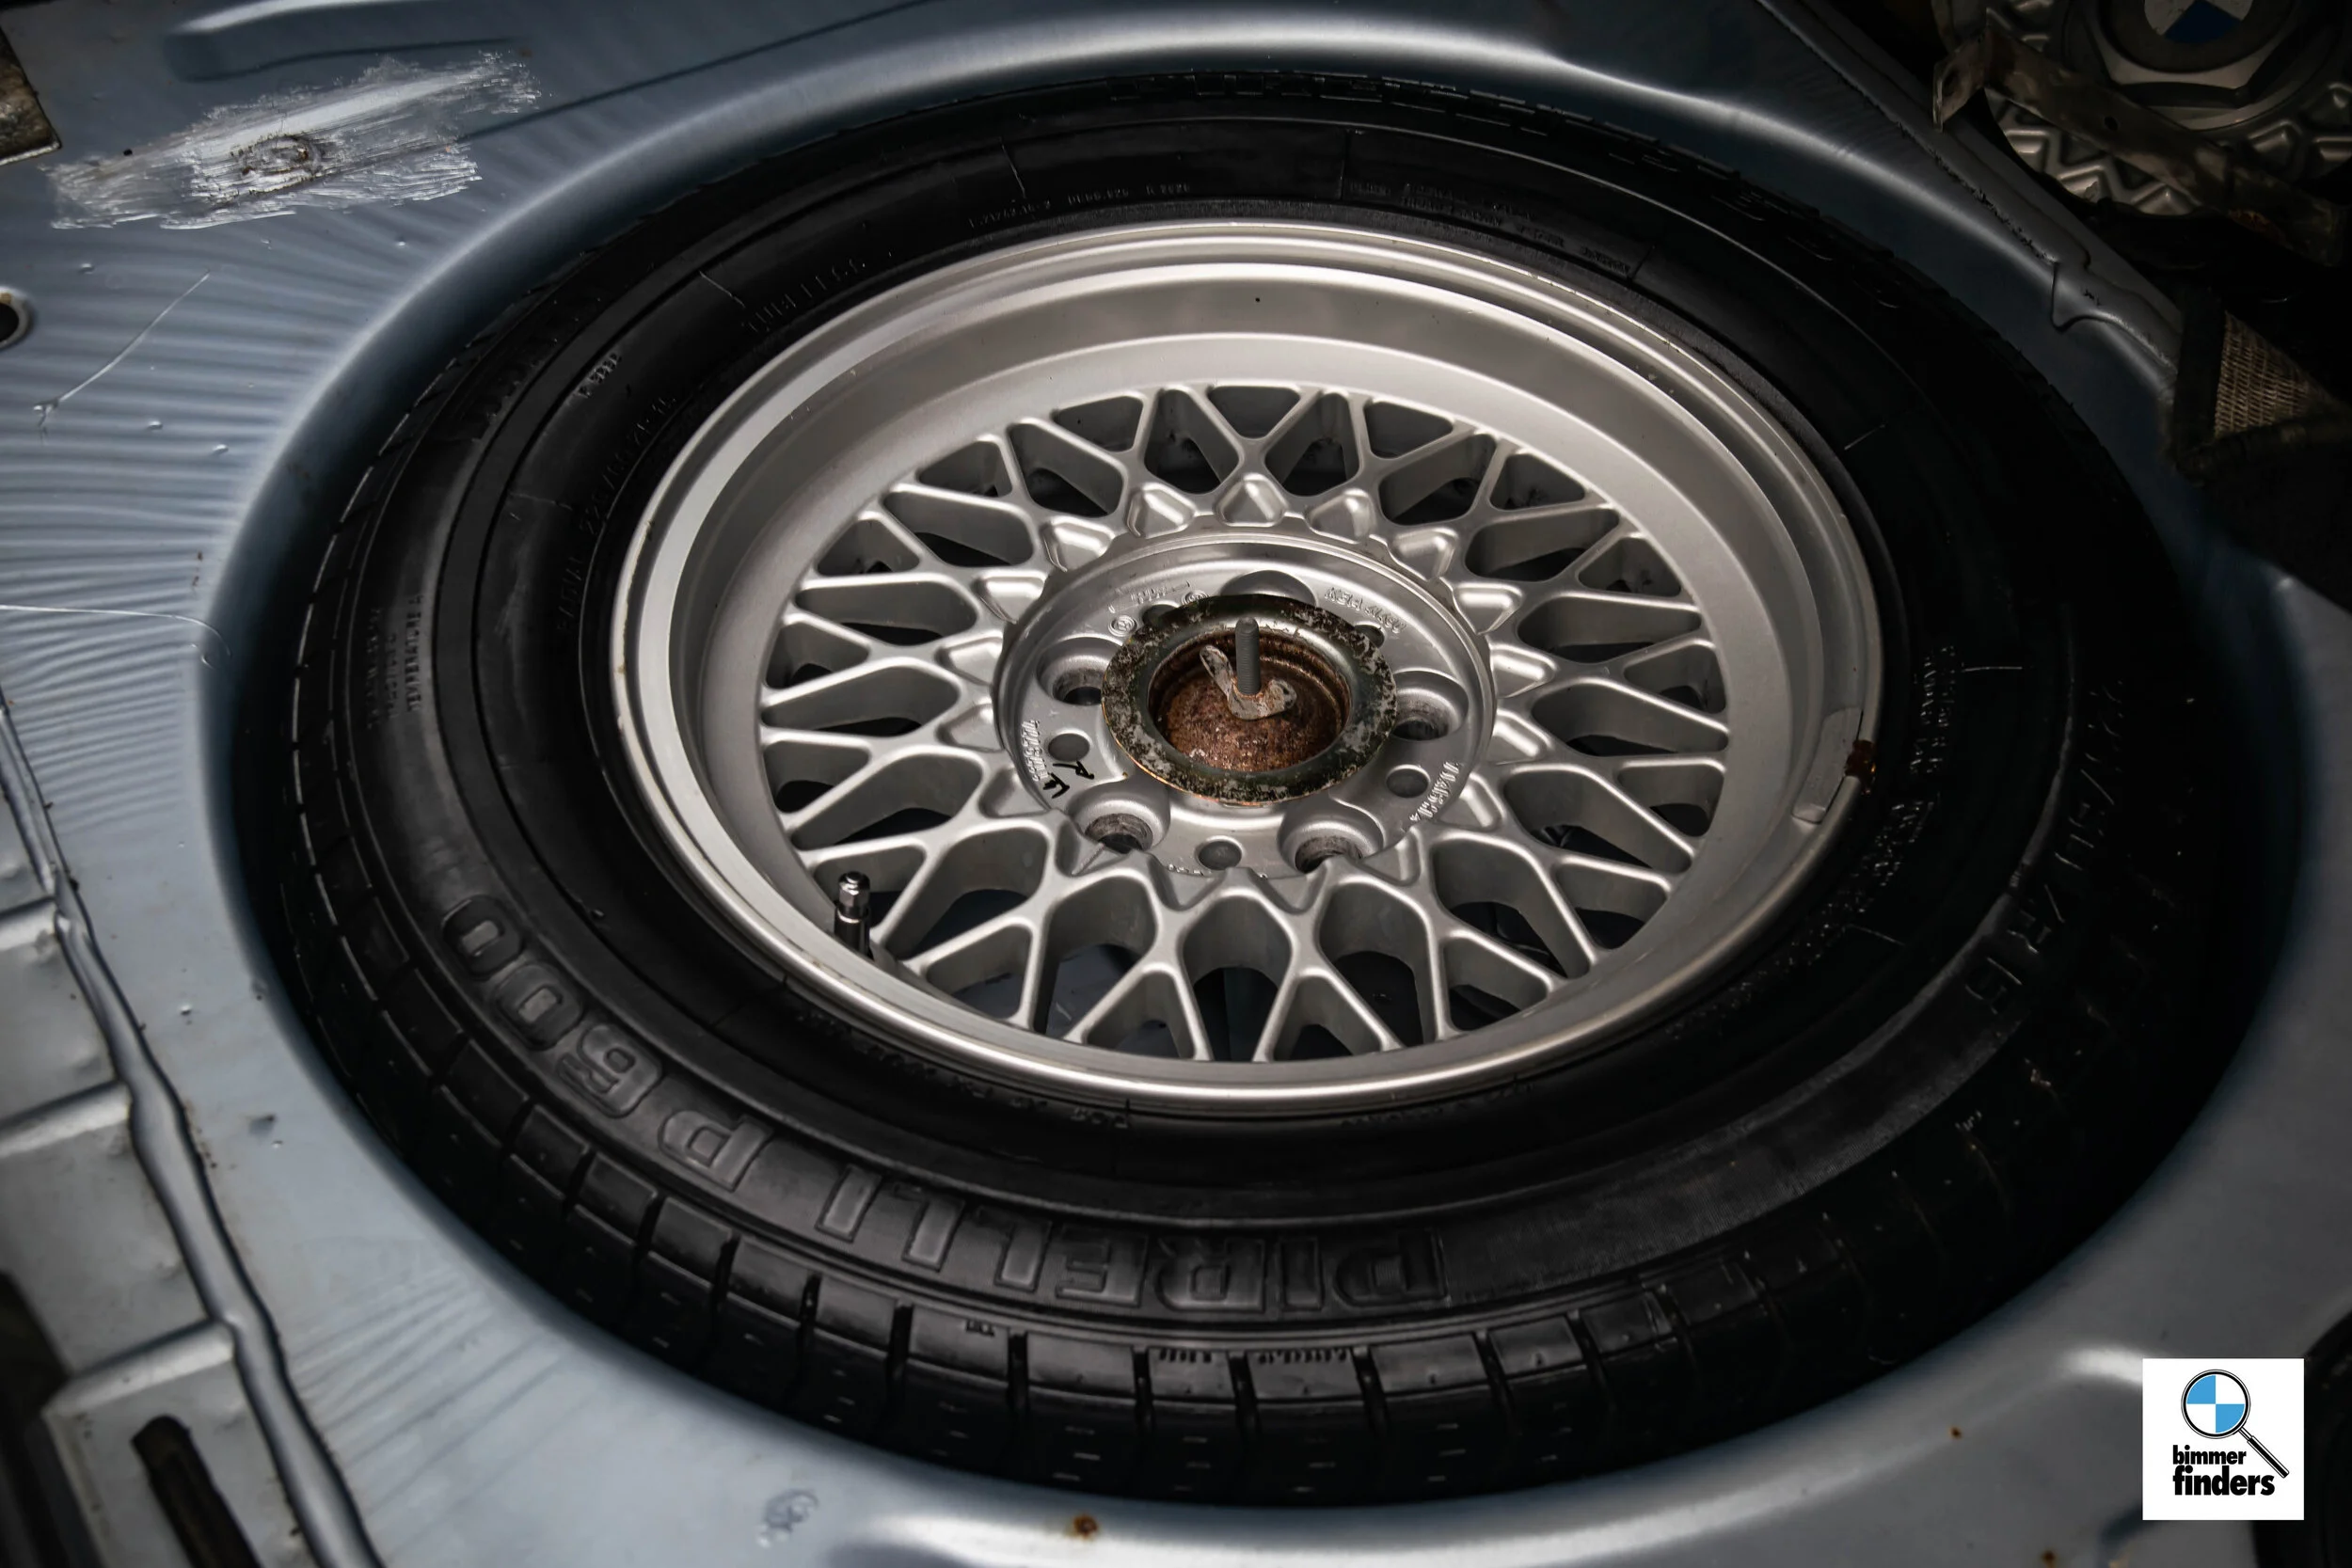
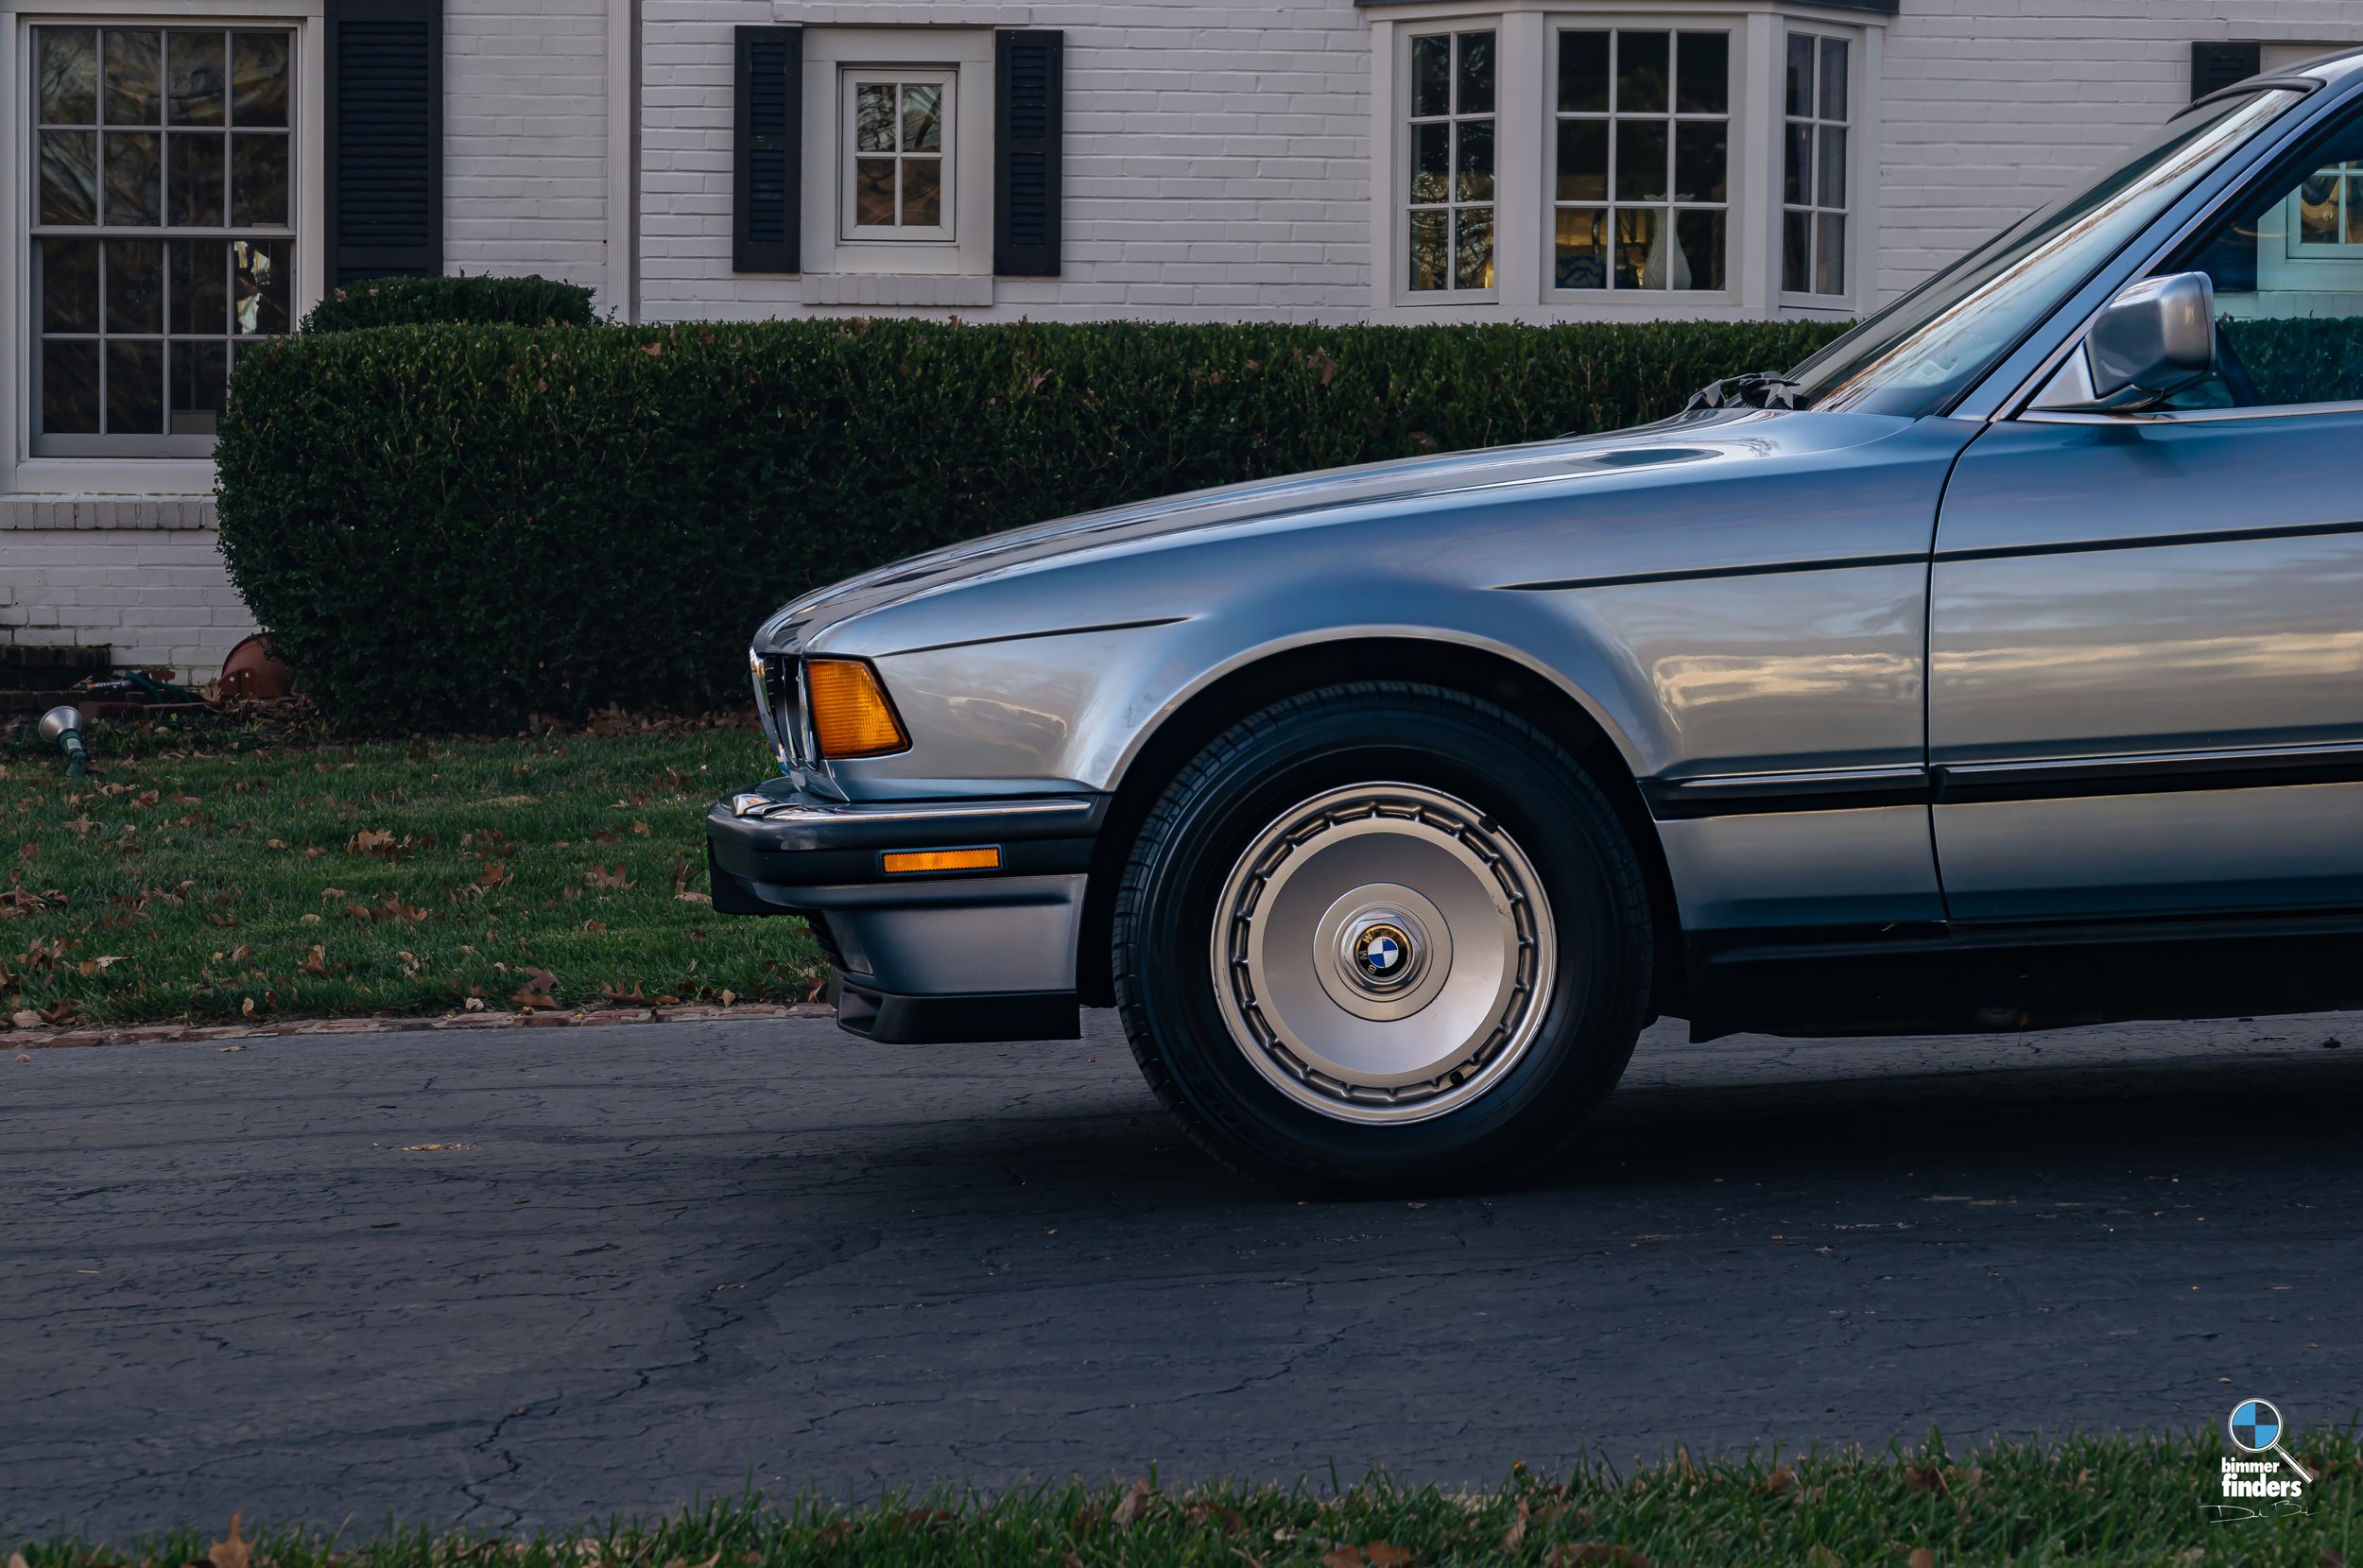
By this time I had also swapped the style 5 wheels out for the more appropriate, 750iL specific style 3 wheels. After having solved the fuel leak by replacing all of the rubber lines up front, I decided to make a brave move and drive it two hours home.
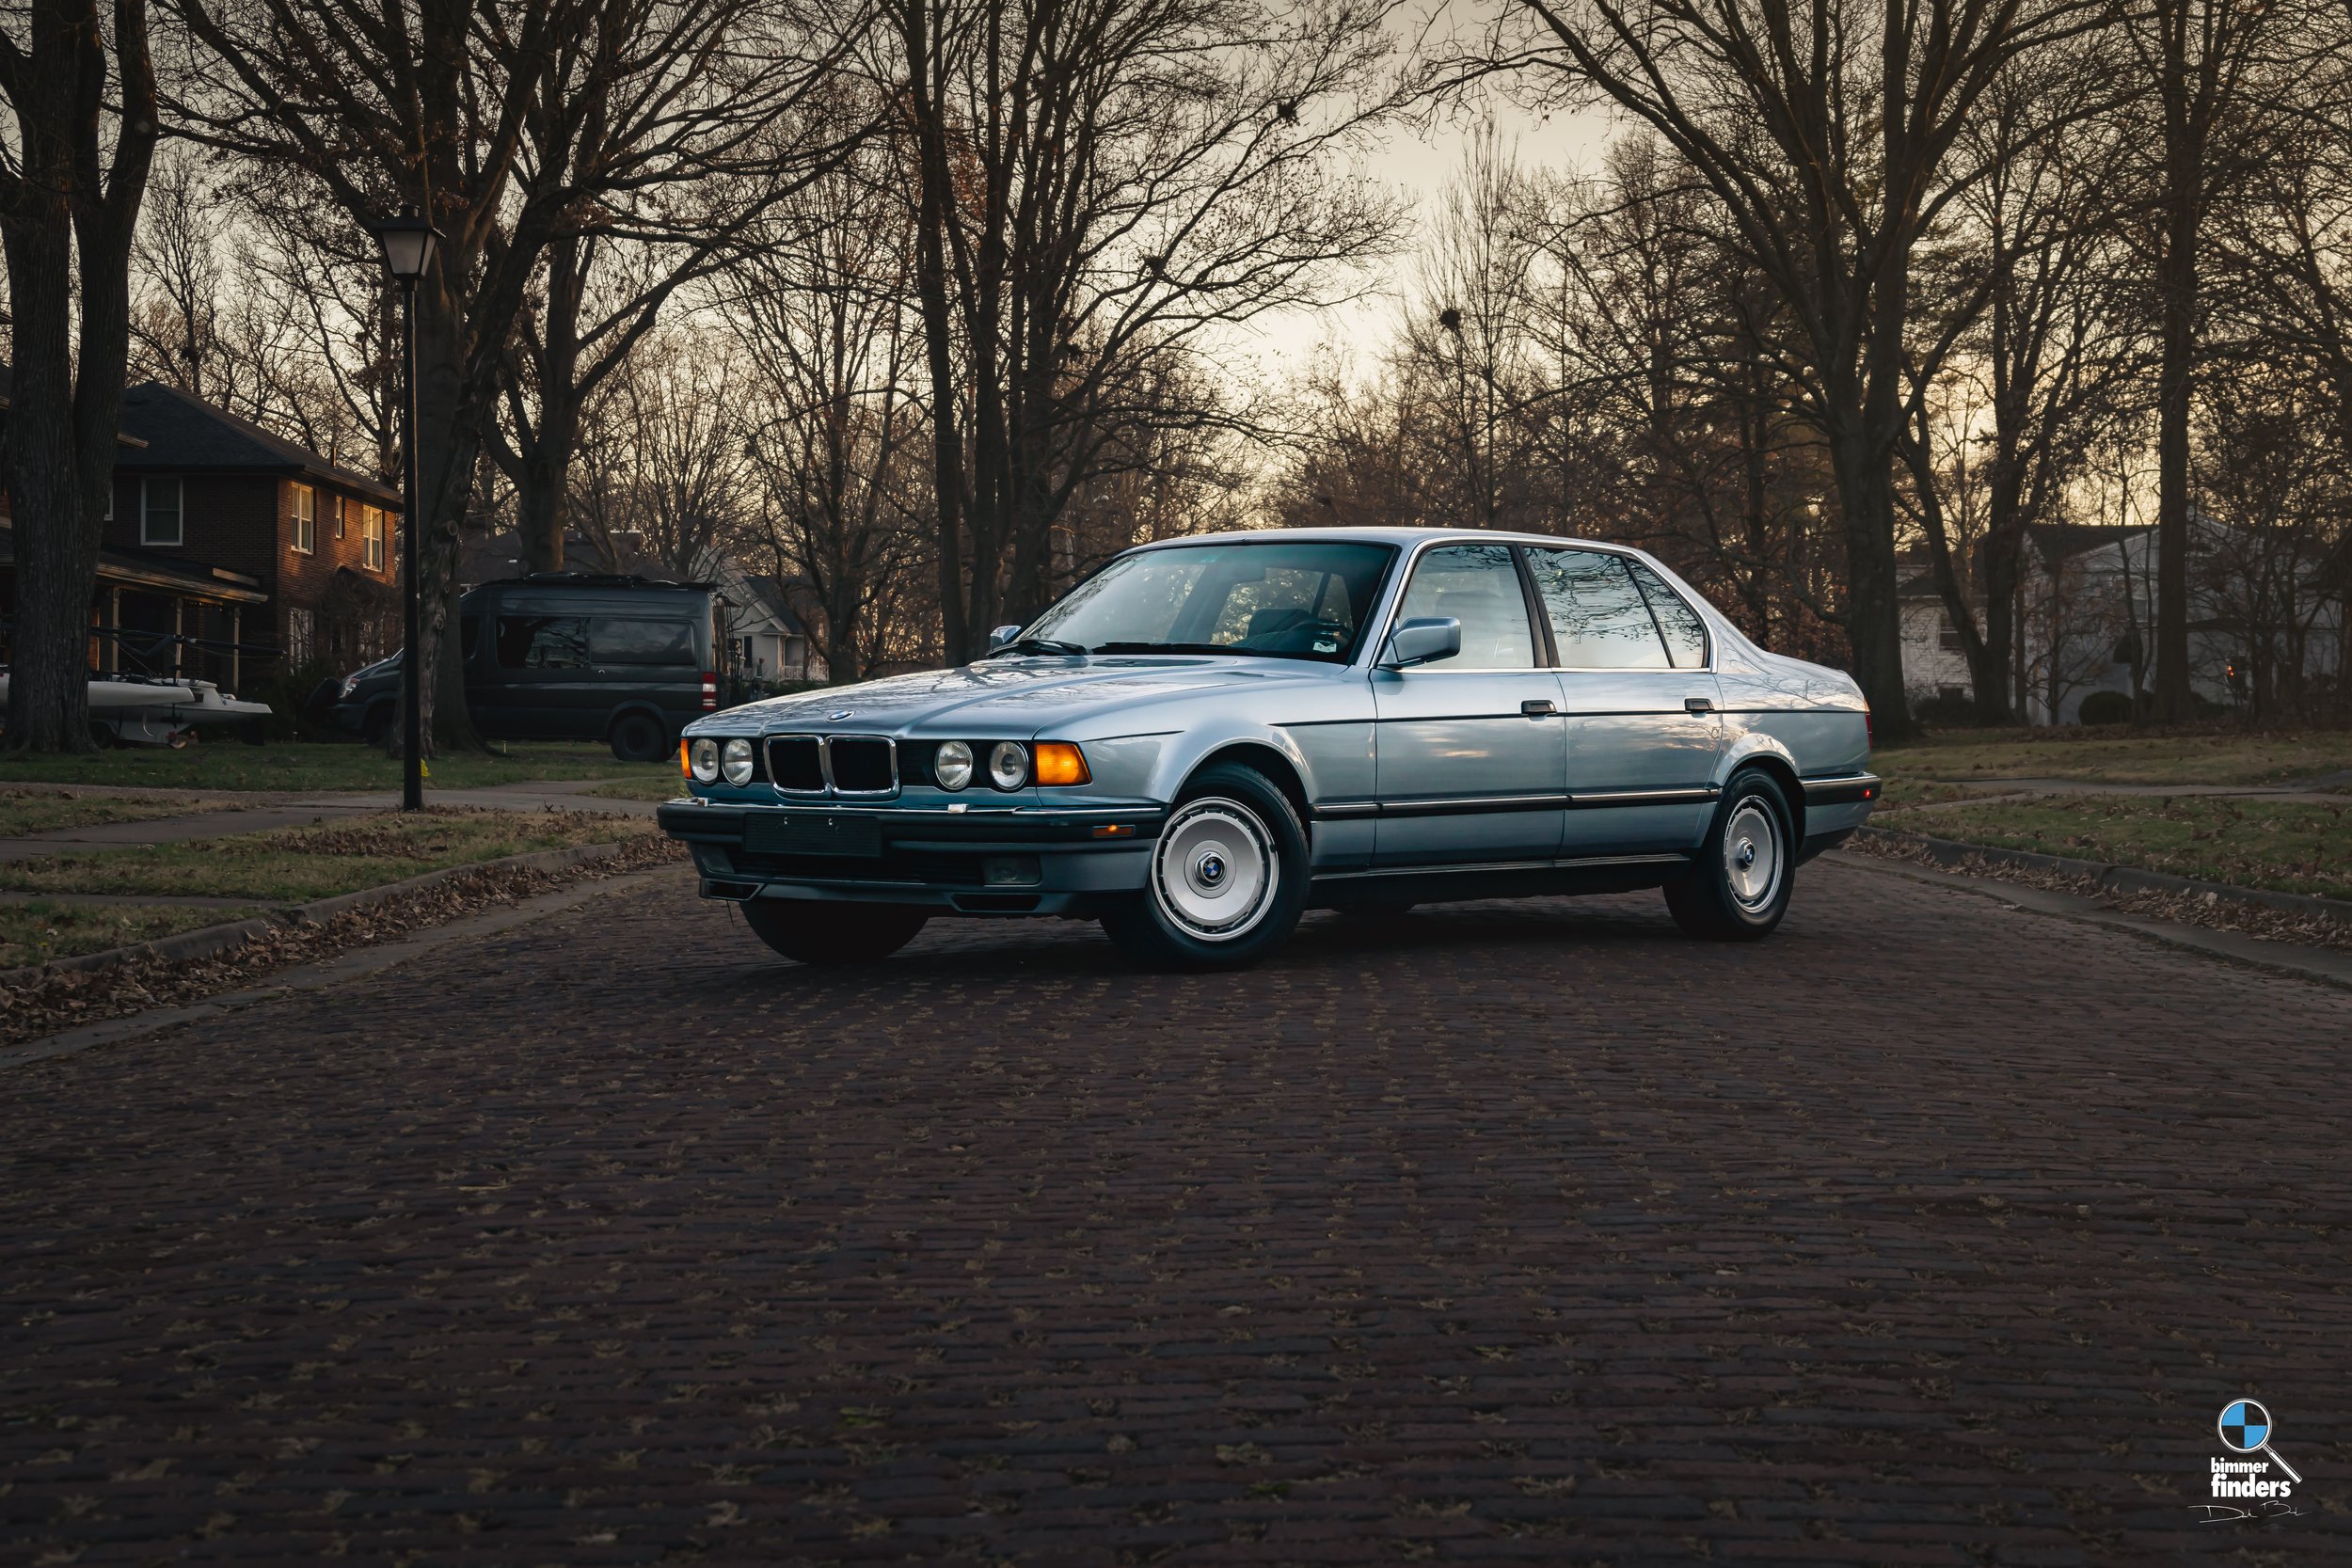
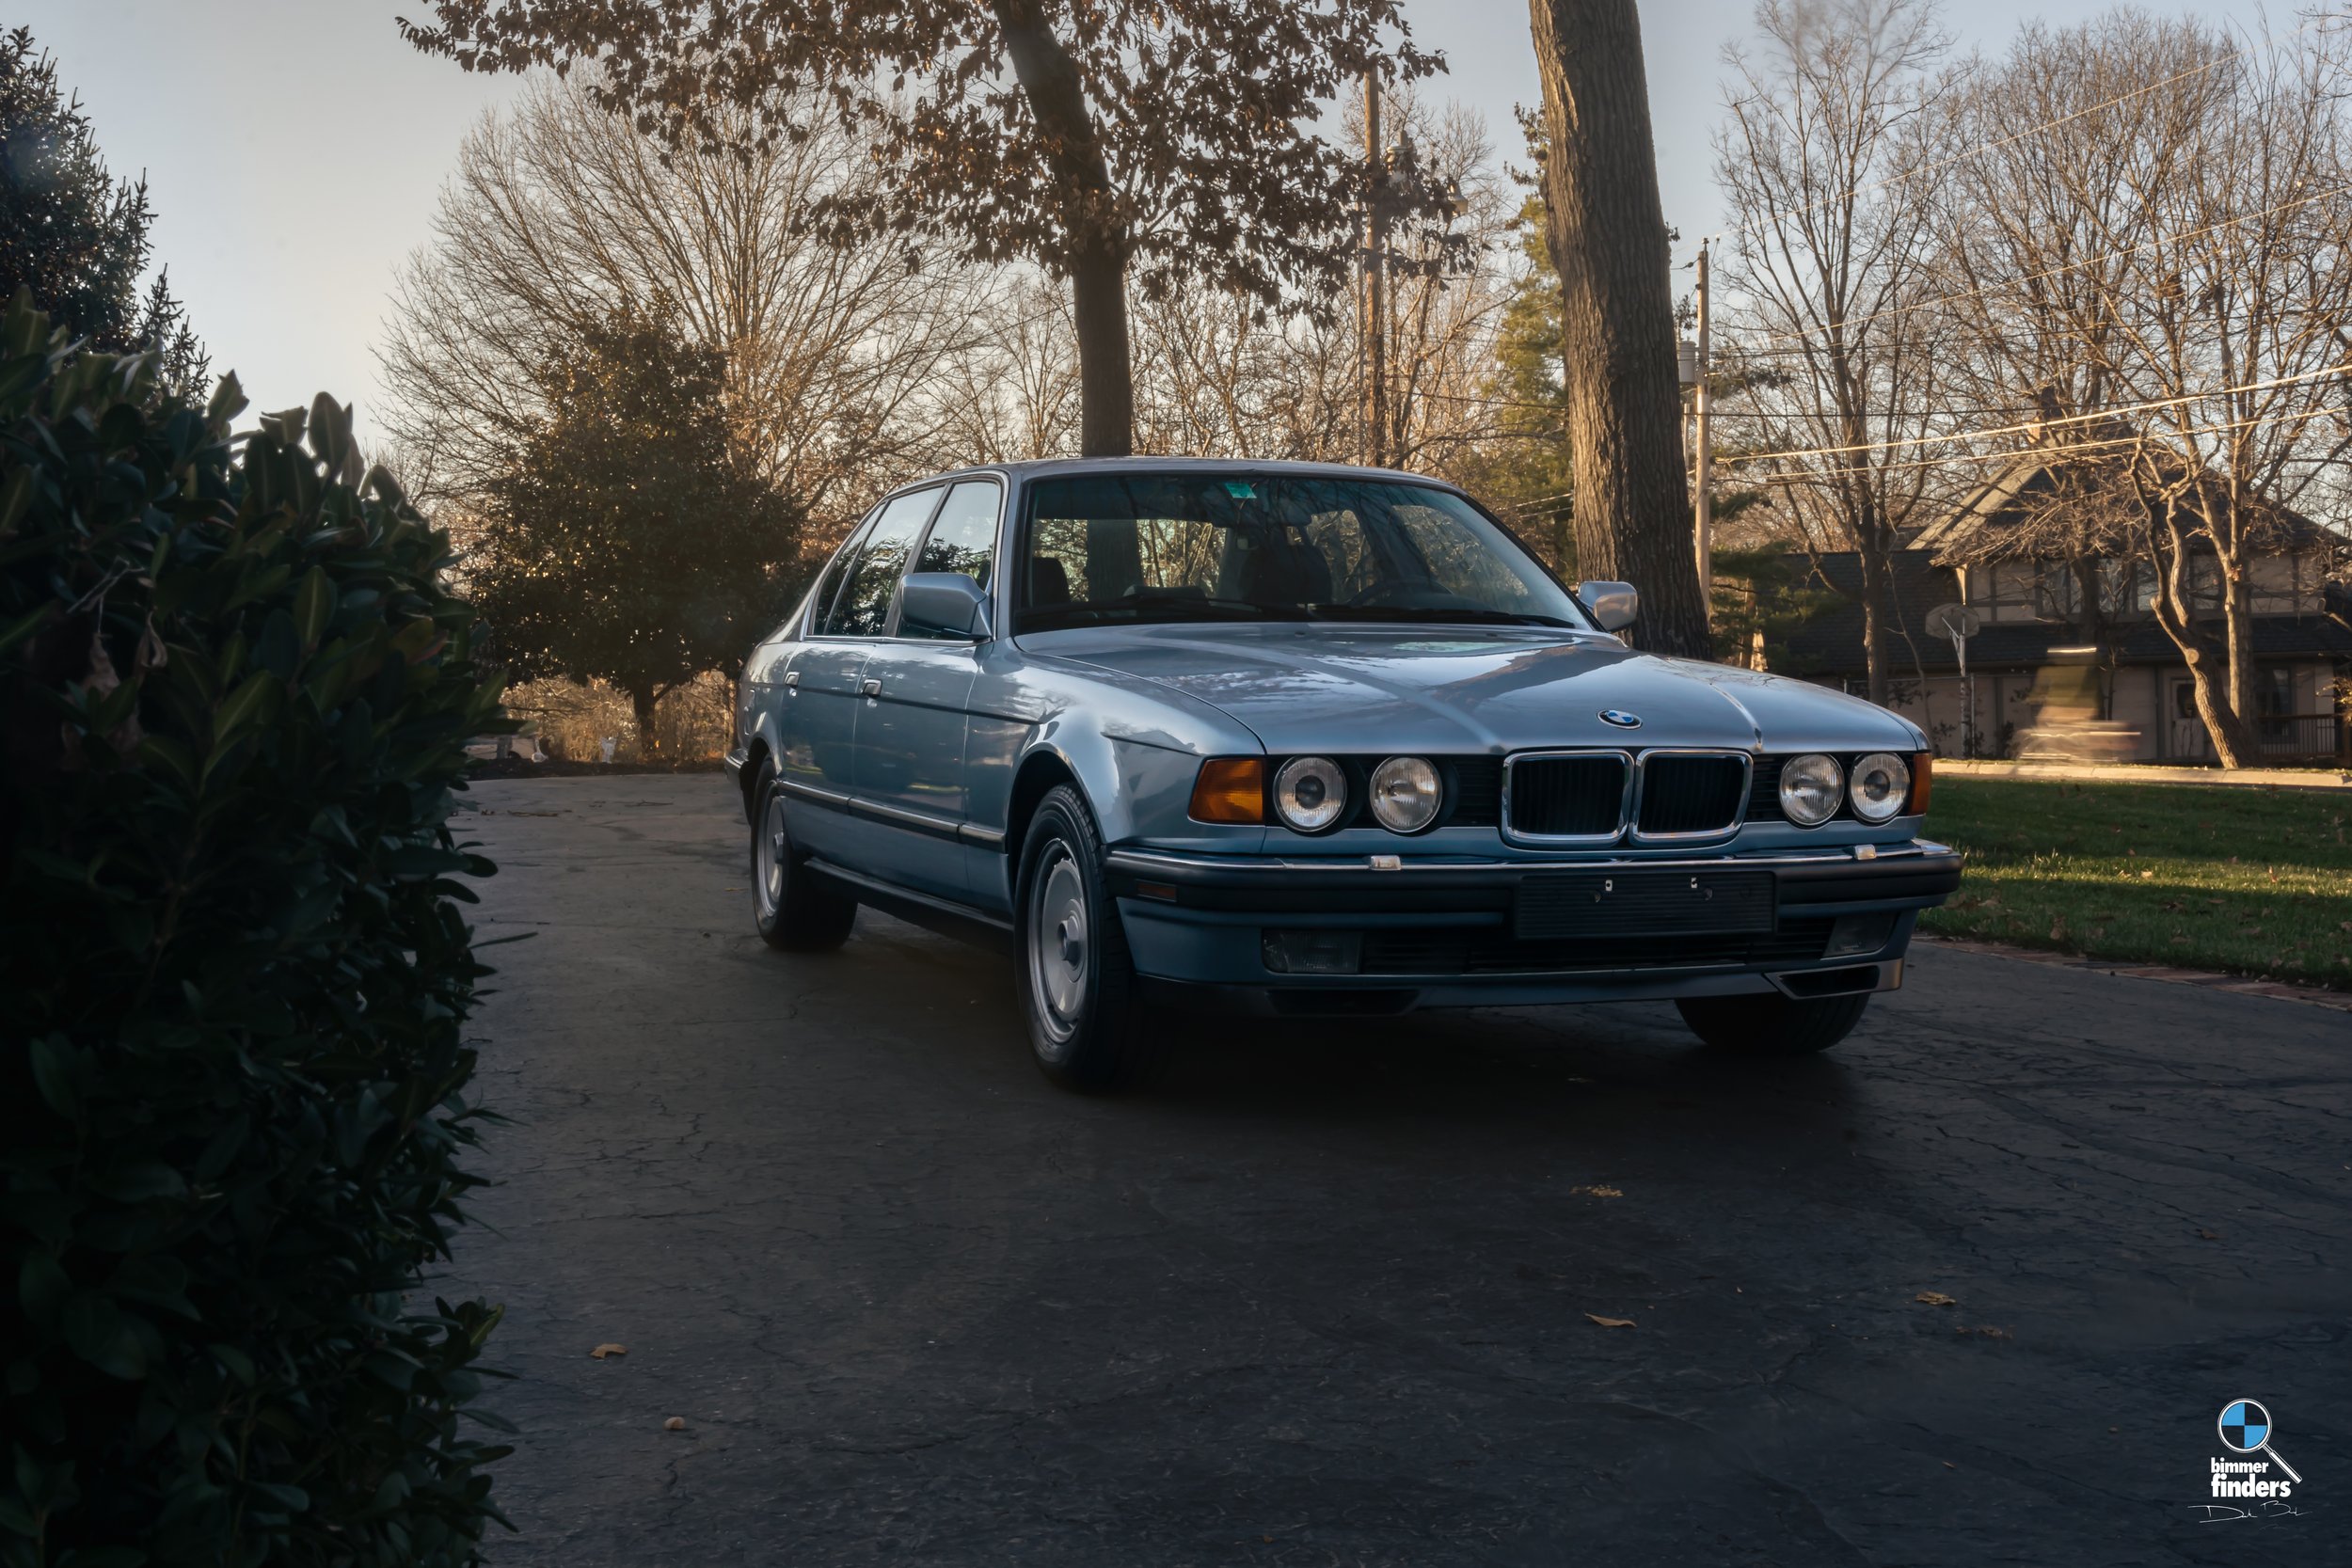
Stopped at a spot I’ve wanted to shoot at for a while:
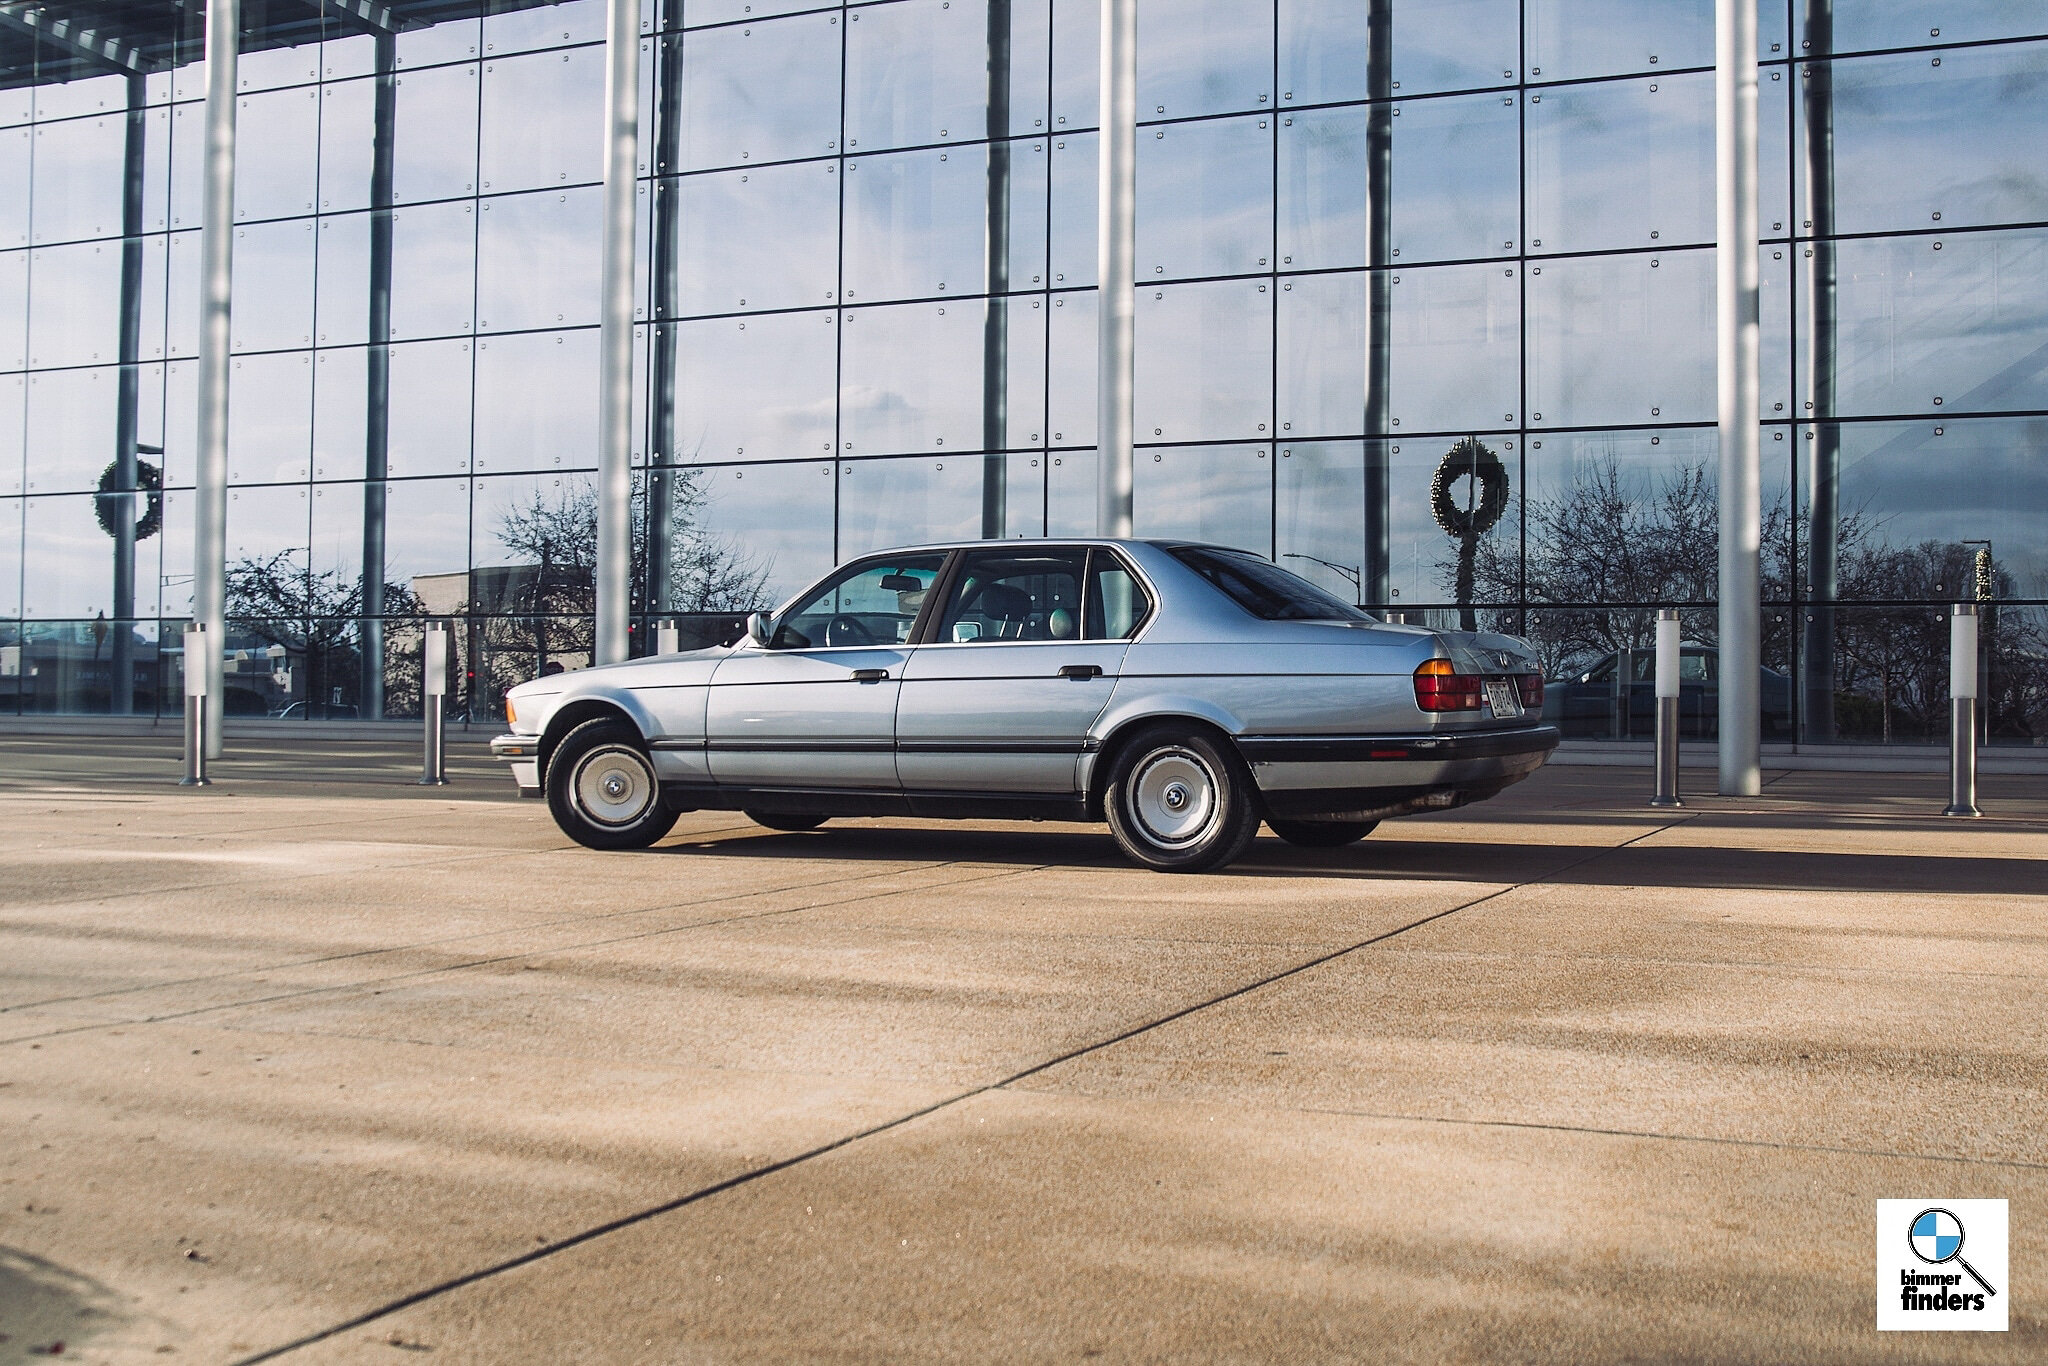
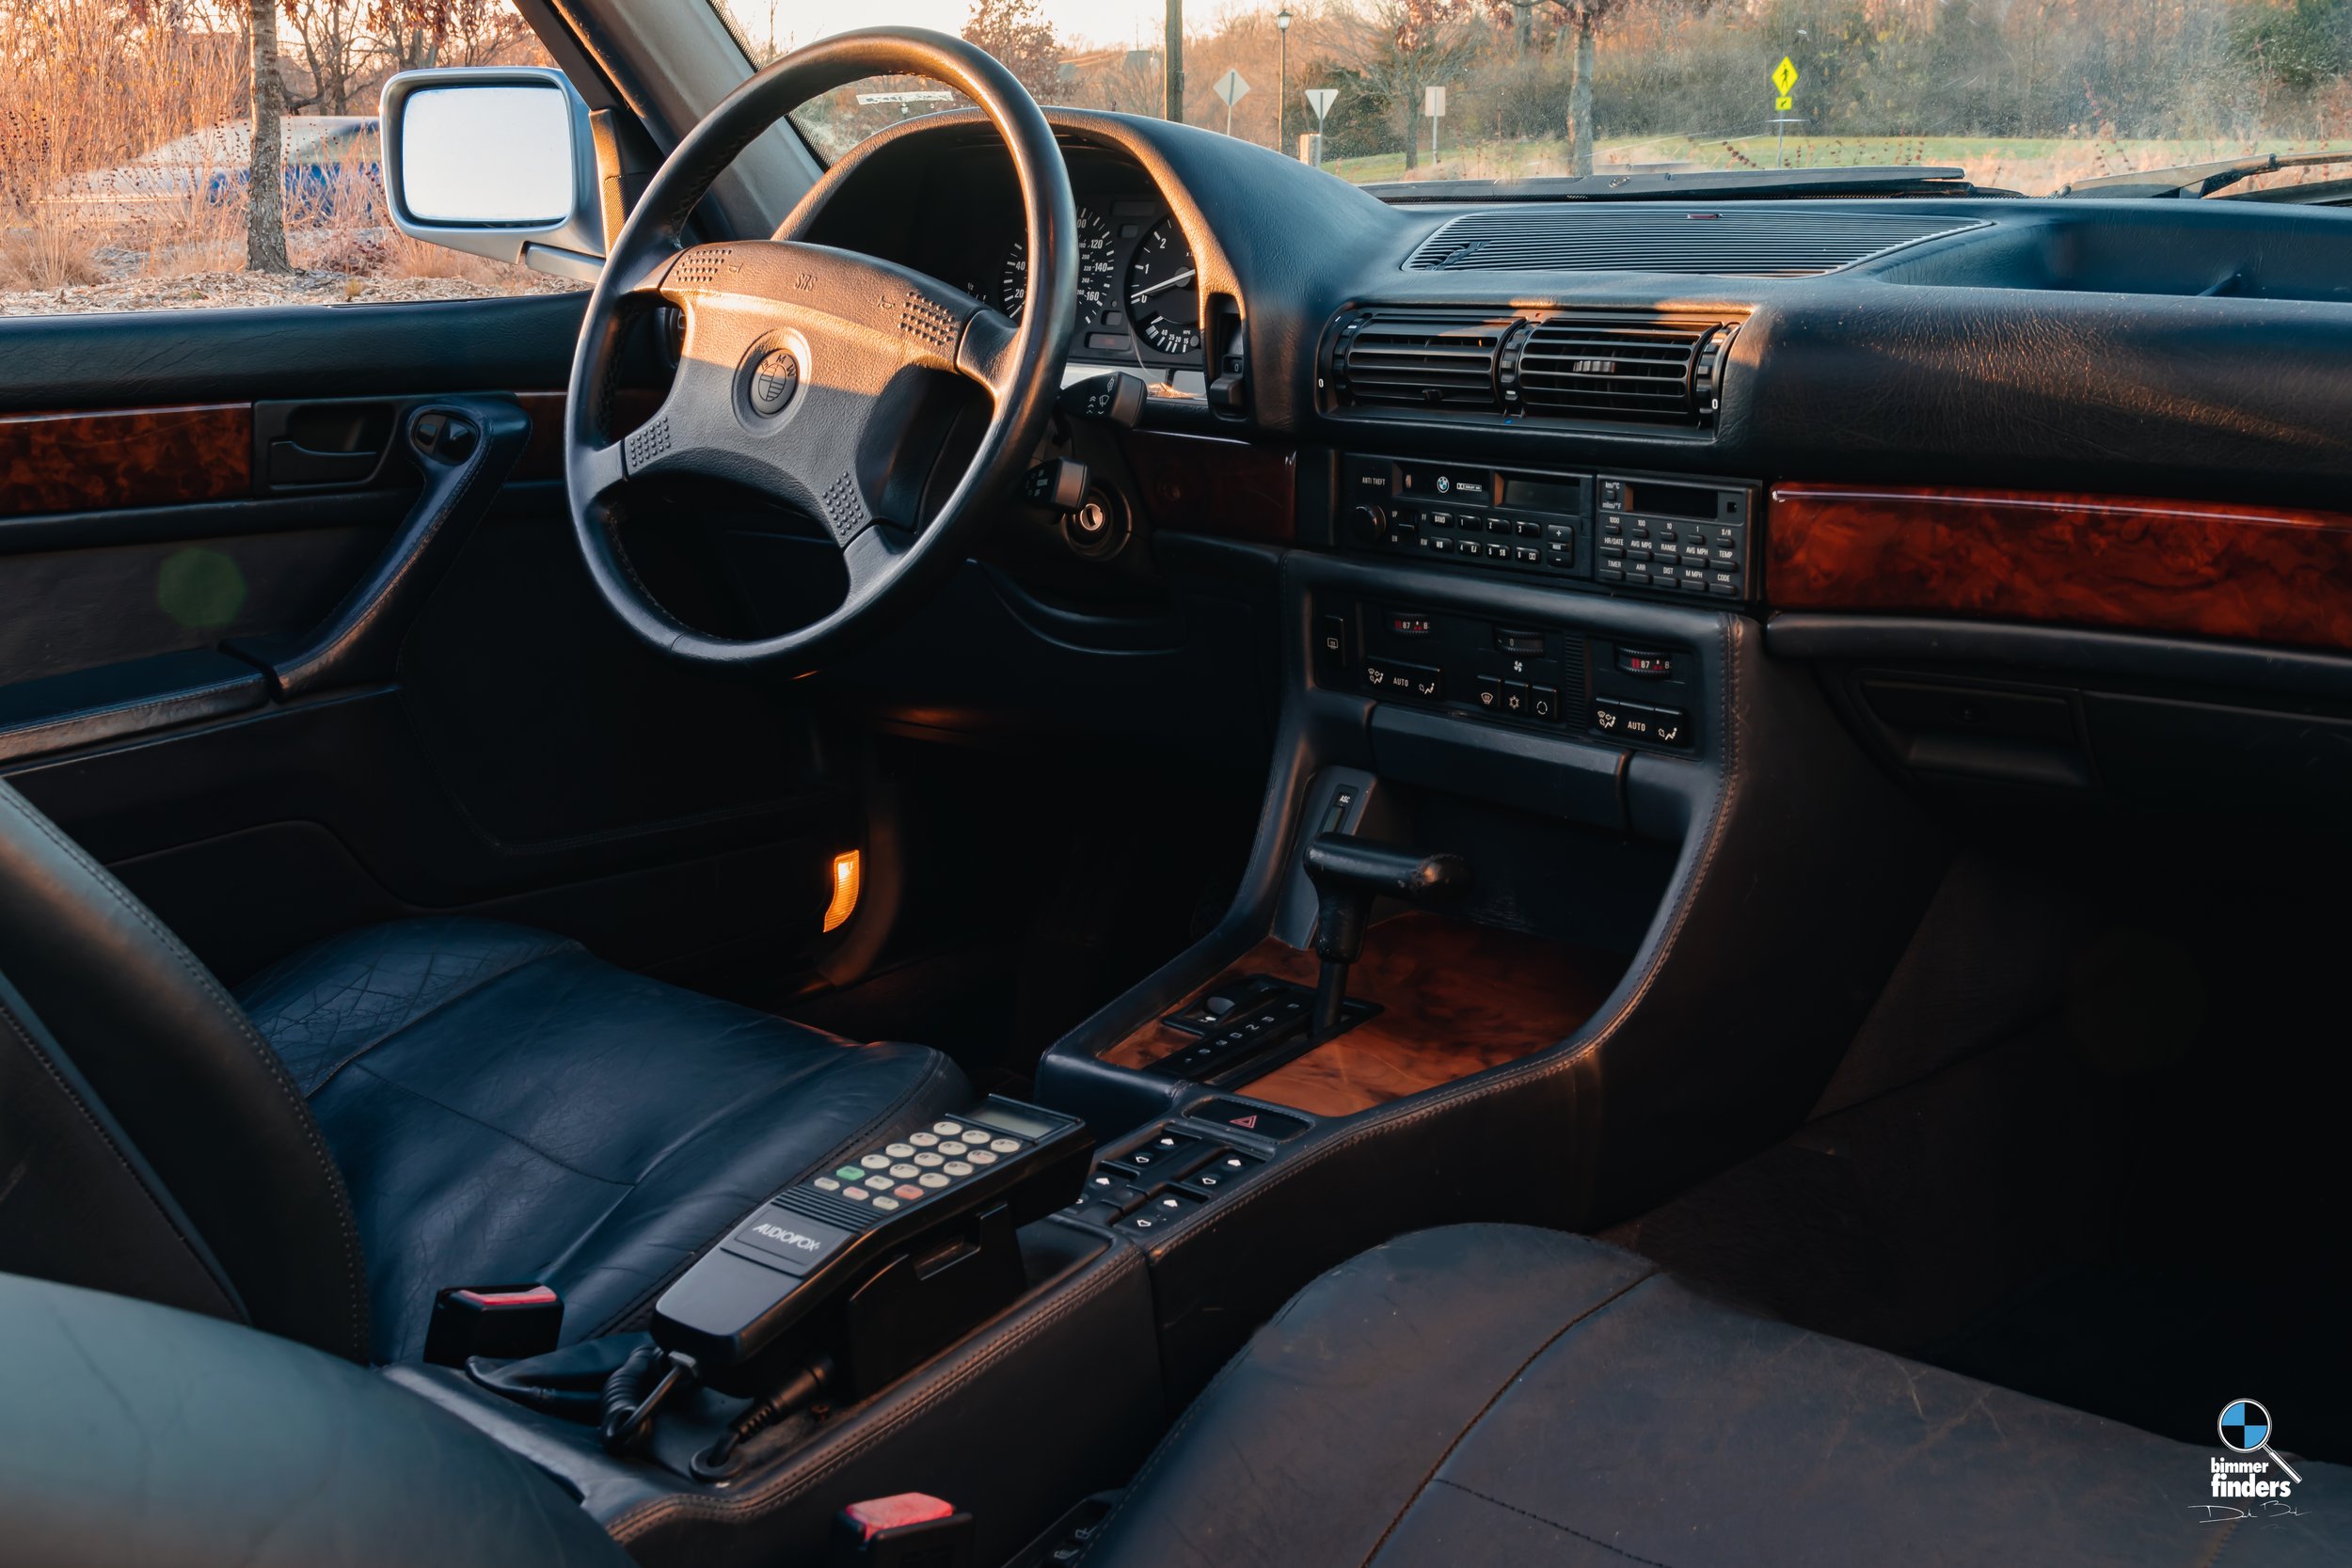
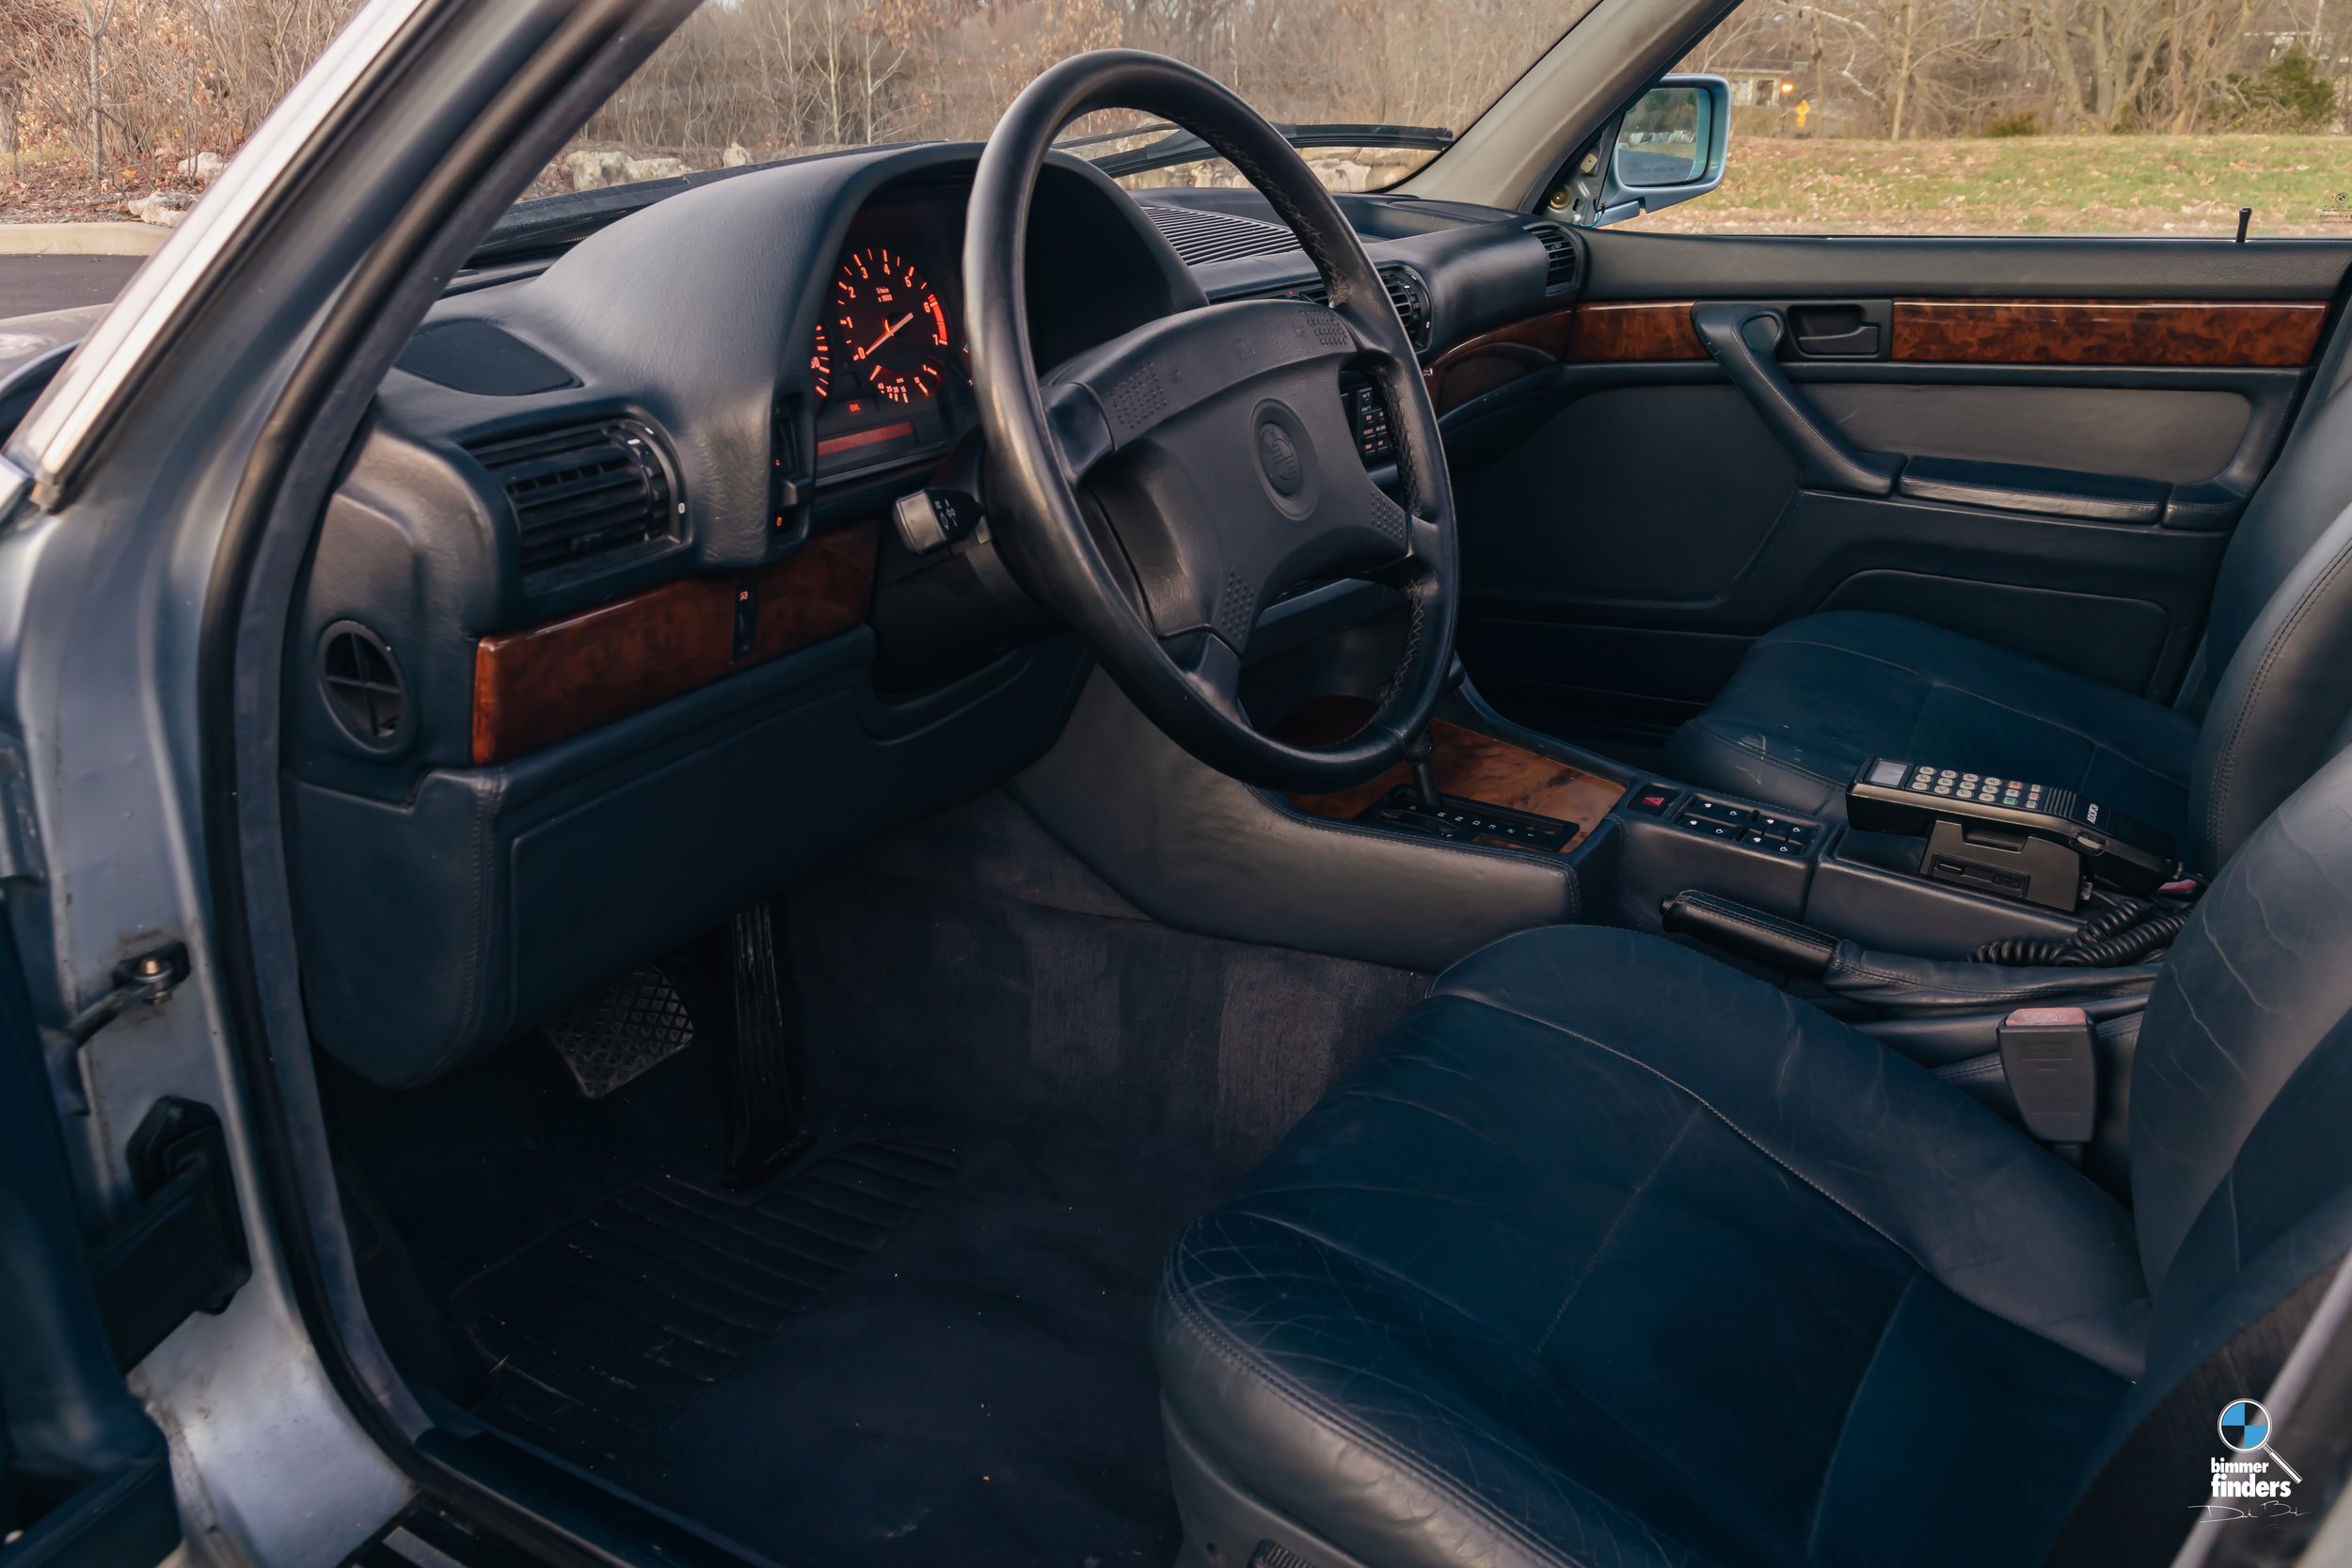
Safety first though before hitting the road - radar detector mounted. The car made it home without a single hiccup, even reaching higher speeds with ease. Even the cruise control works.

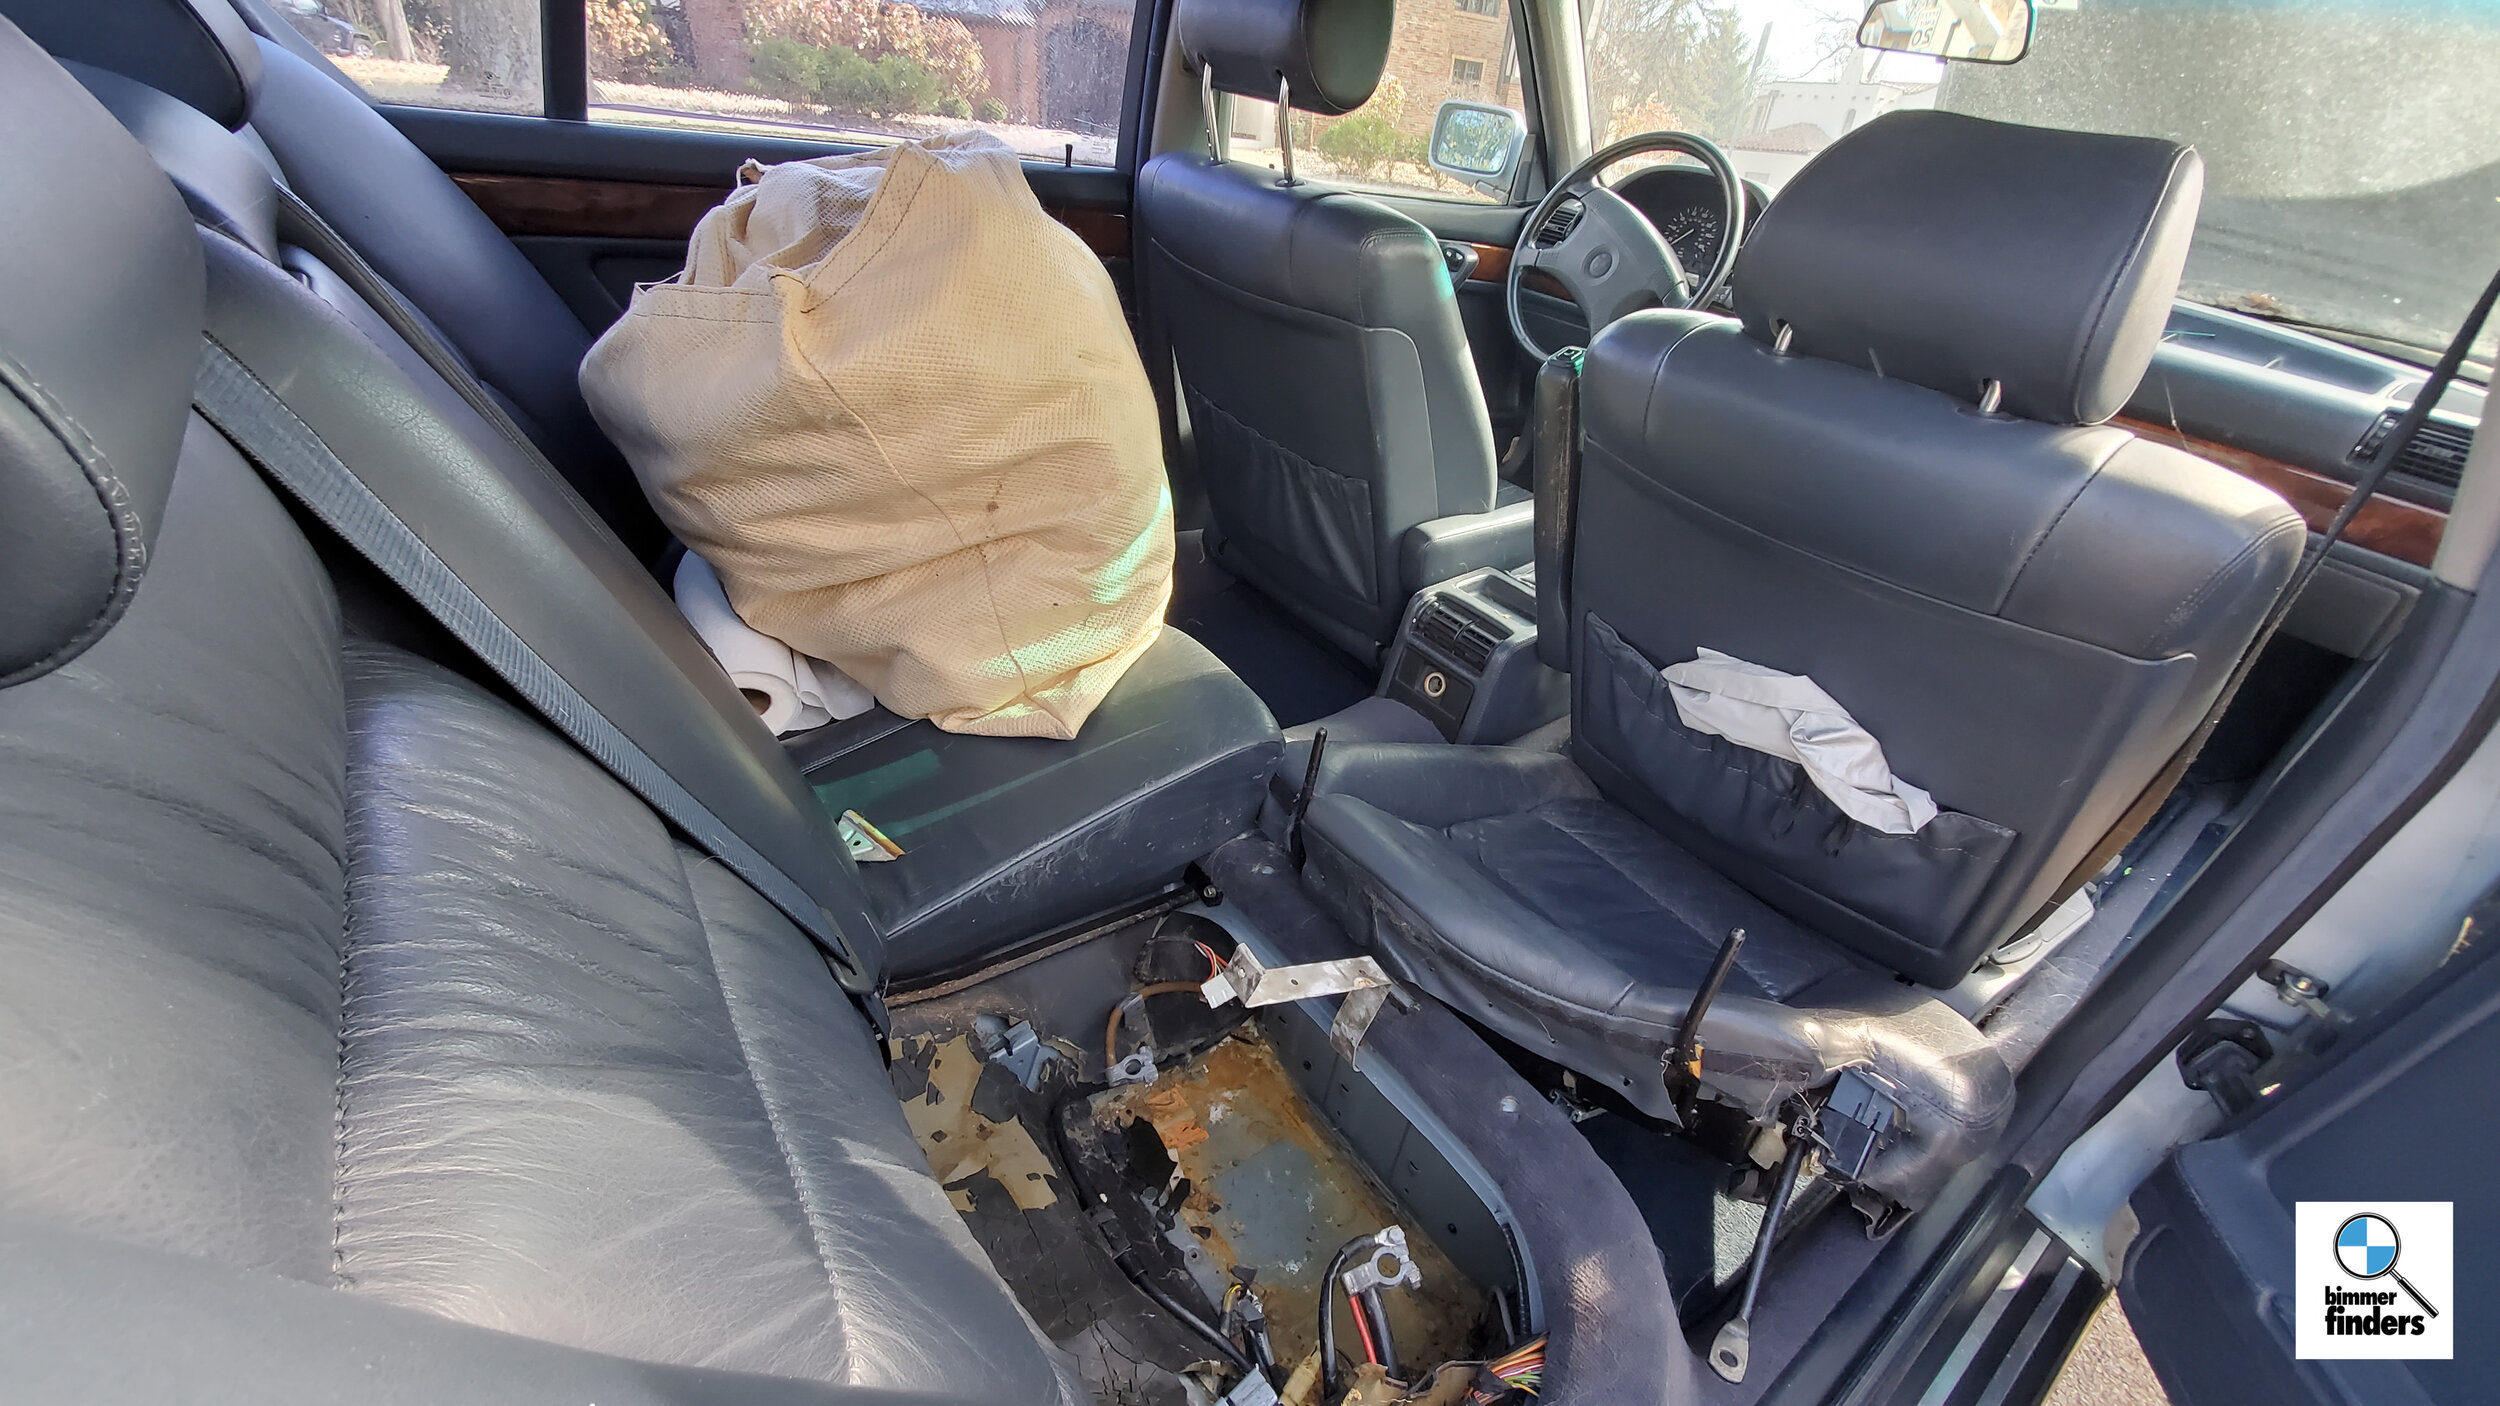
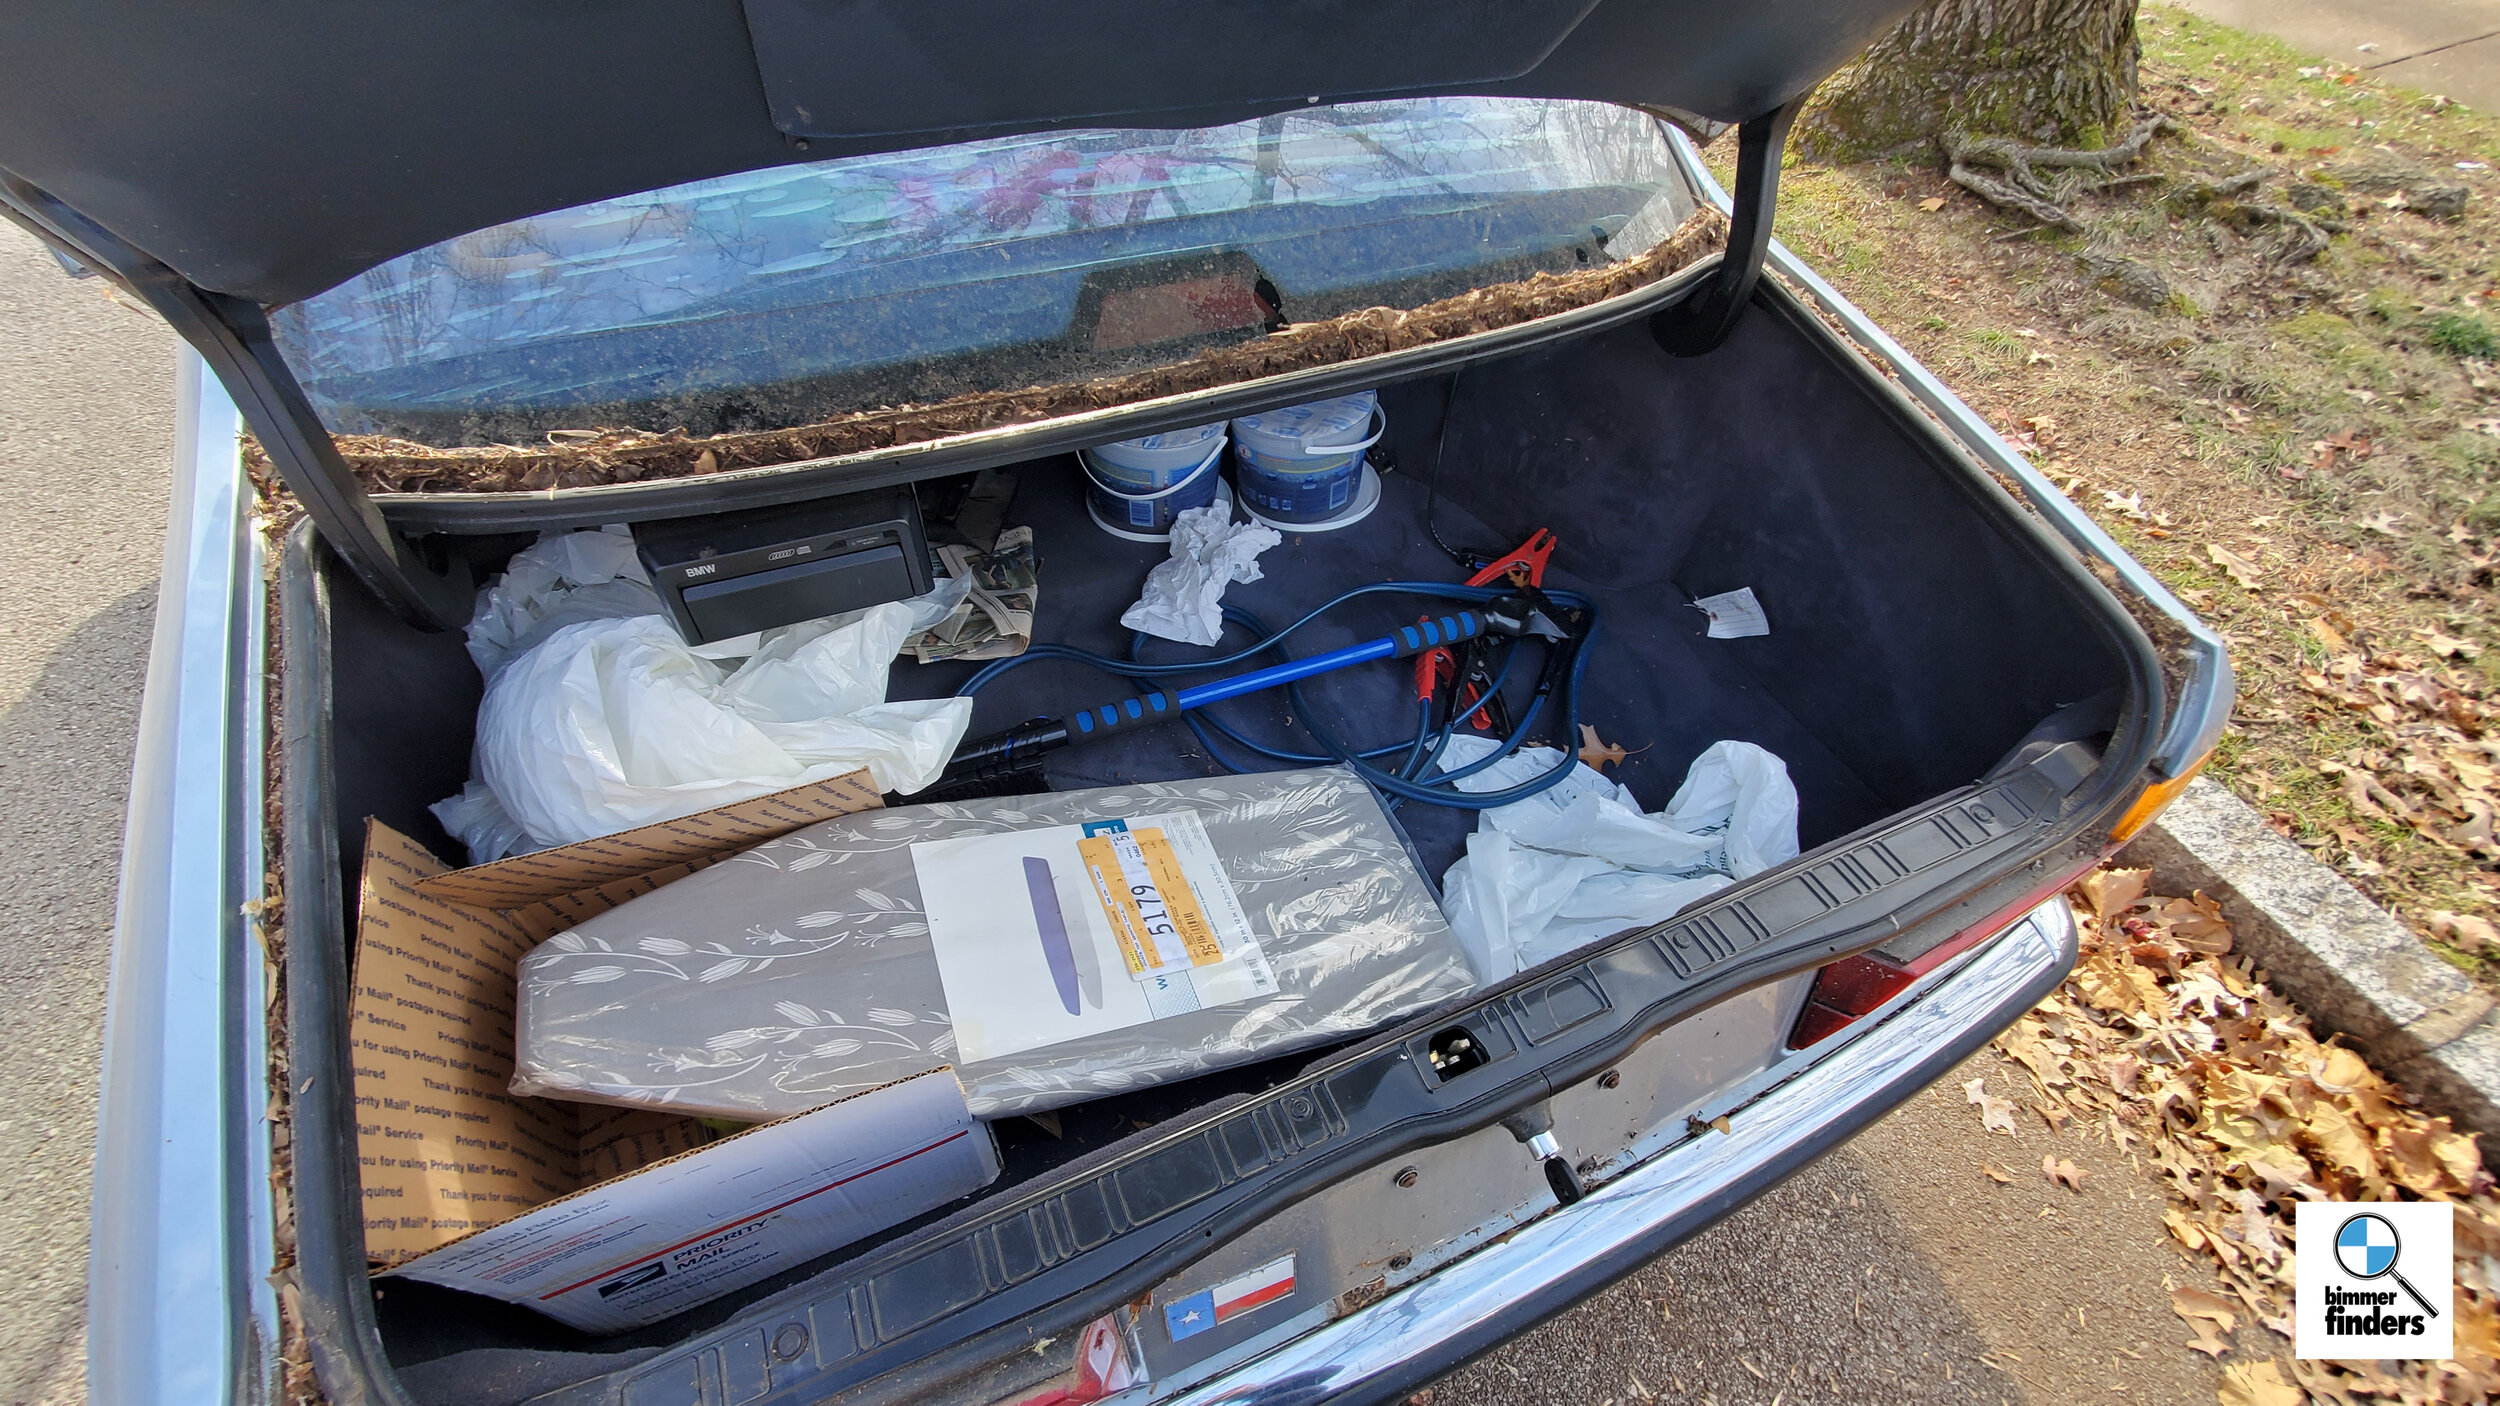
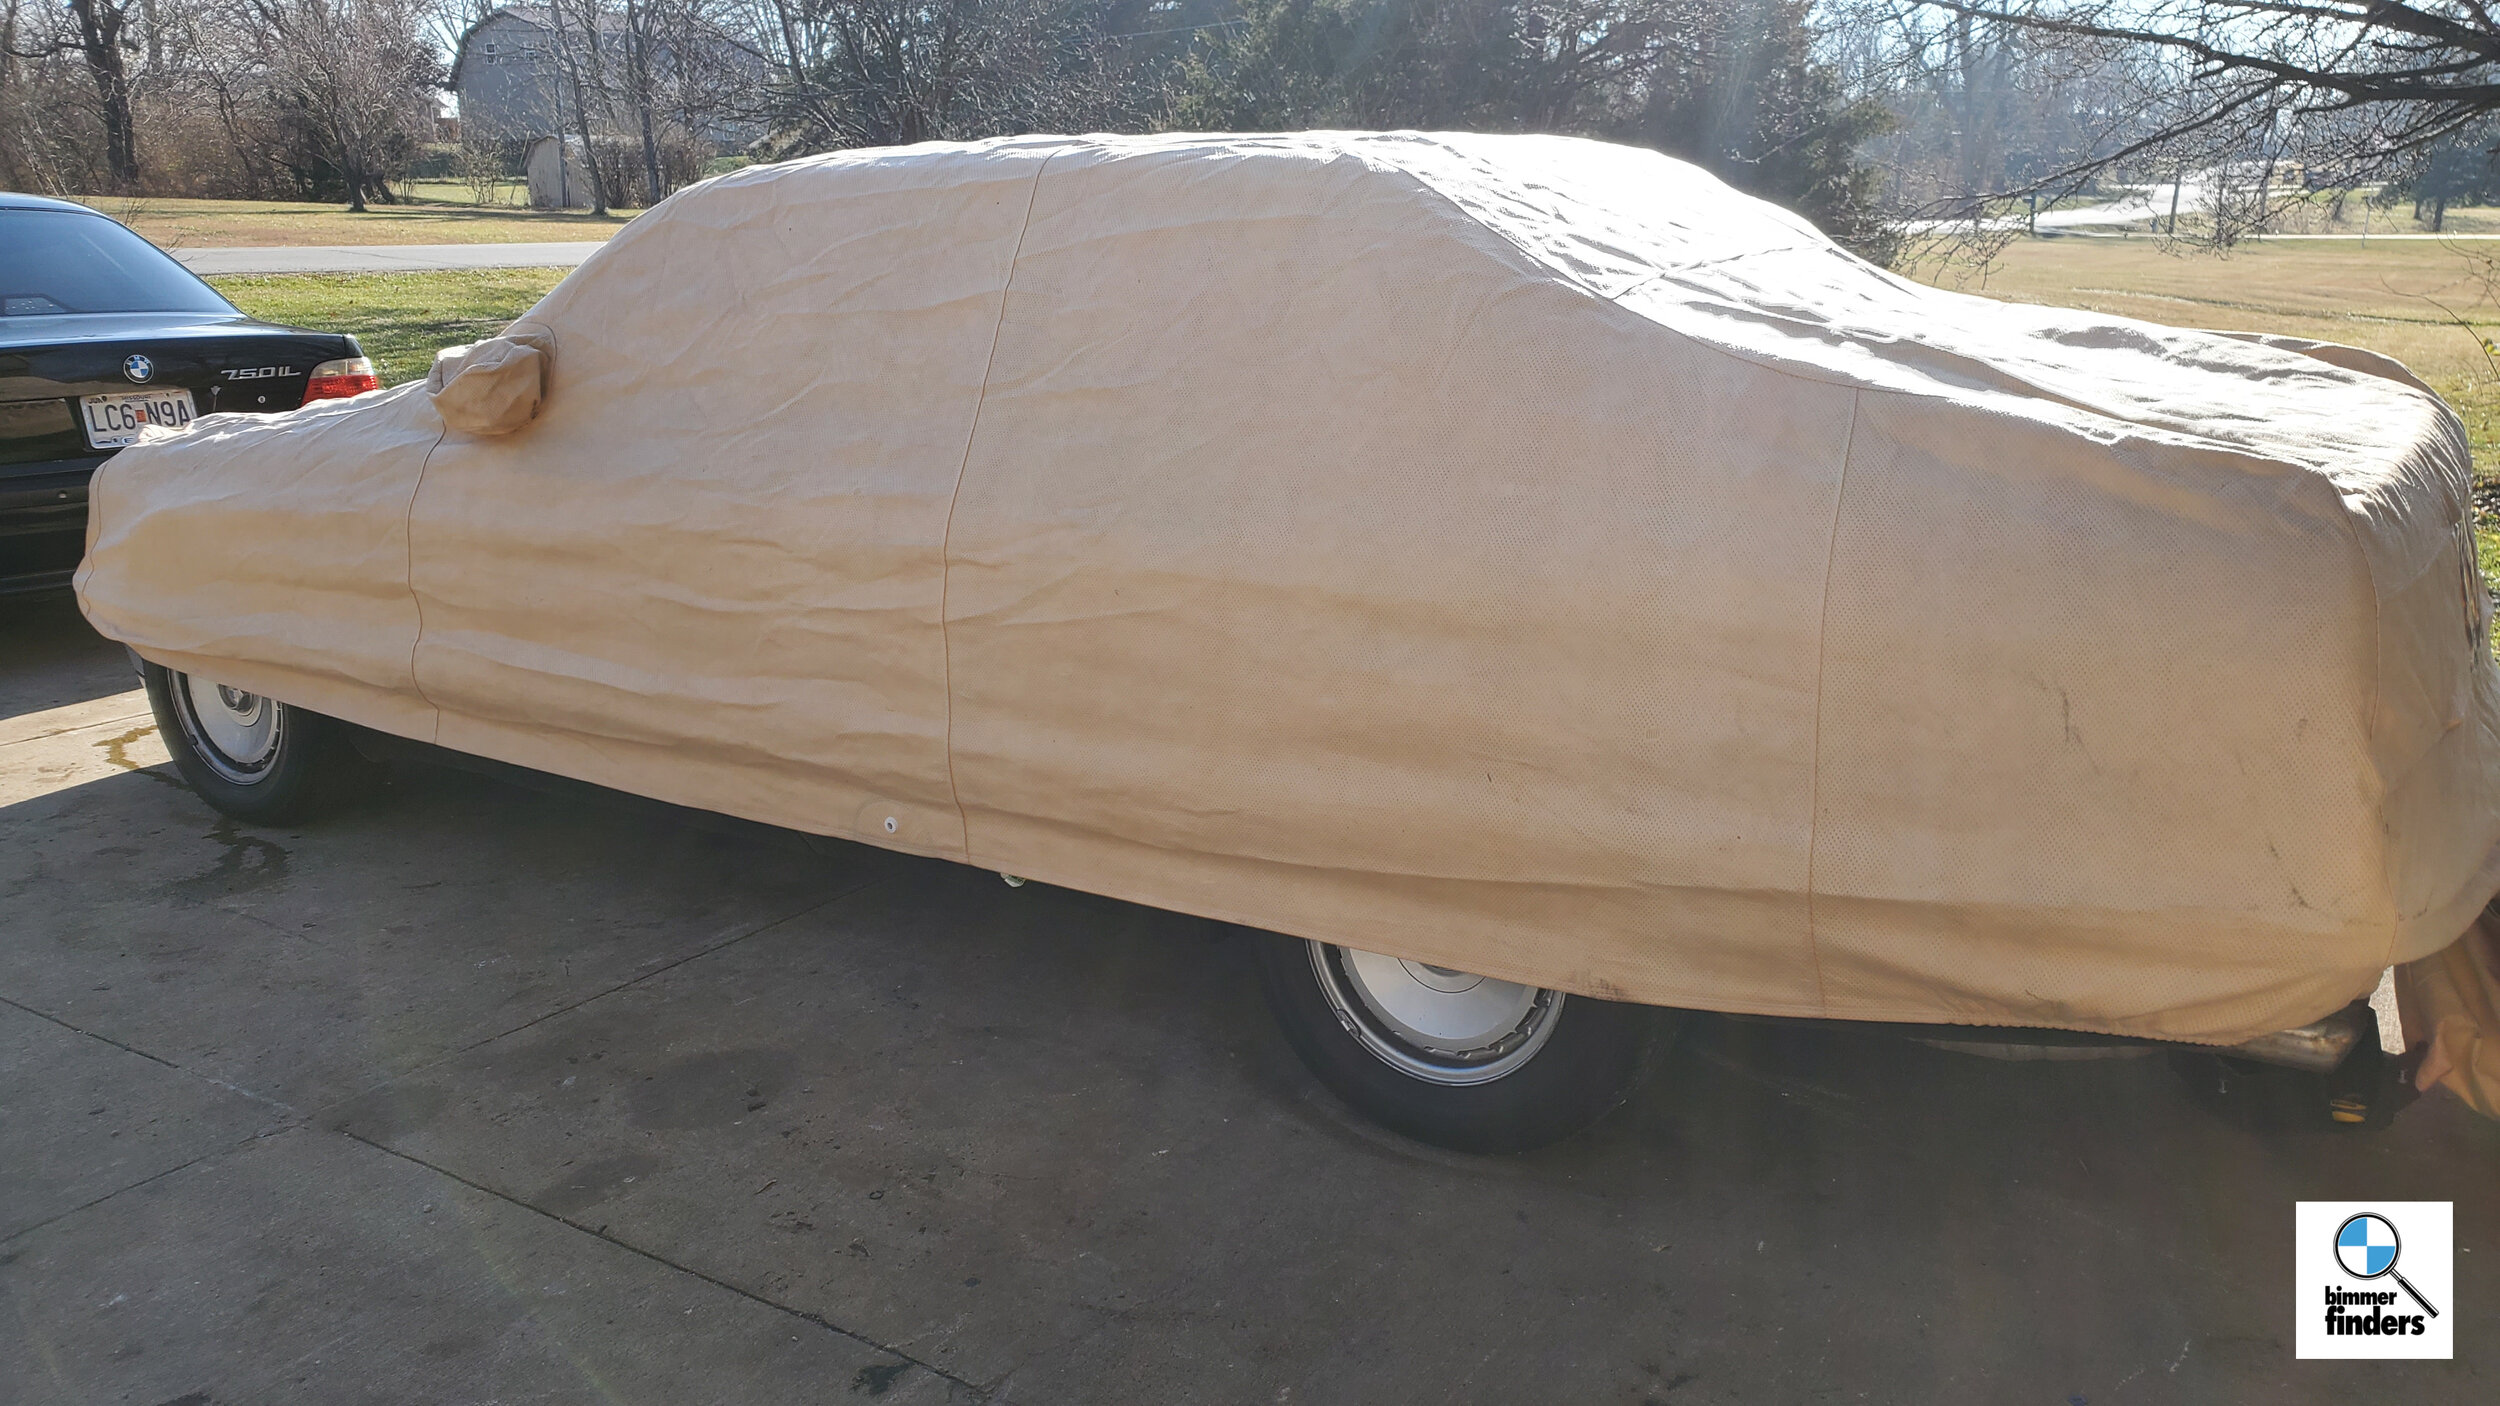
Of course though, there were a few more kinks to work out after it sat for another few weeks at the house in the frigid February cold — the radiator had sprung a leak between the aluminum and plastic housing on the side. I replaced it with a new Nissens unit and all was well. Also, this car came with an e32 specific car cover(the big cream colored bag in the first few interior shots), which was nice.
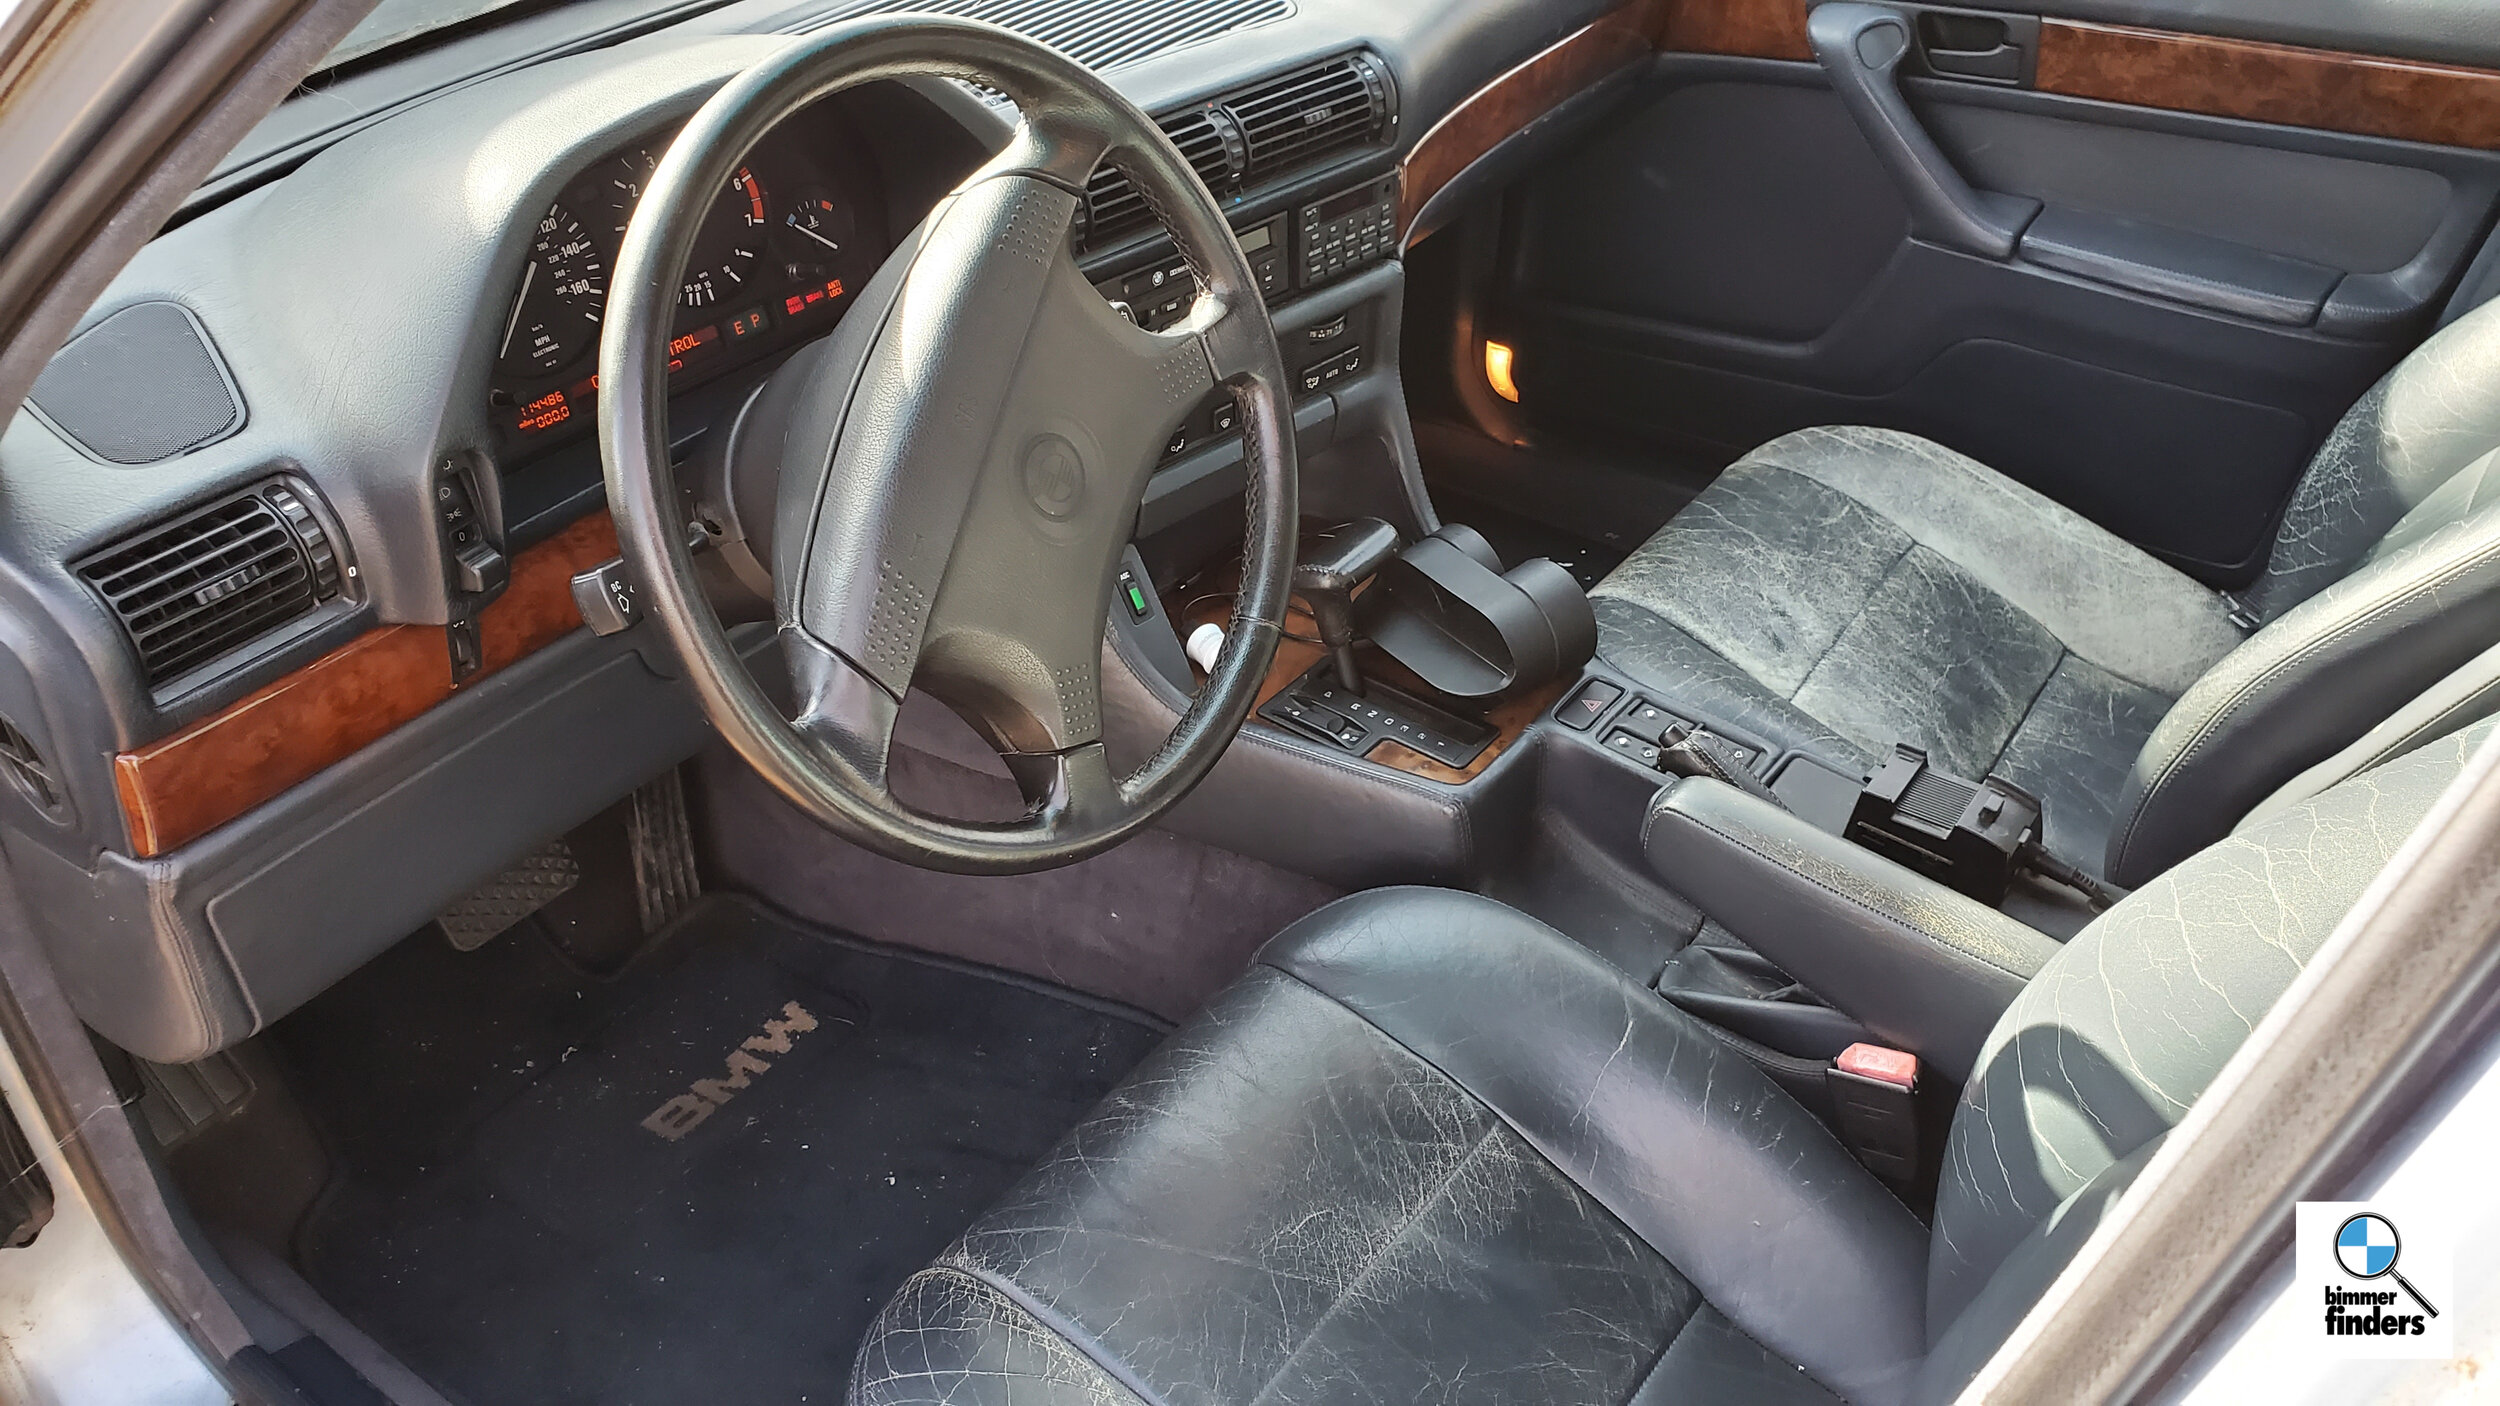
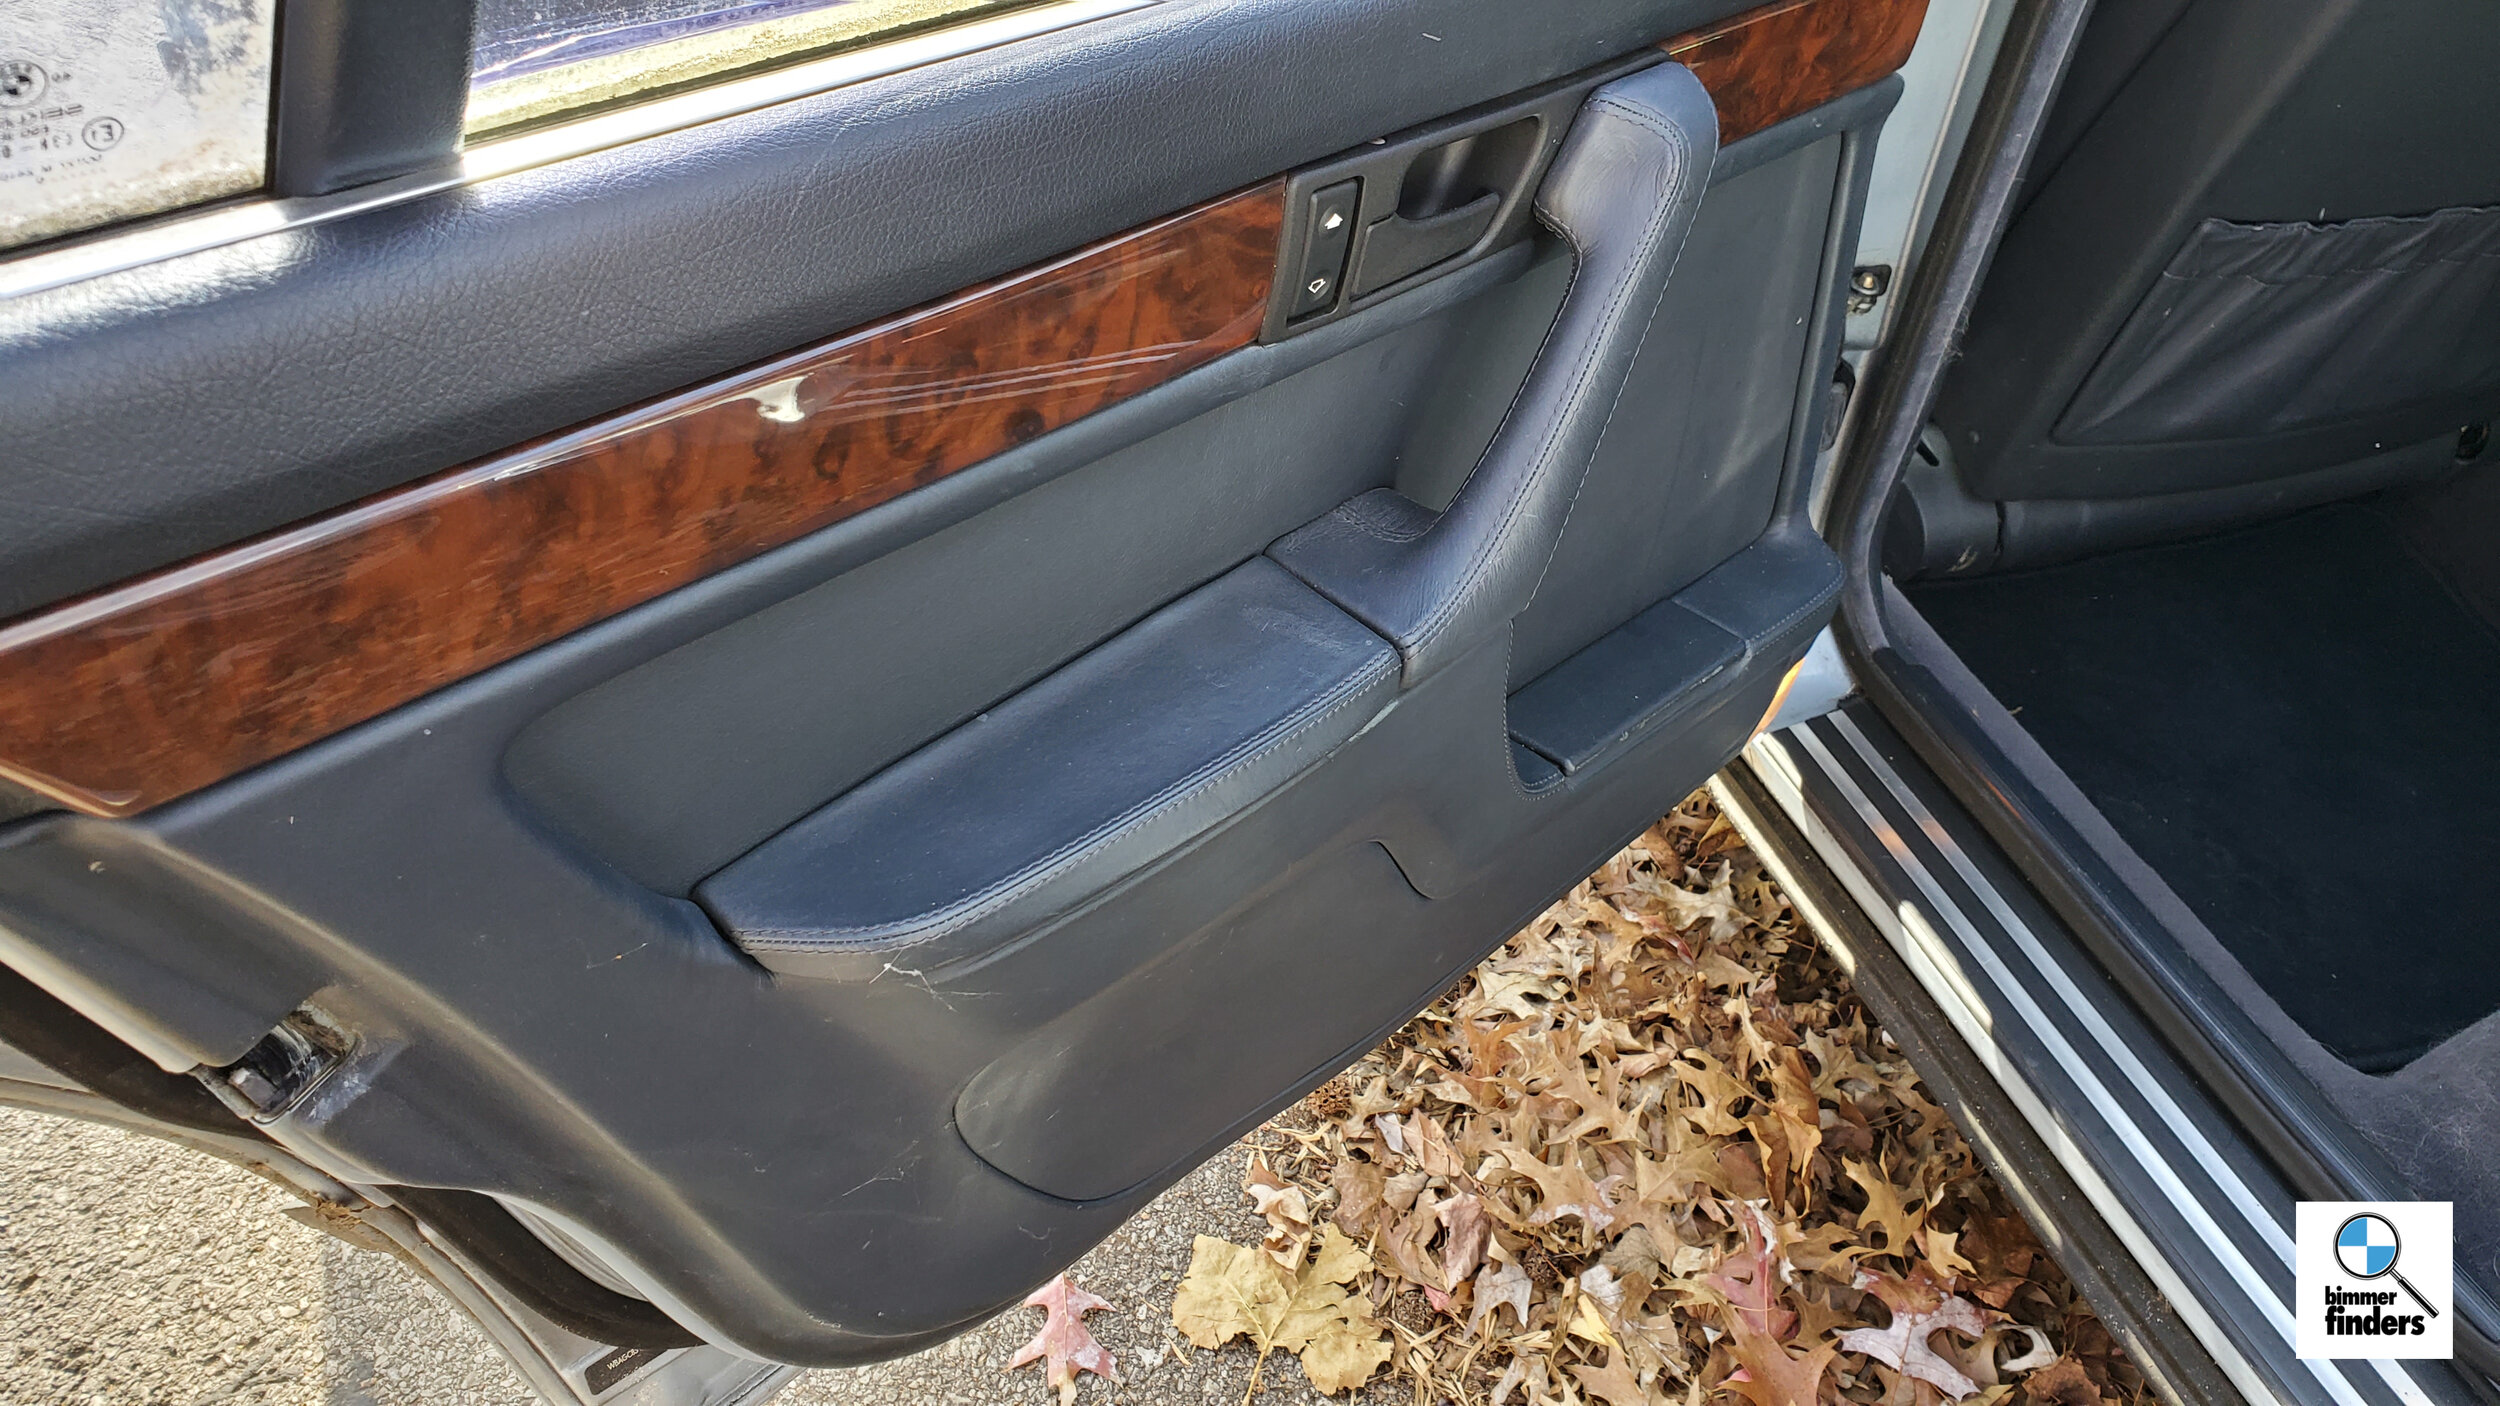
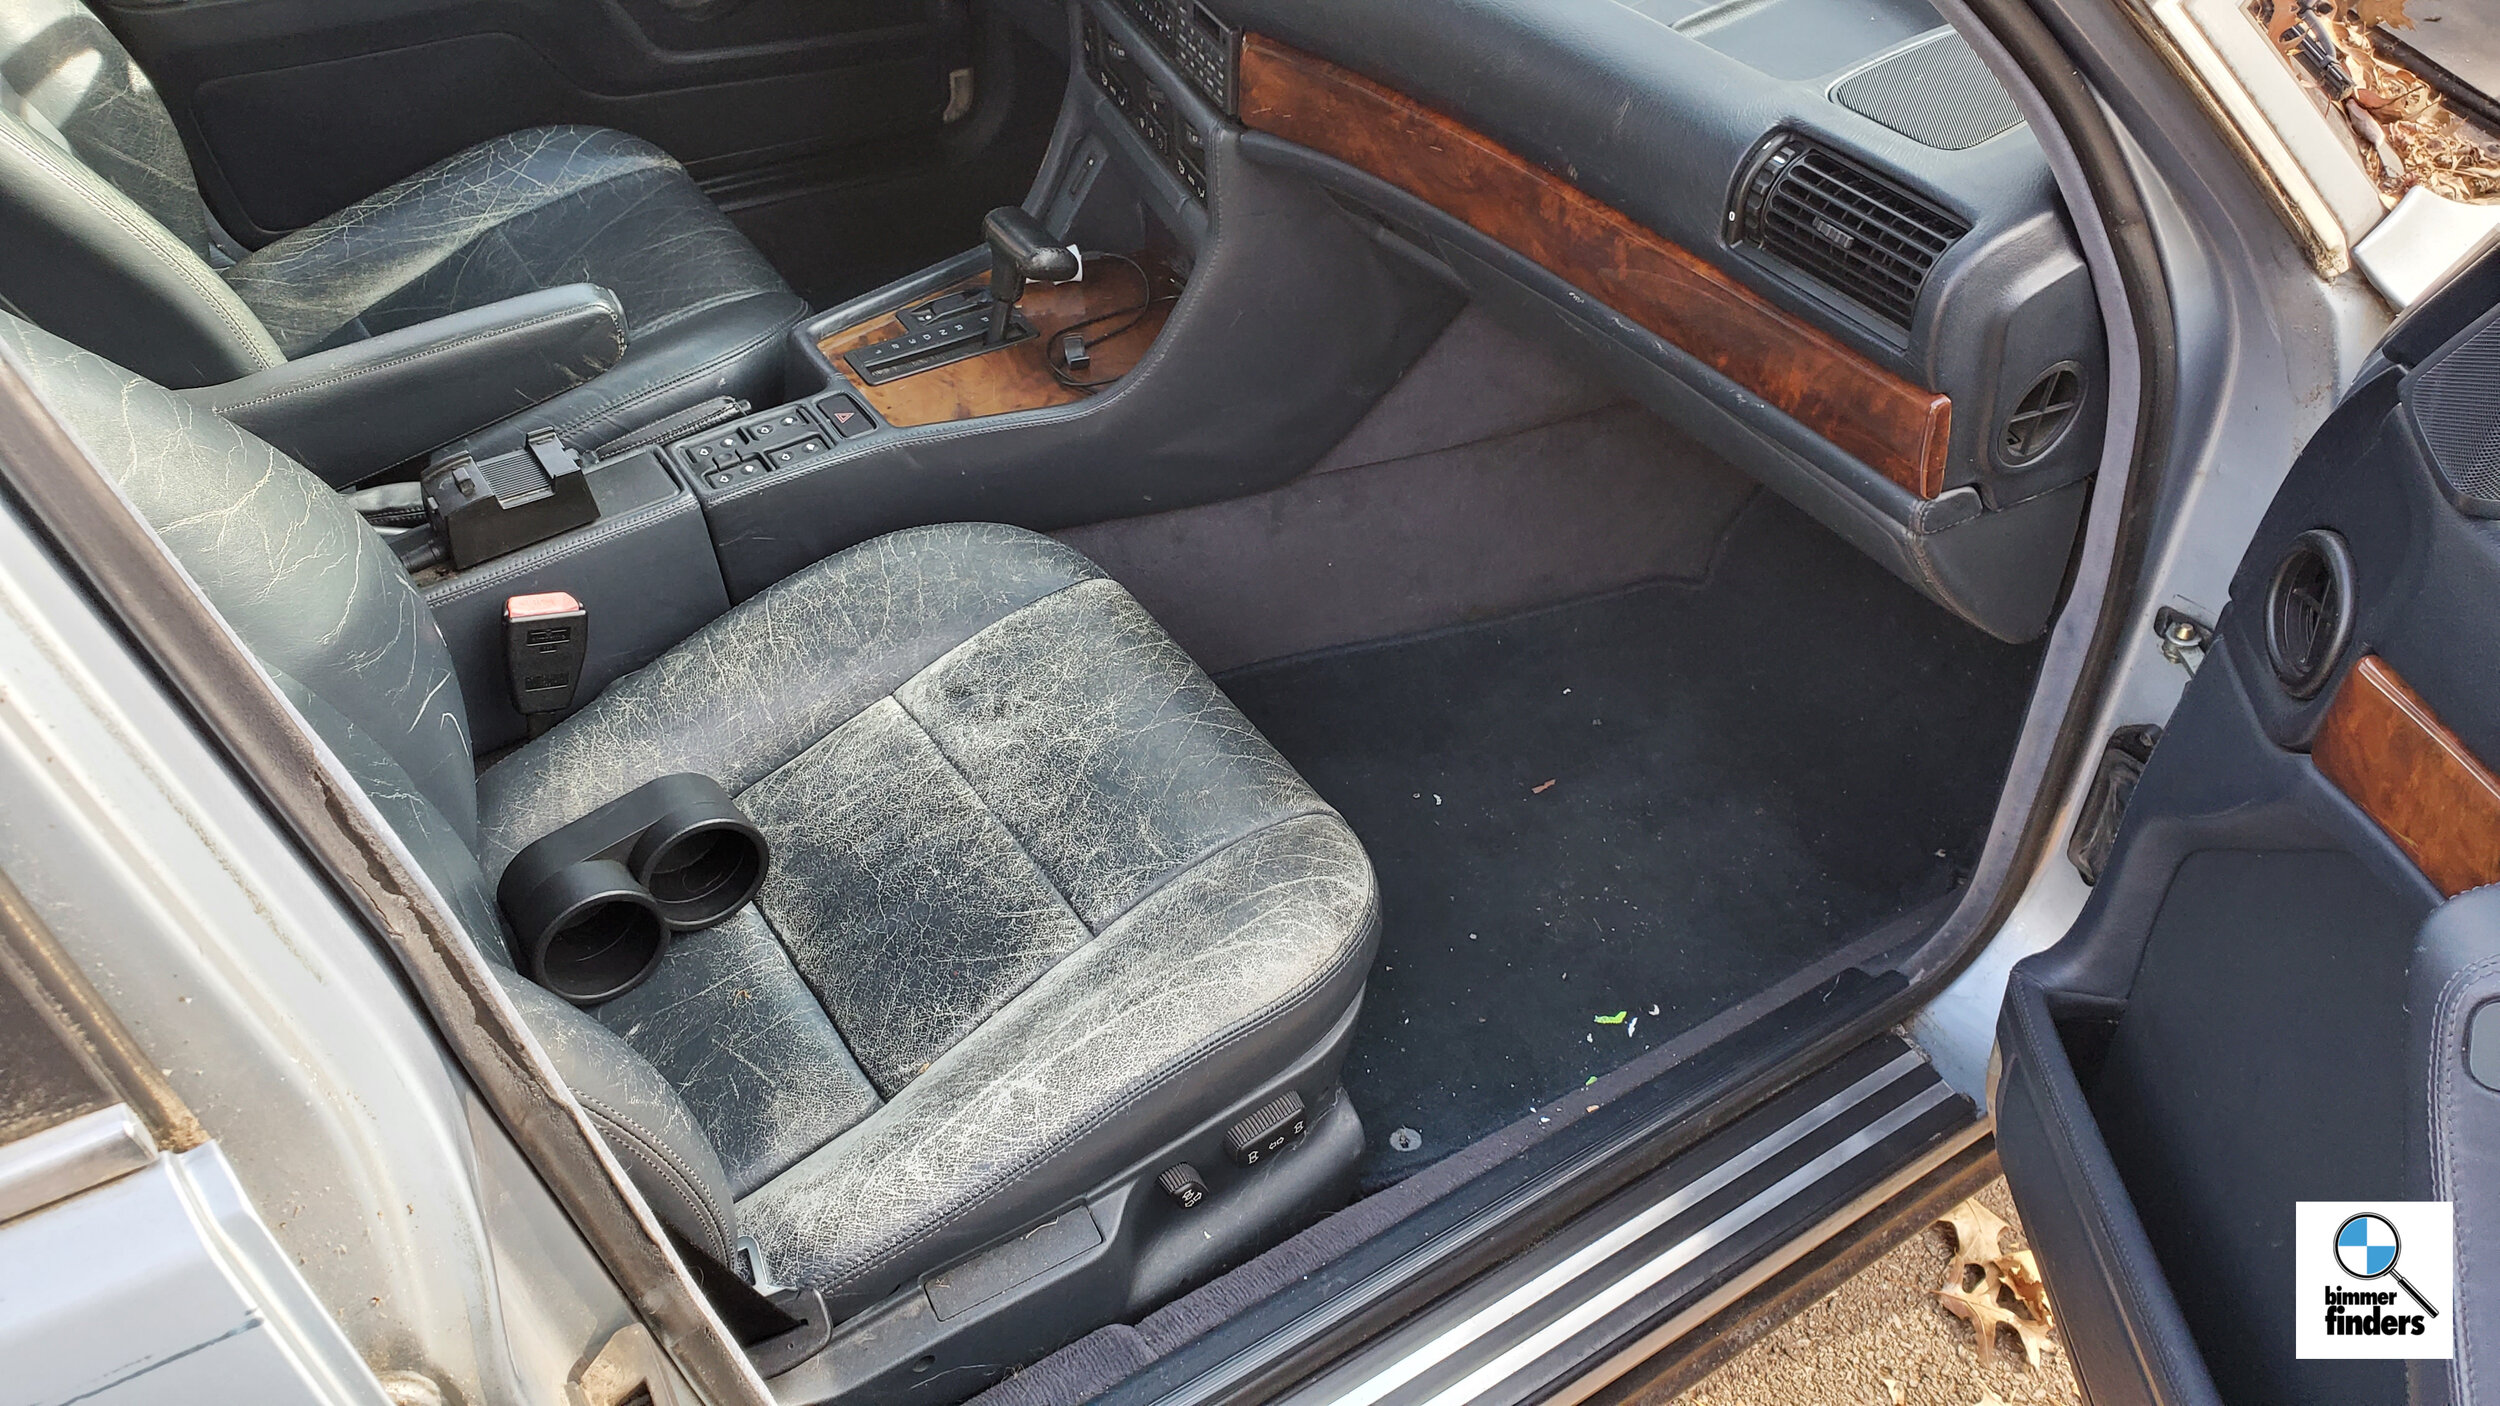
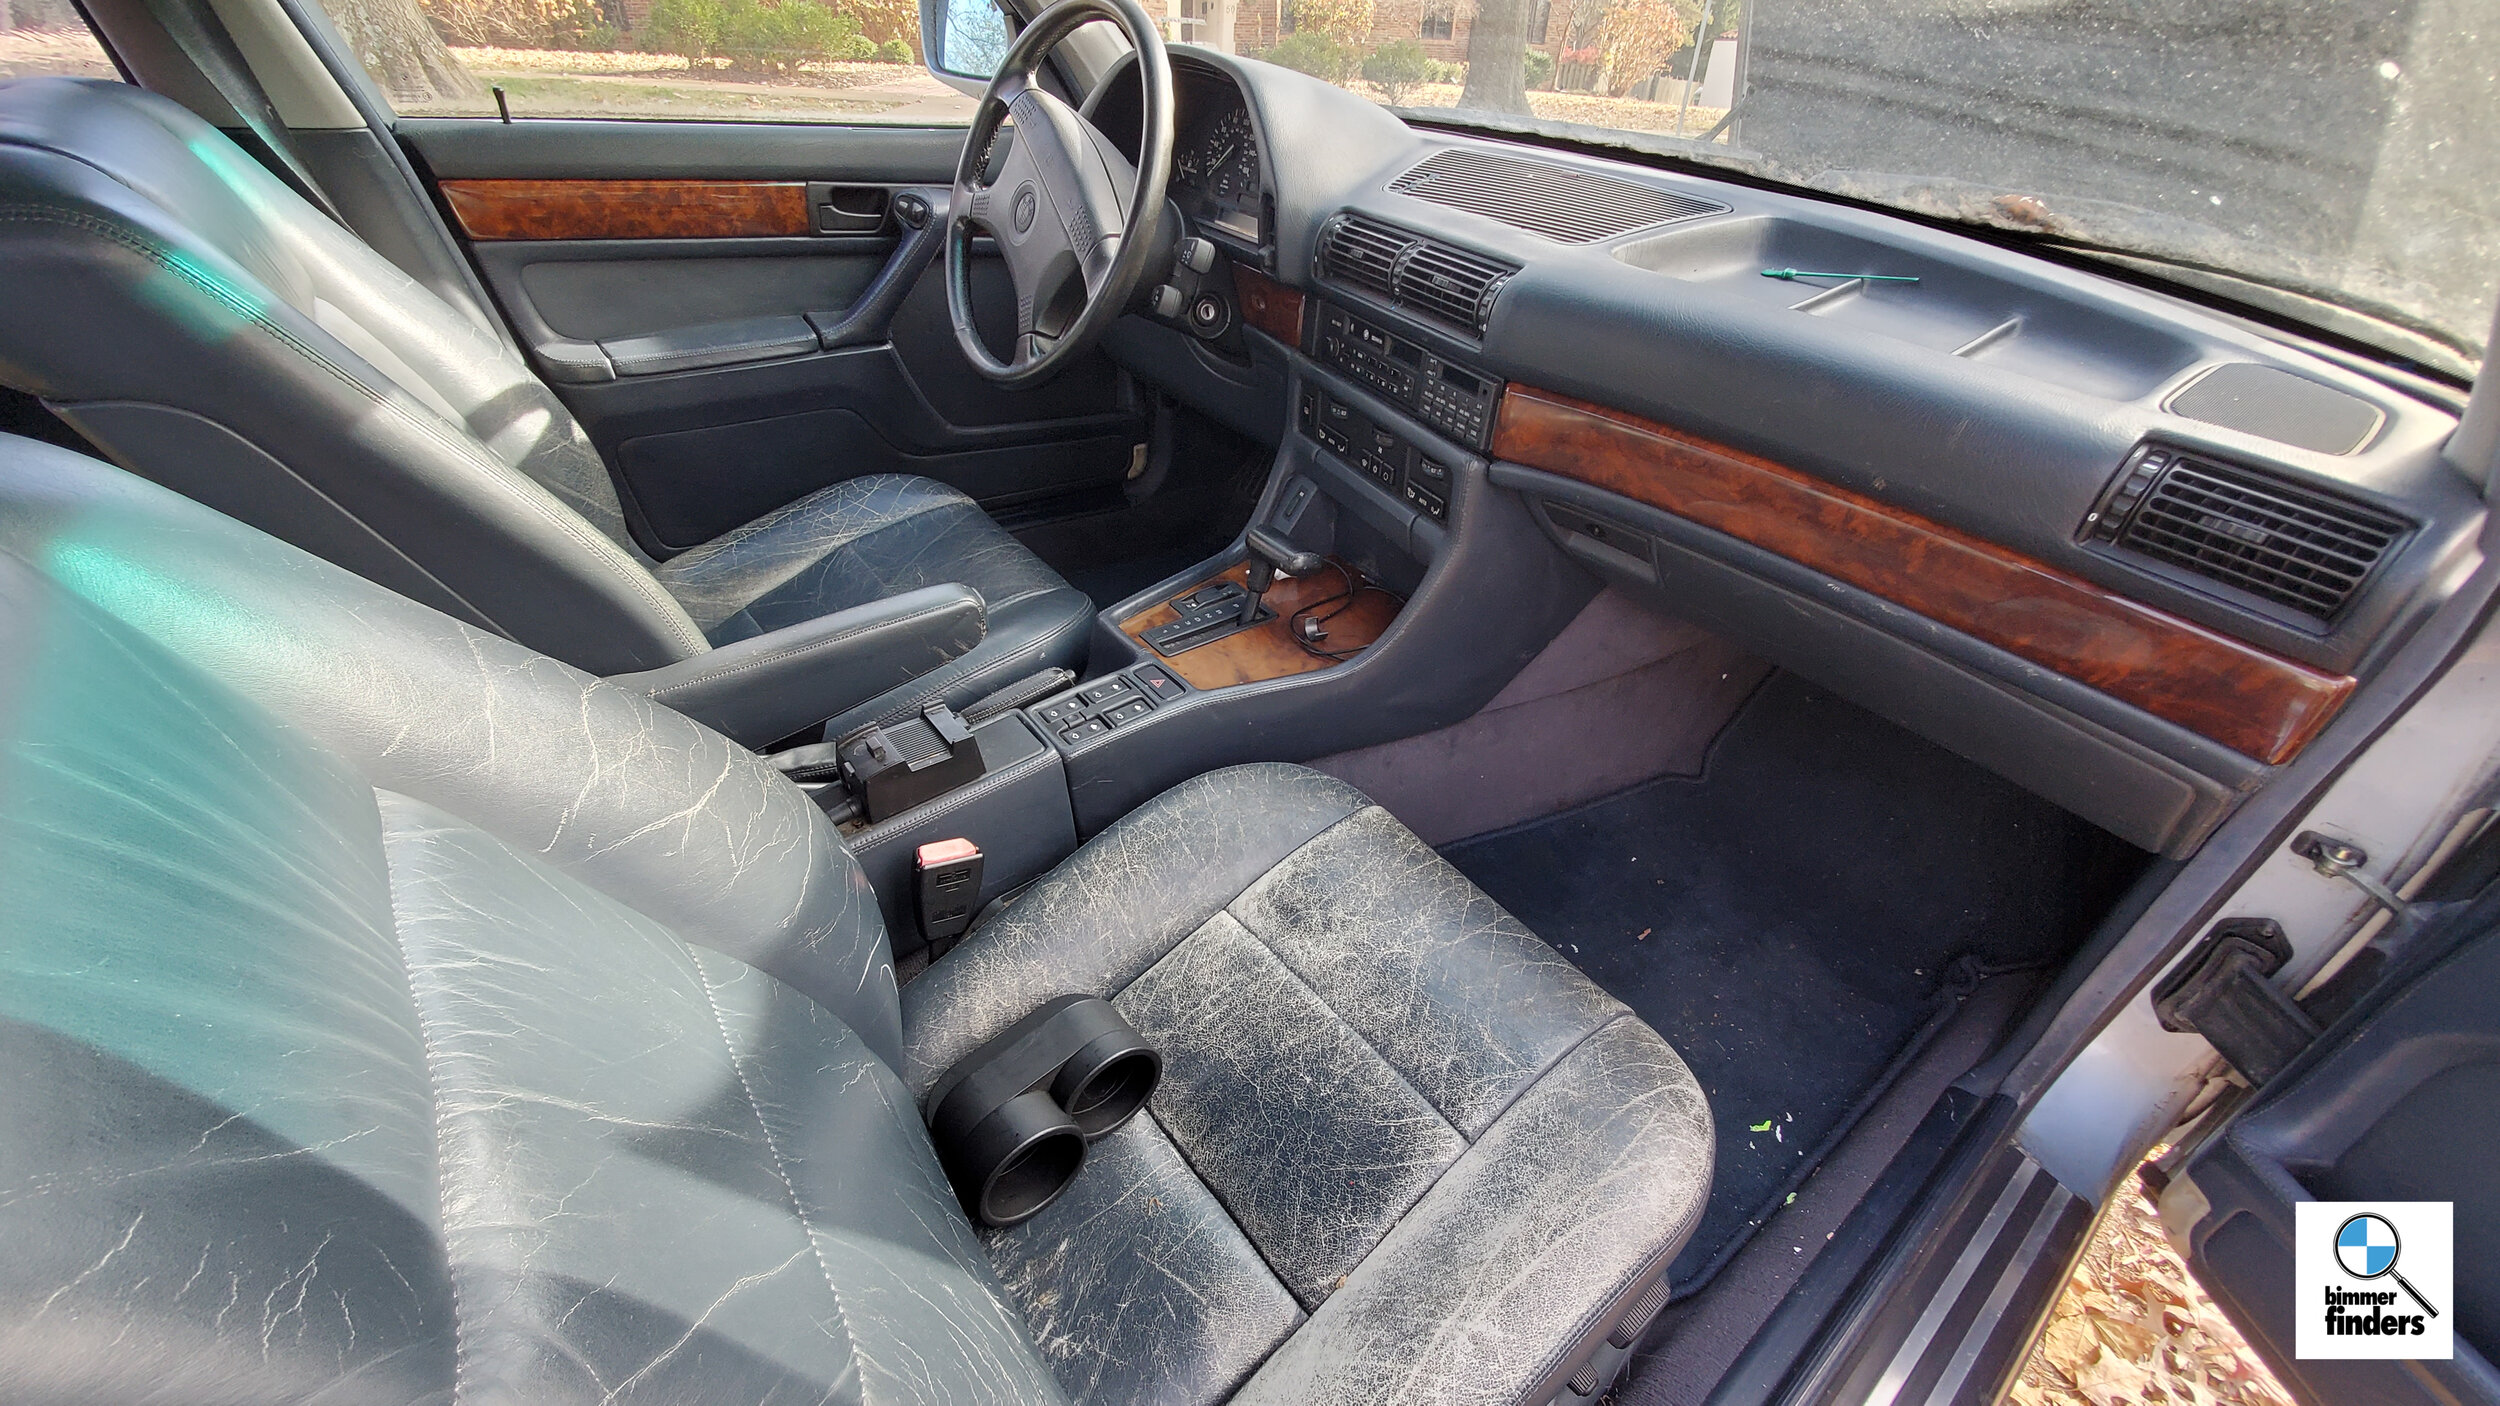
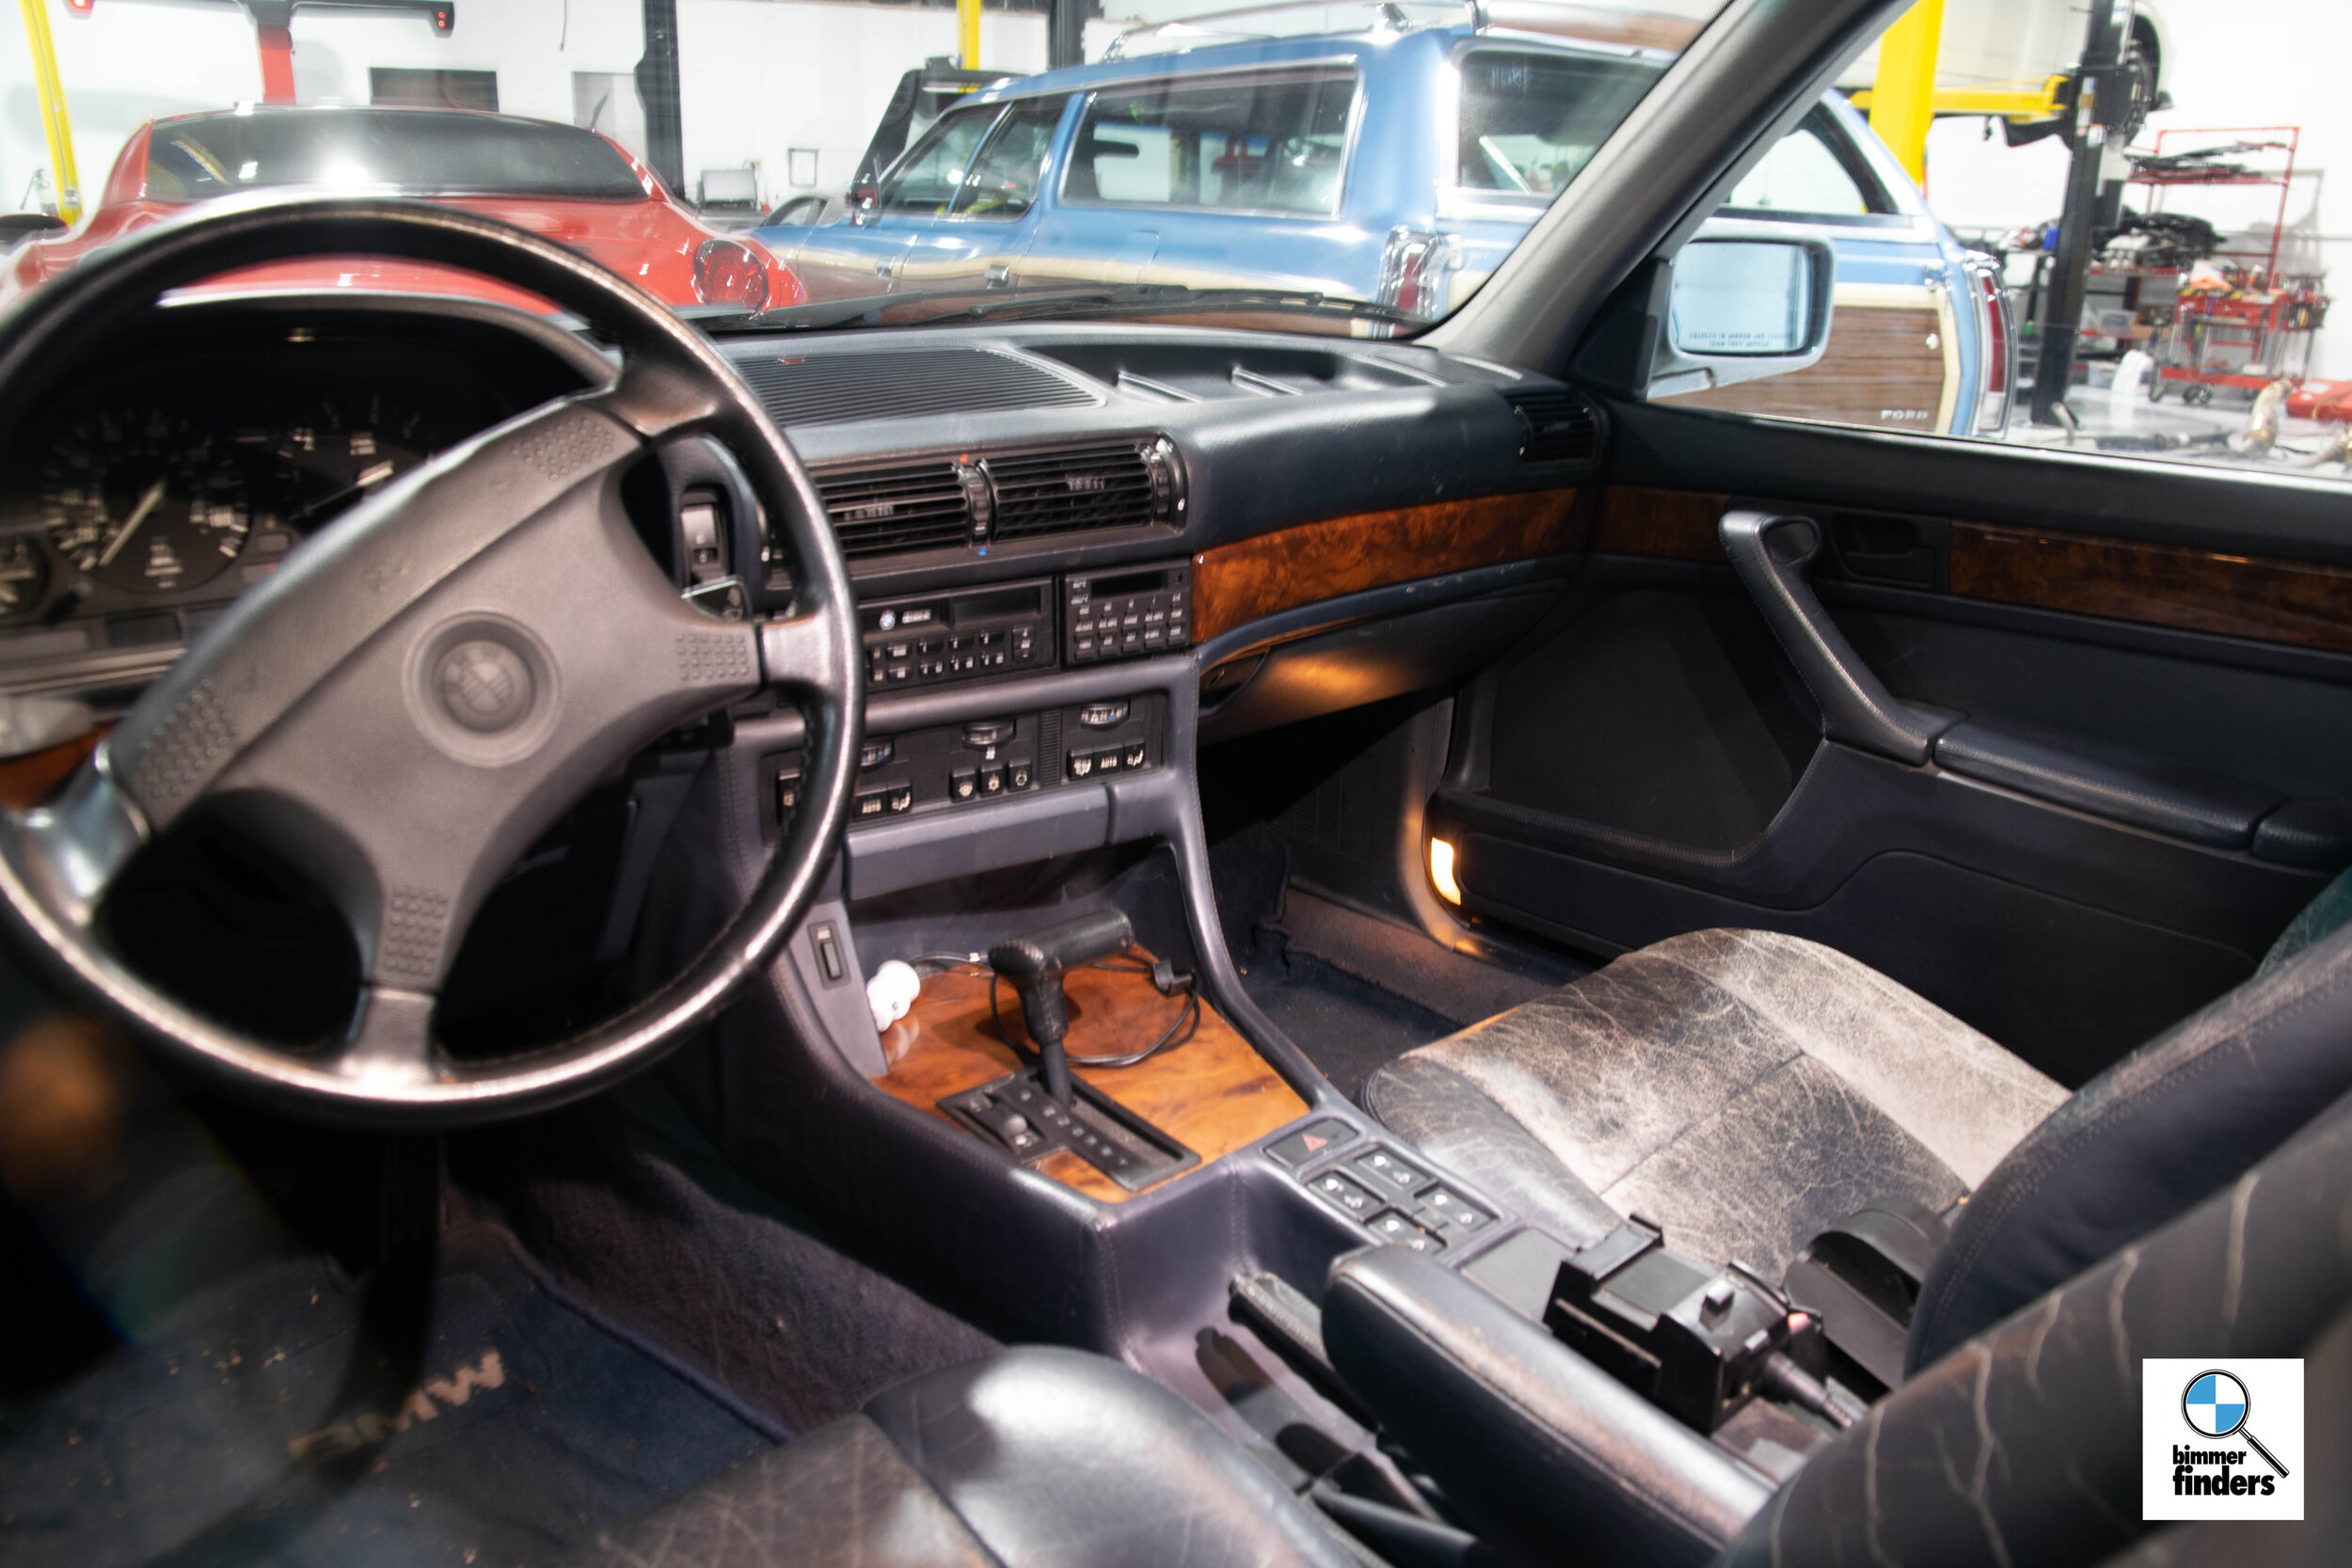
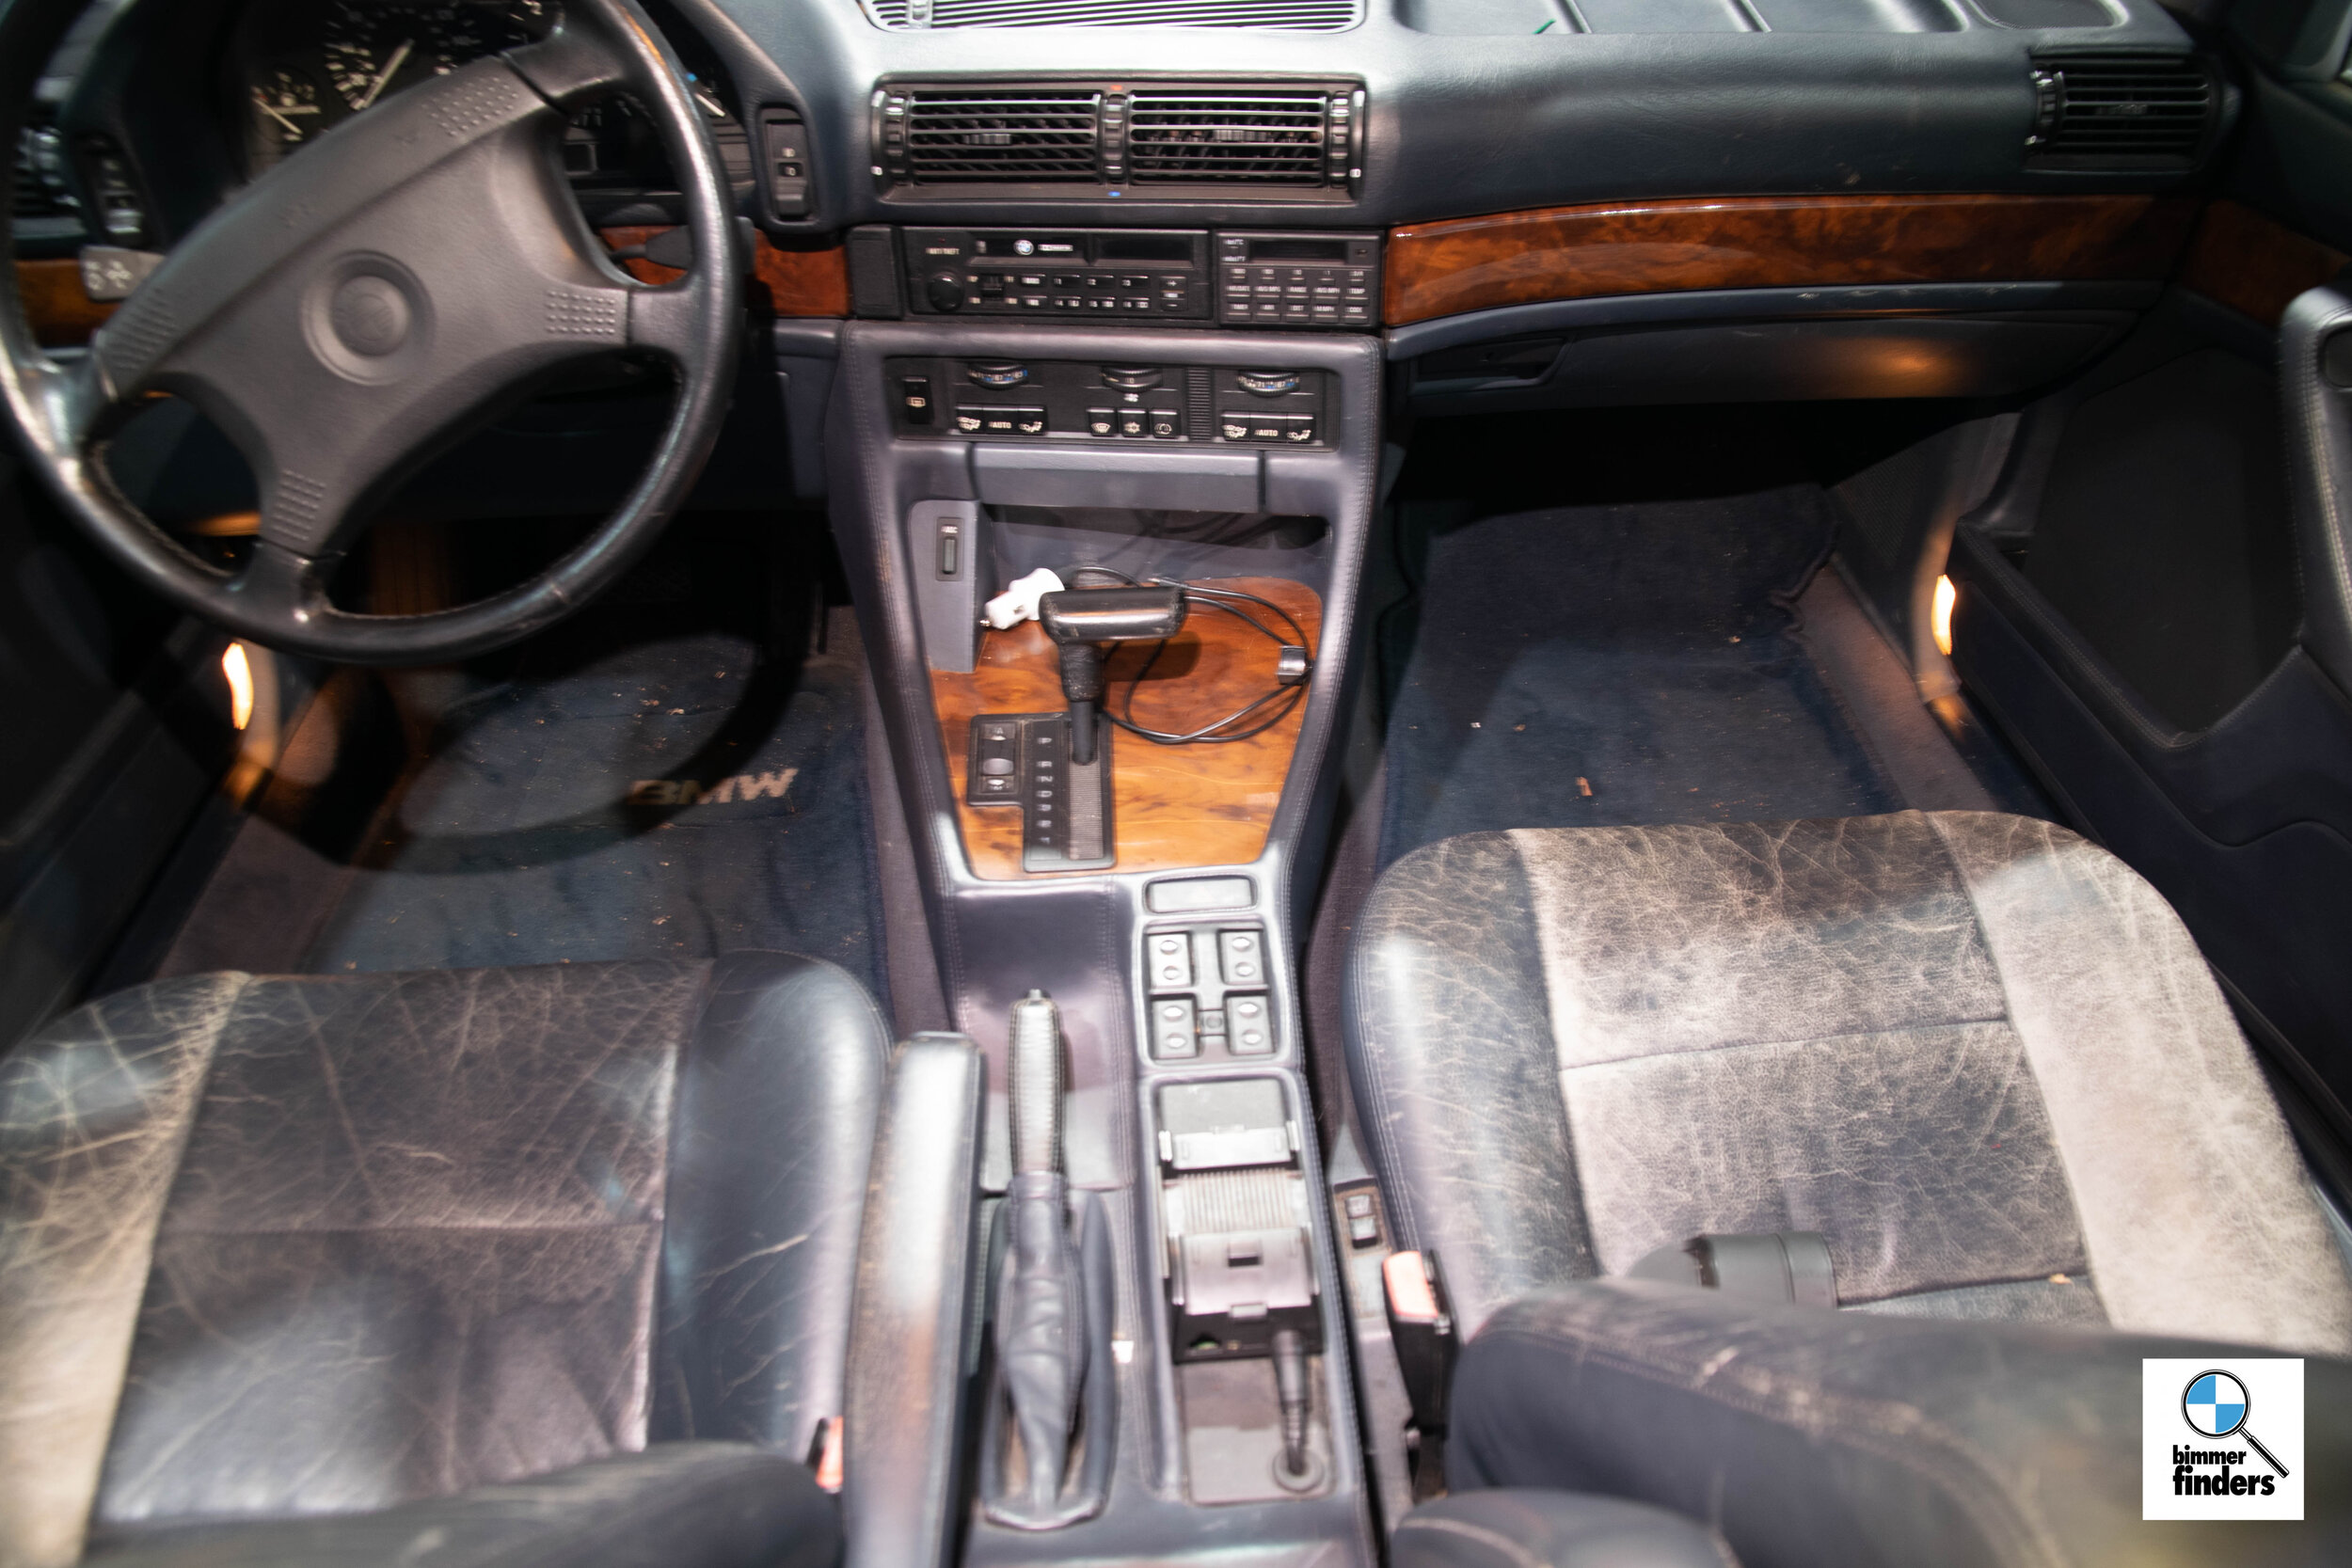
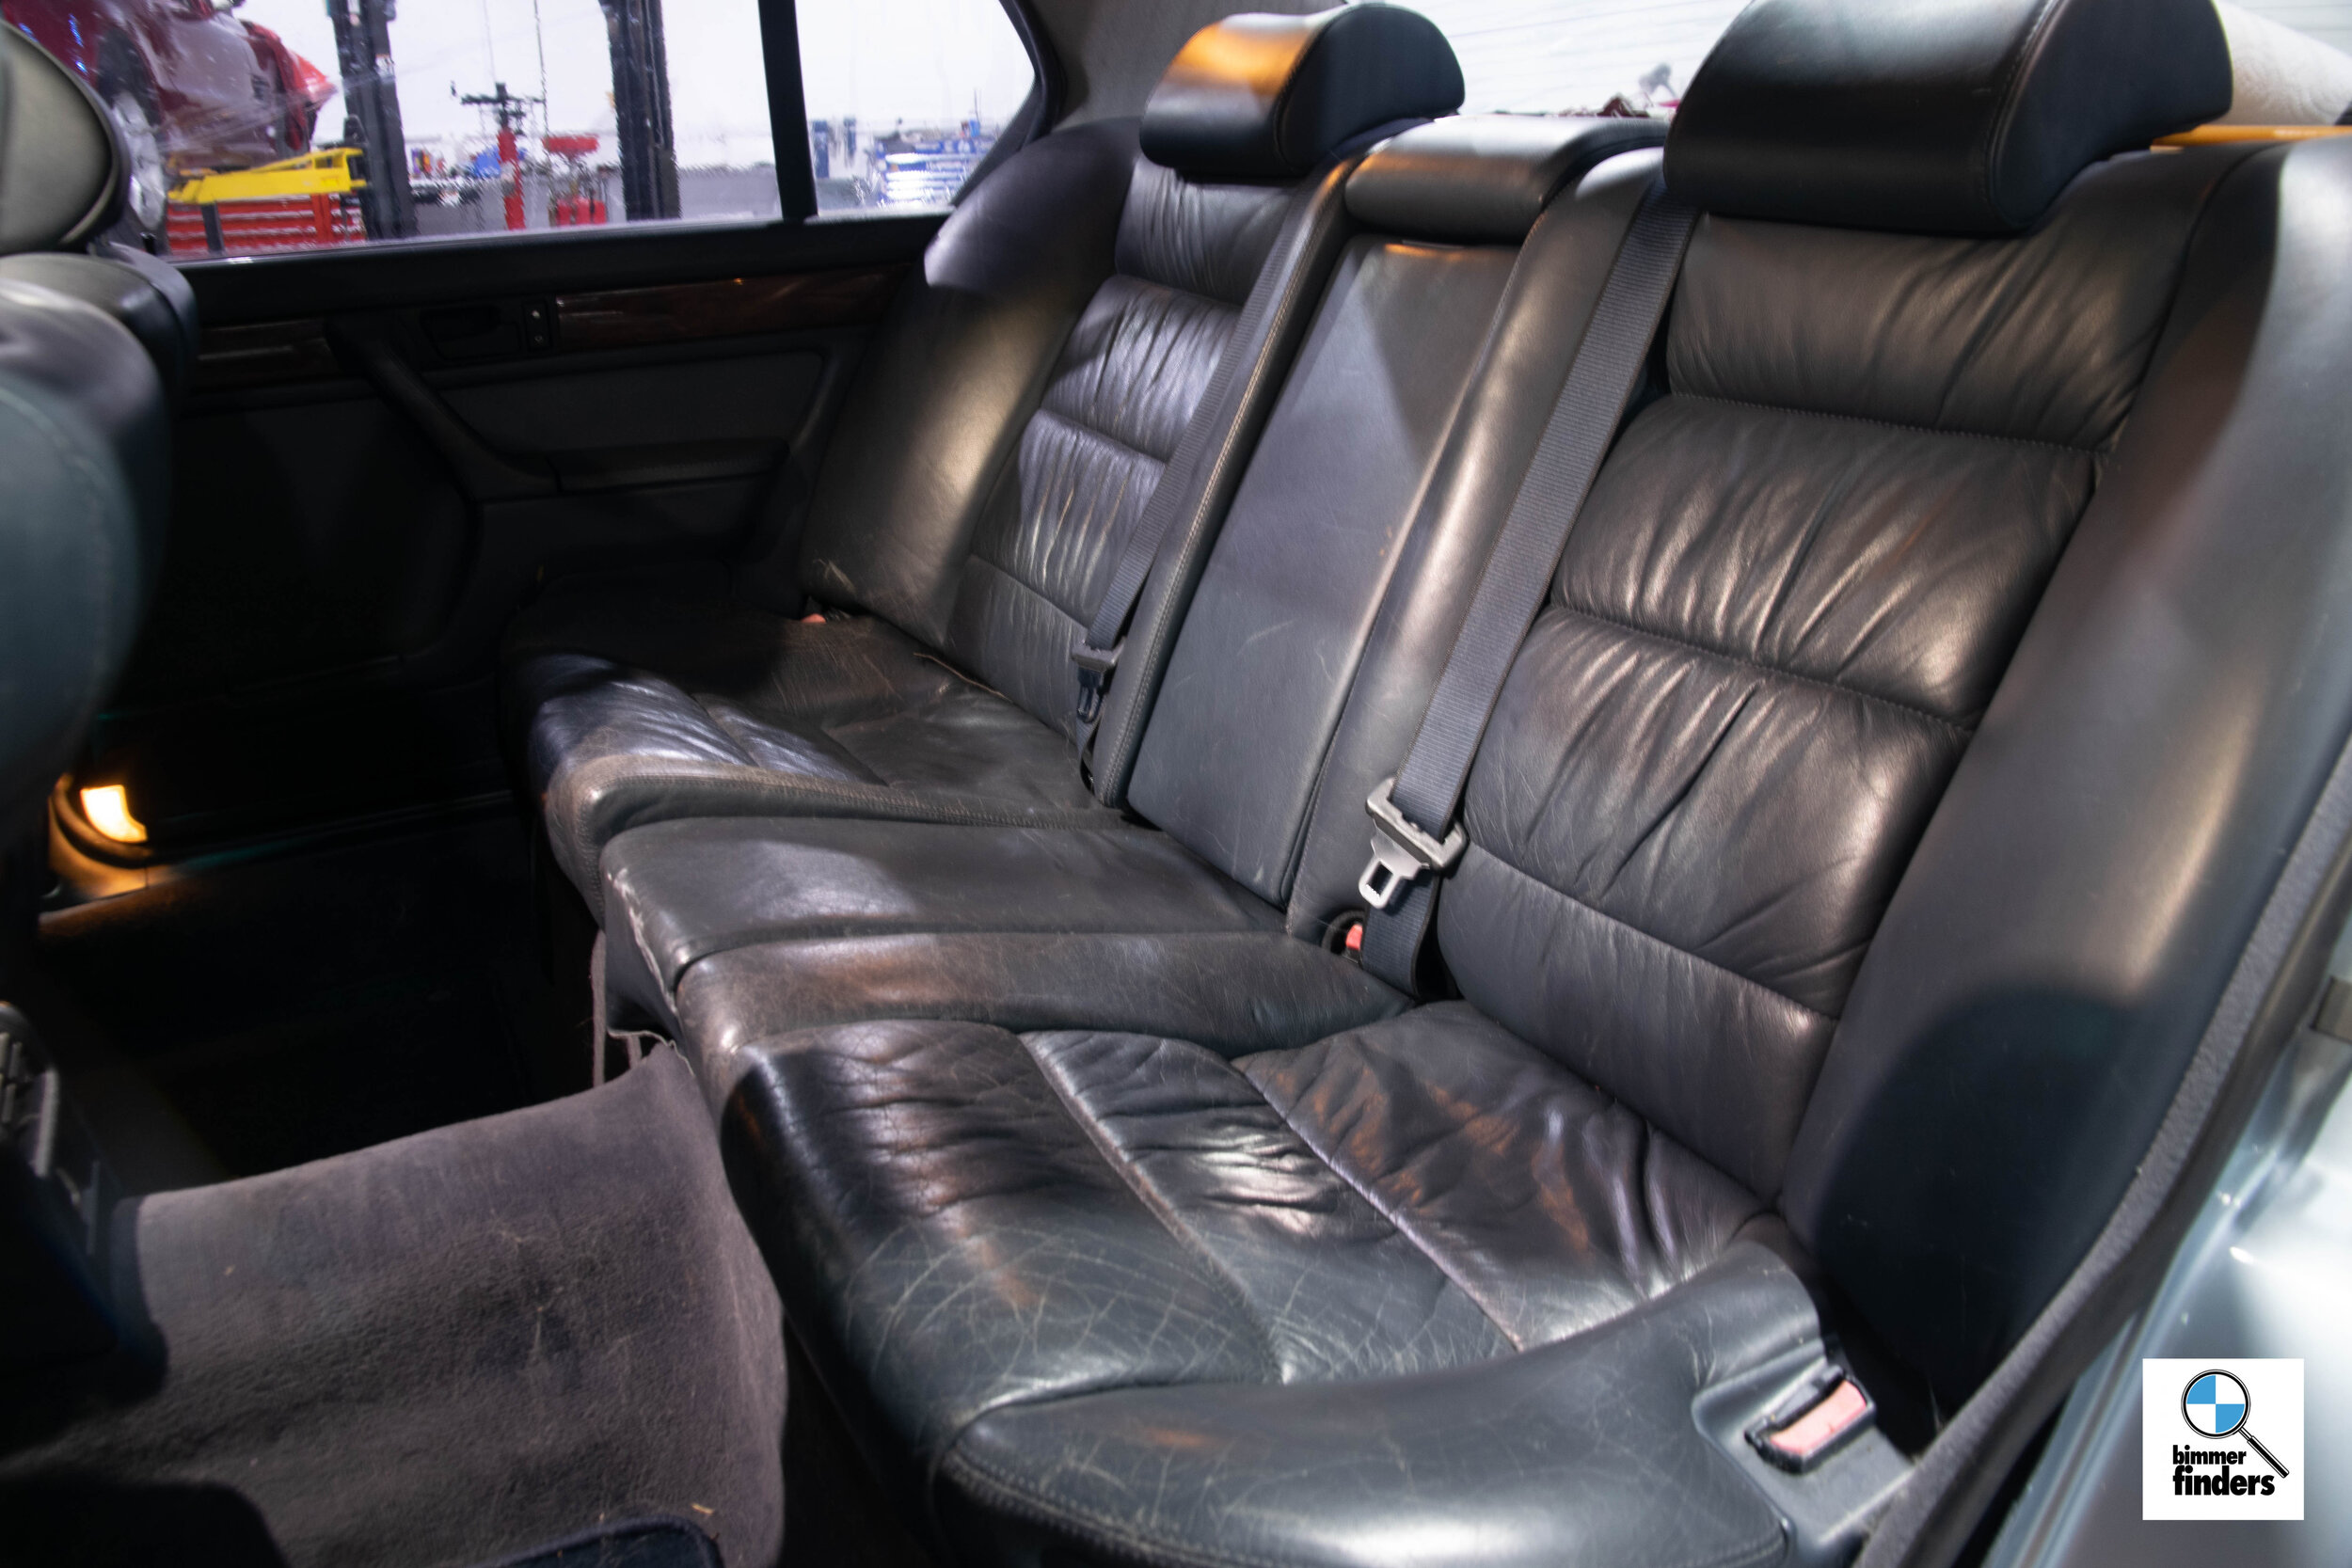
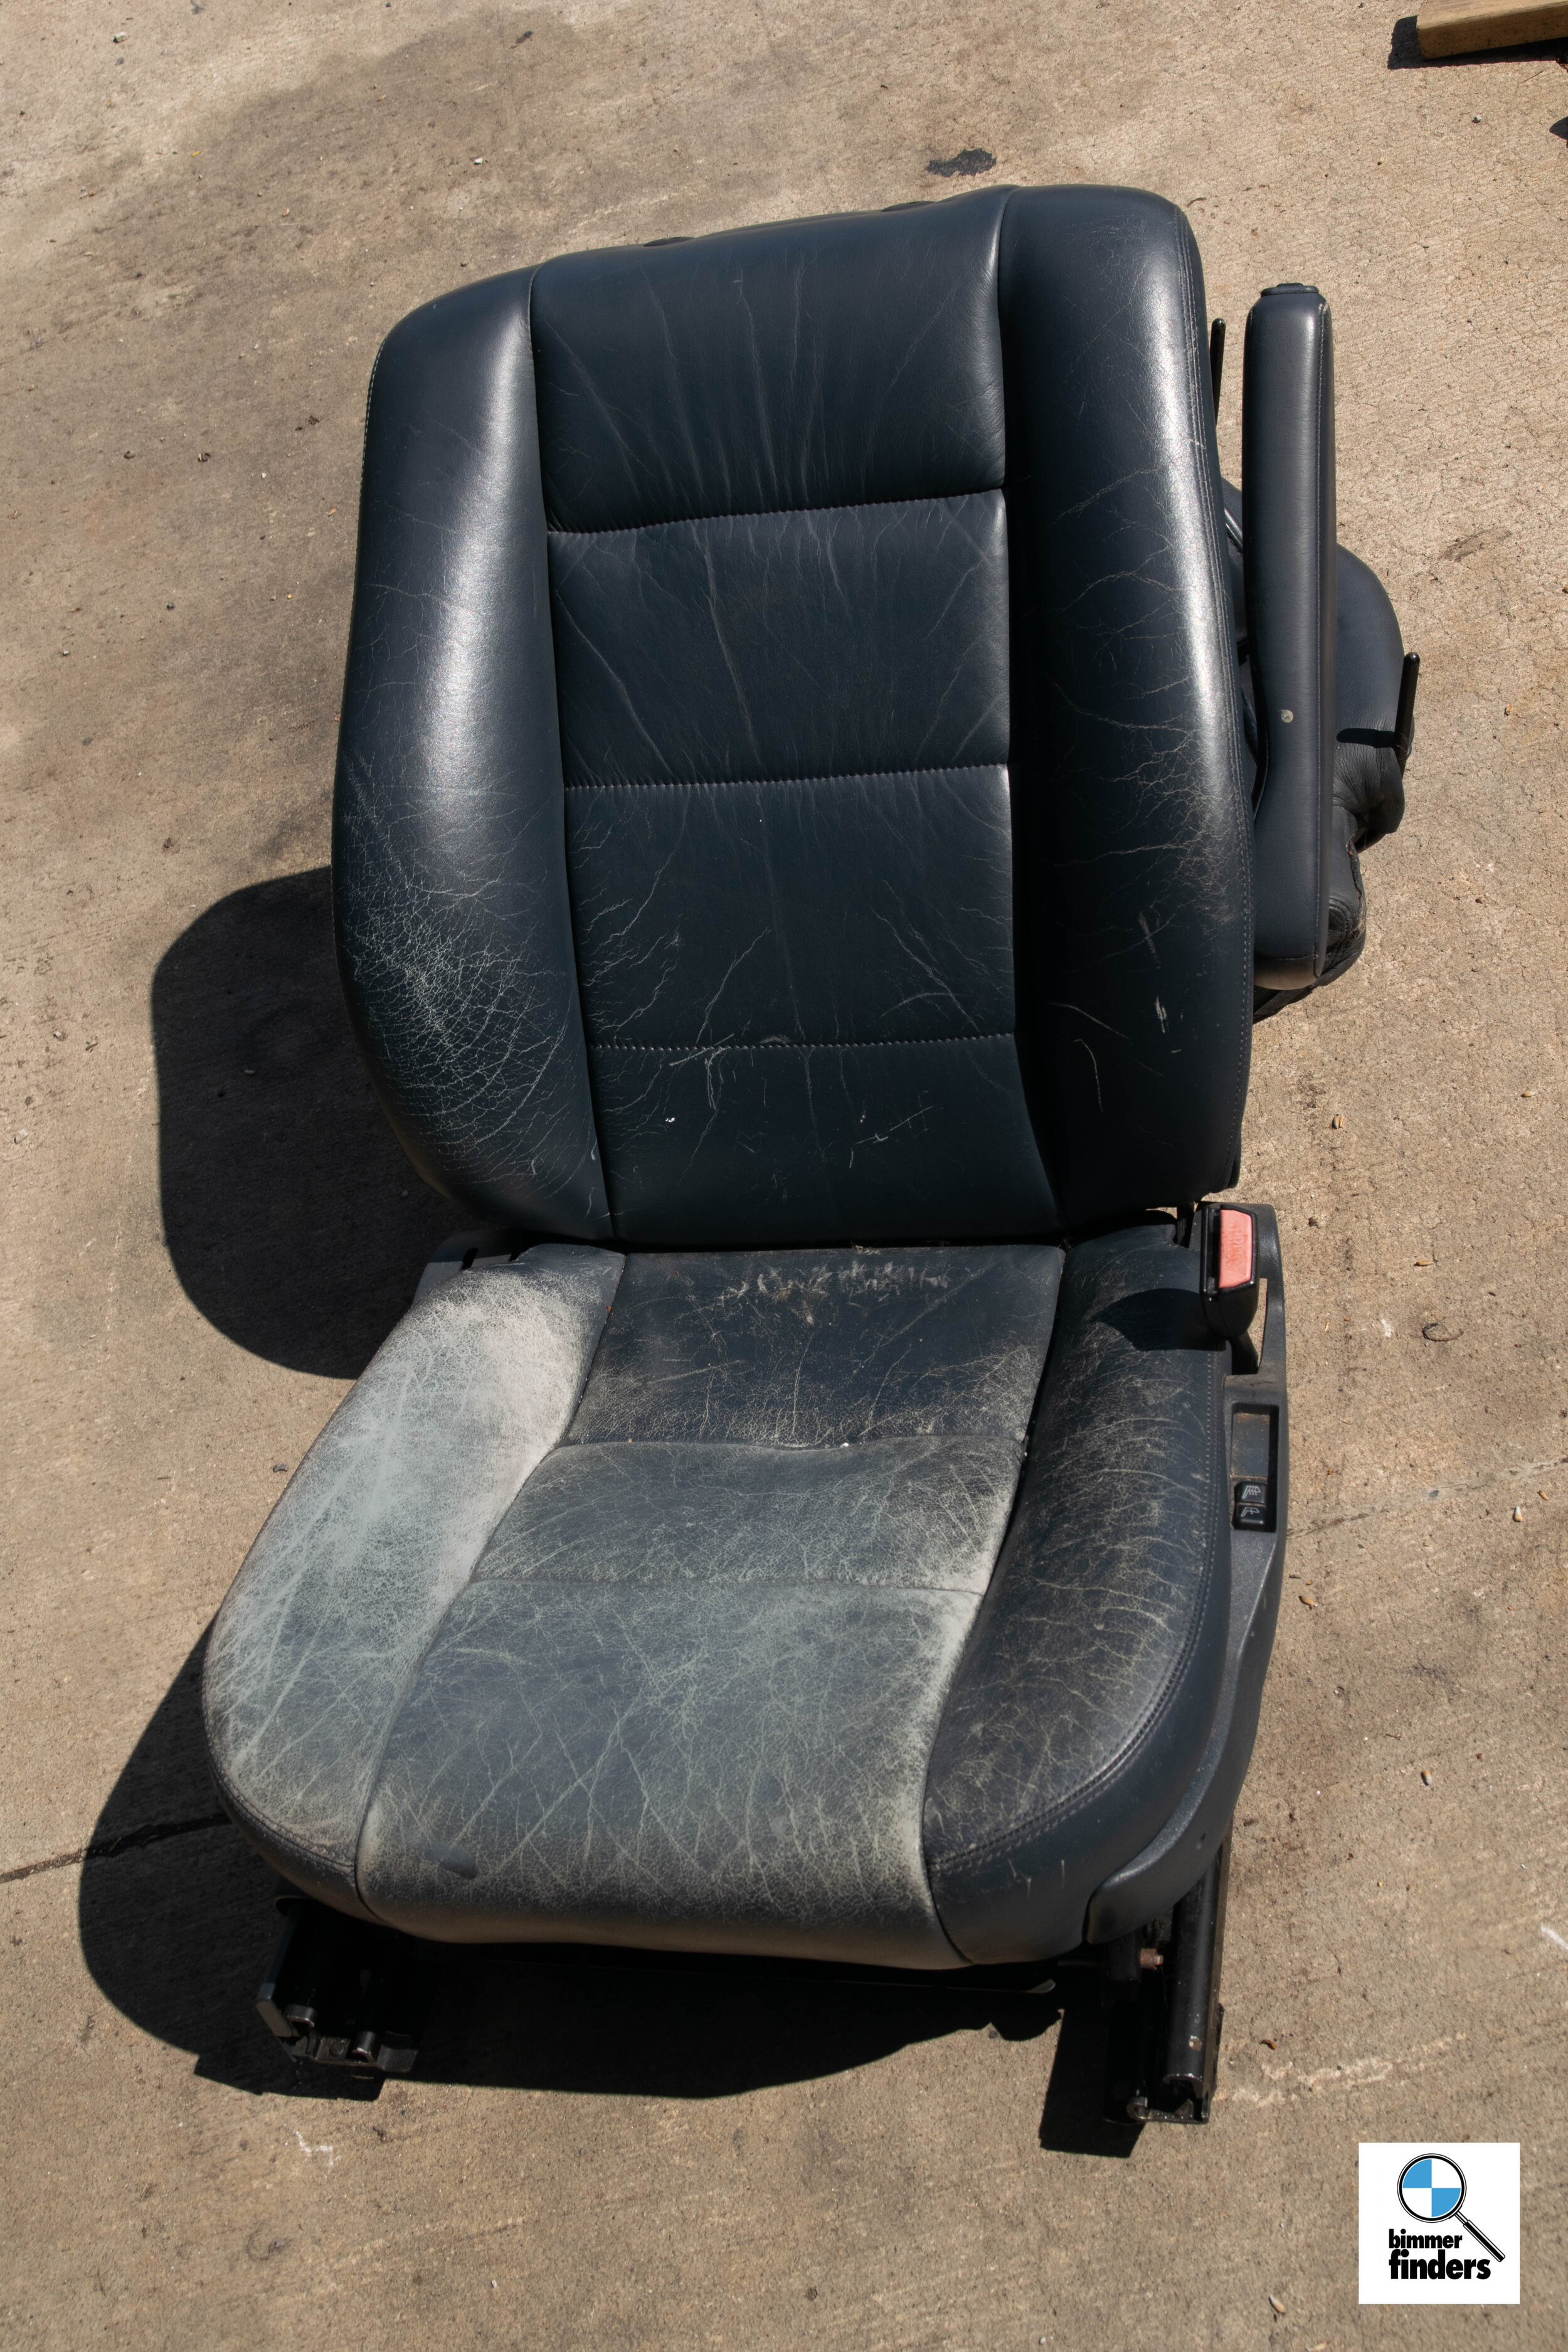
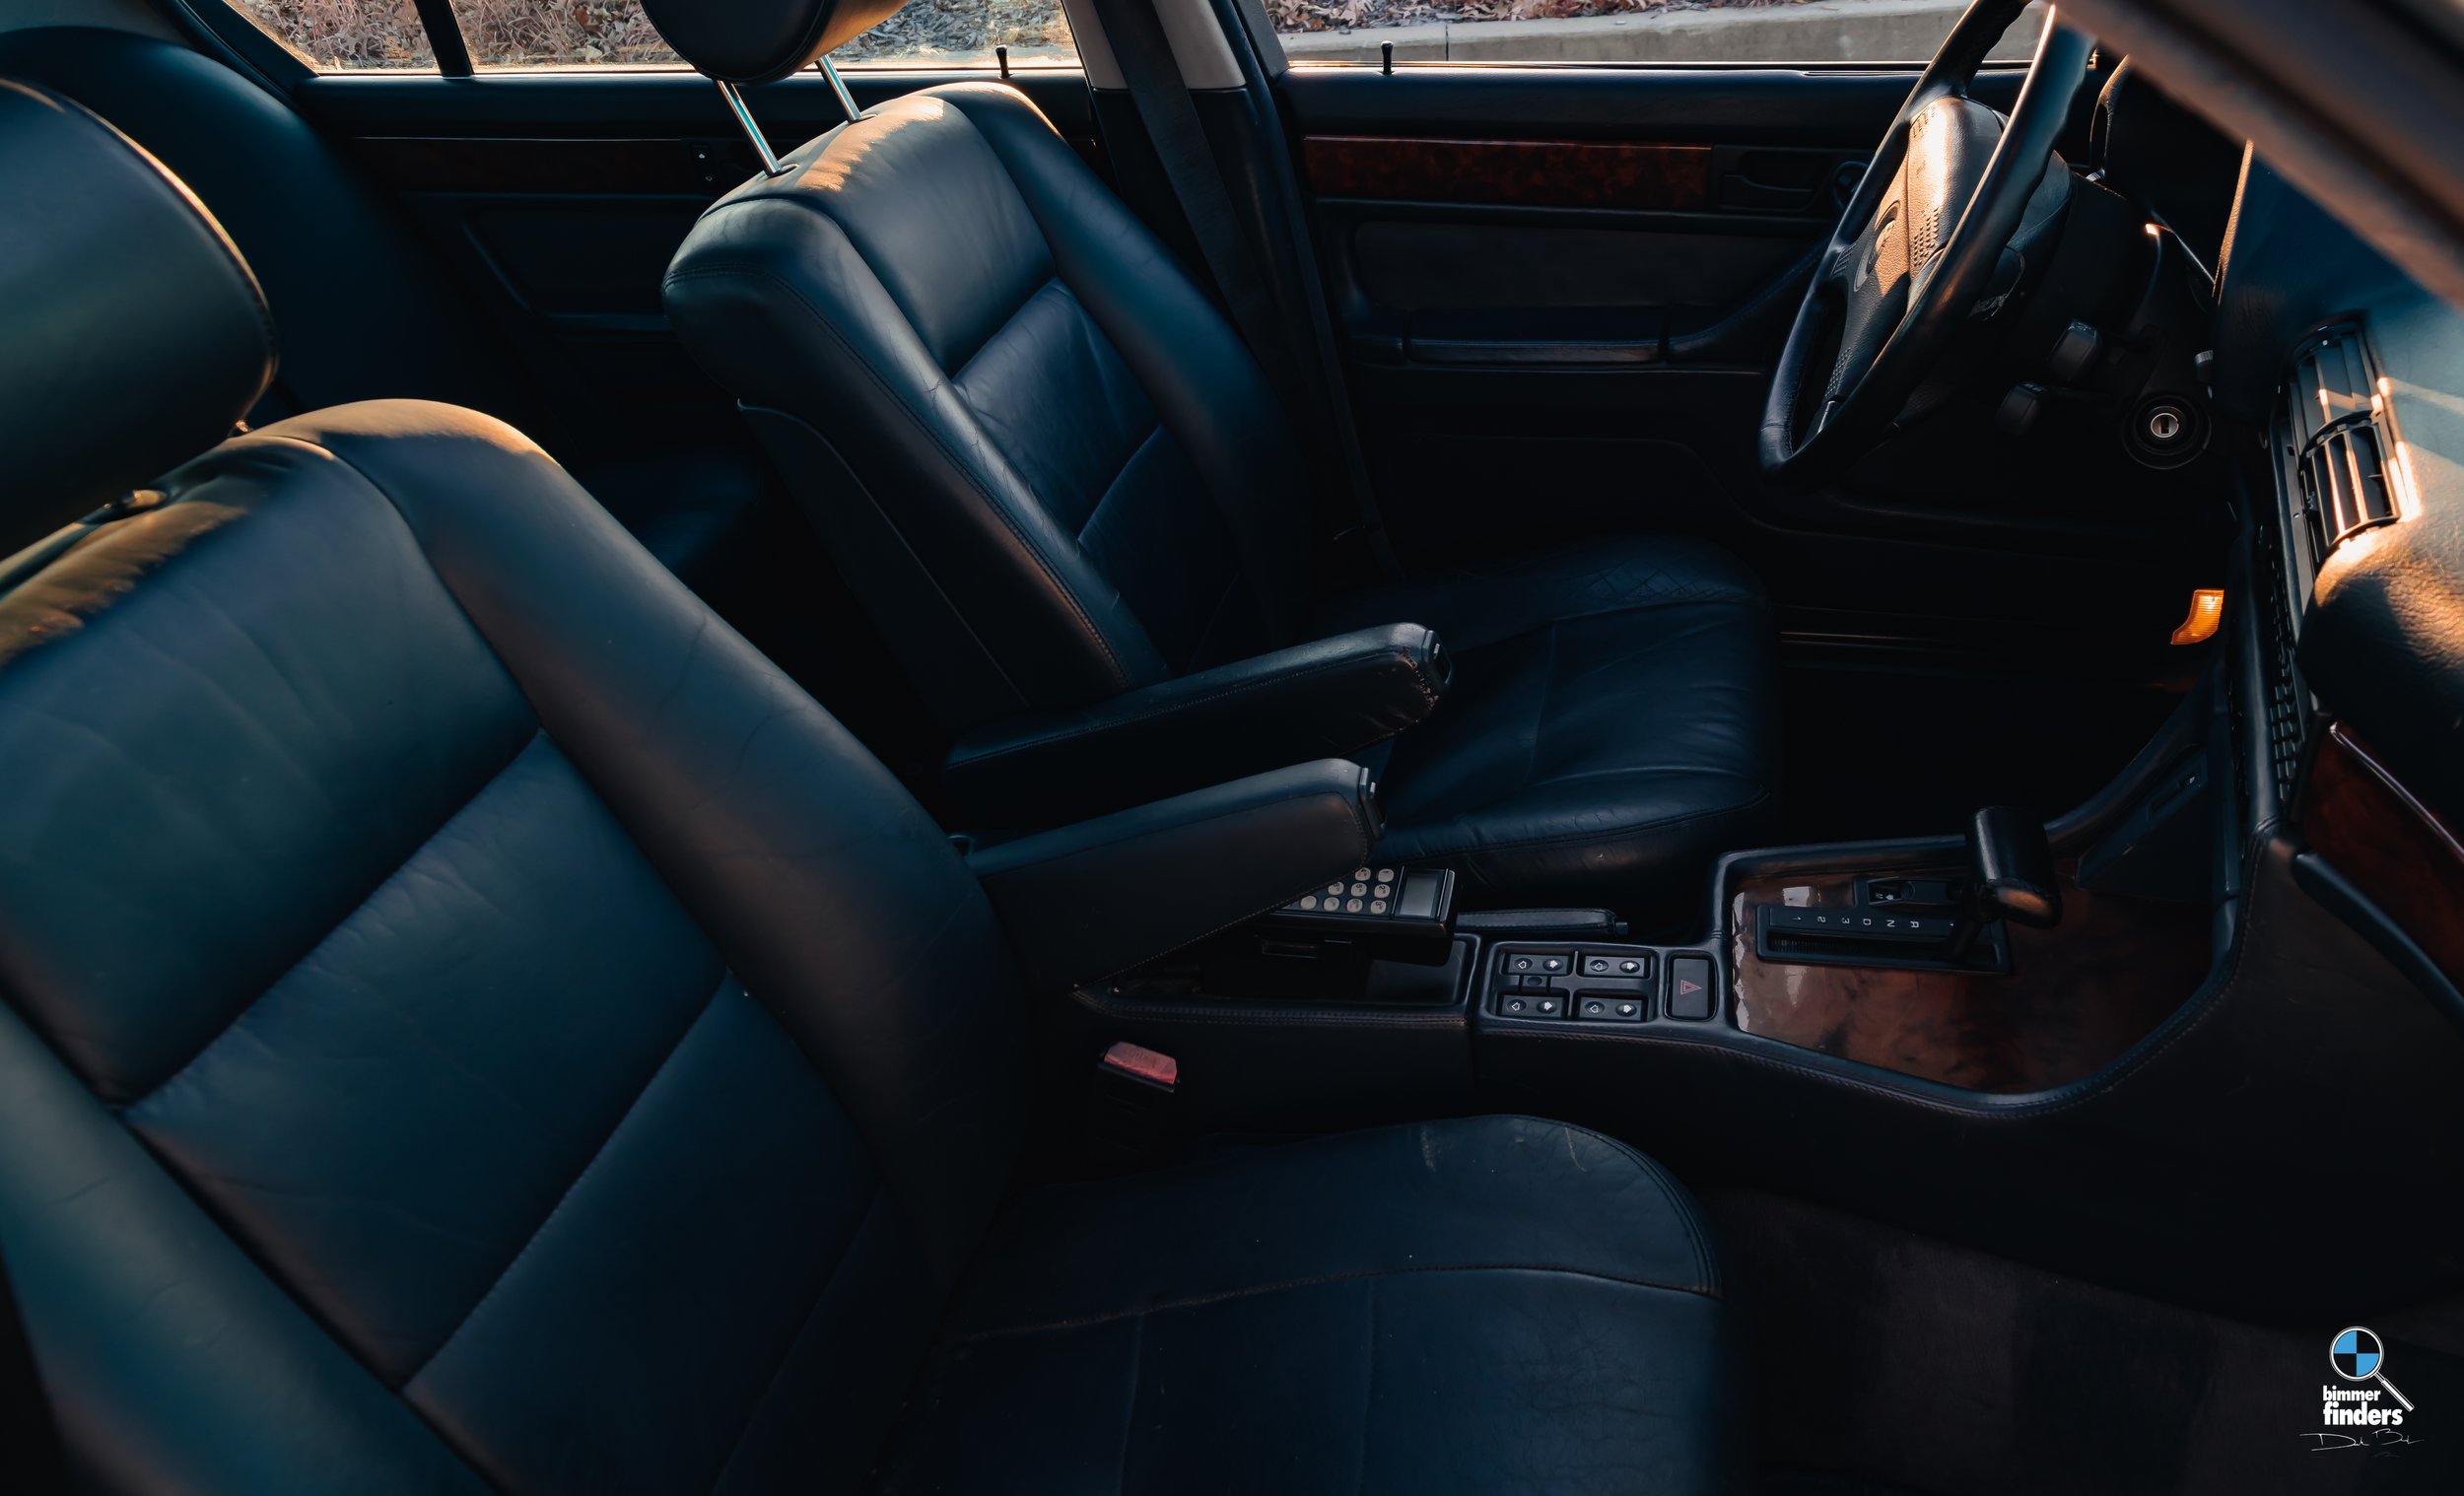
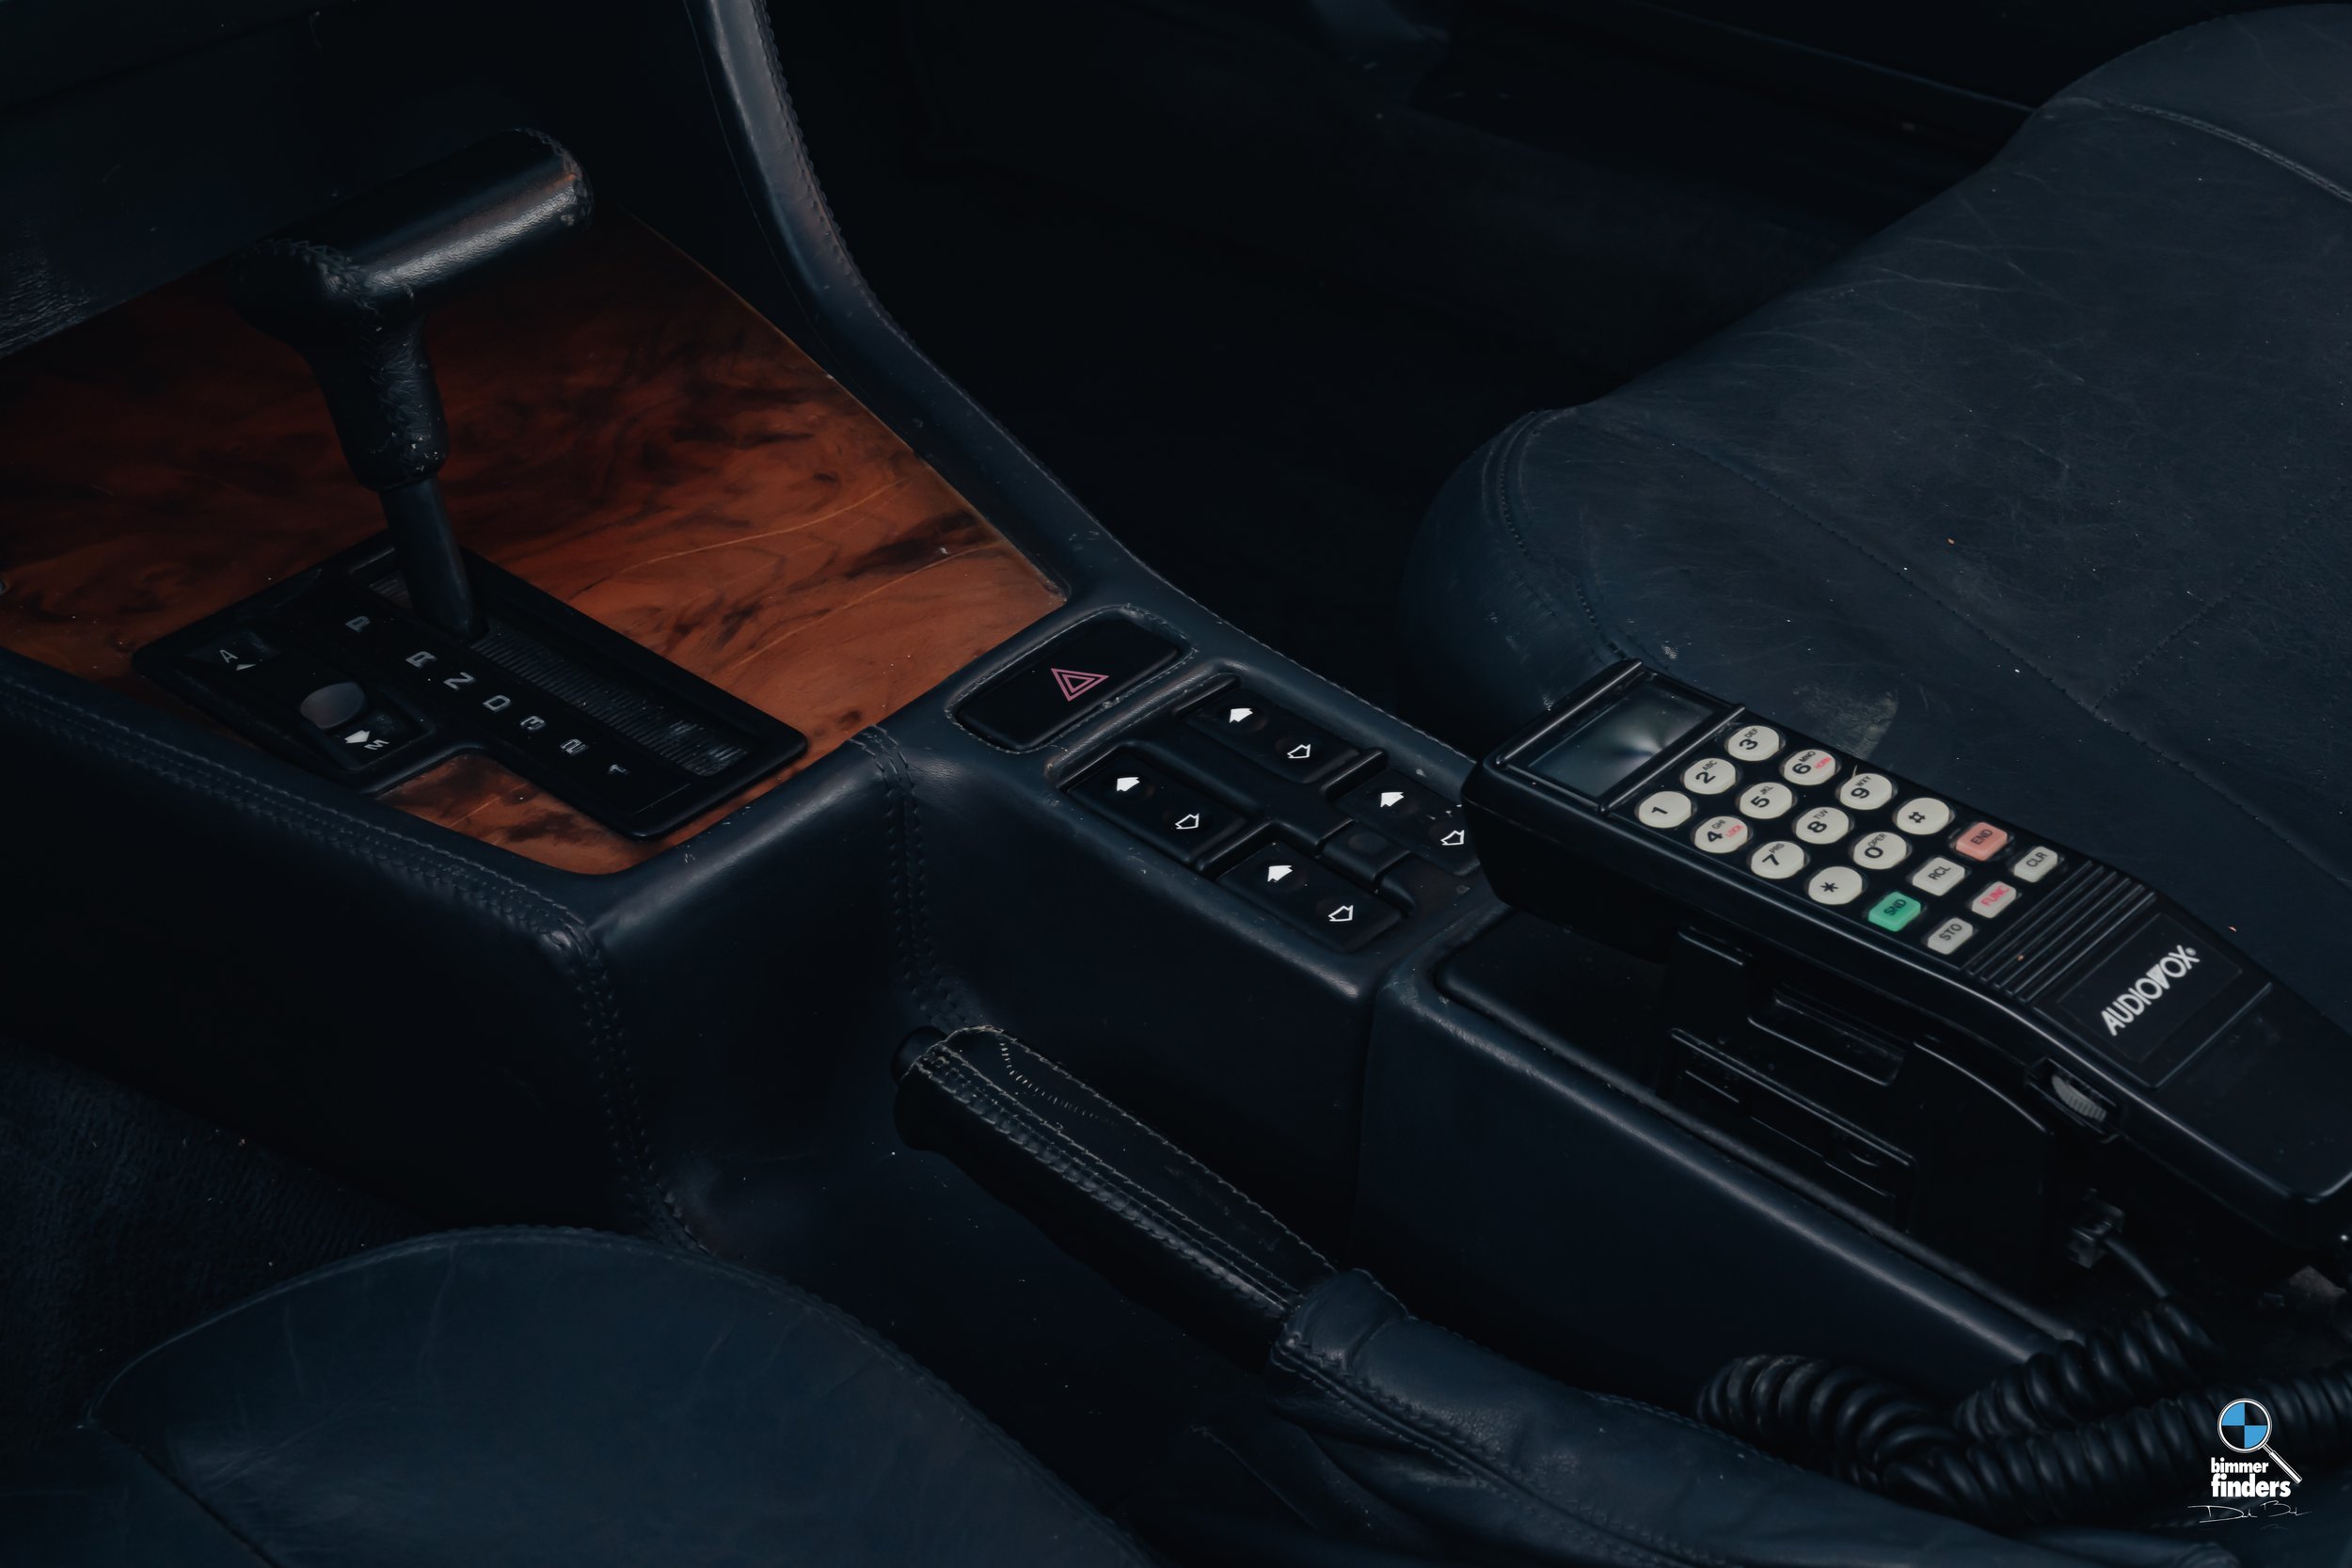
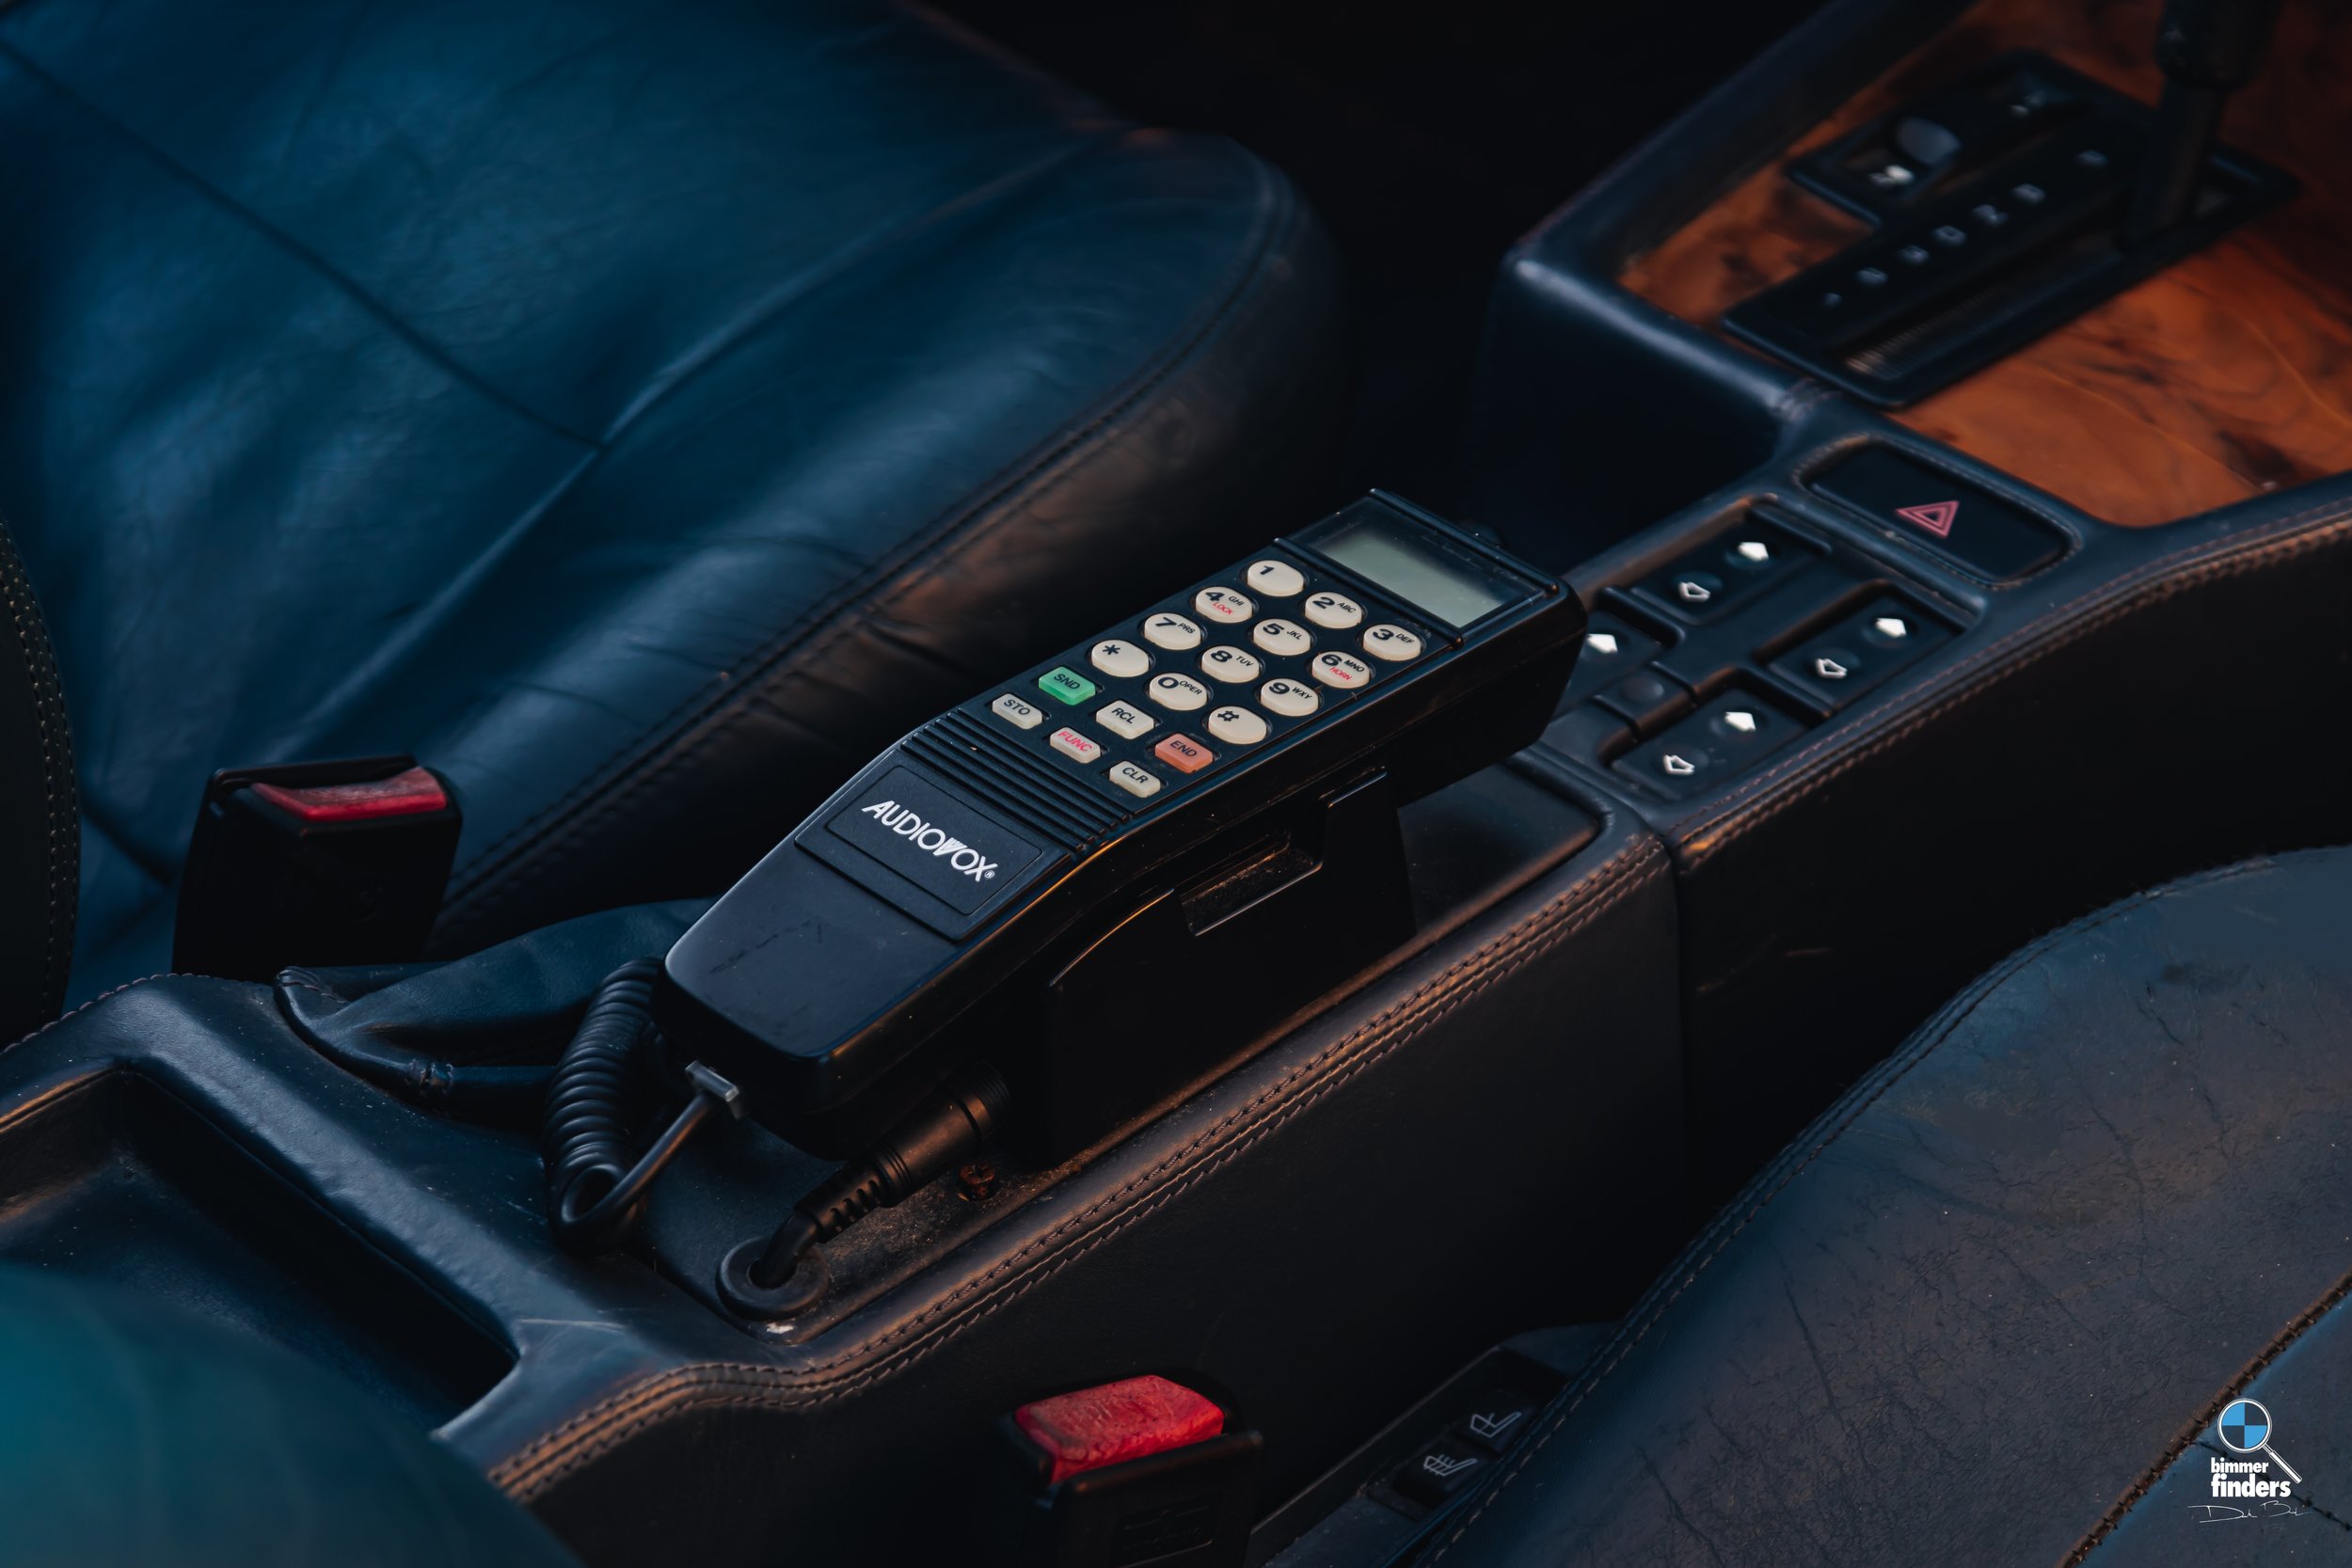
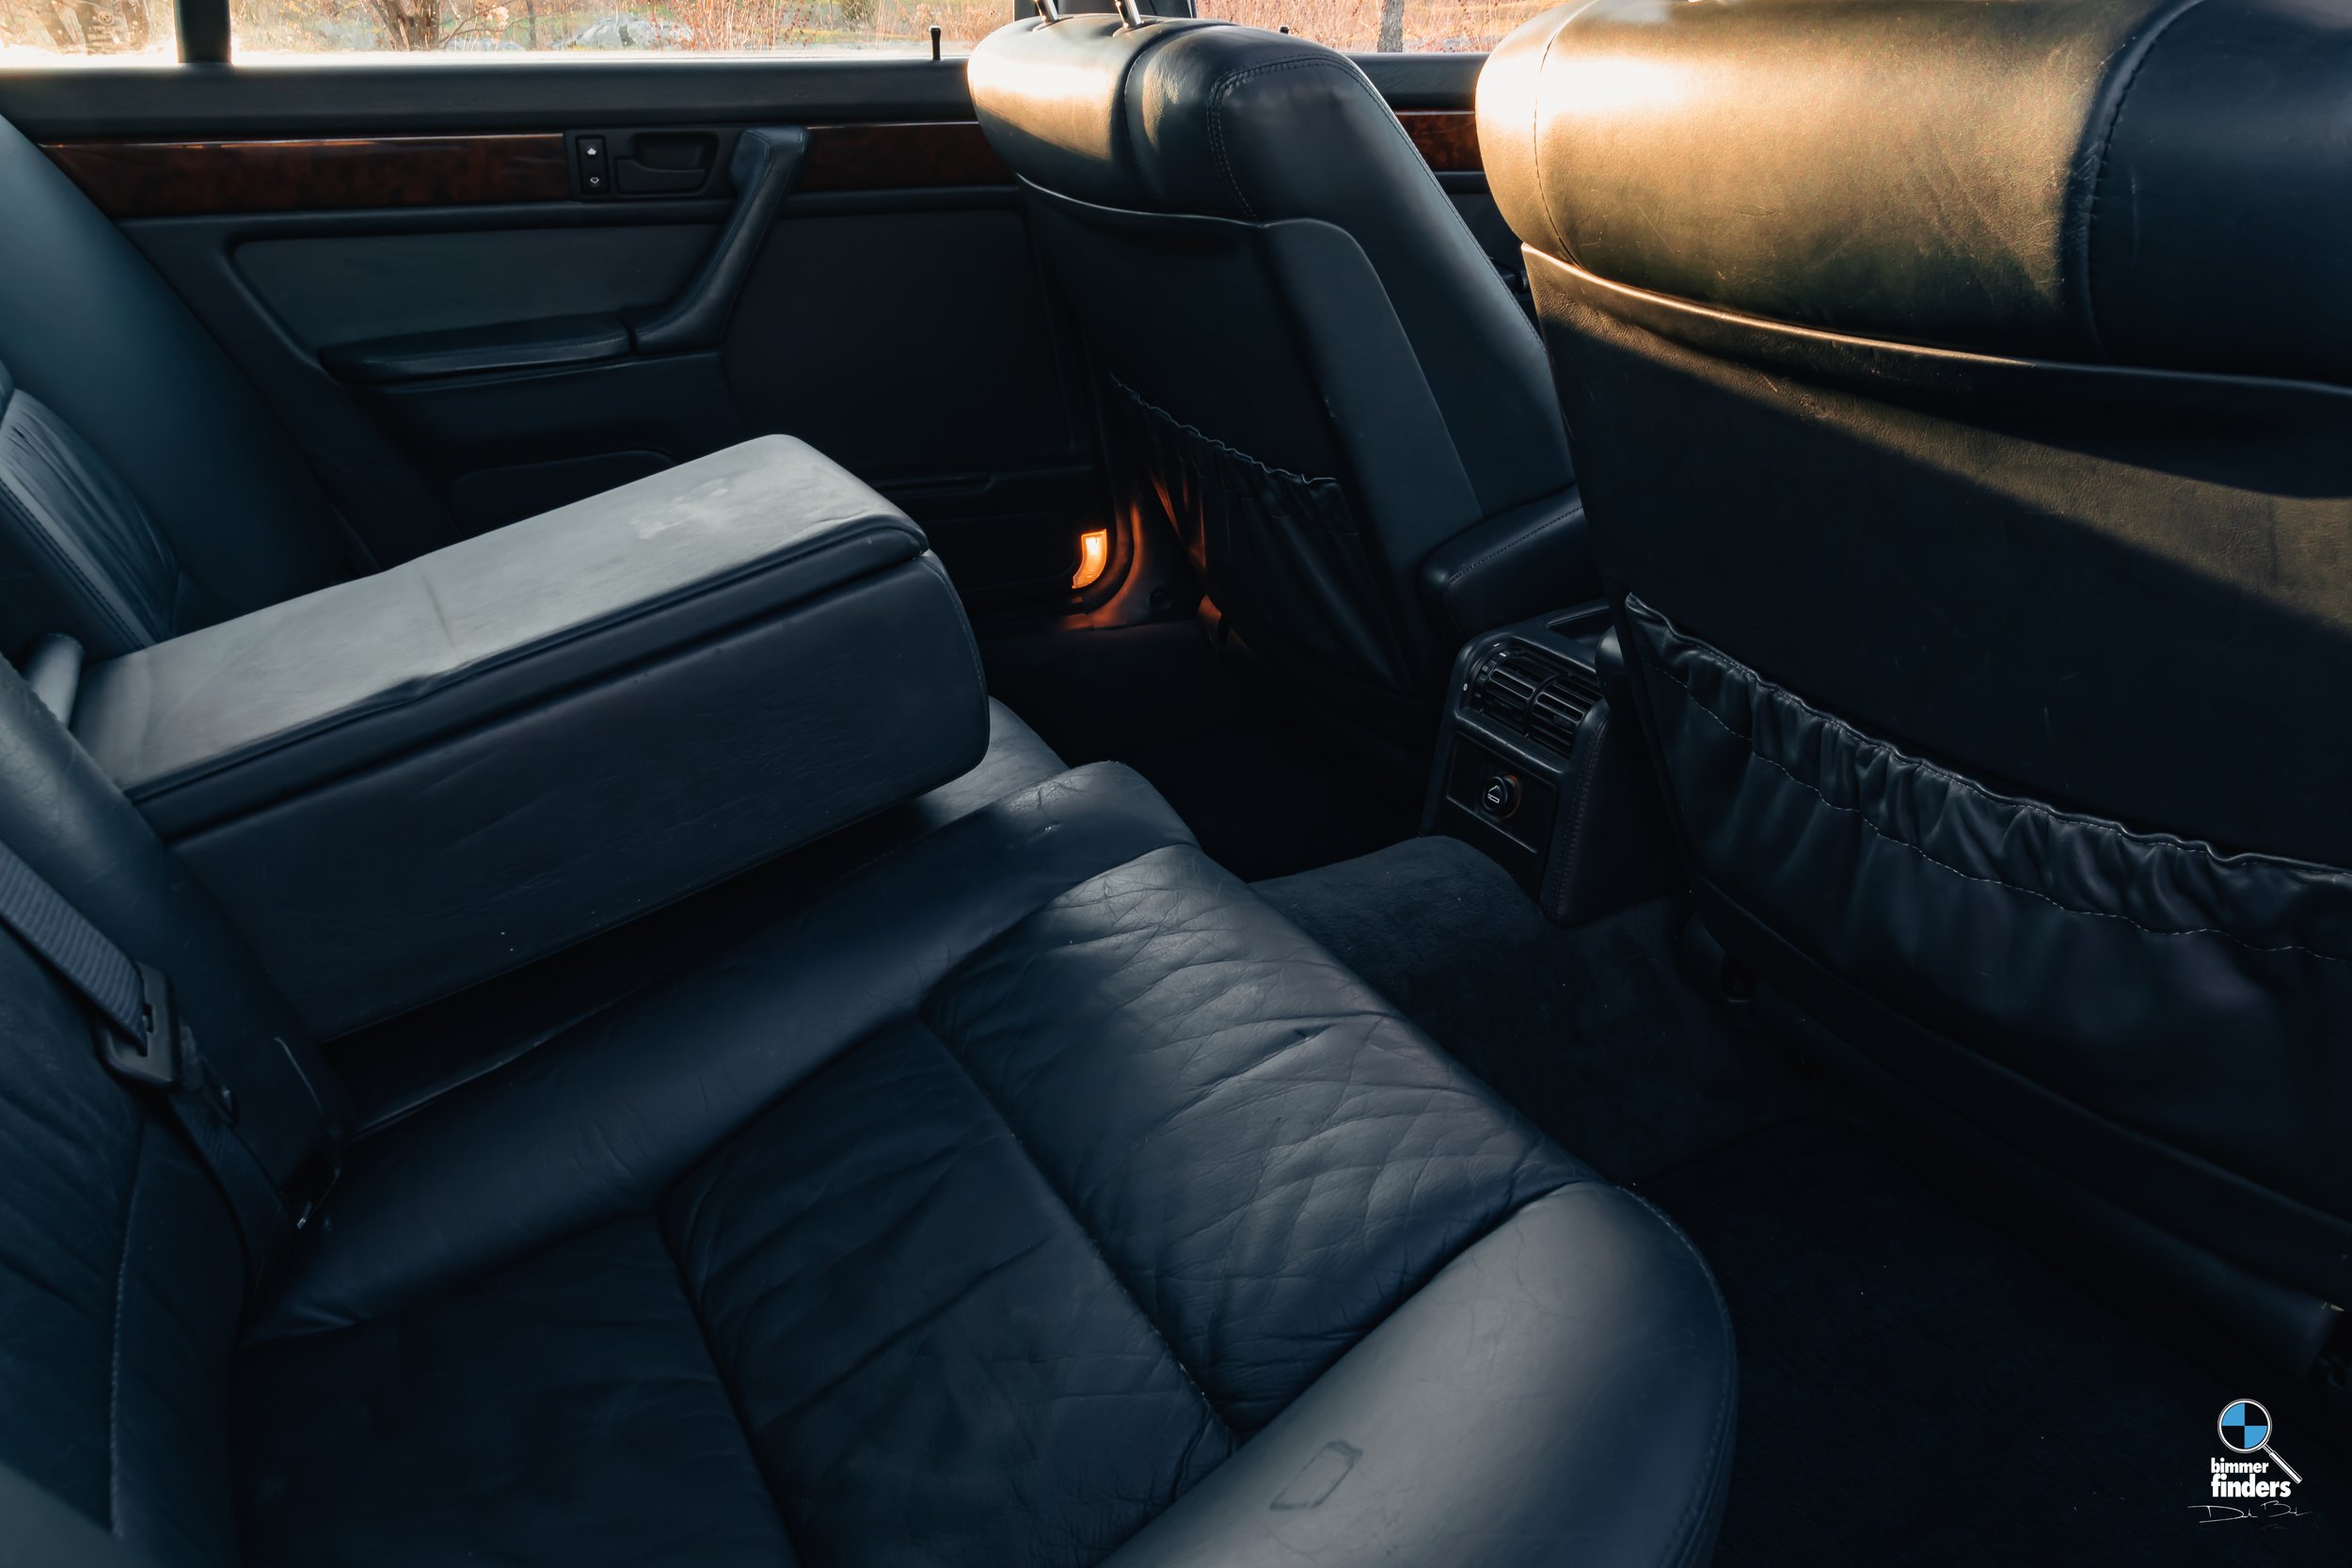
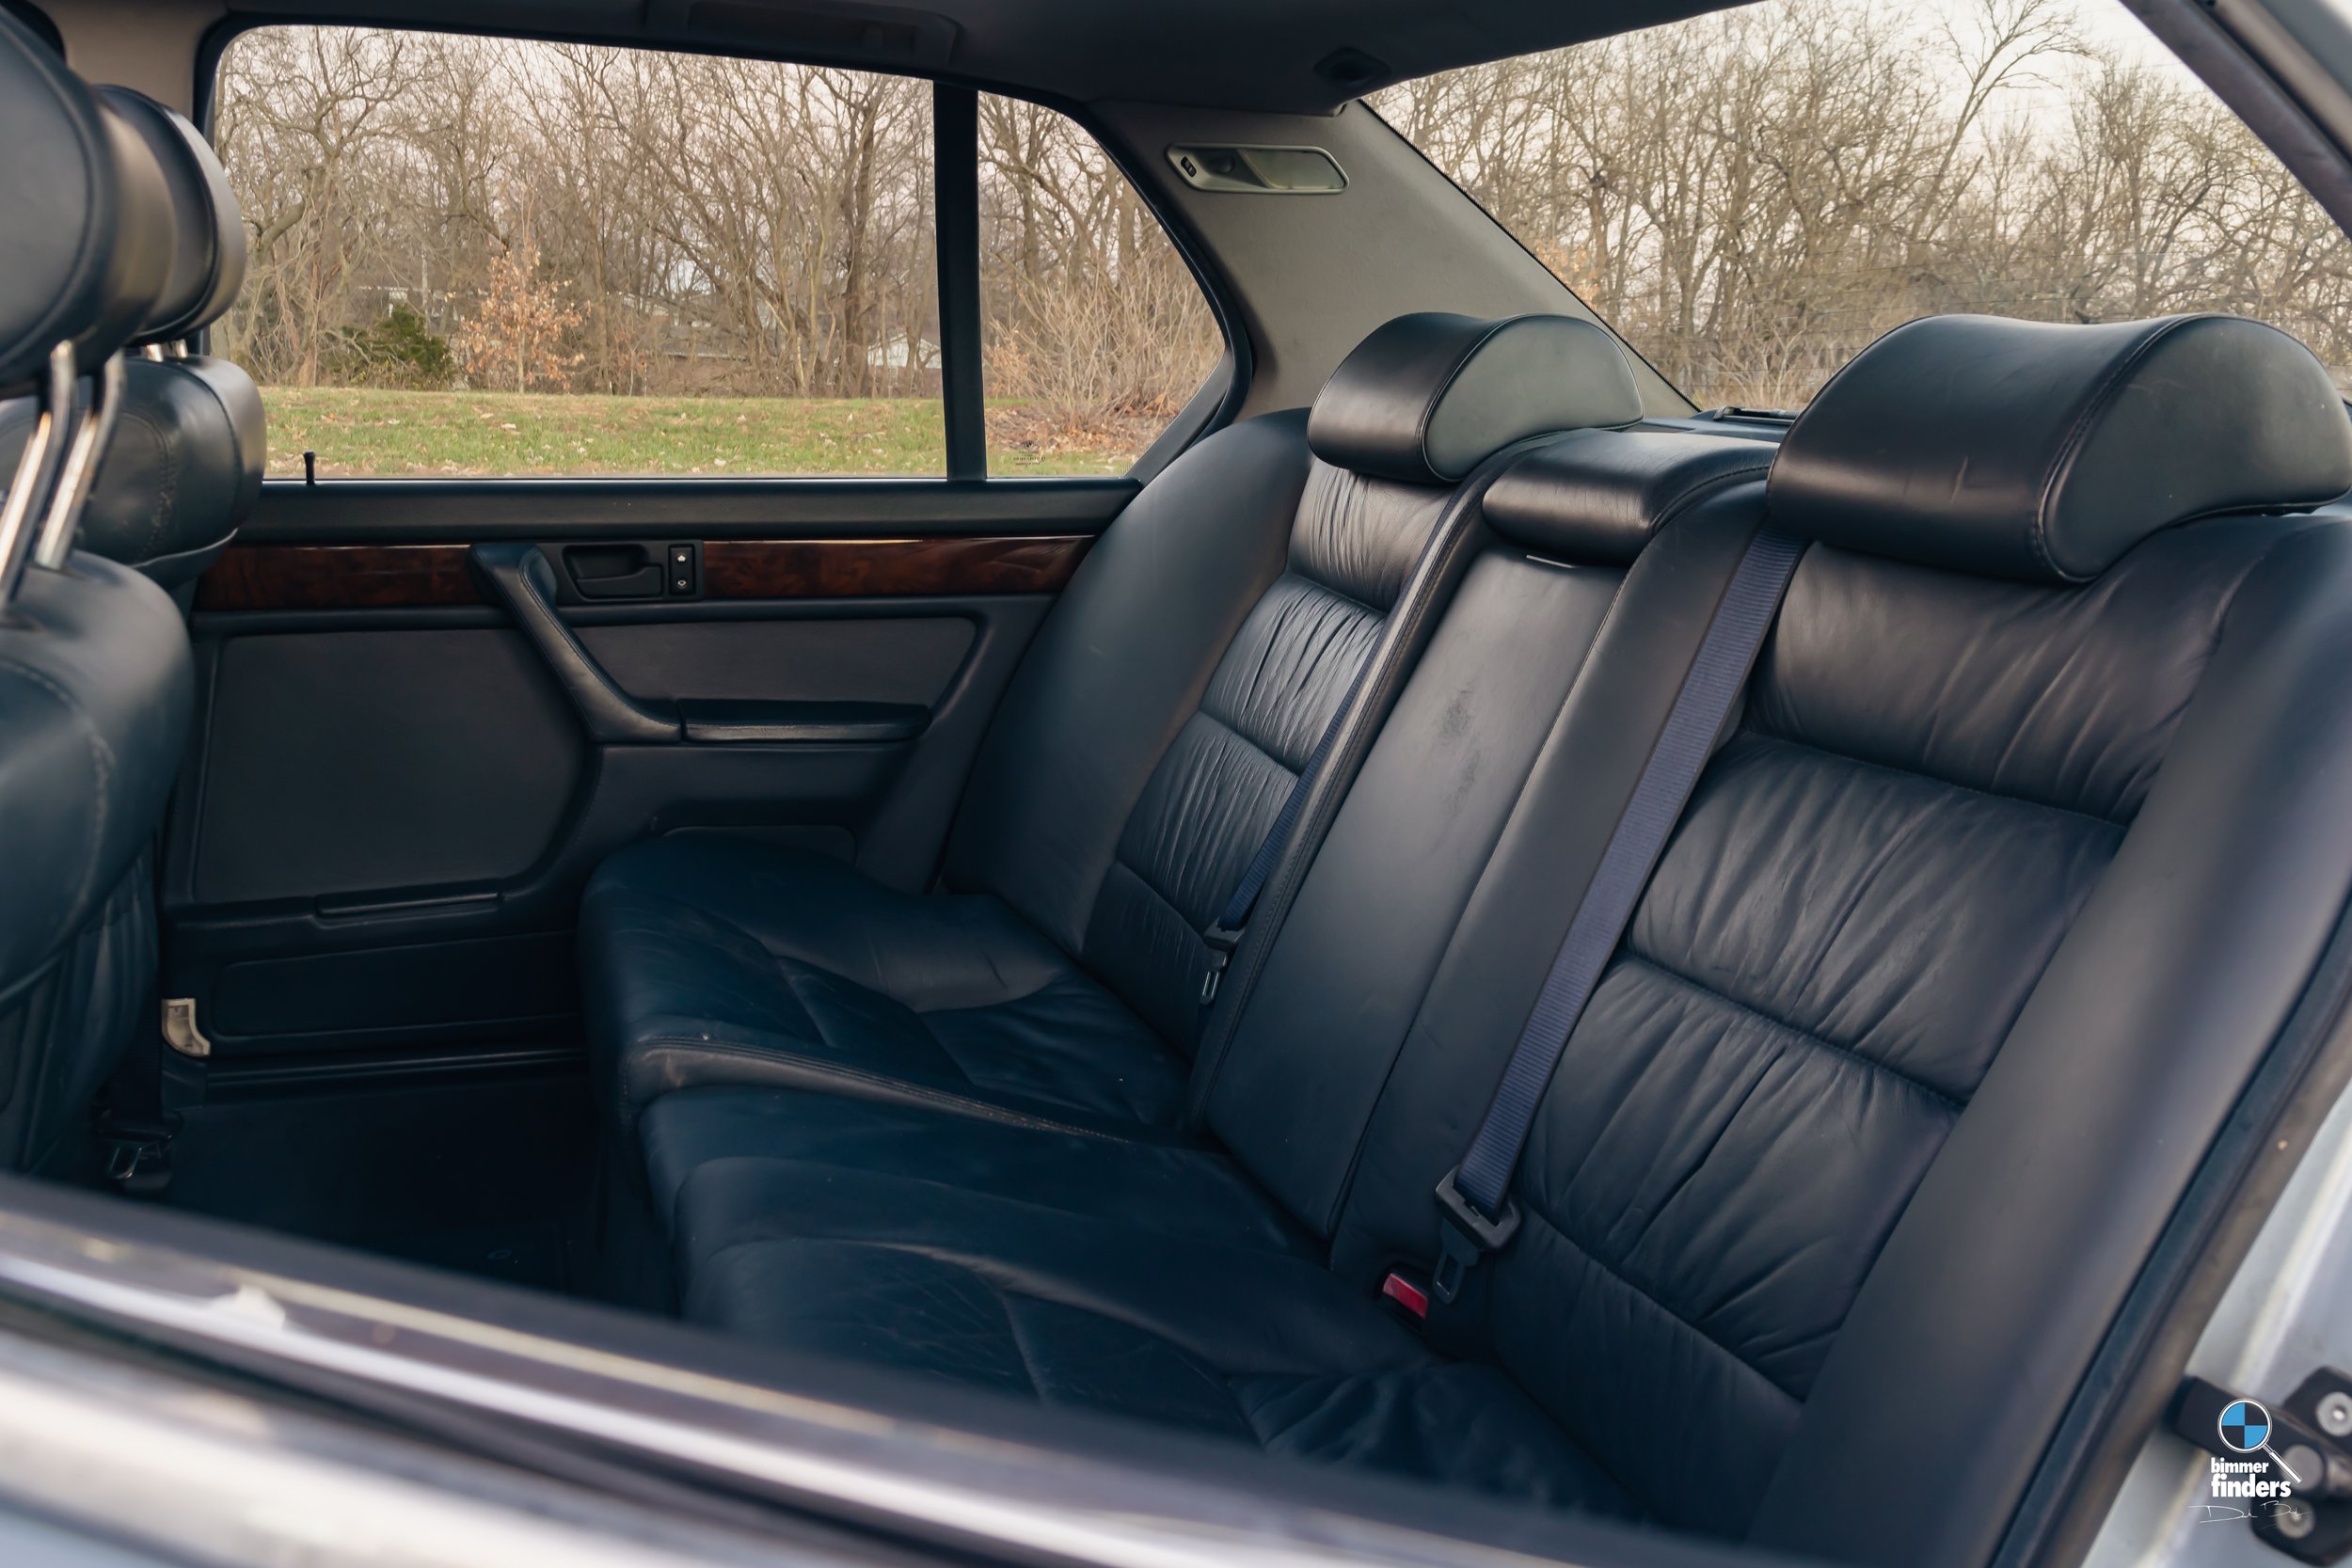
As the nicer days of March began to roll in, I stole a few weekends to get the interior started. The carpets were deep cleaned, and the seats redyed. All of the wood will be polished/kept except for the center console — I’m actively looking for a replacement for that which is crack-free and the correct hue that matches the rest of the wood’s immaculate condition.


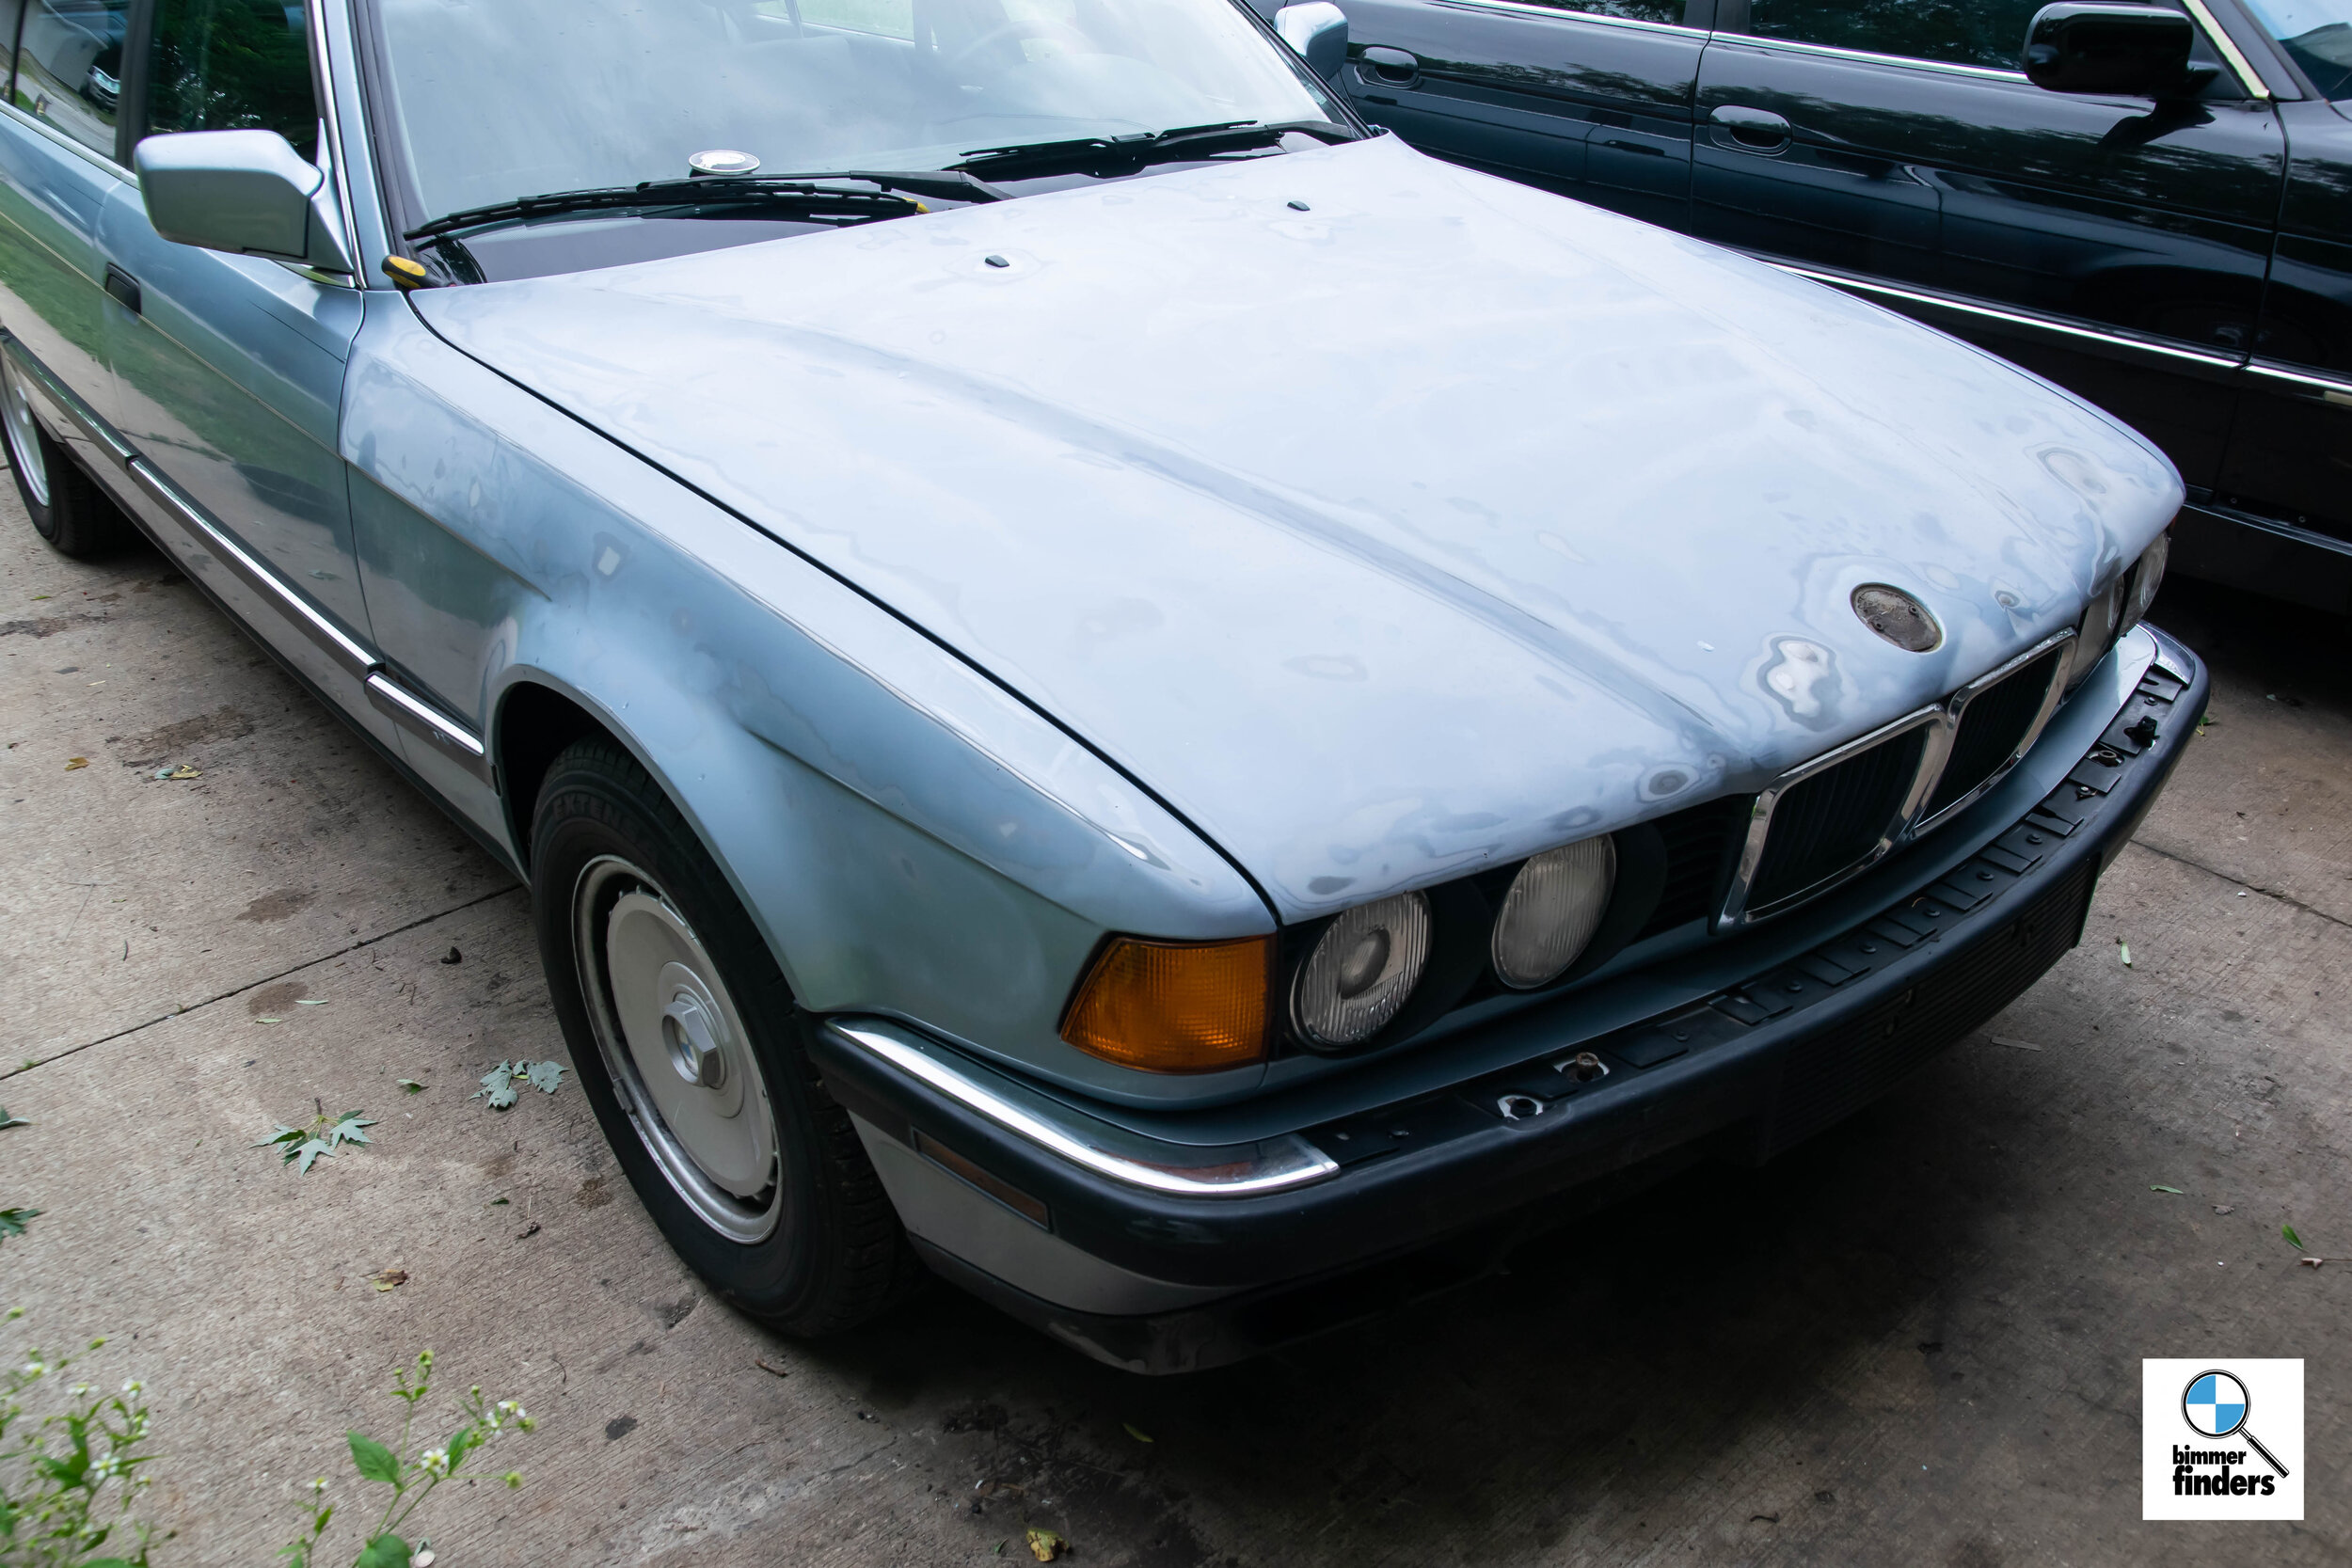
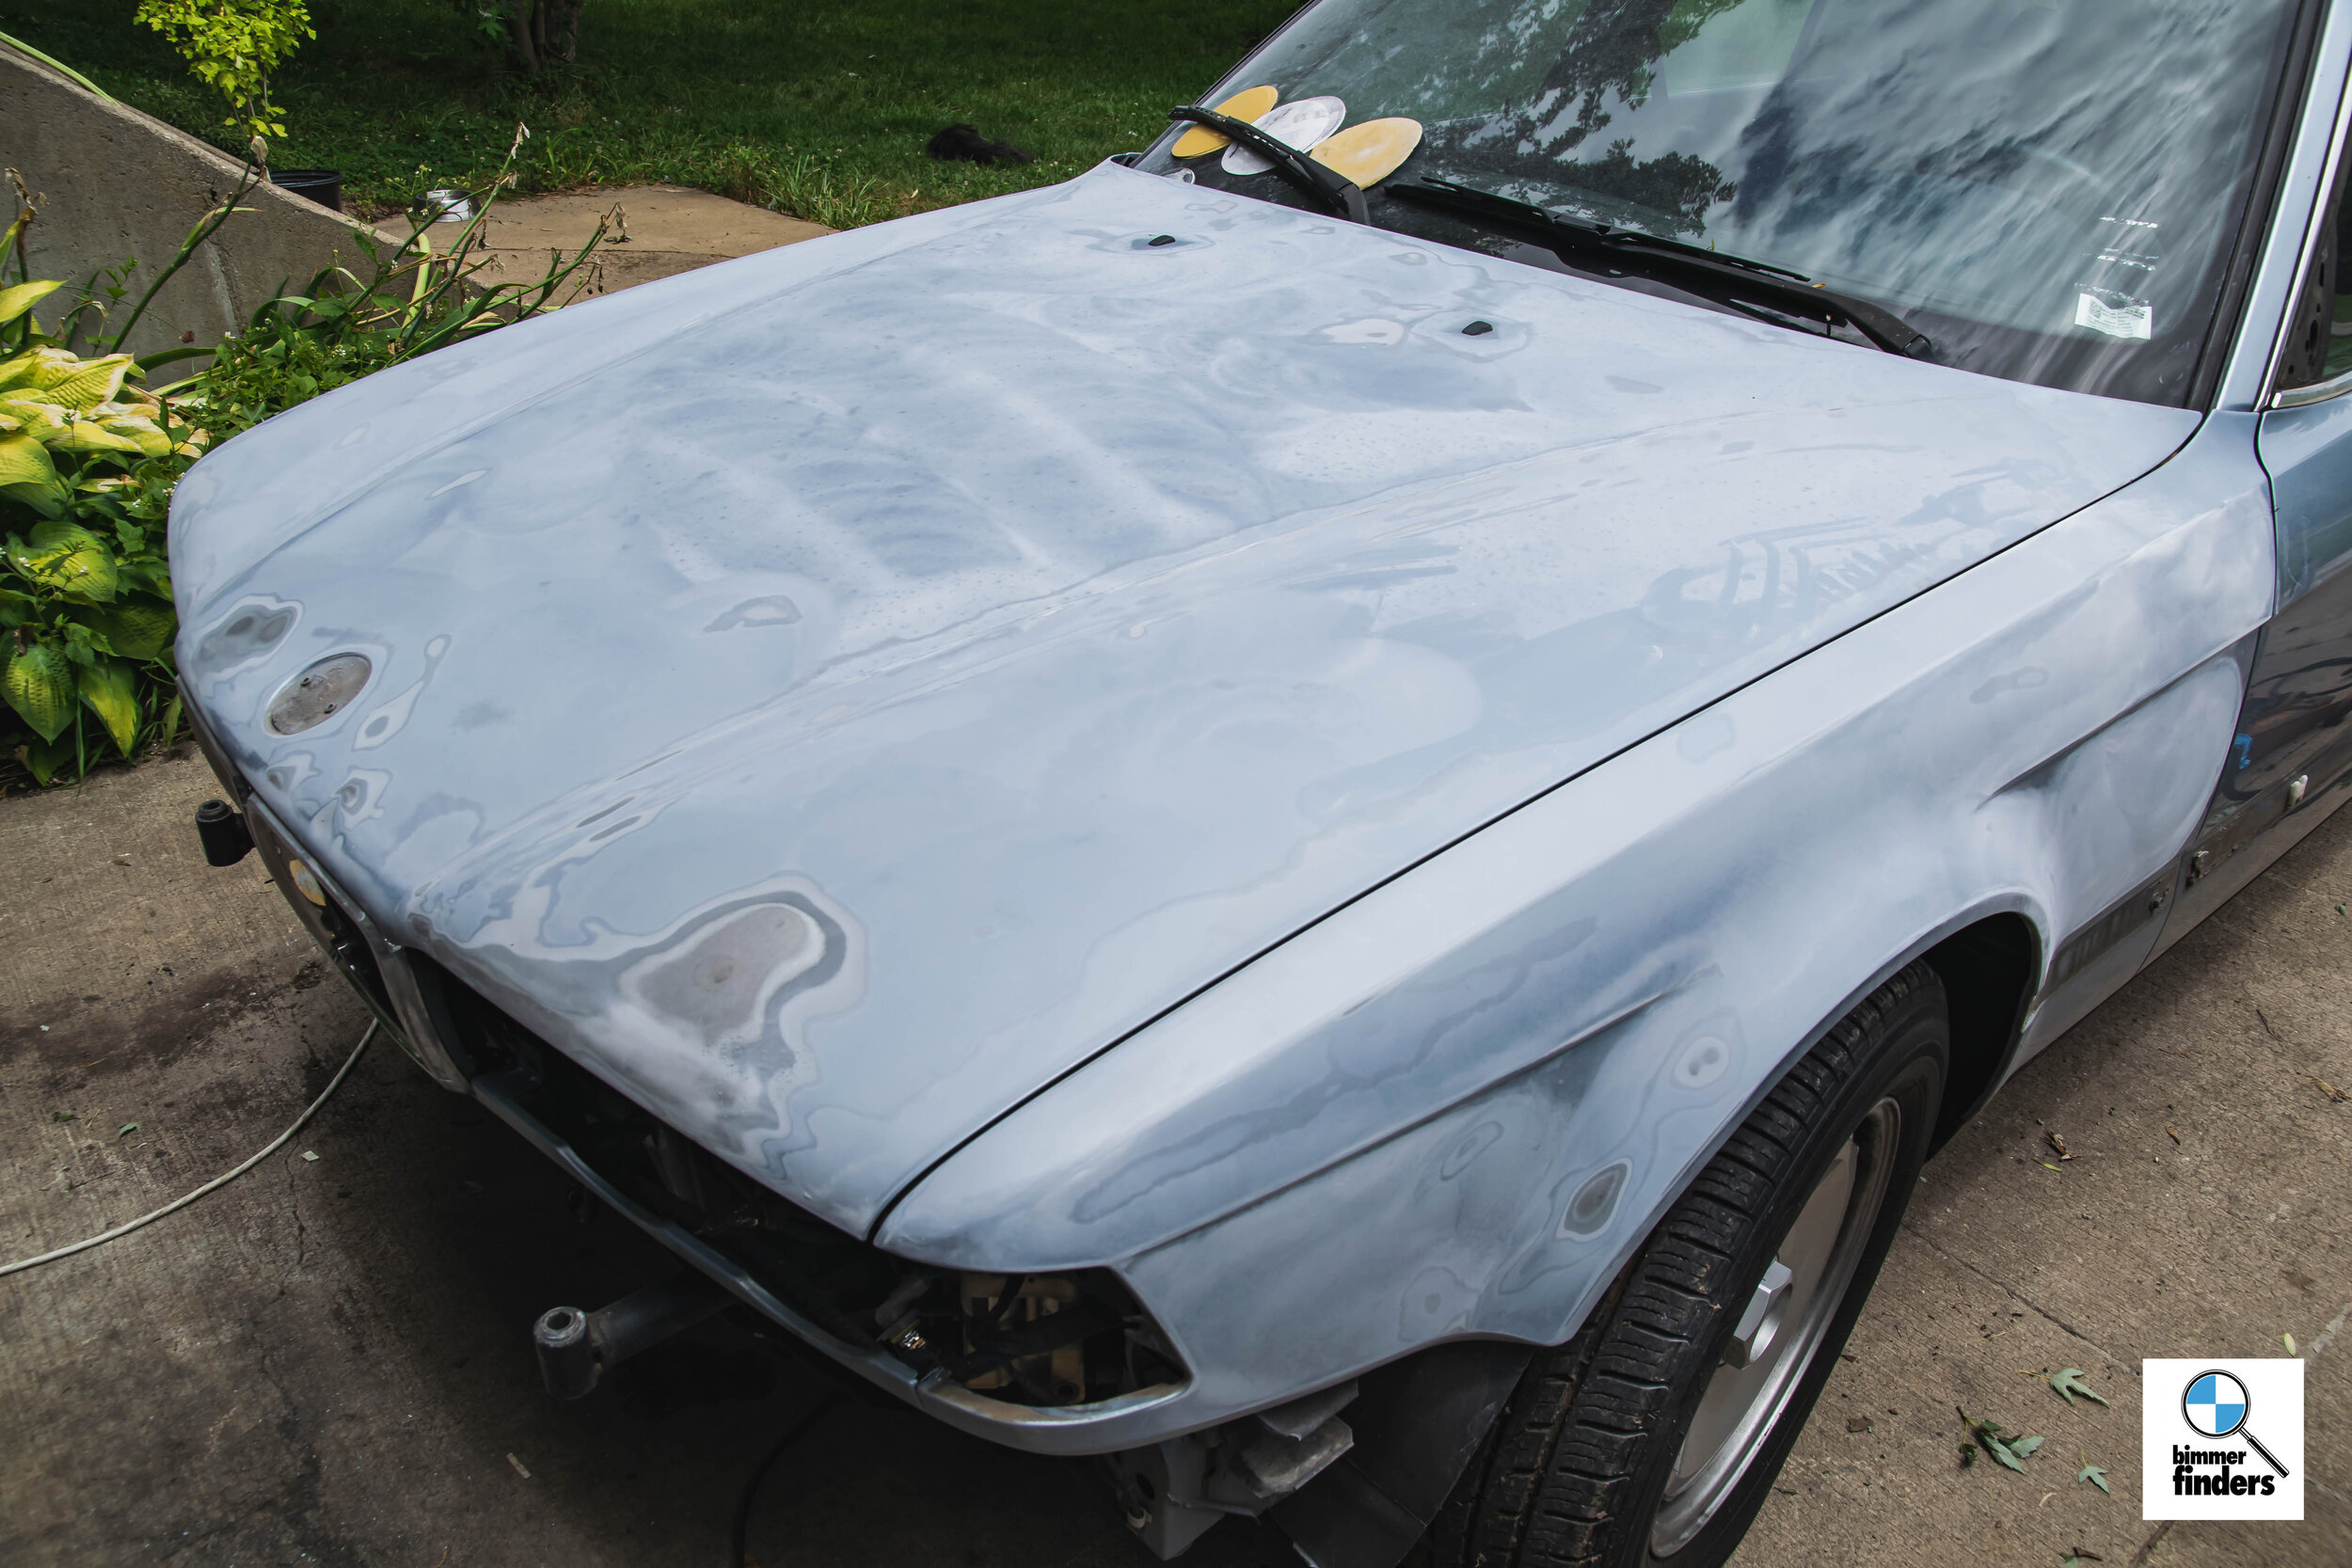
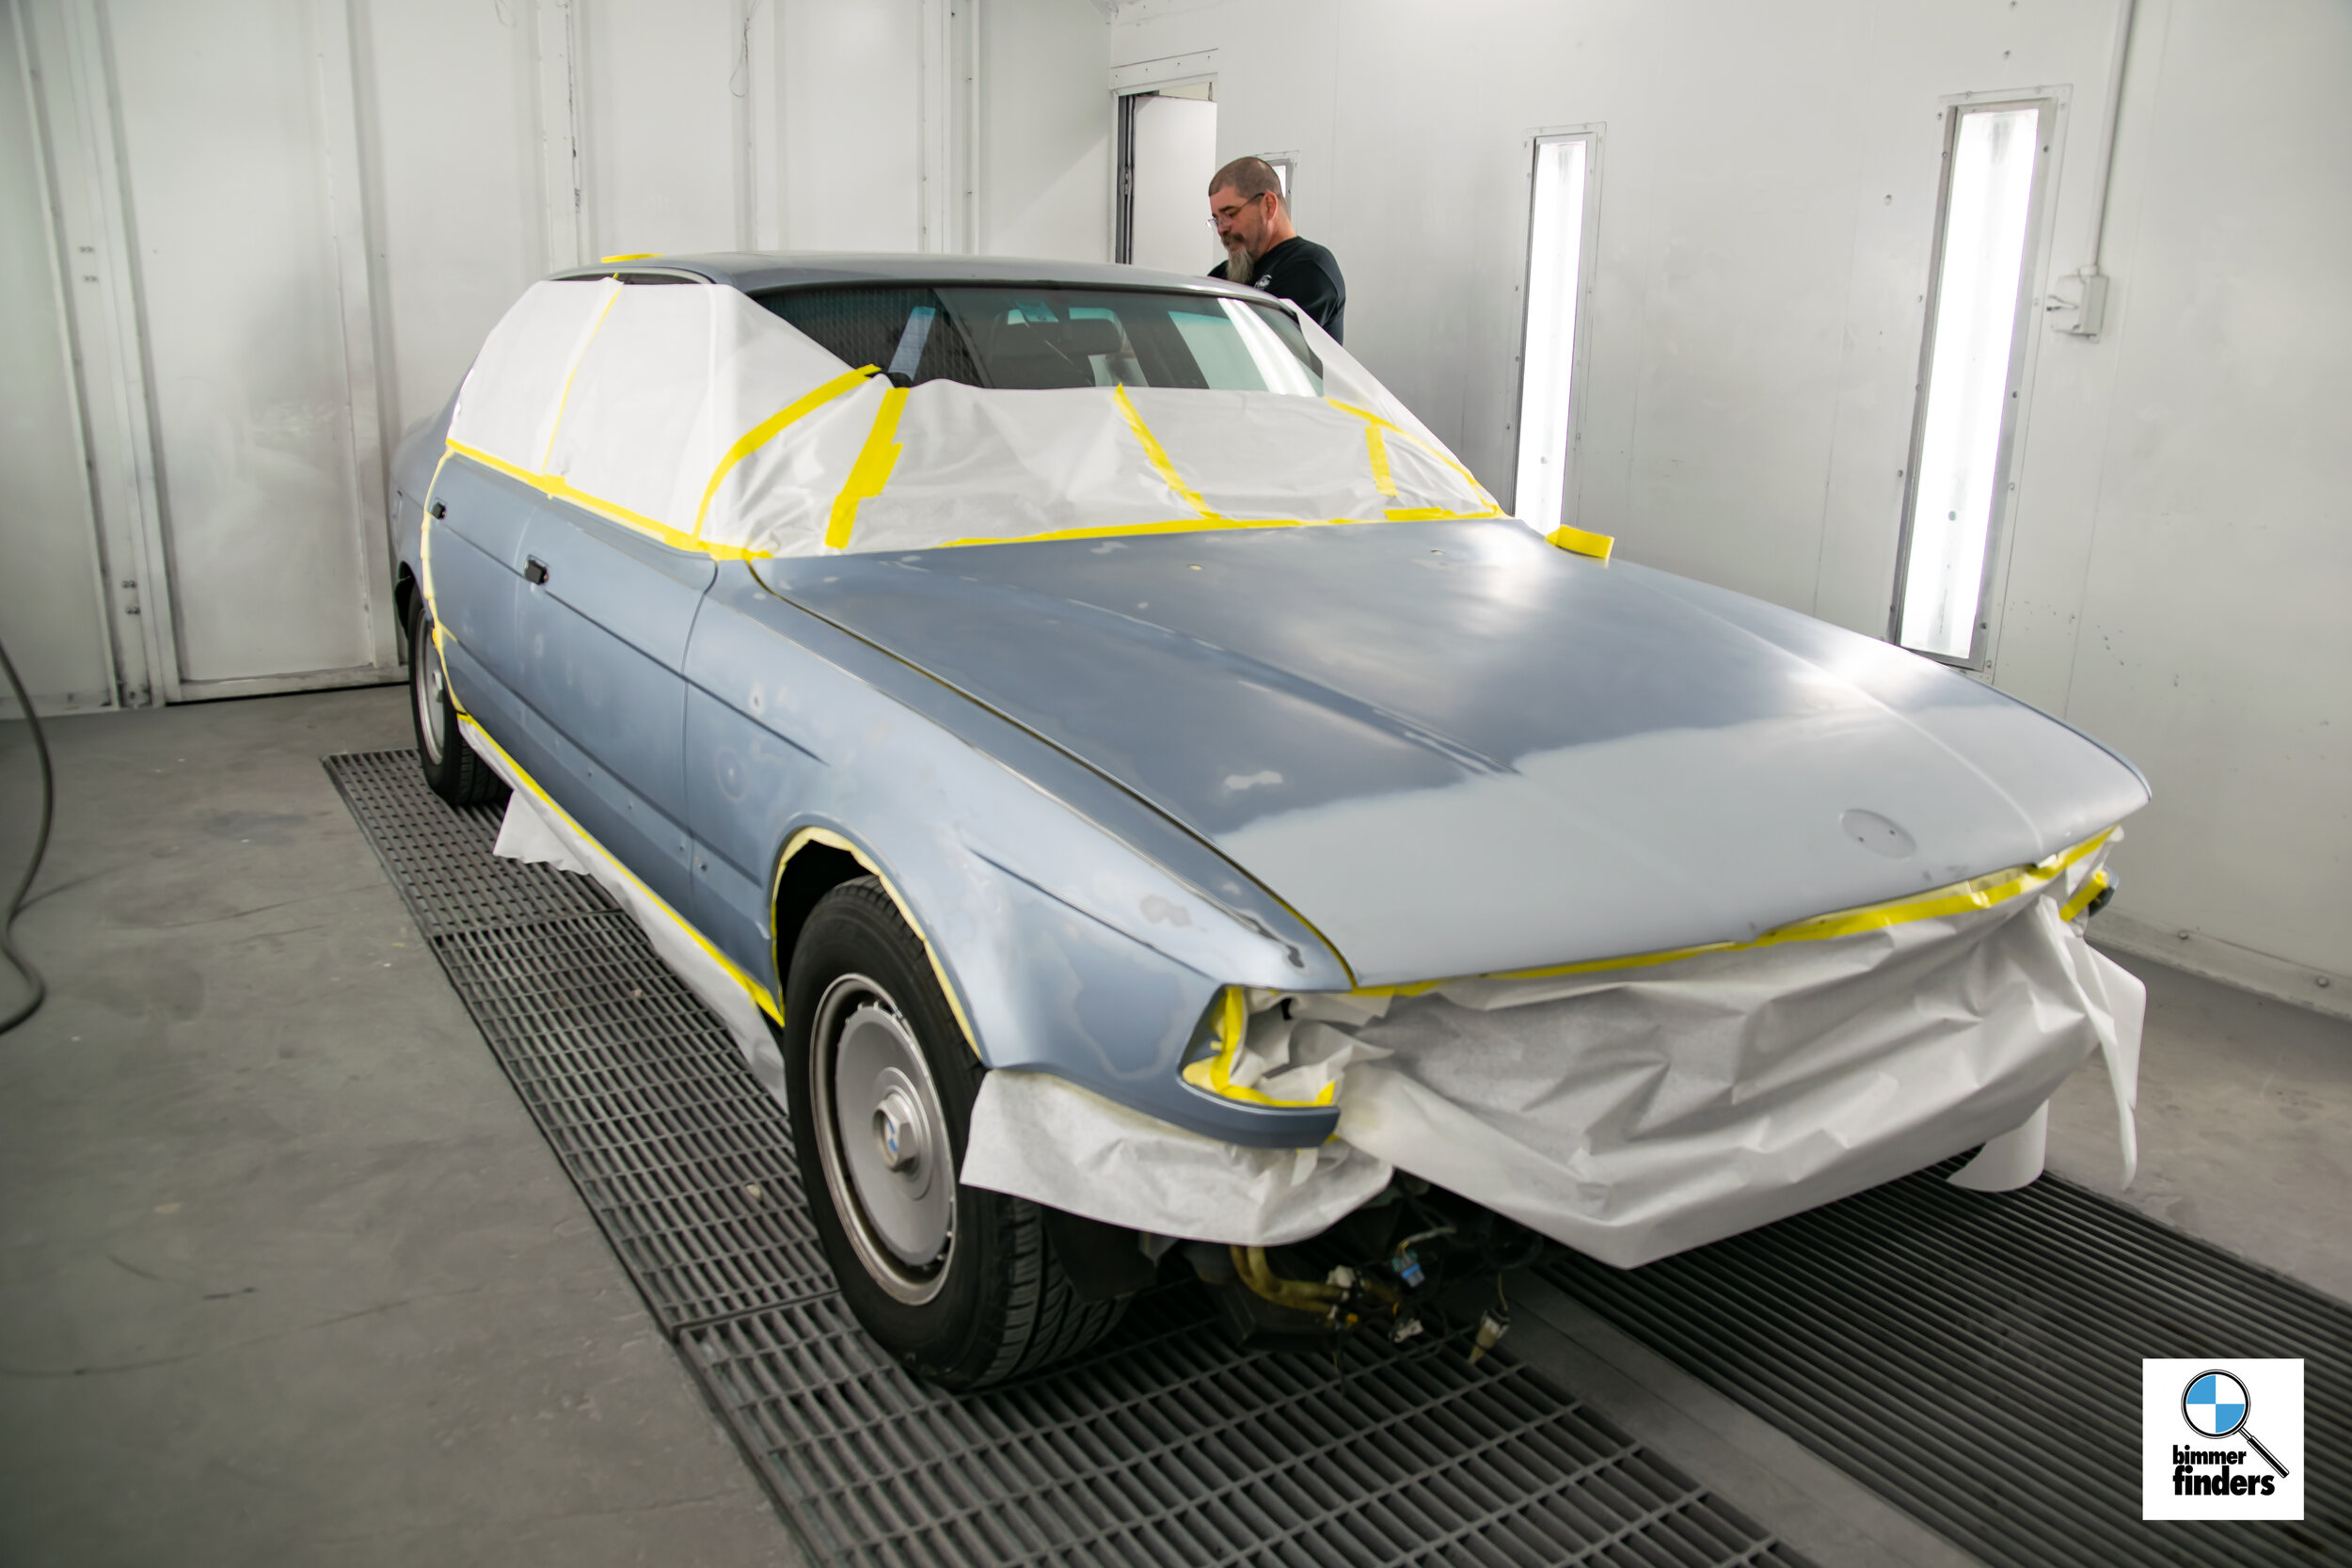
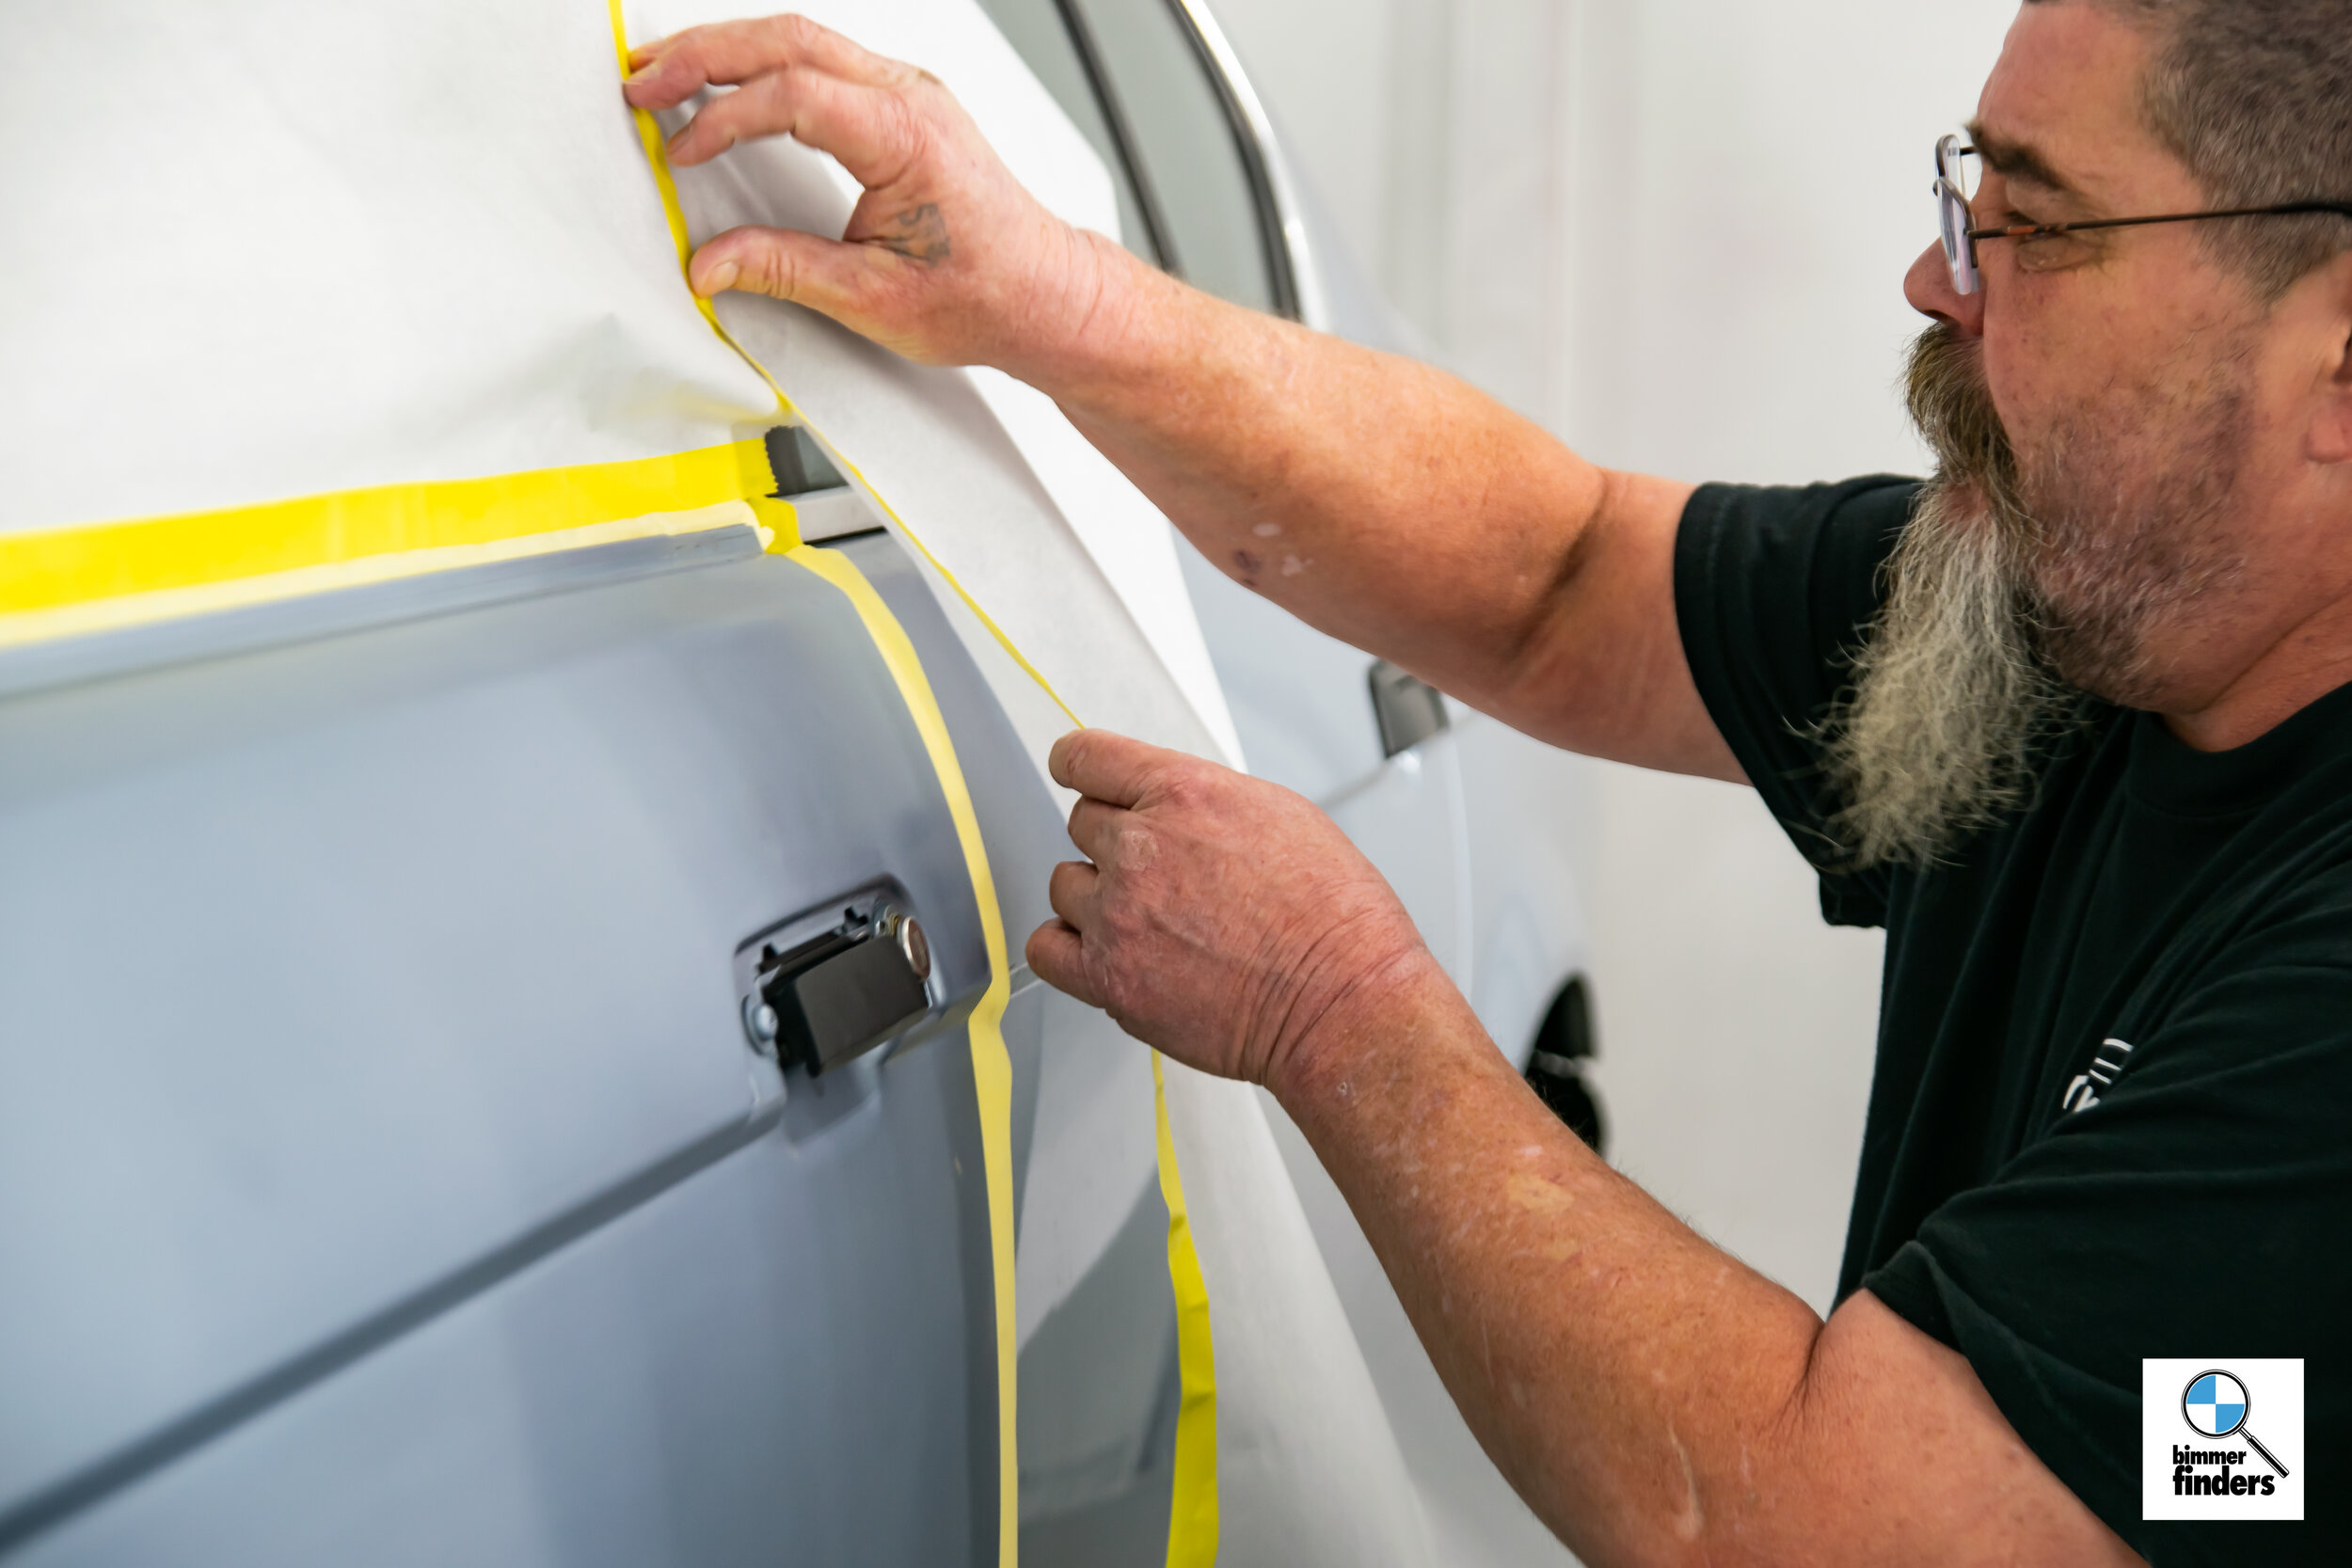
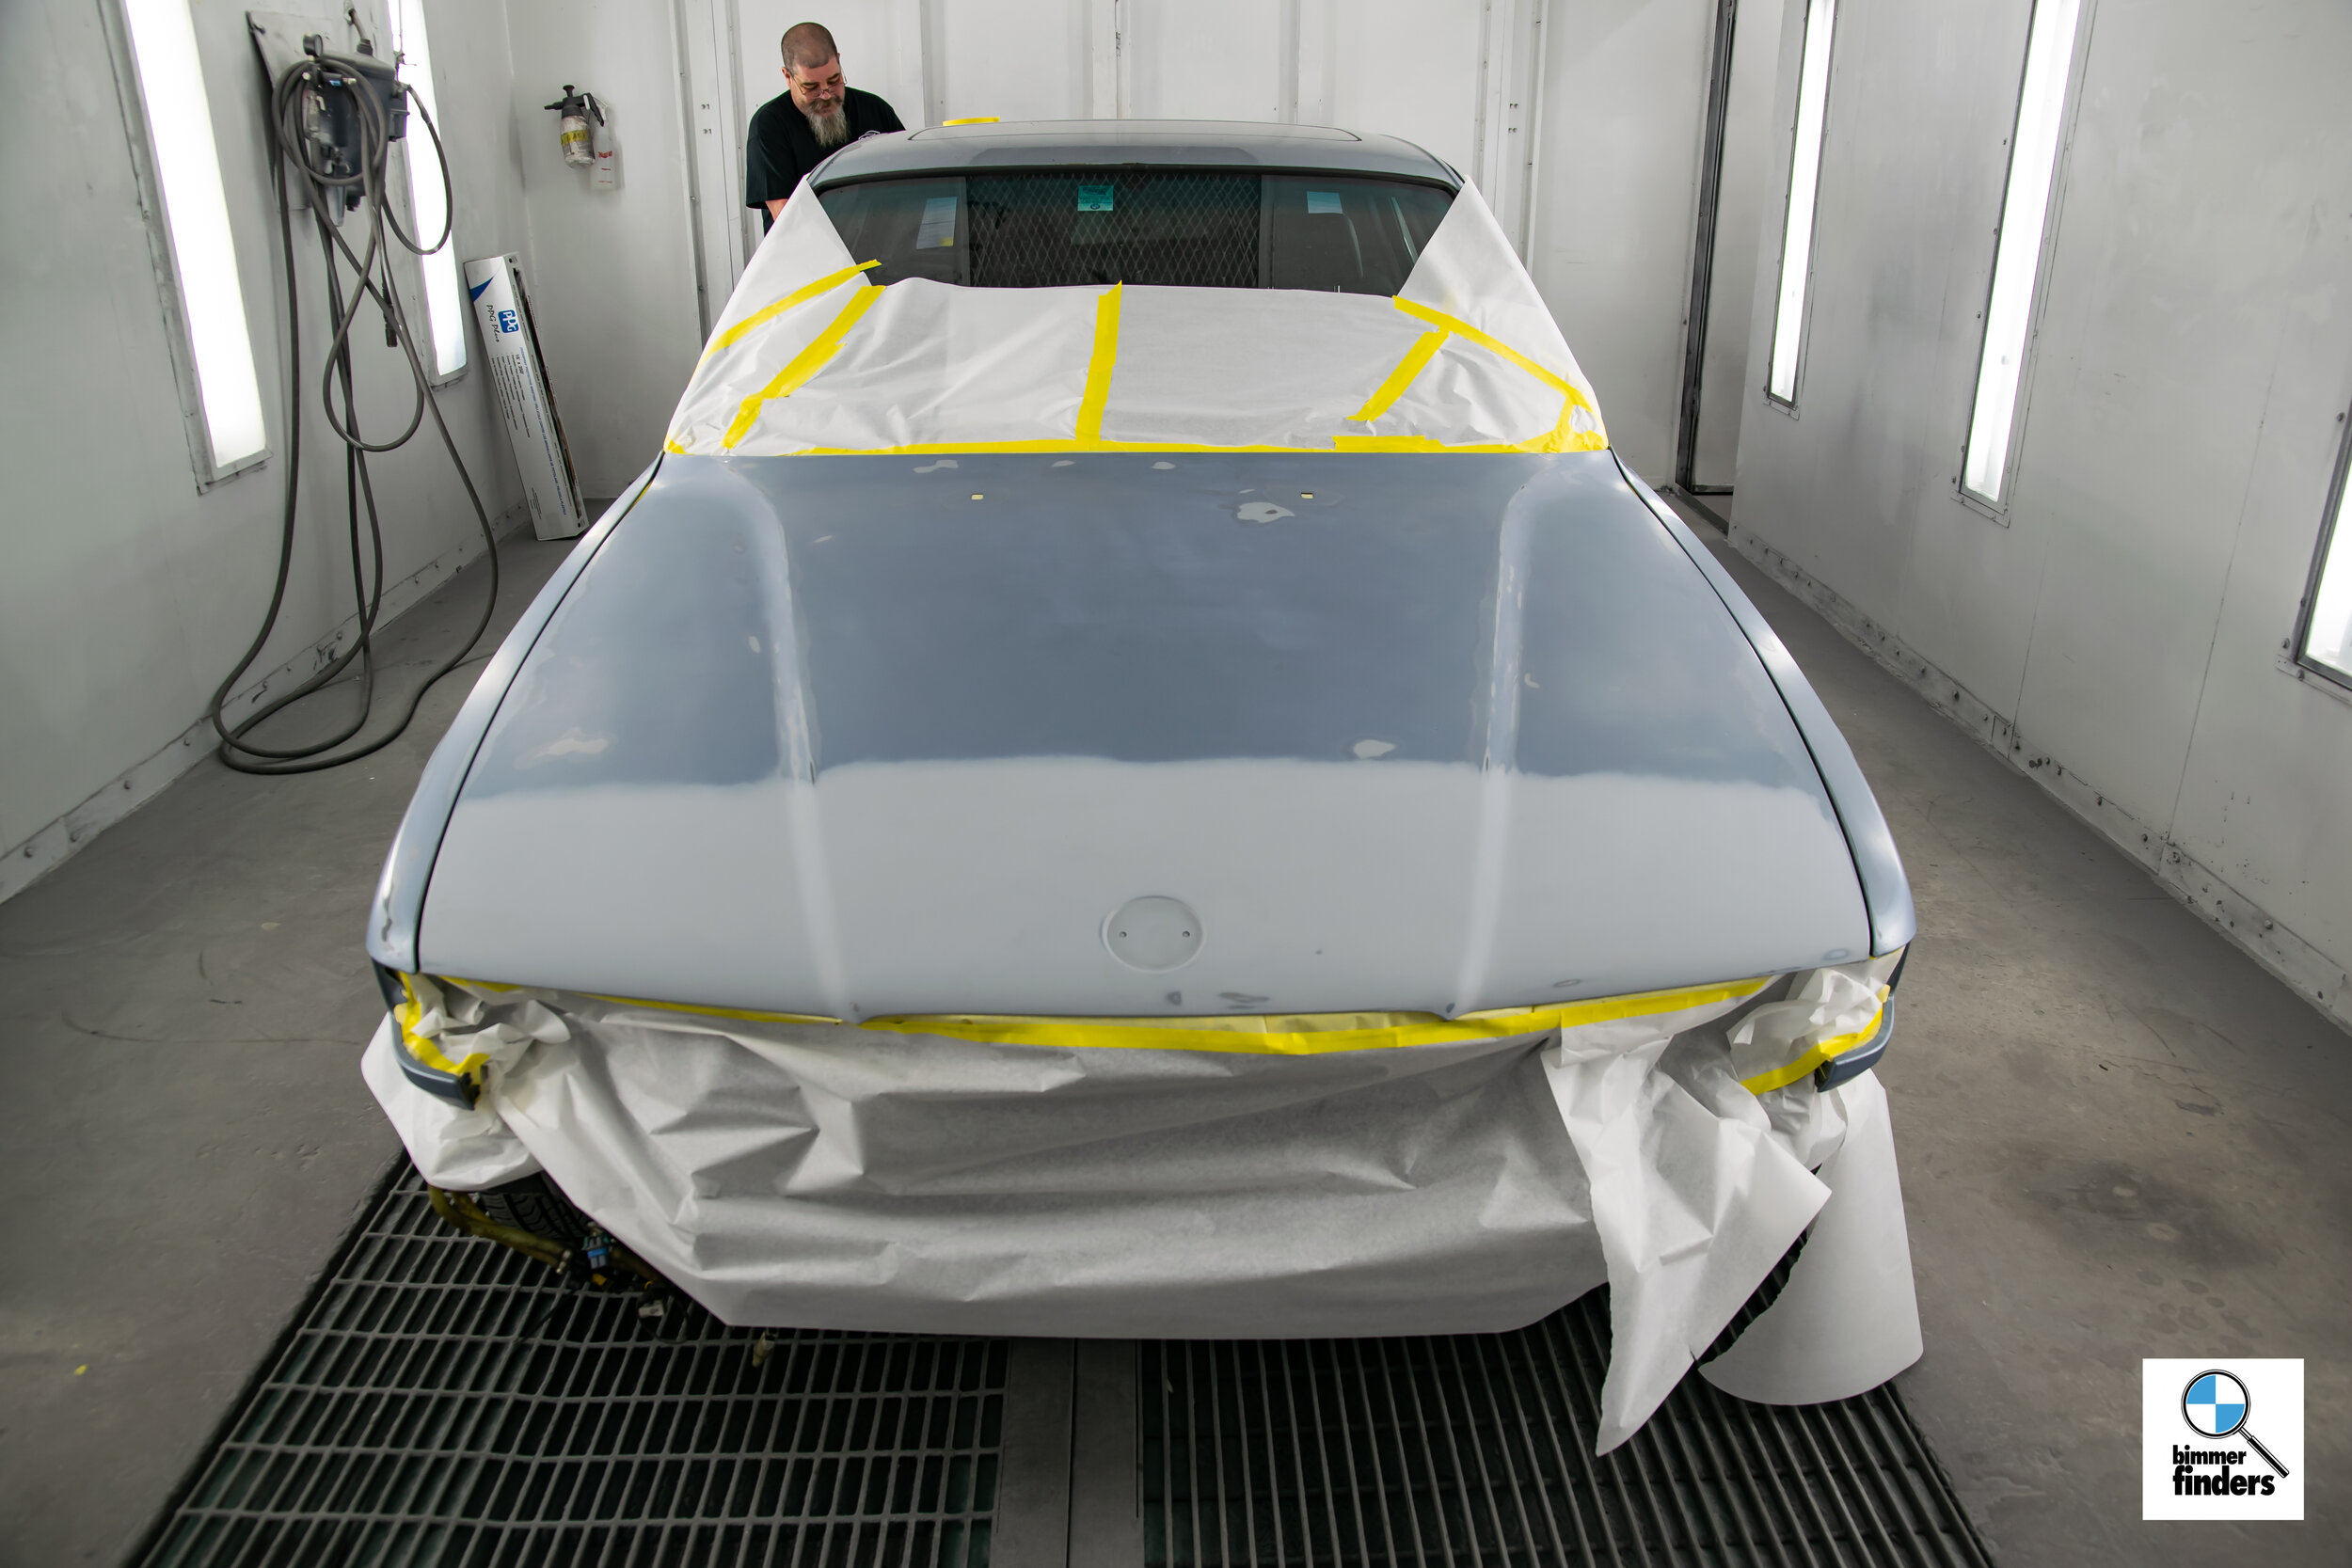
EXTERIOR REFINISHING
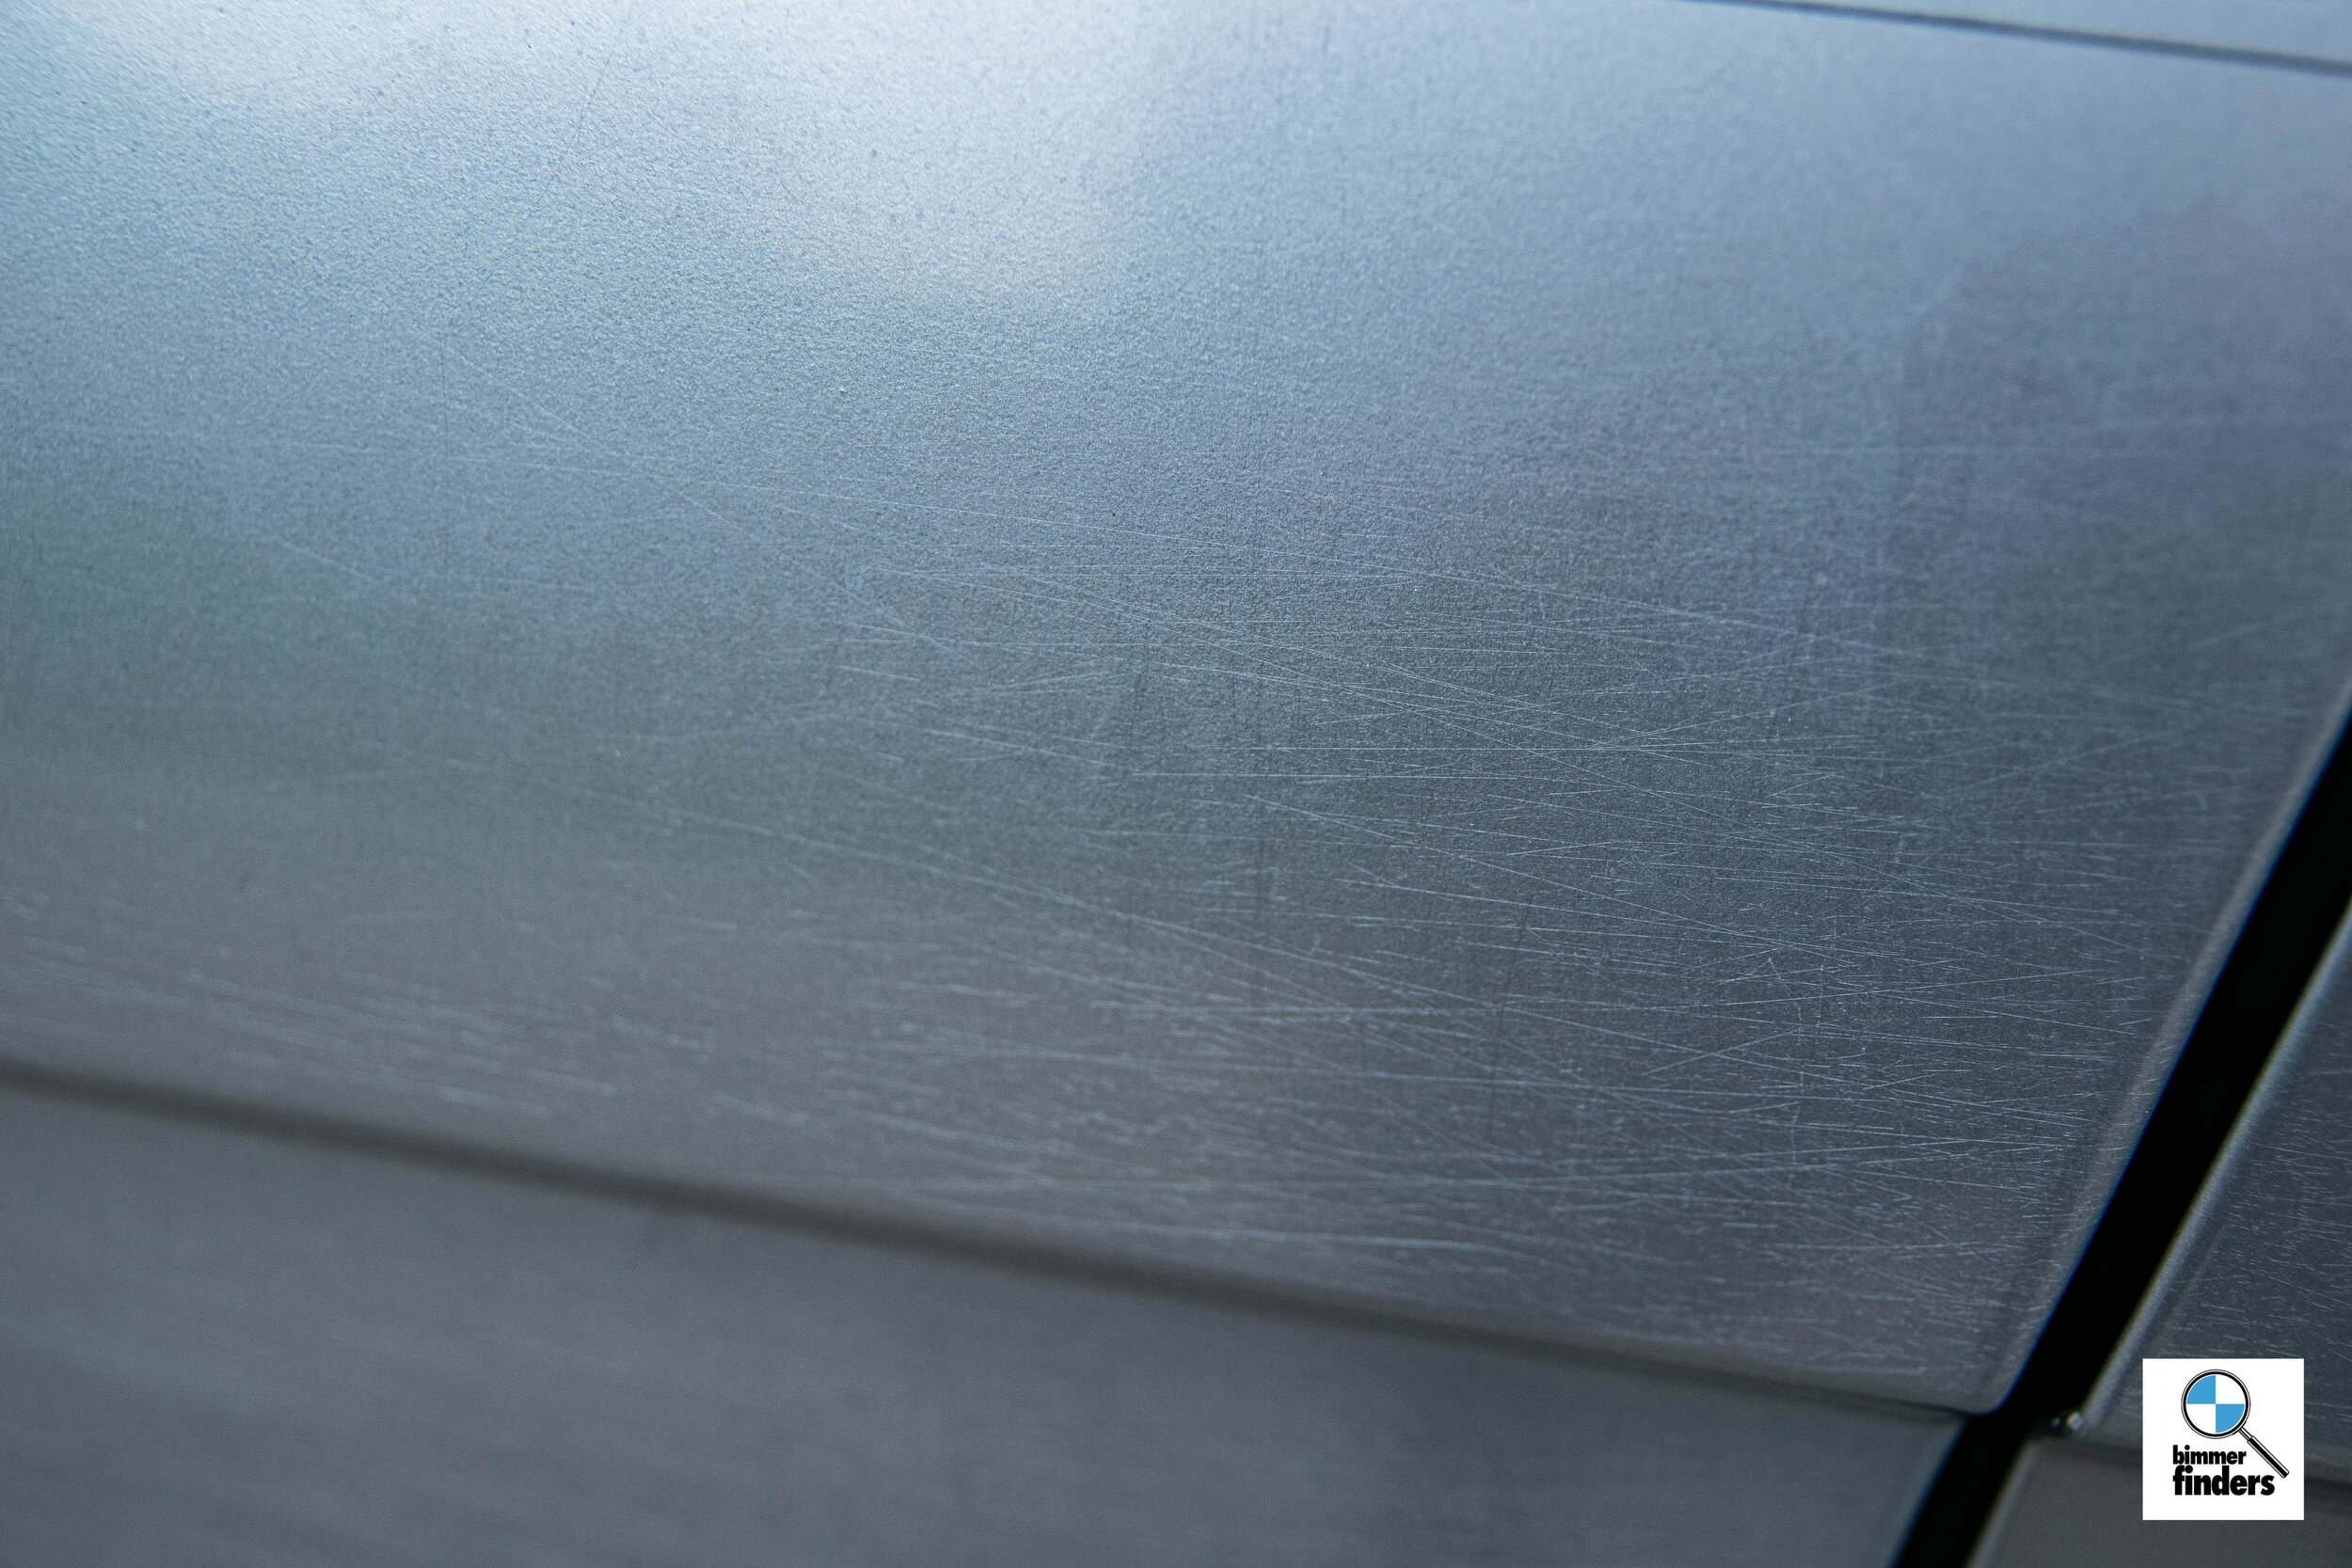
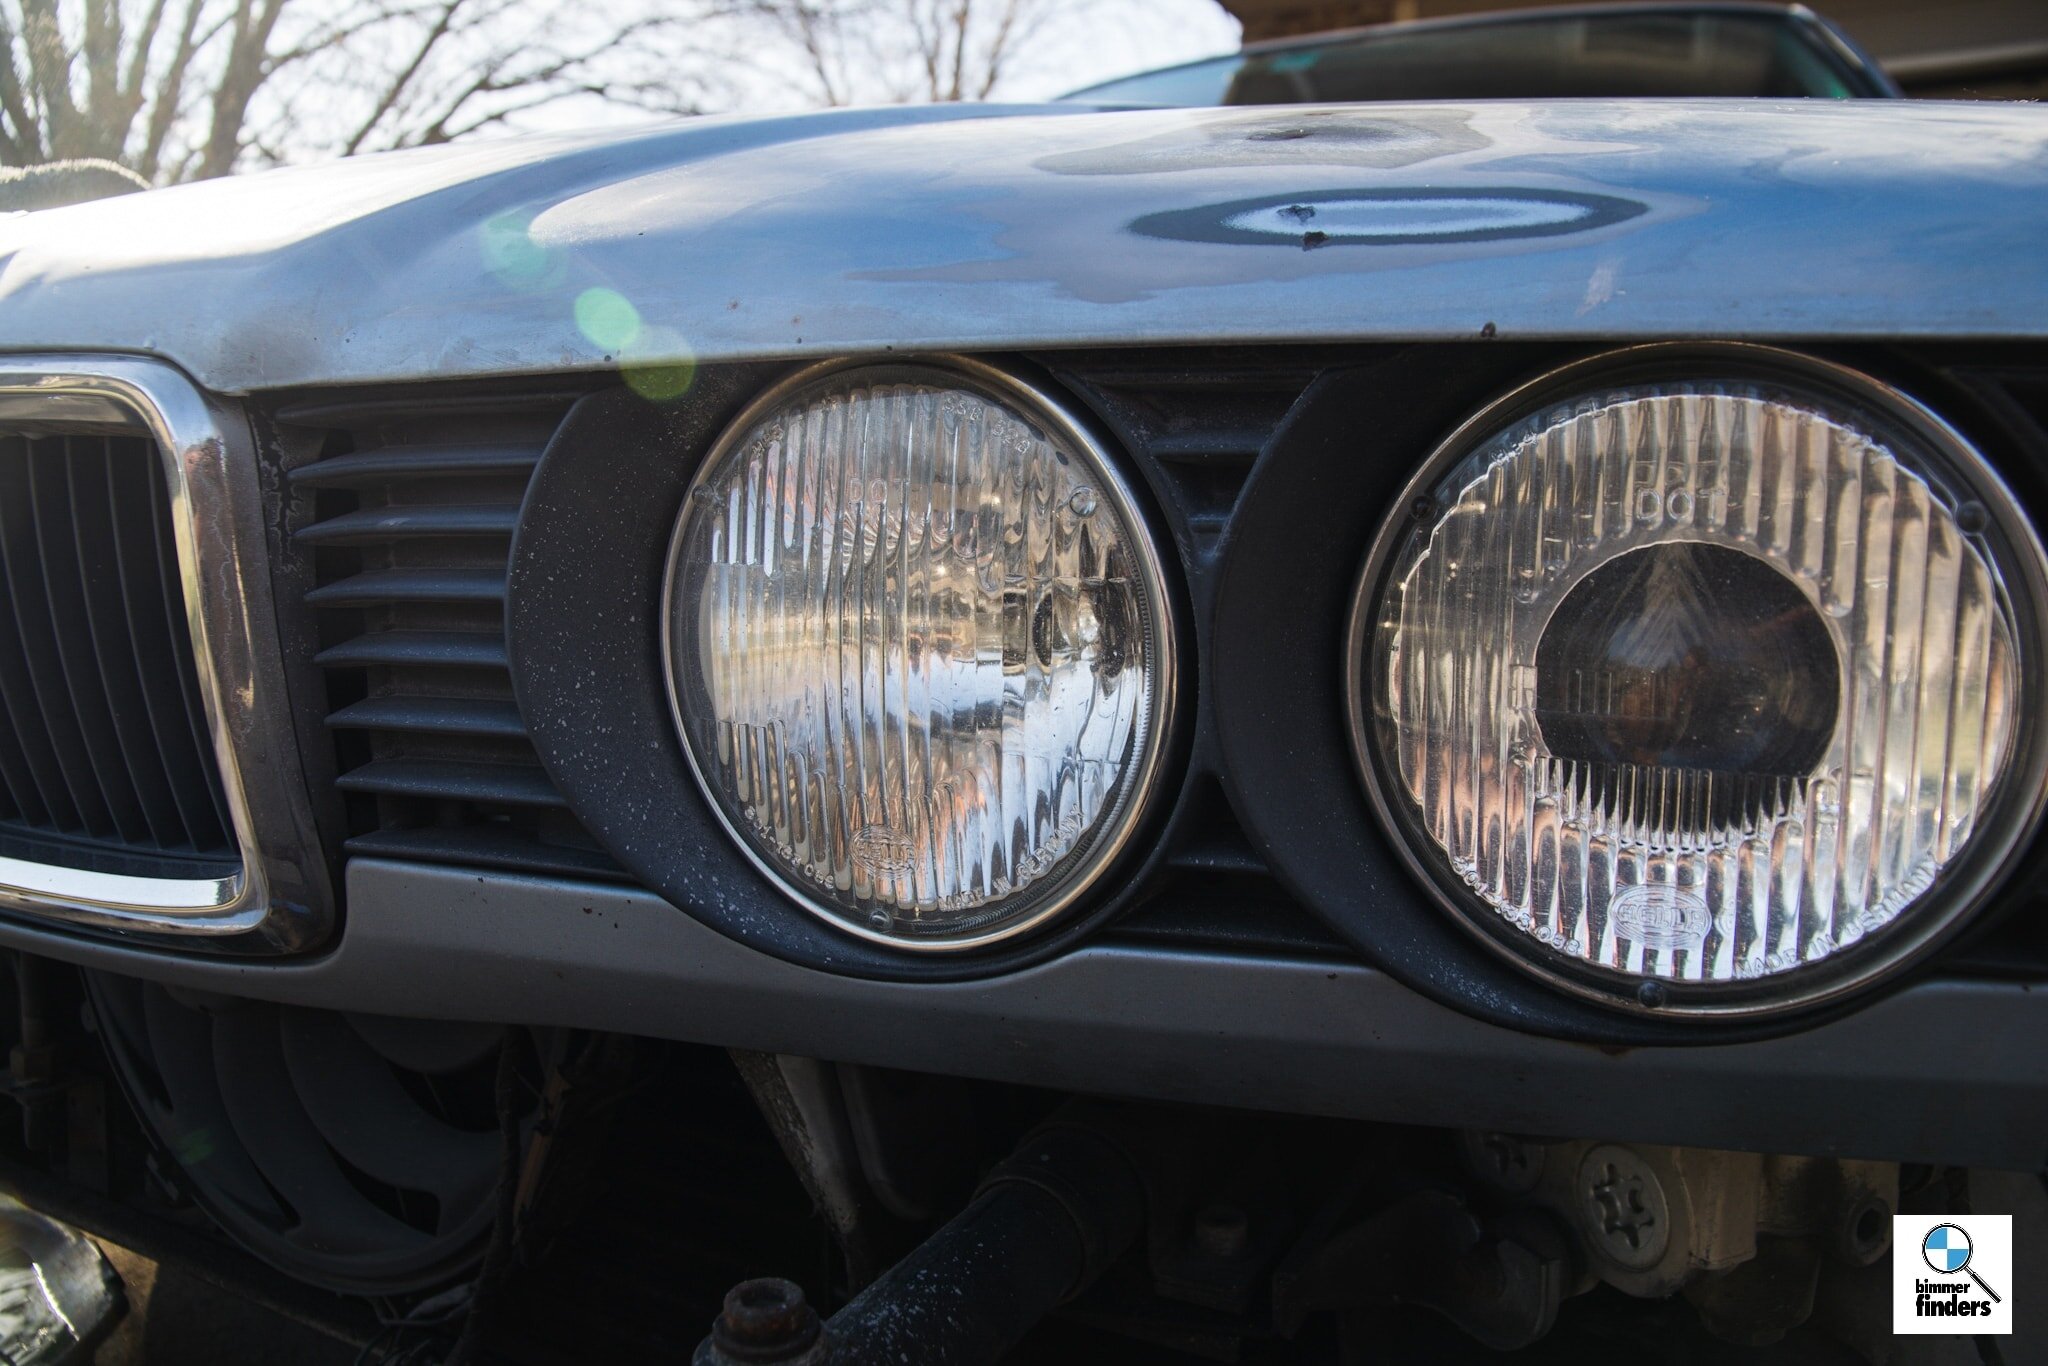
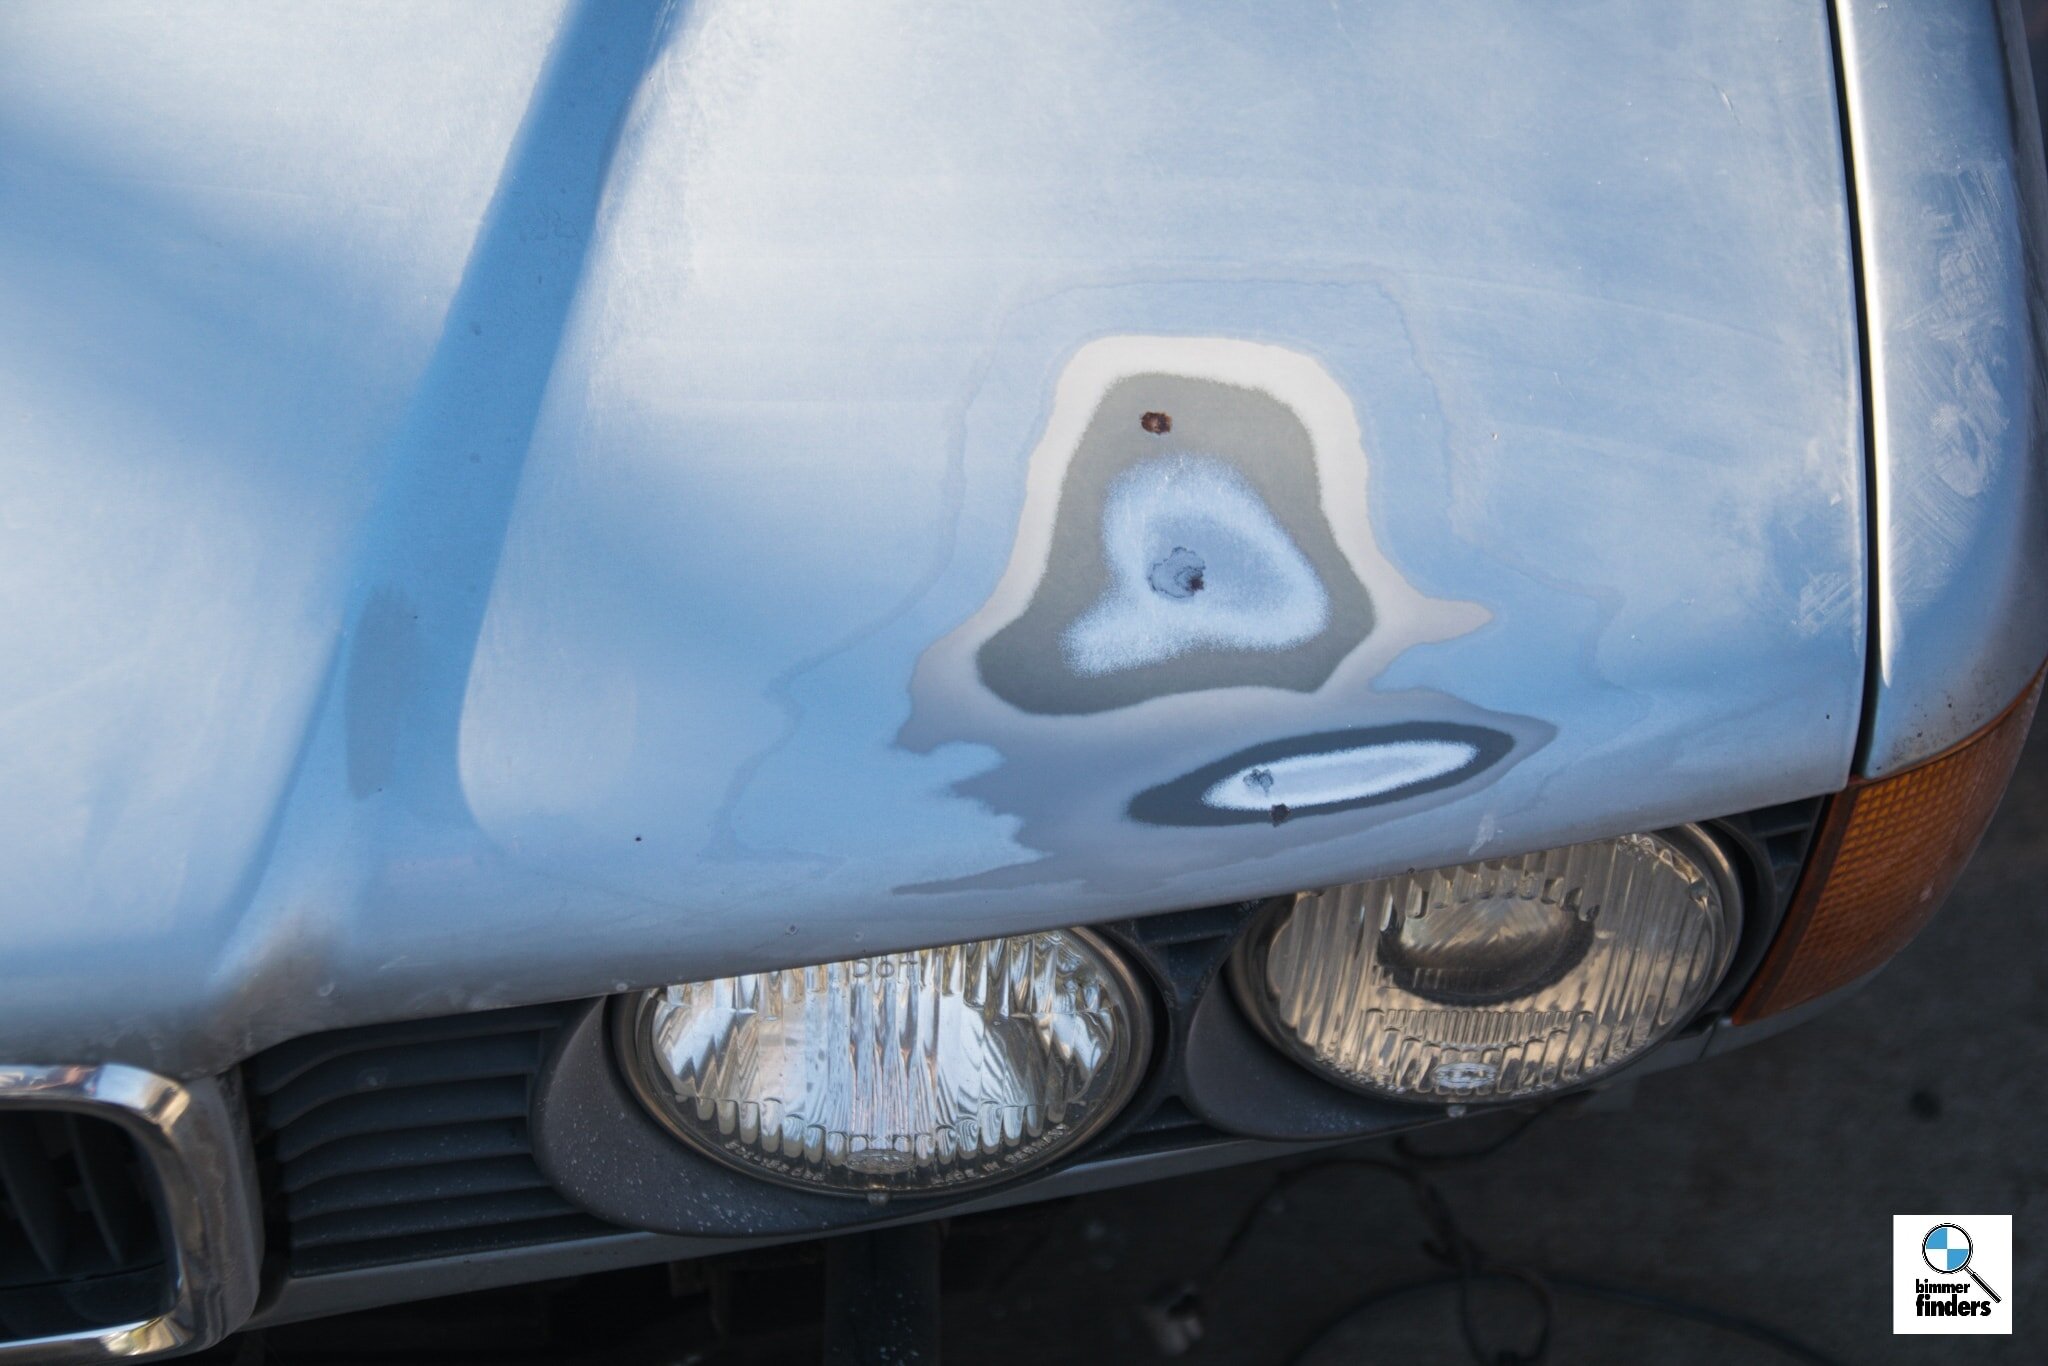
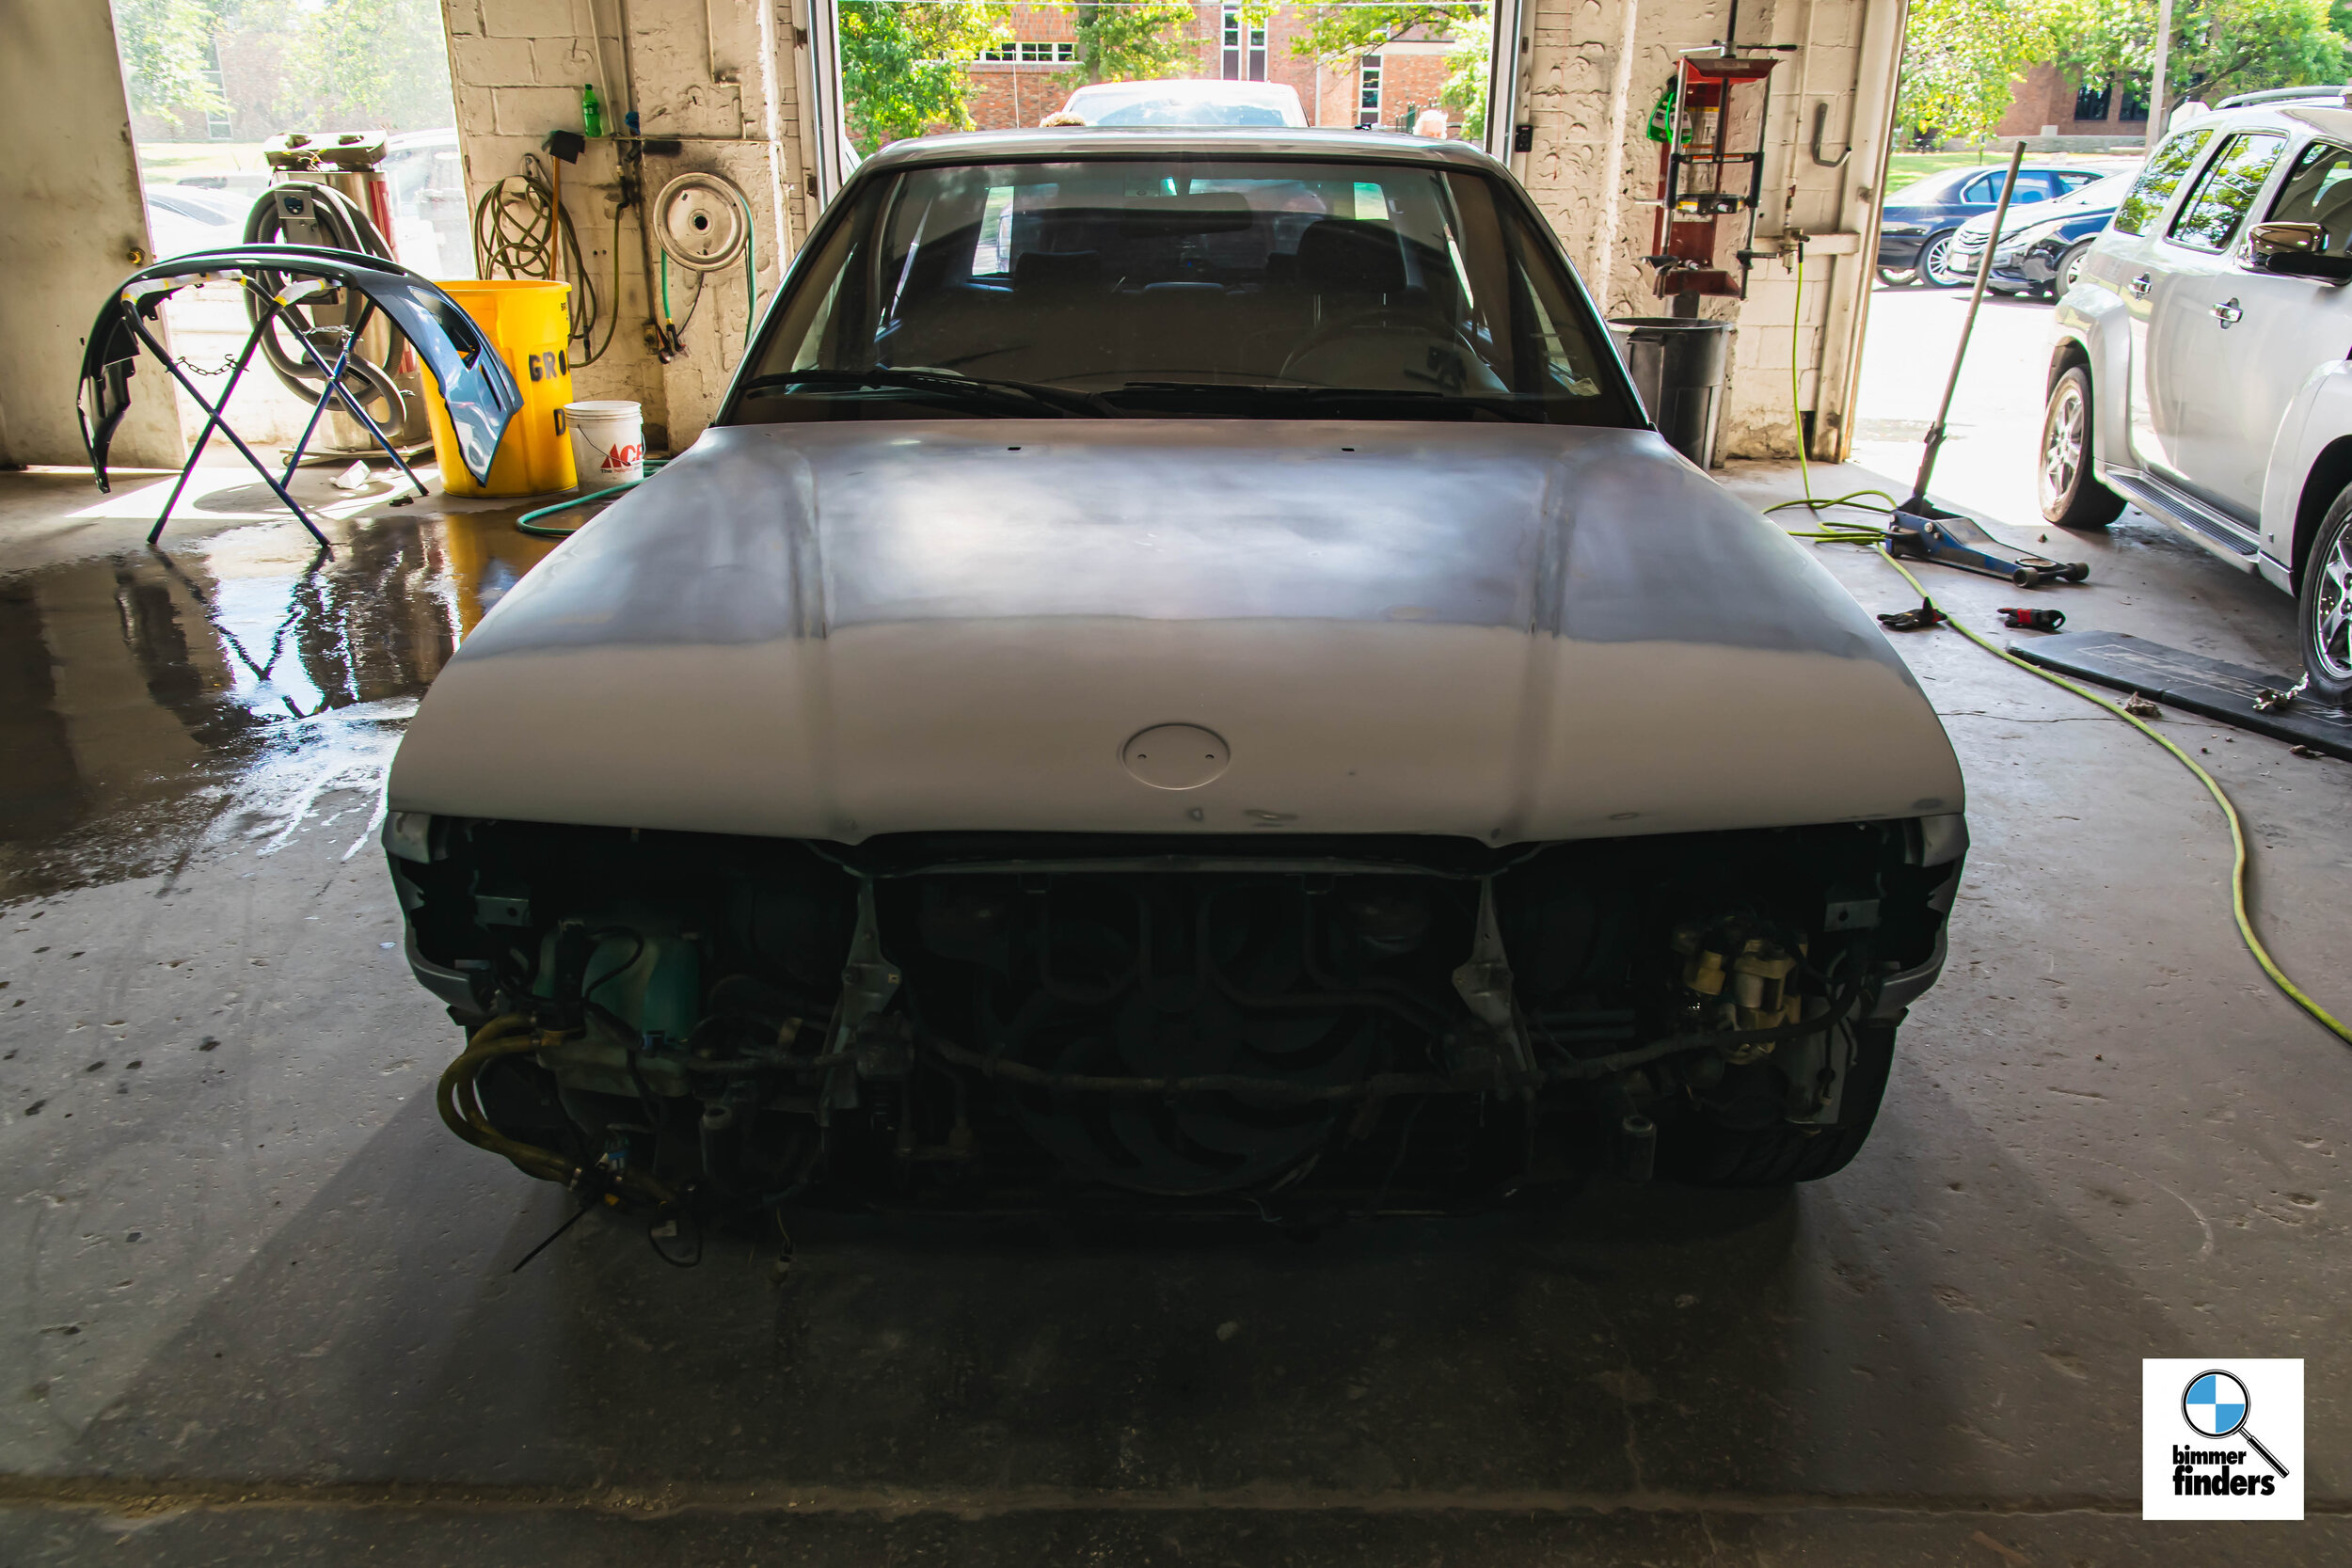
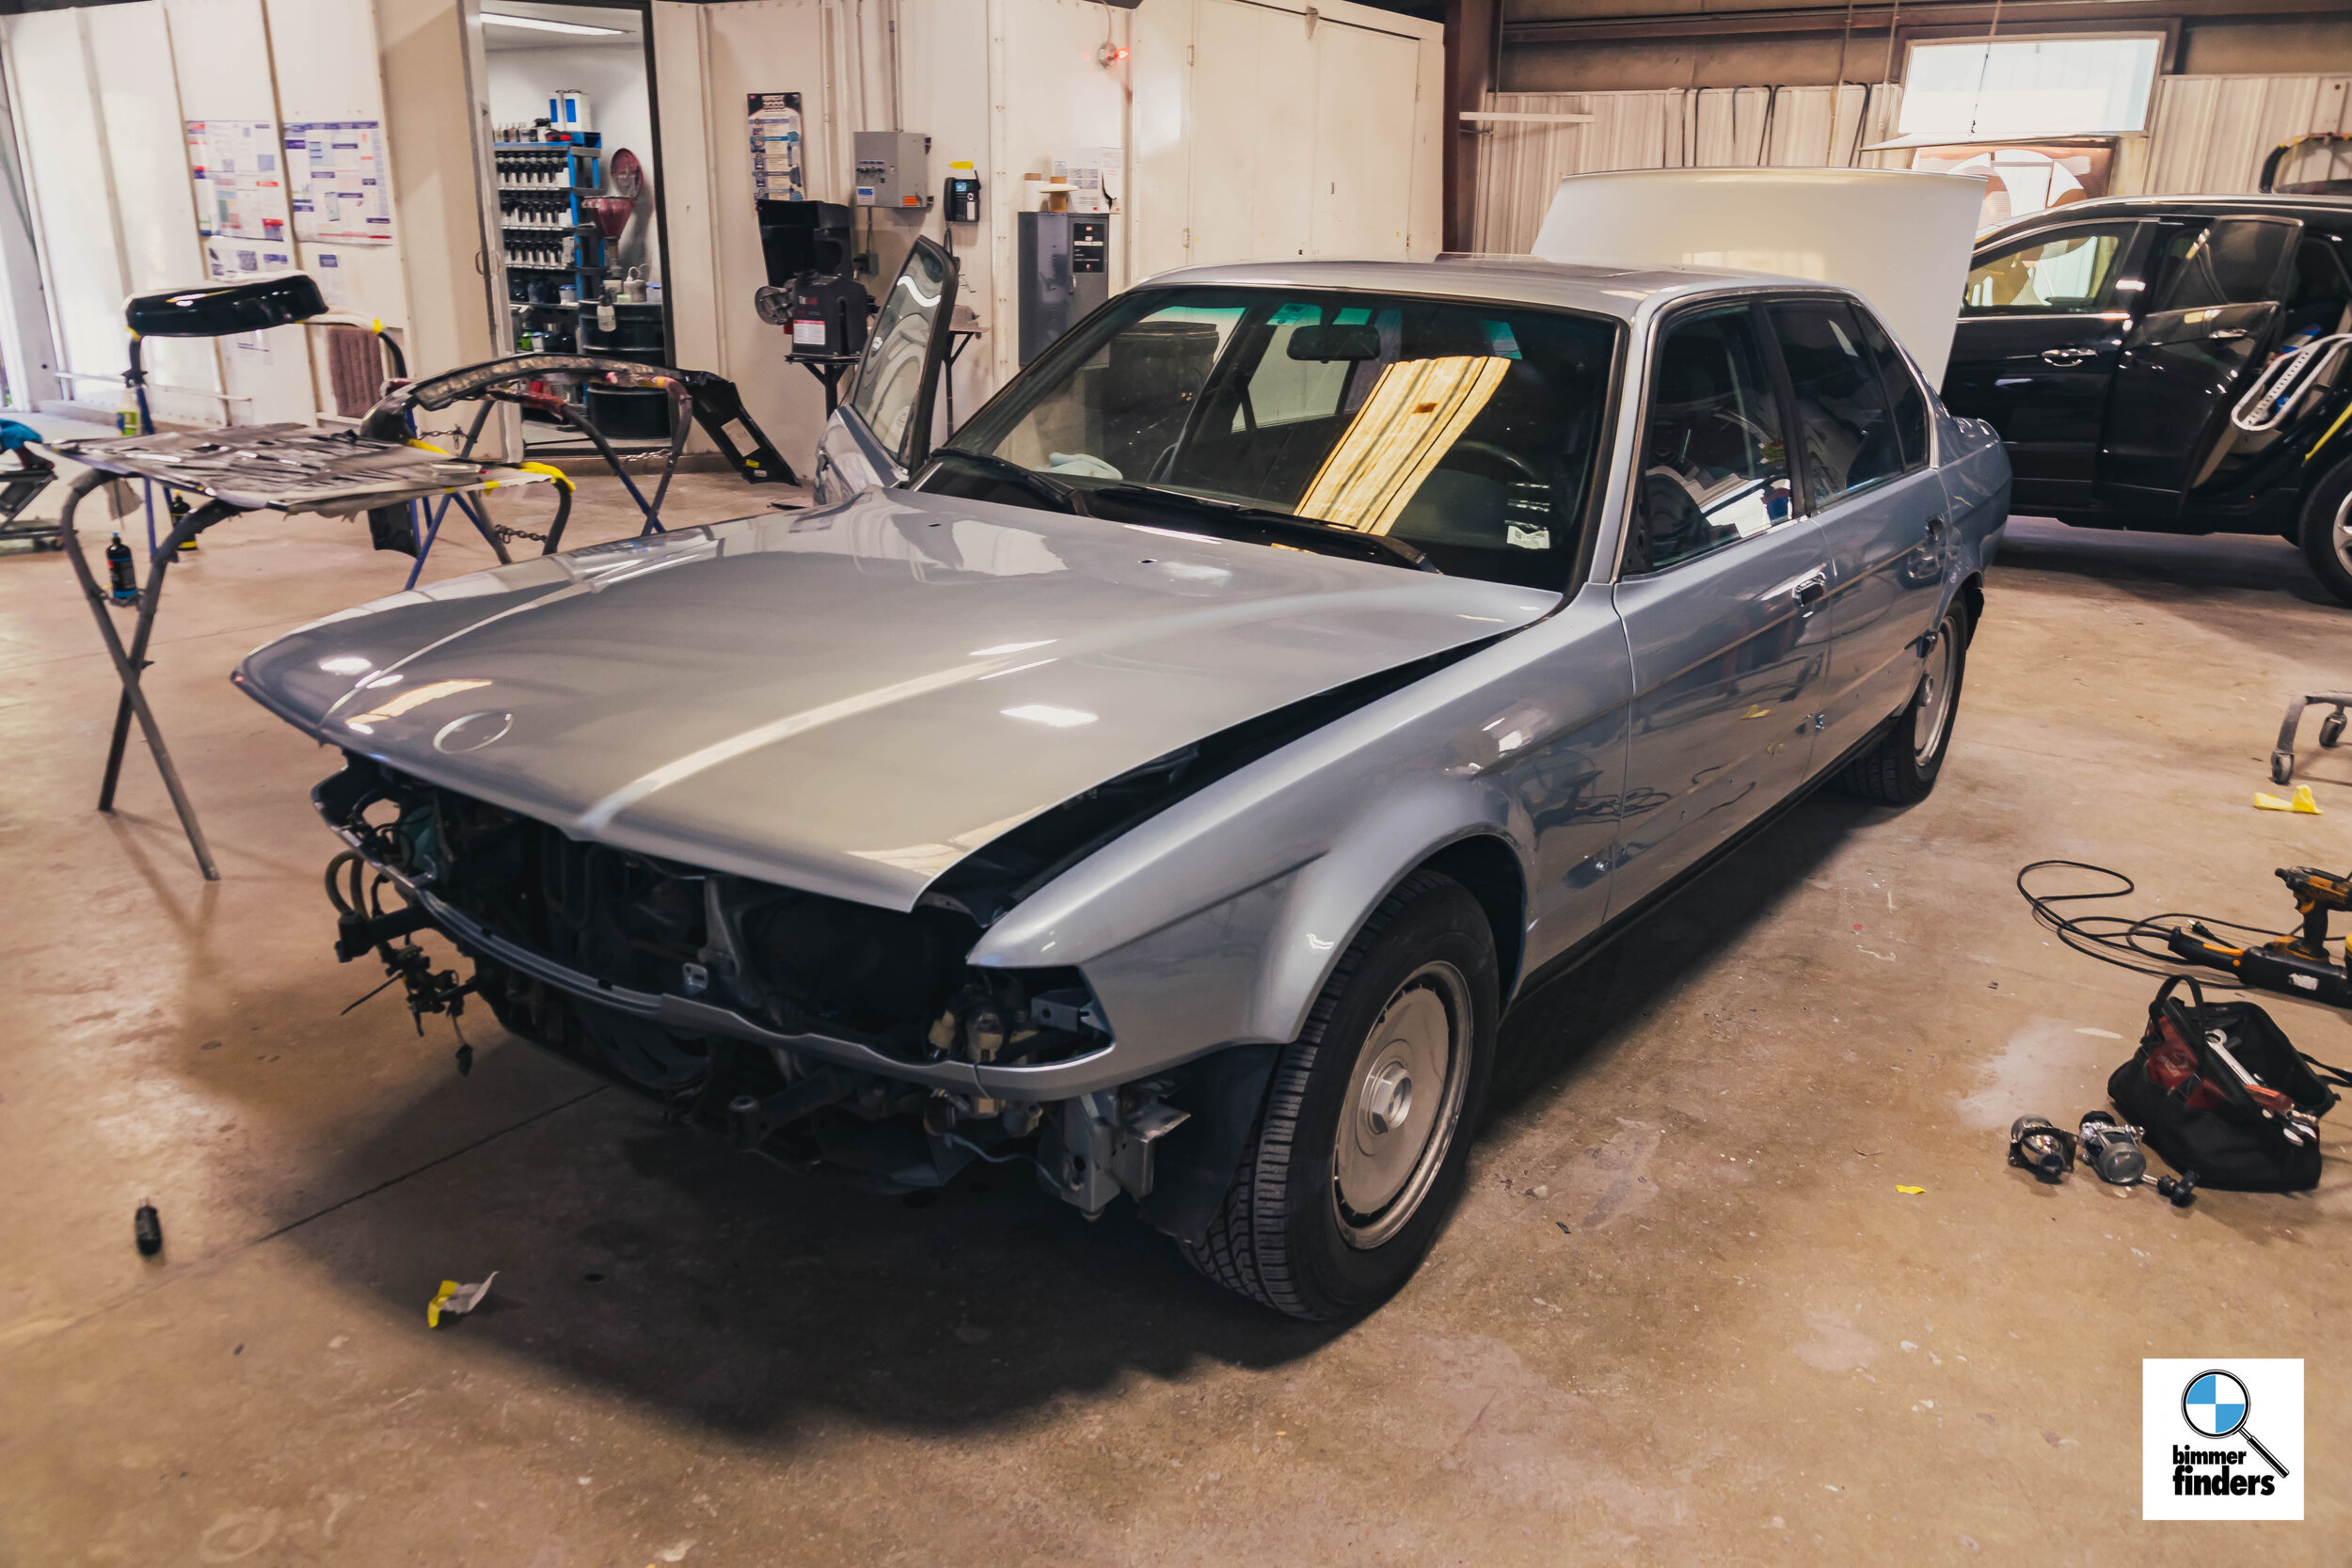
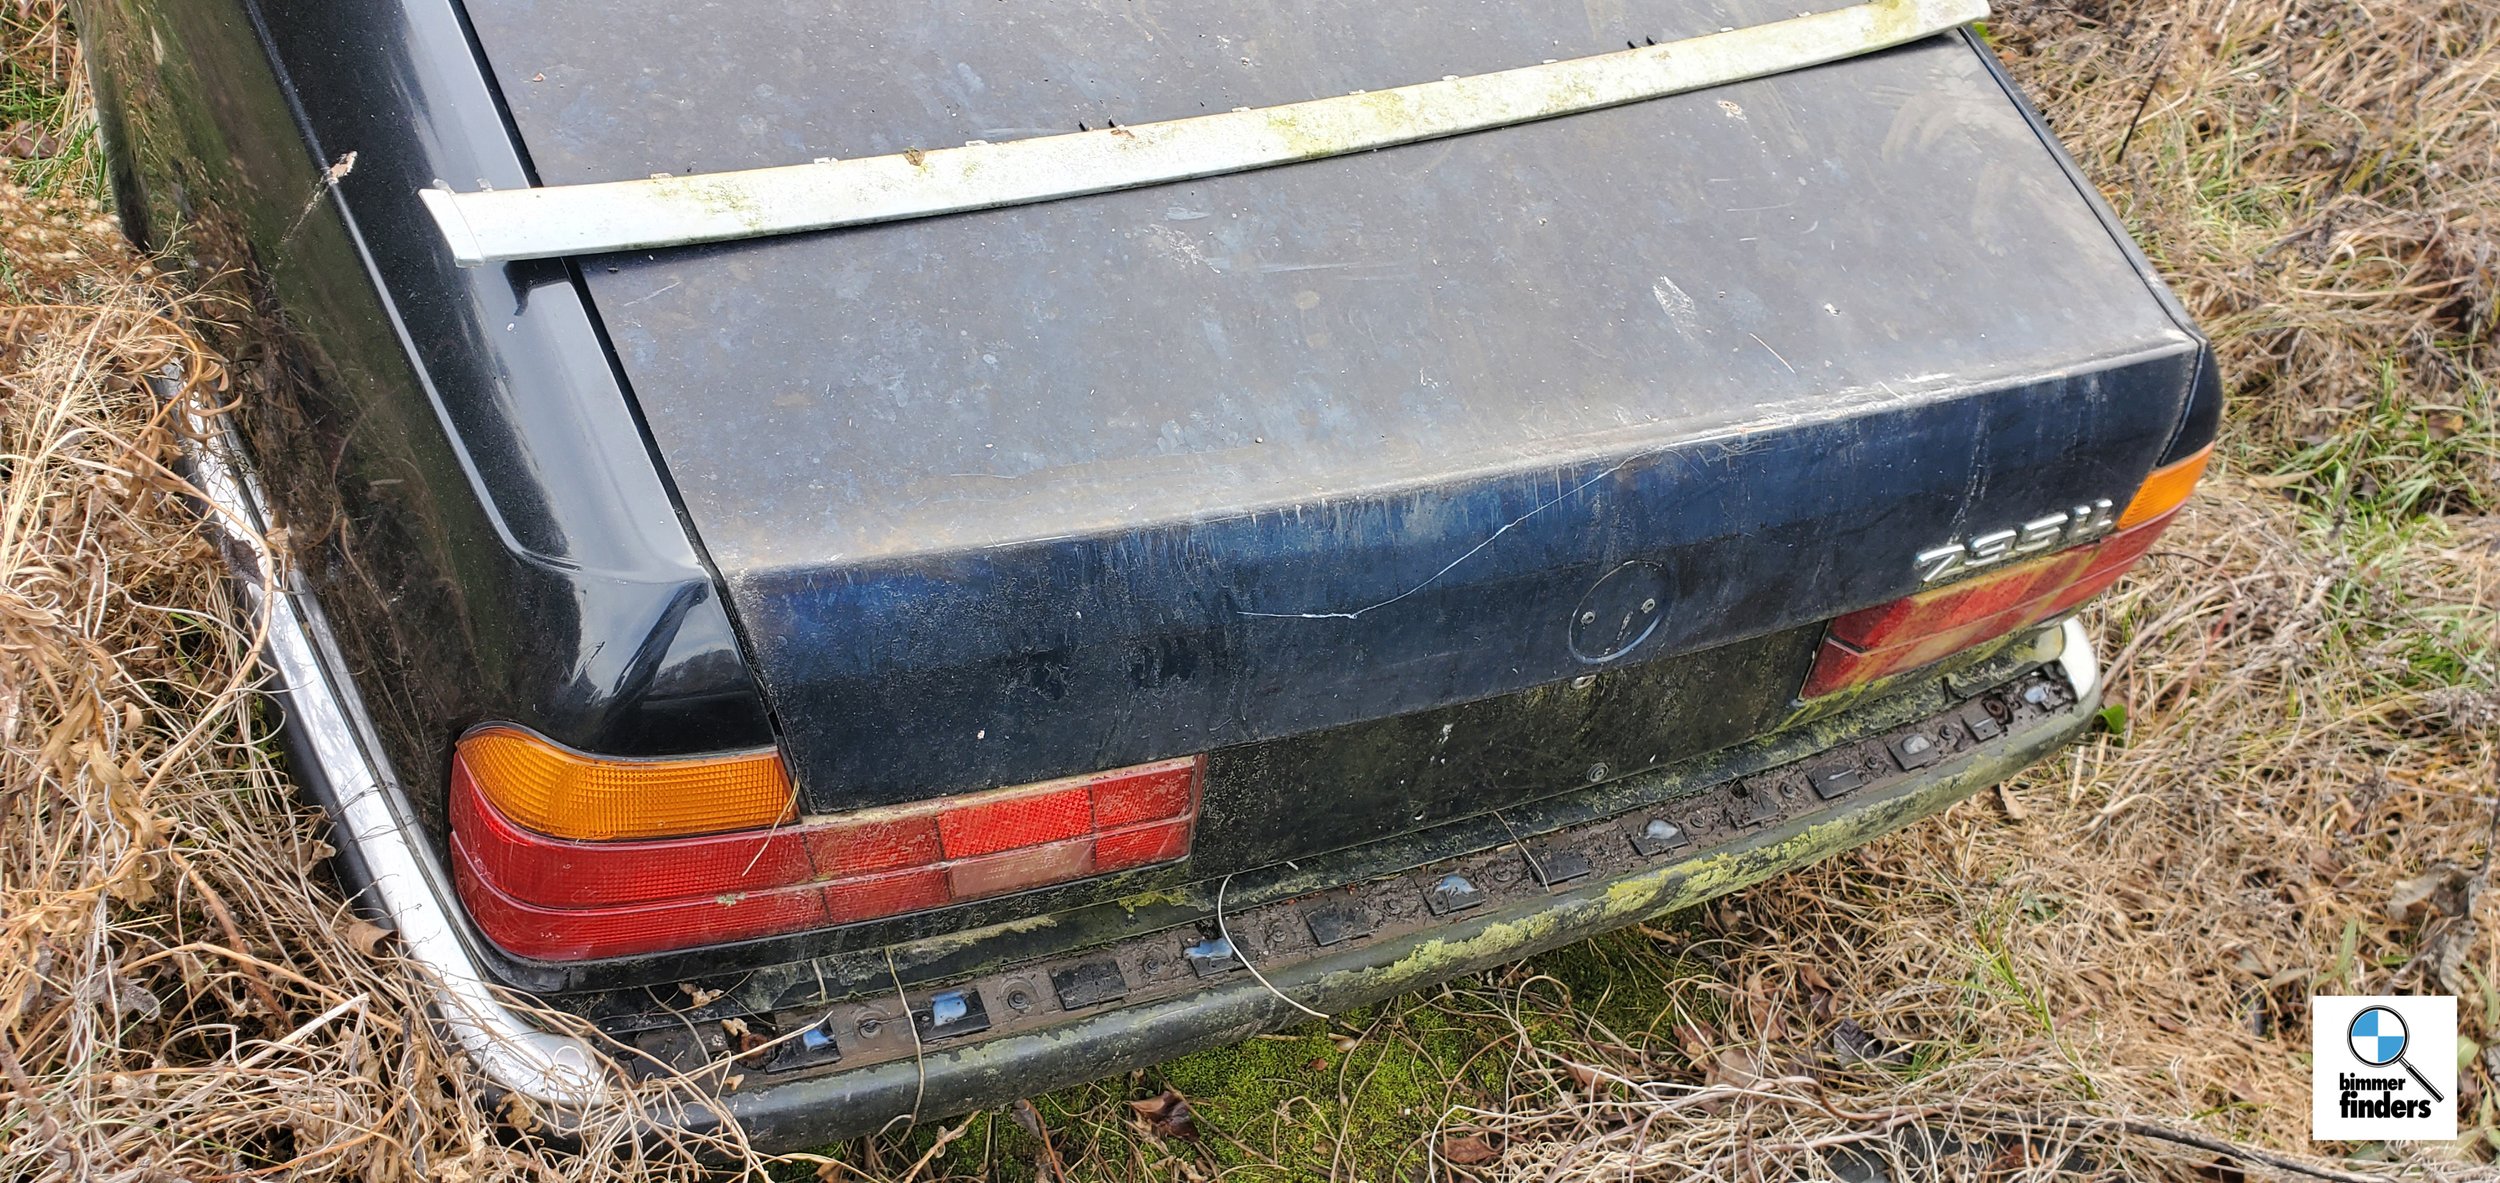
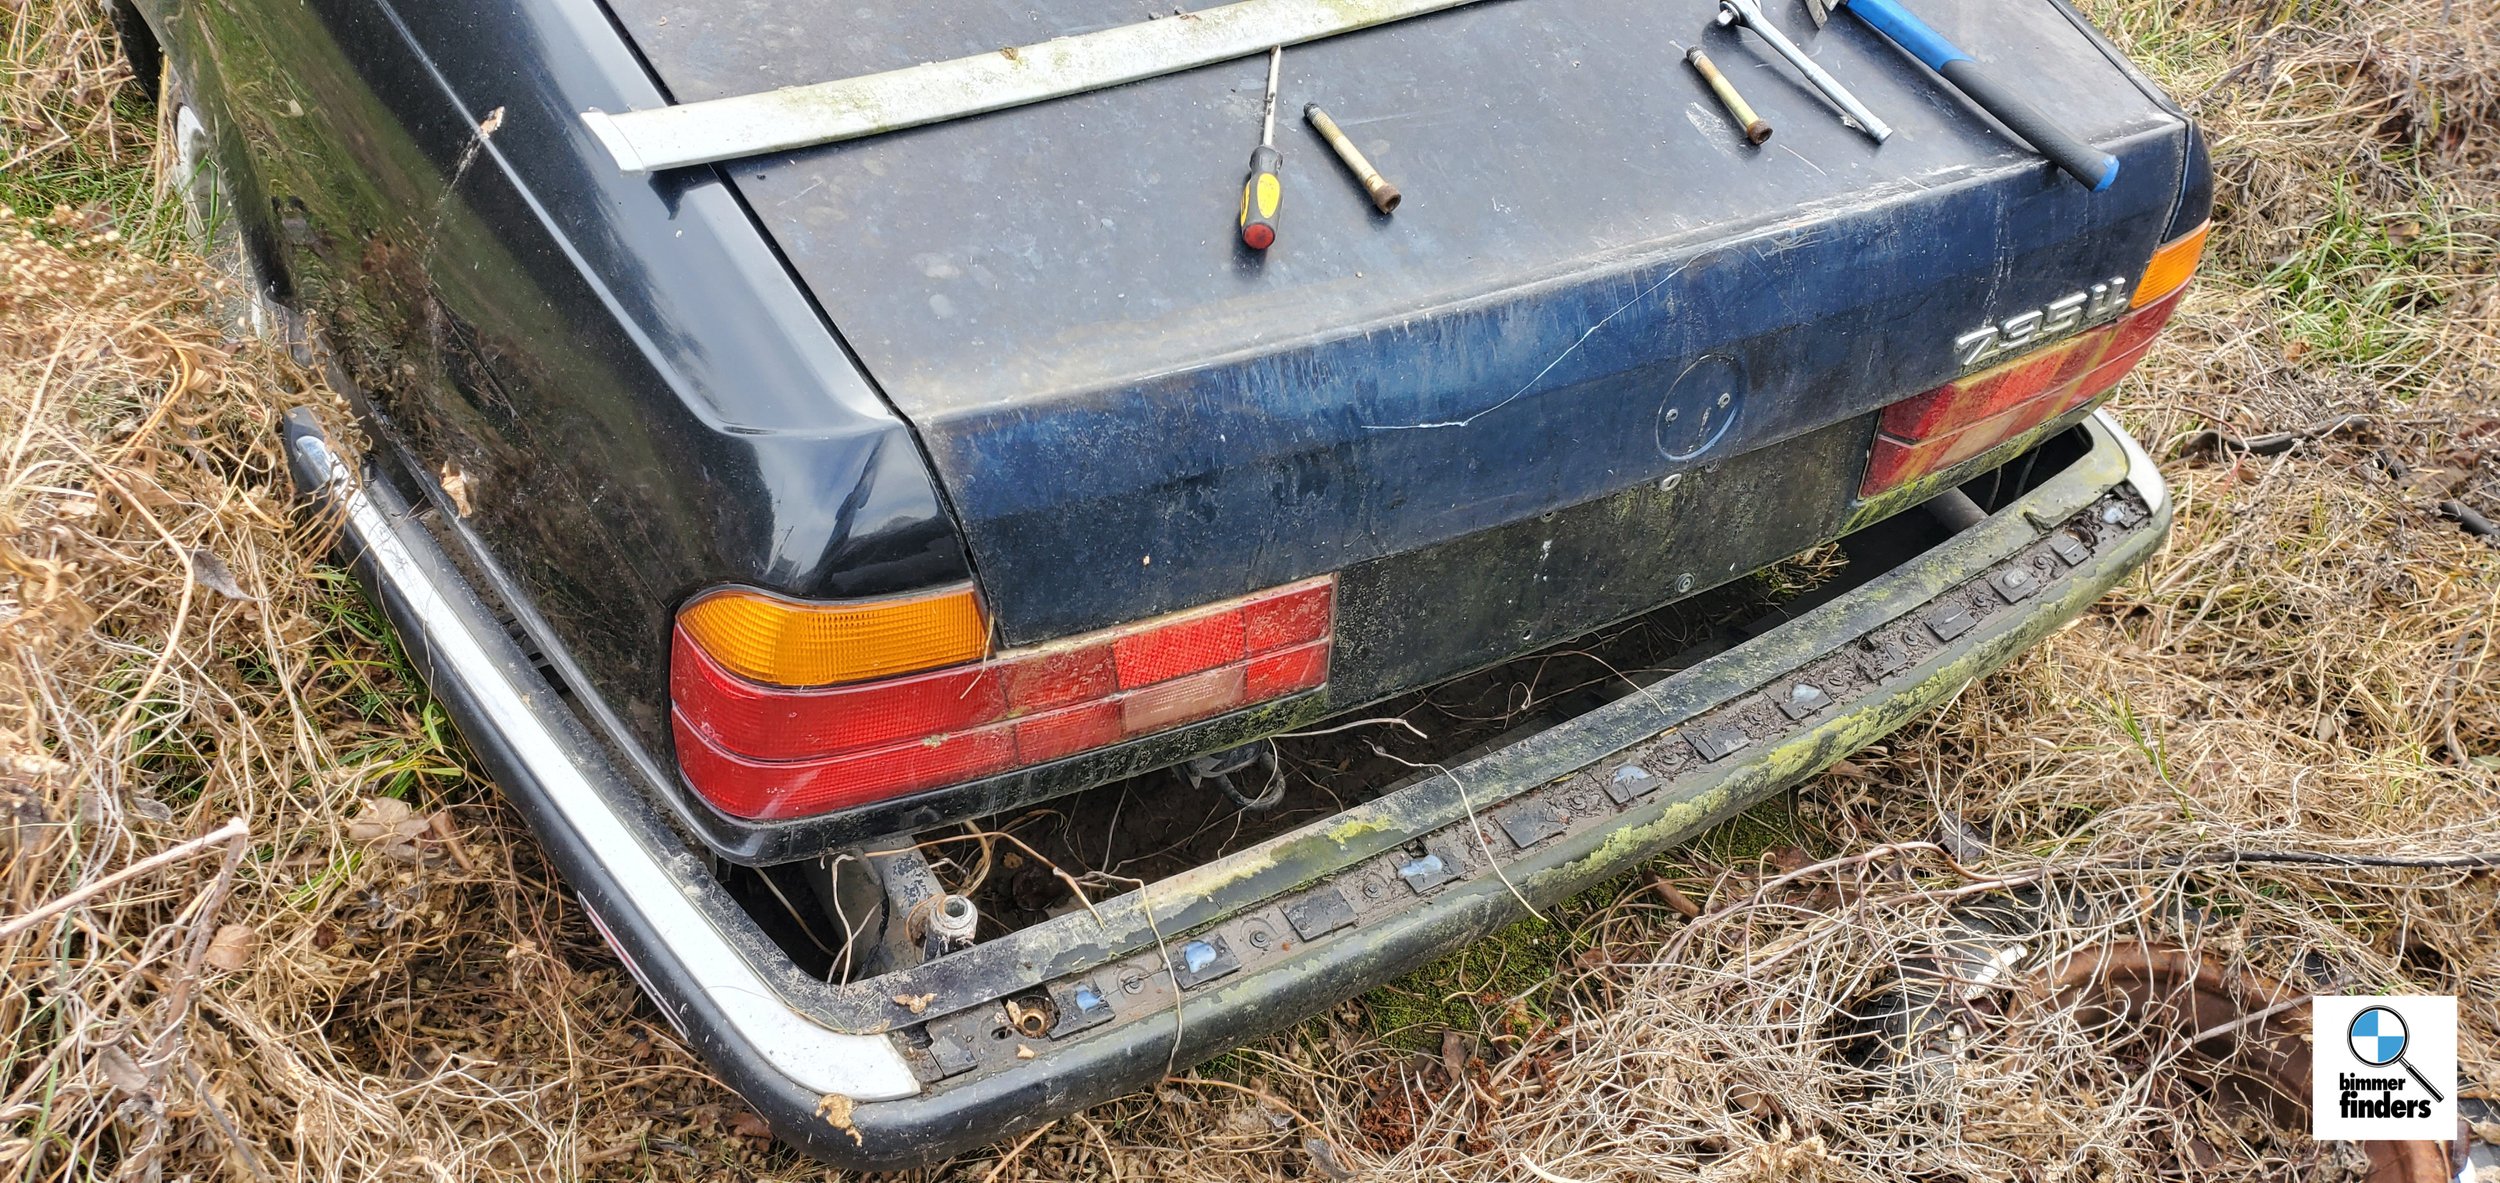
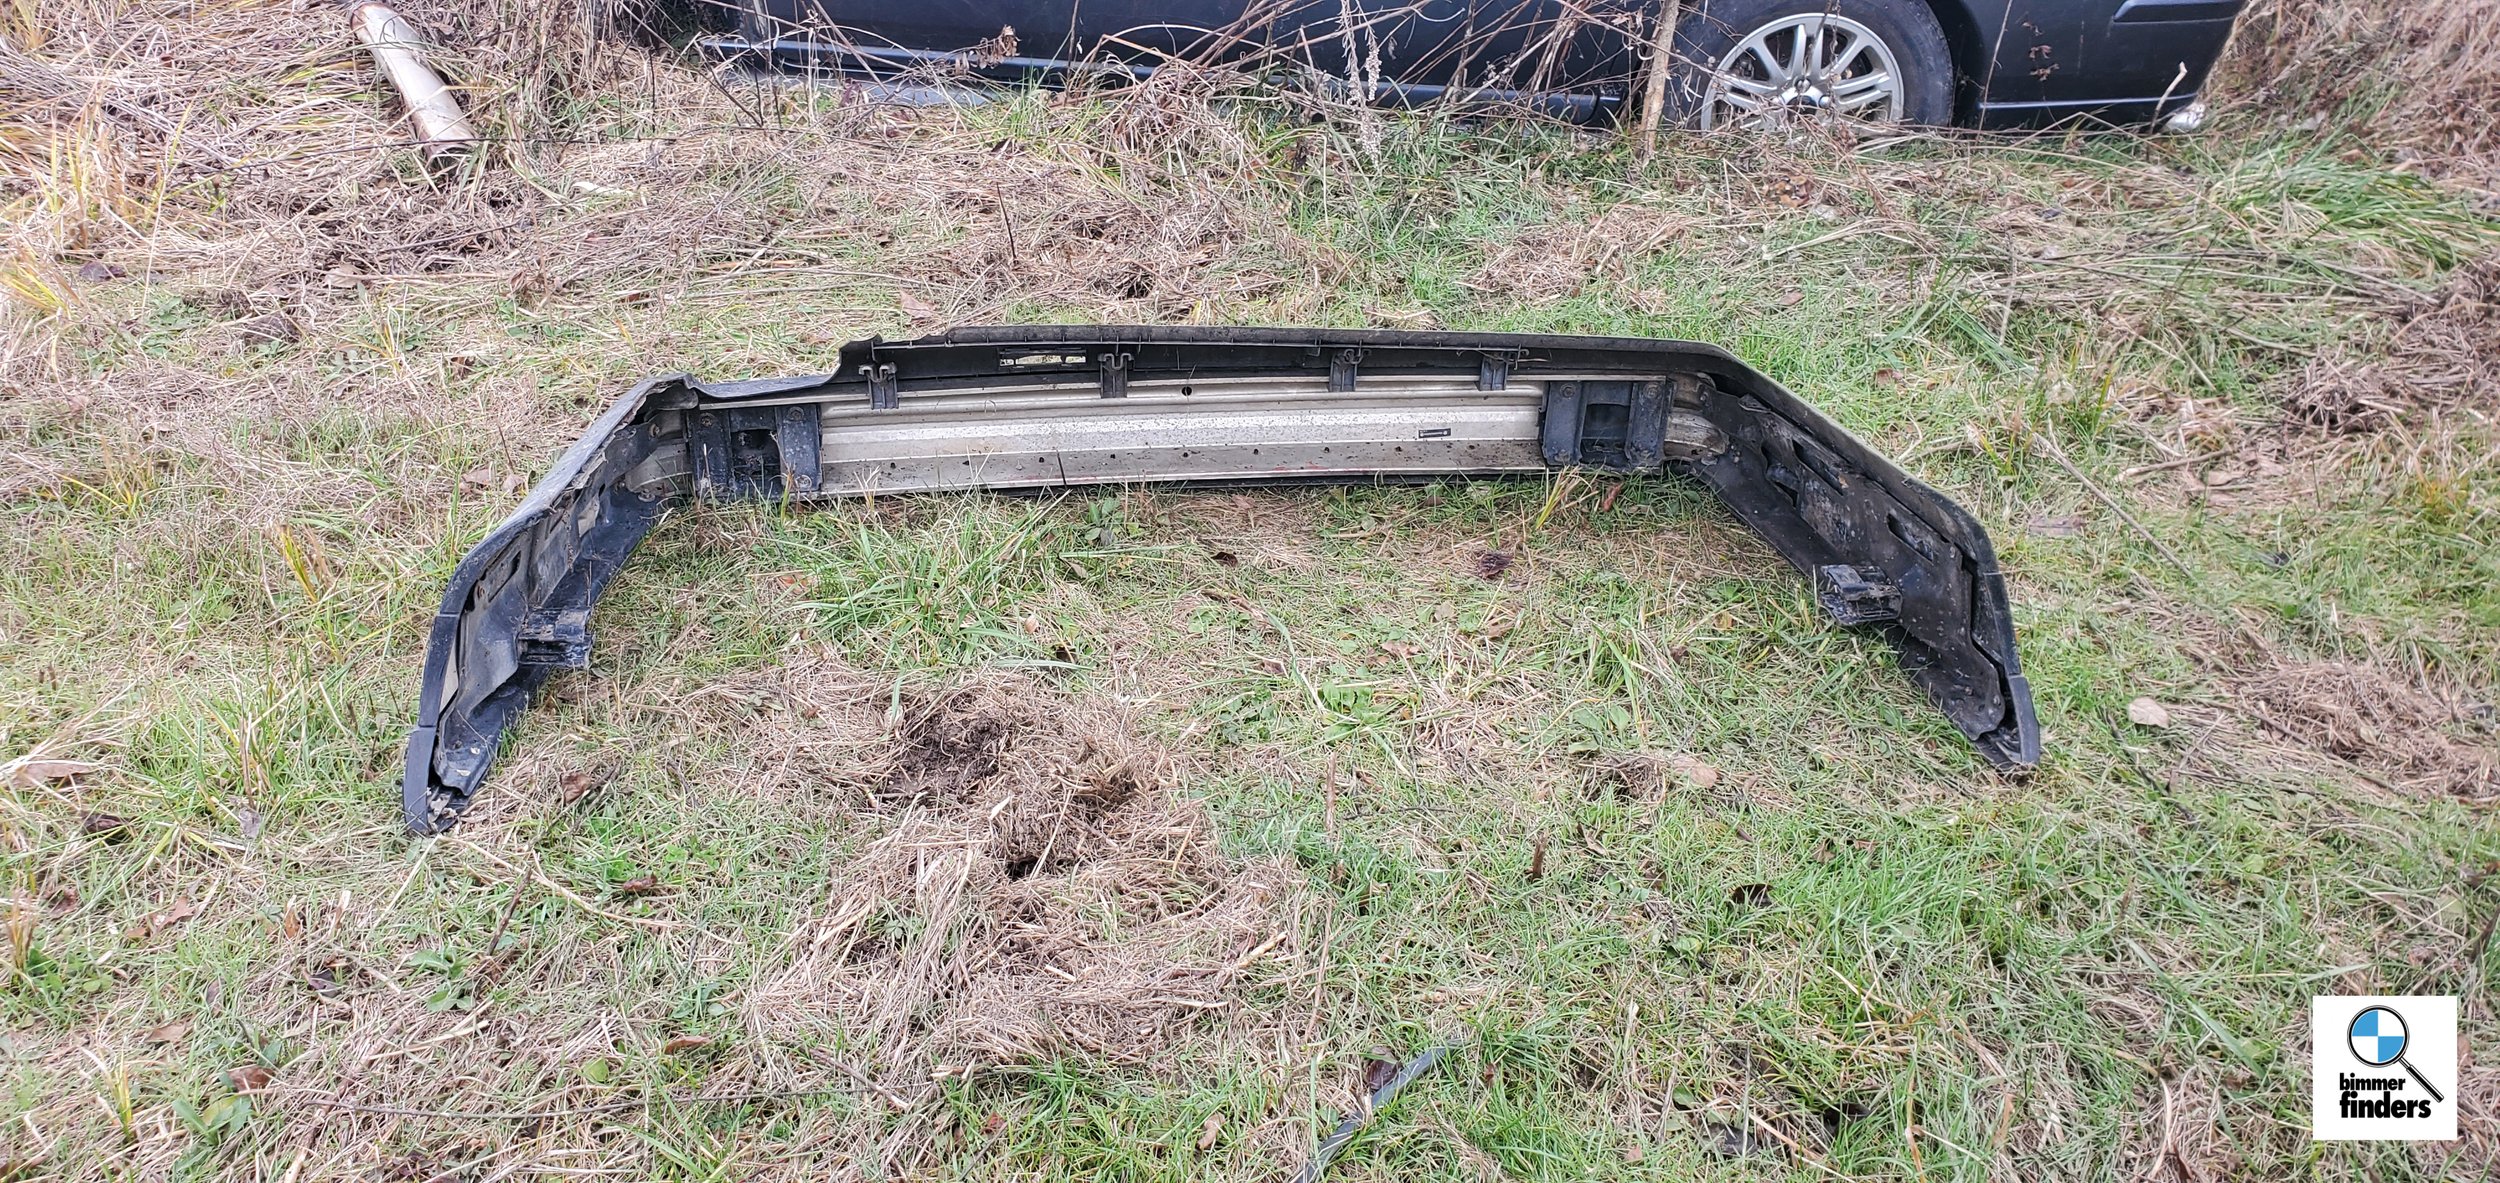
From there, it was time to start the bodywork since the clear on the front end had failed, as well as a dent or two that had to come out. The rear bumper was also to be replaced due to irreparable damage — these bumpers are one-piece, unlike this car’s 5 series siblings.
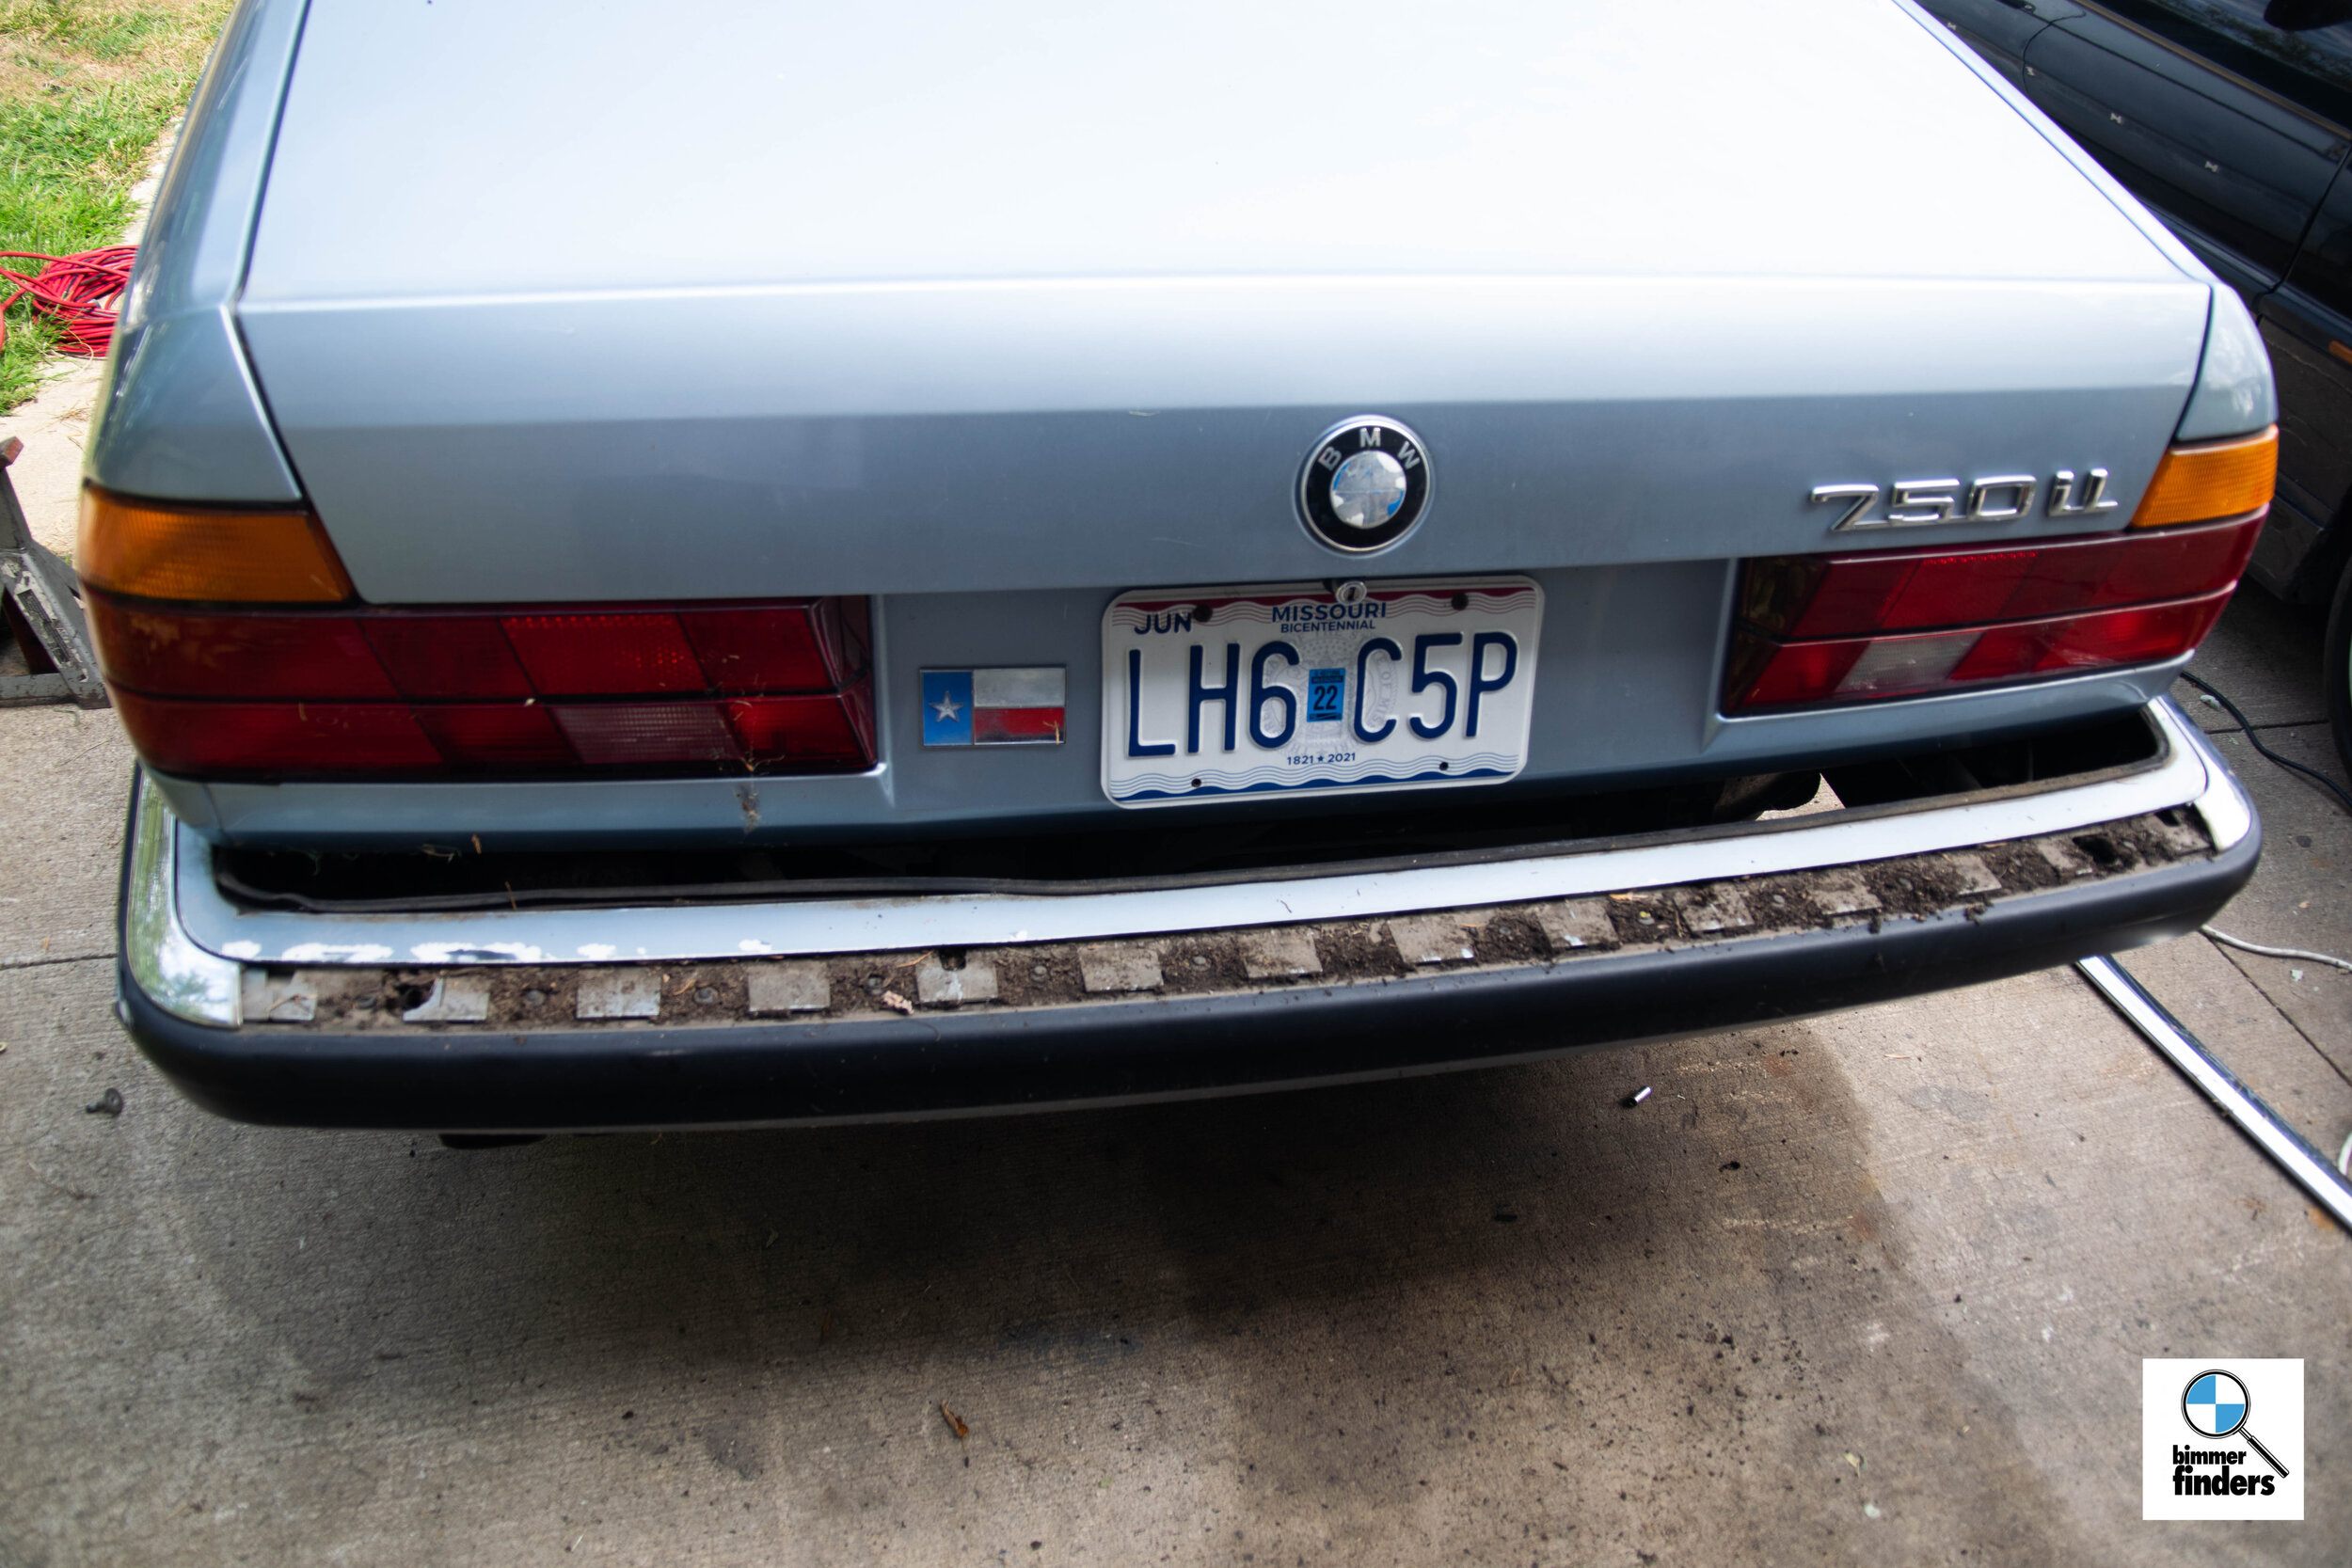

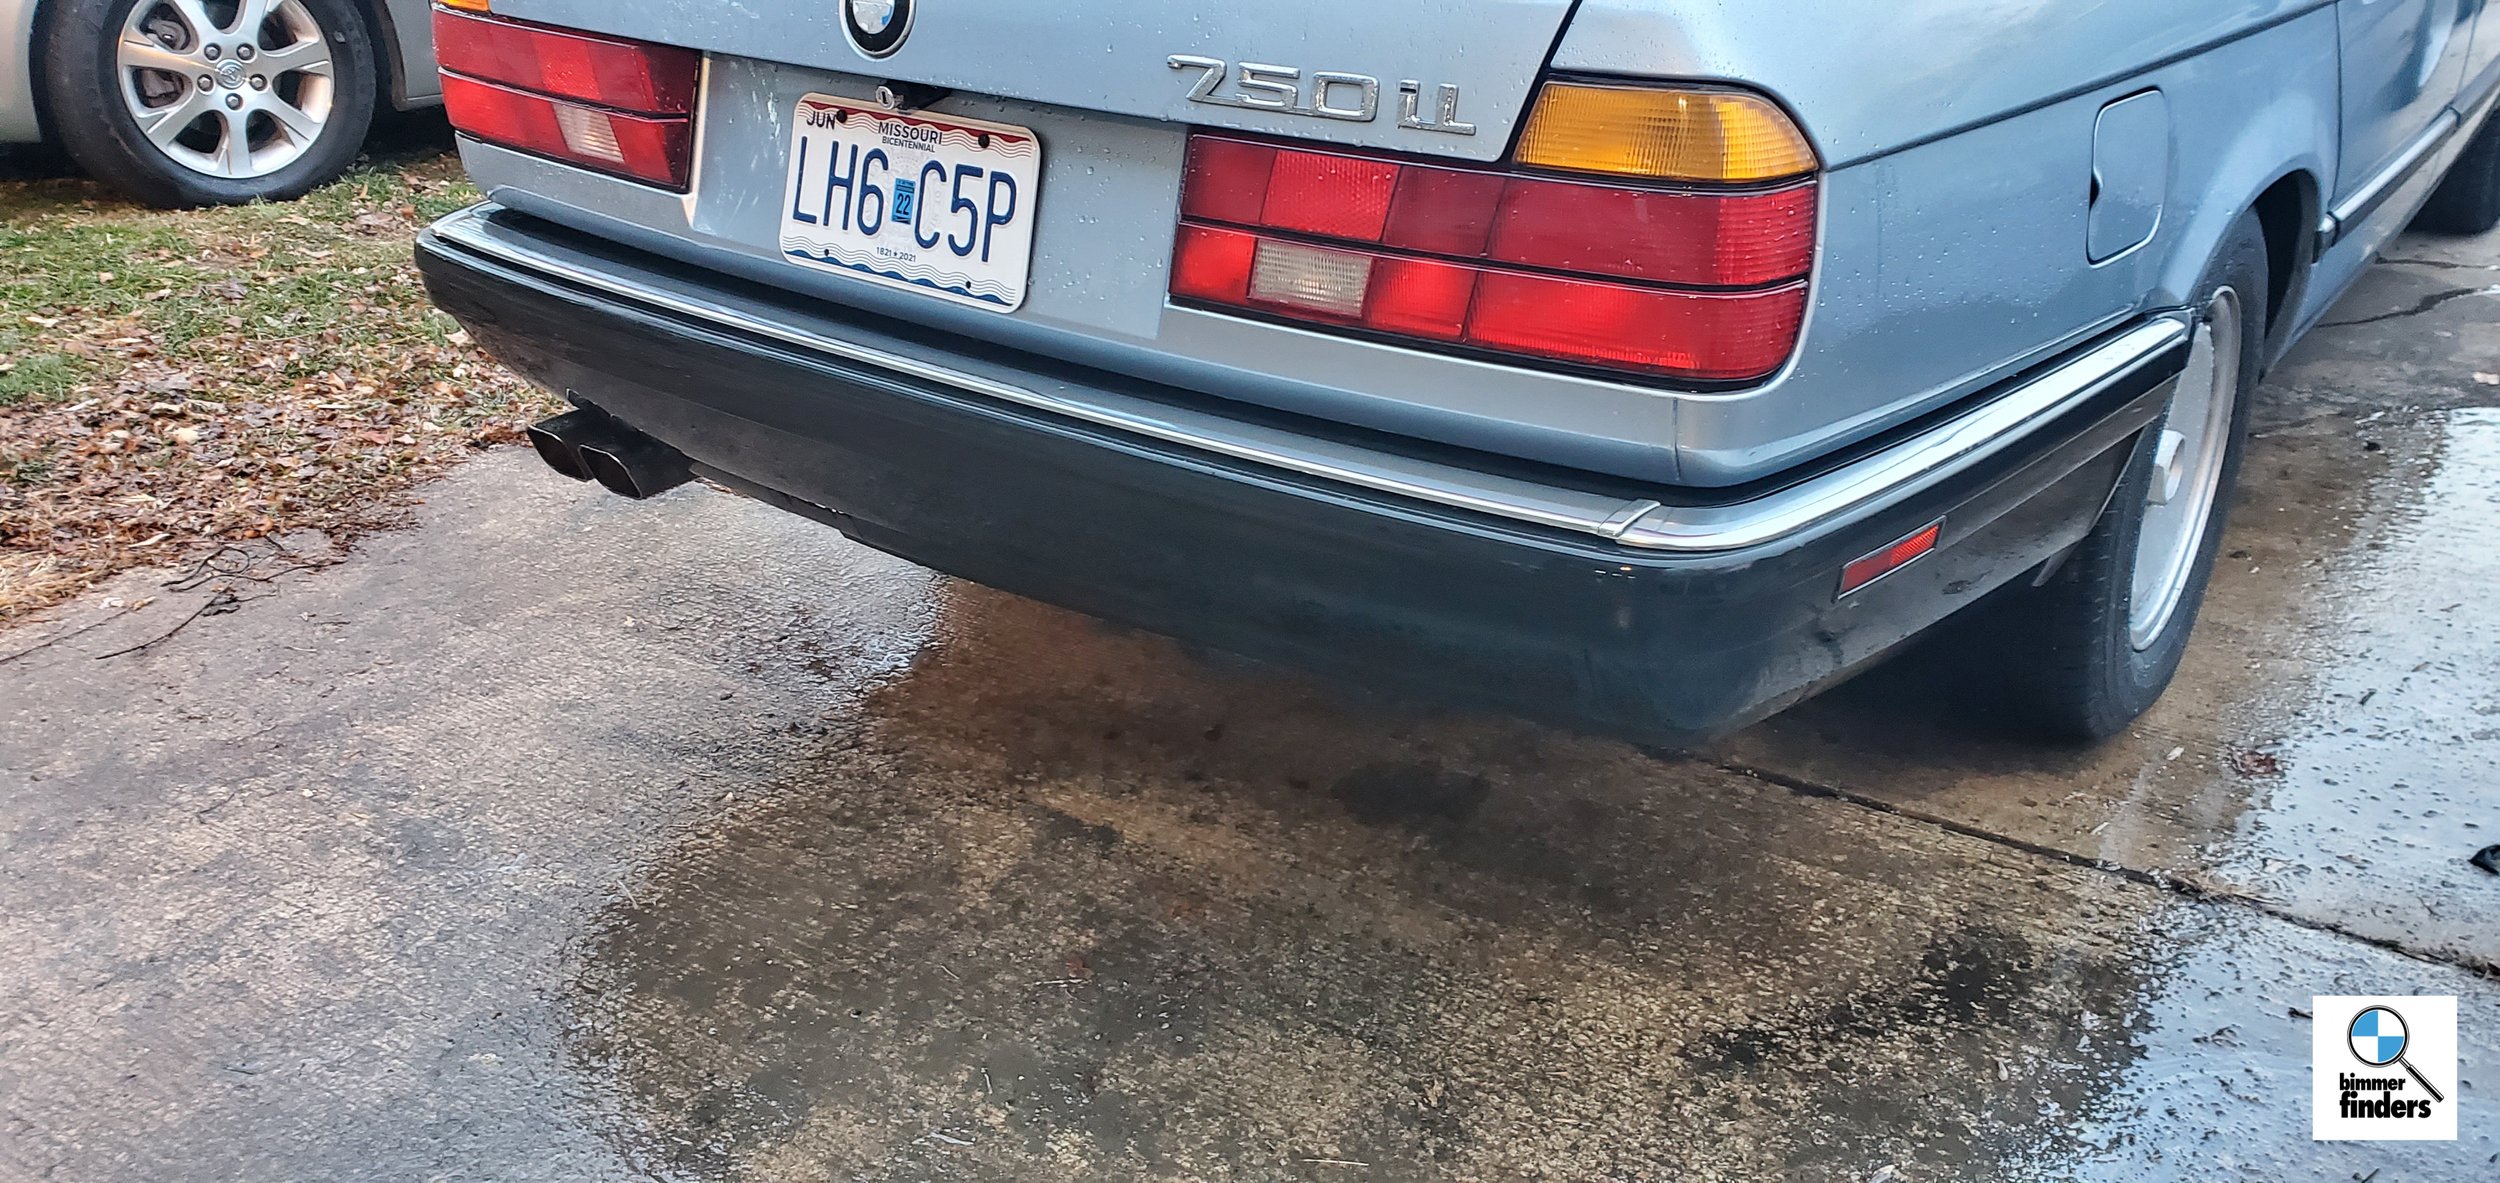
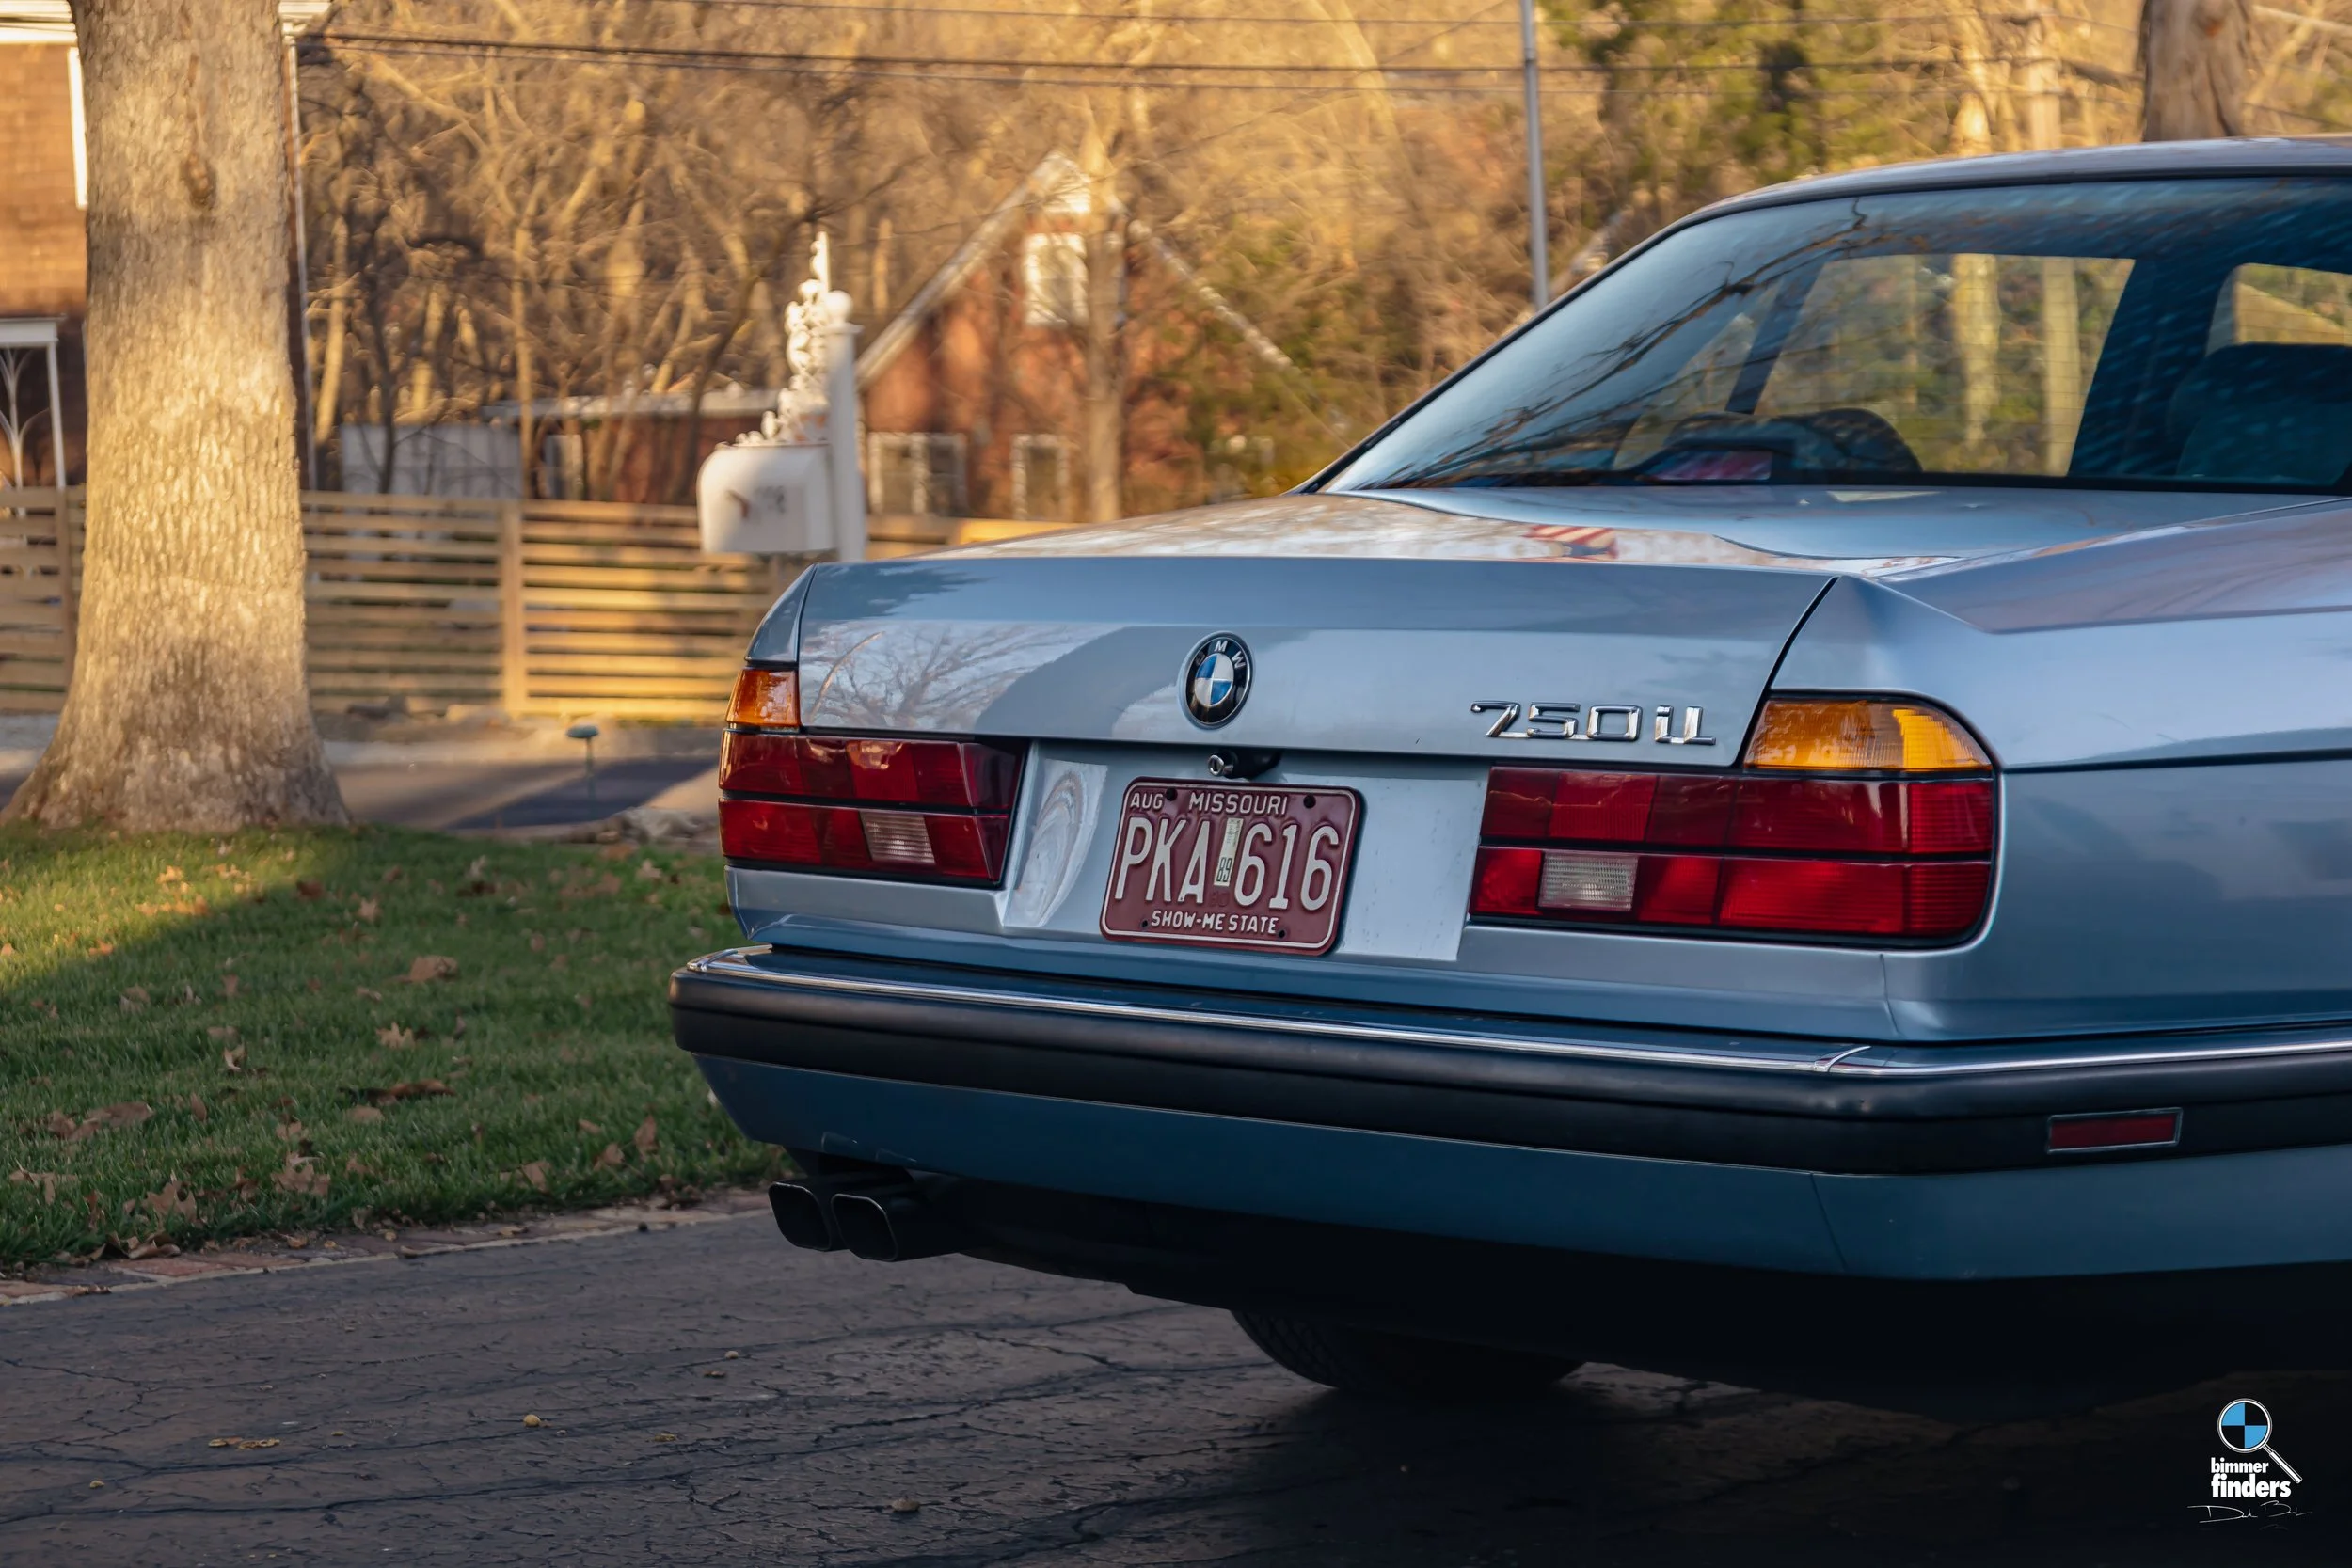
I also polished and coated the exhaust tips, as they had been bothering me since the moment I laid eyes on them. The square tips are one of your first clues that this car boasts a v12, so they need to look the part.


From there, business at M&B had picked up extremely quickly, so I decided it would be in my best interest to have a familiar shop spray the car for me to achieve the best results and in a timely manner. Upon this decision, I took it over to Phillipe Auto Body, as they’ve always done right by me and we’ve a great business relationship.
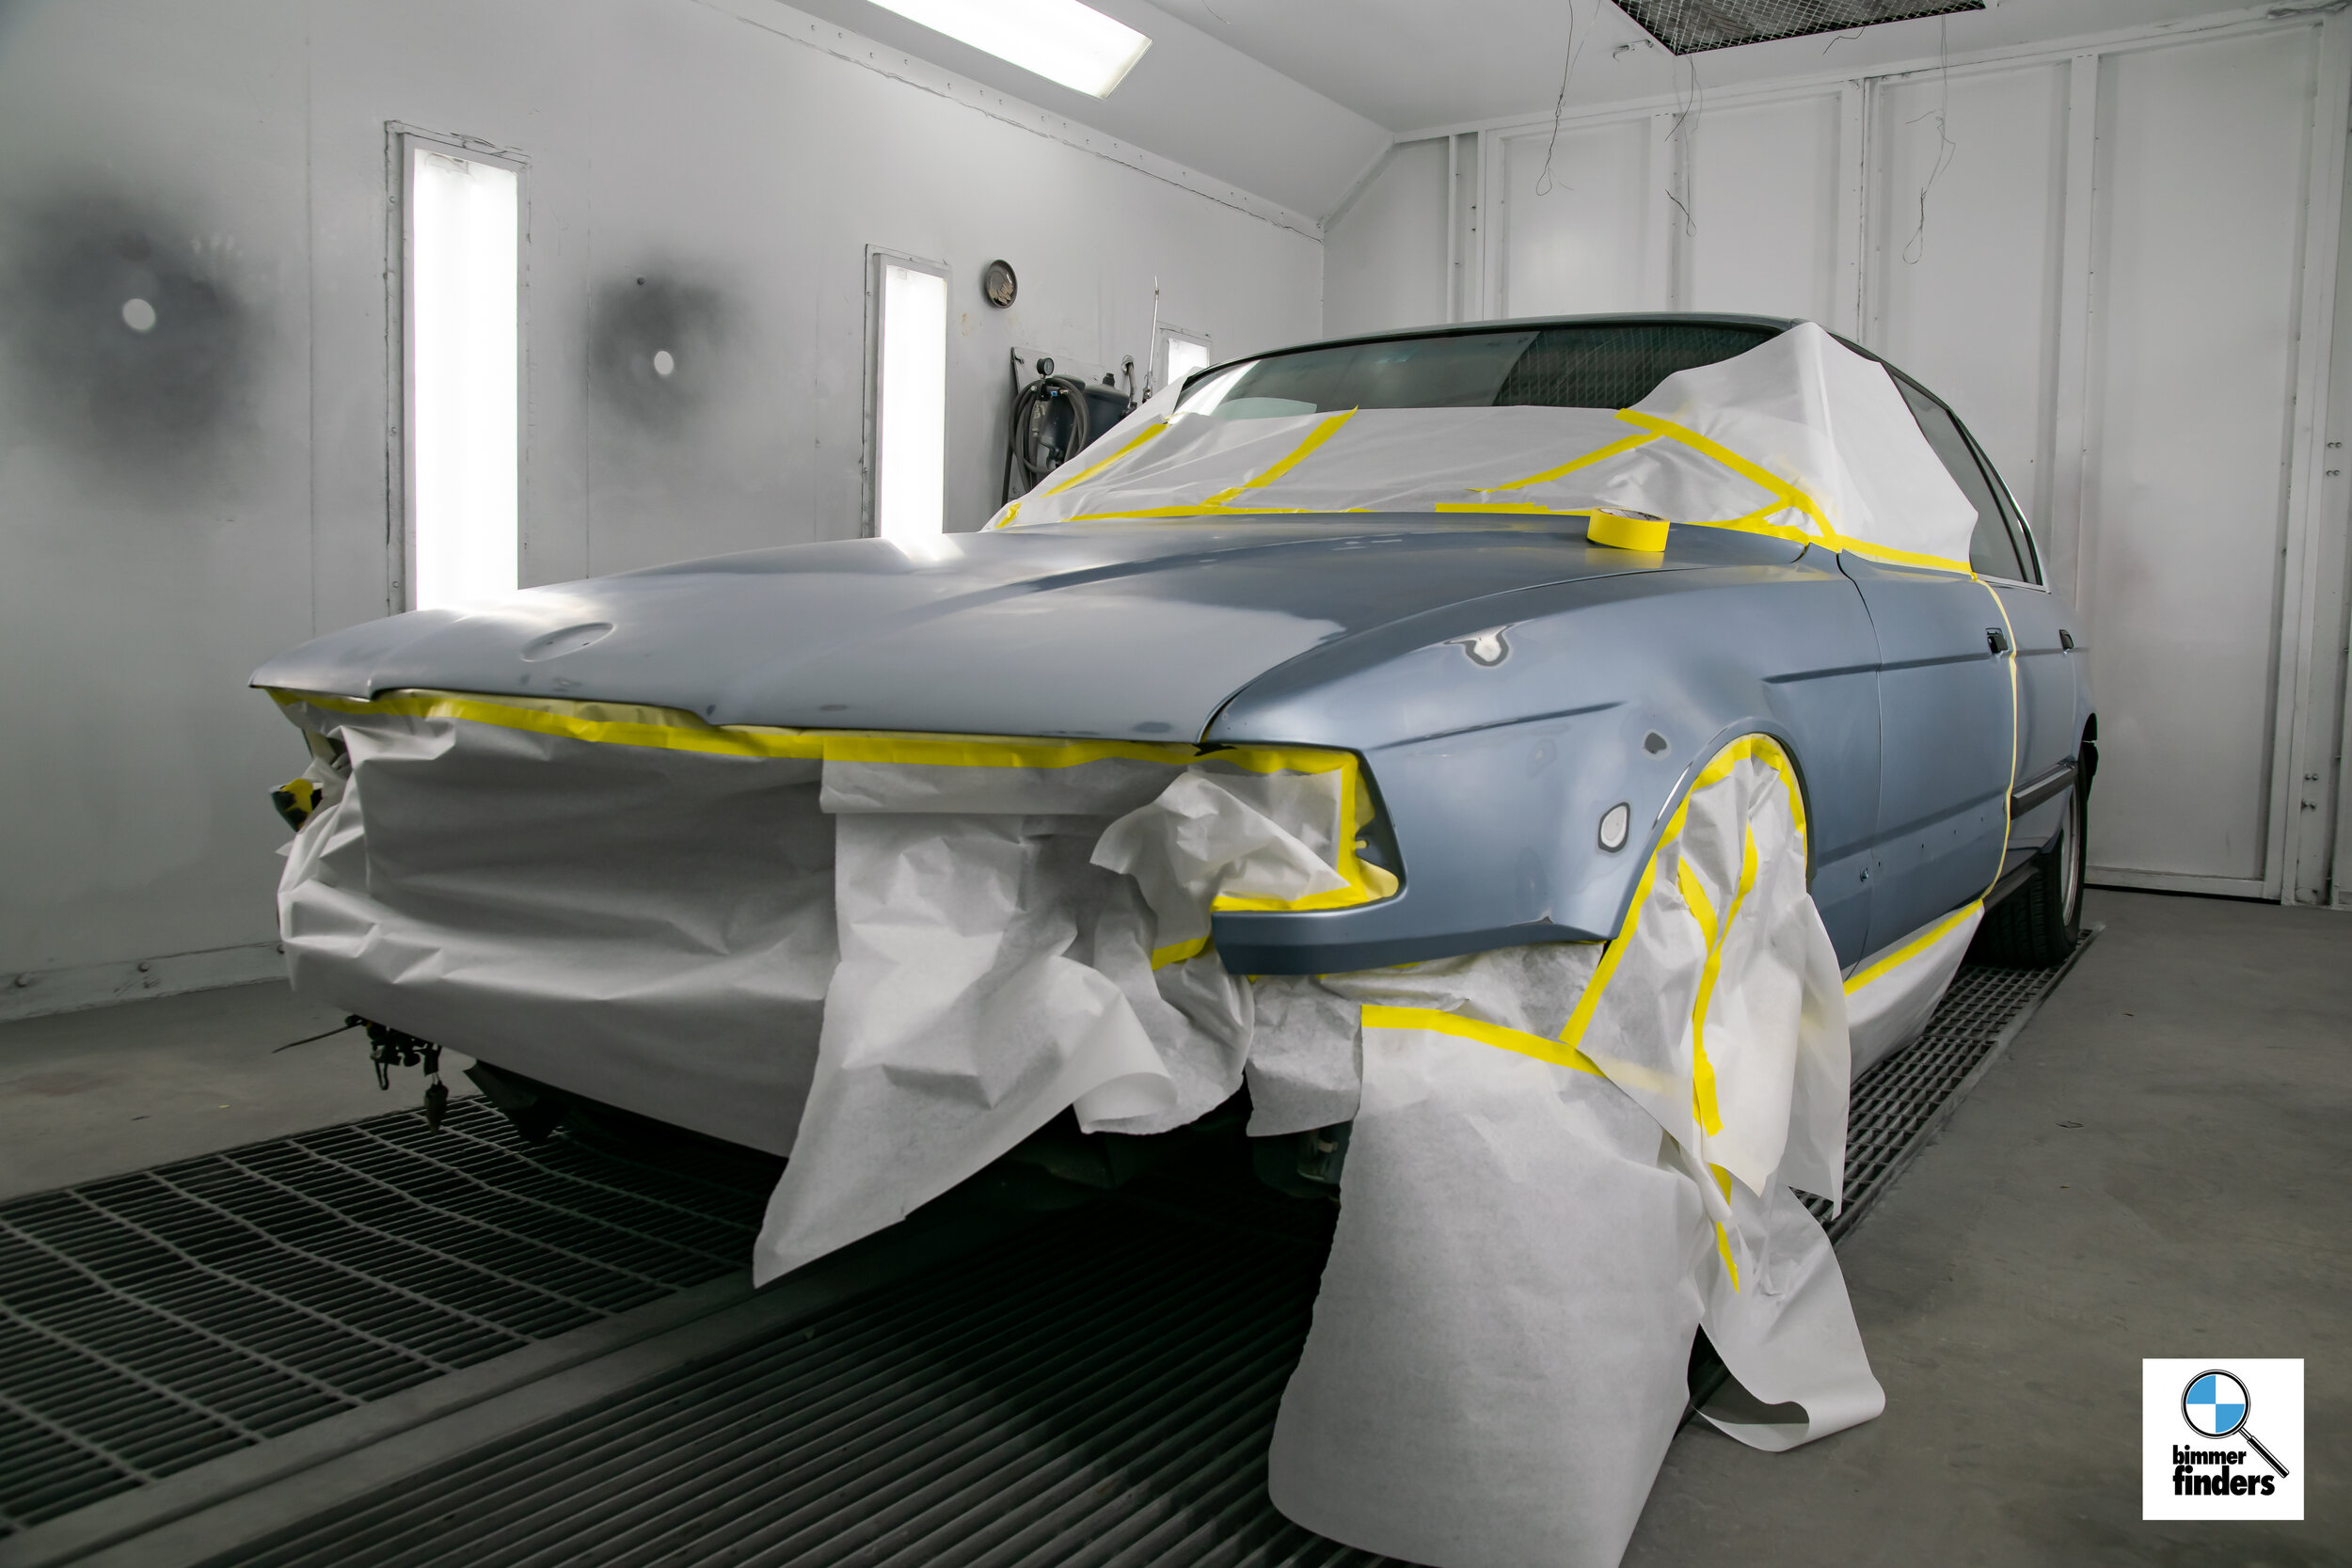
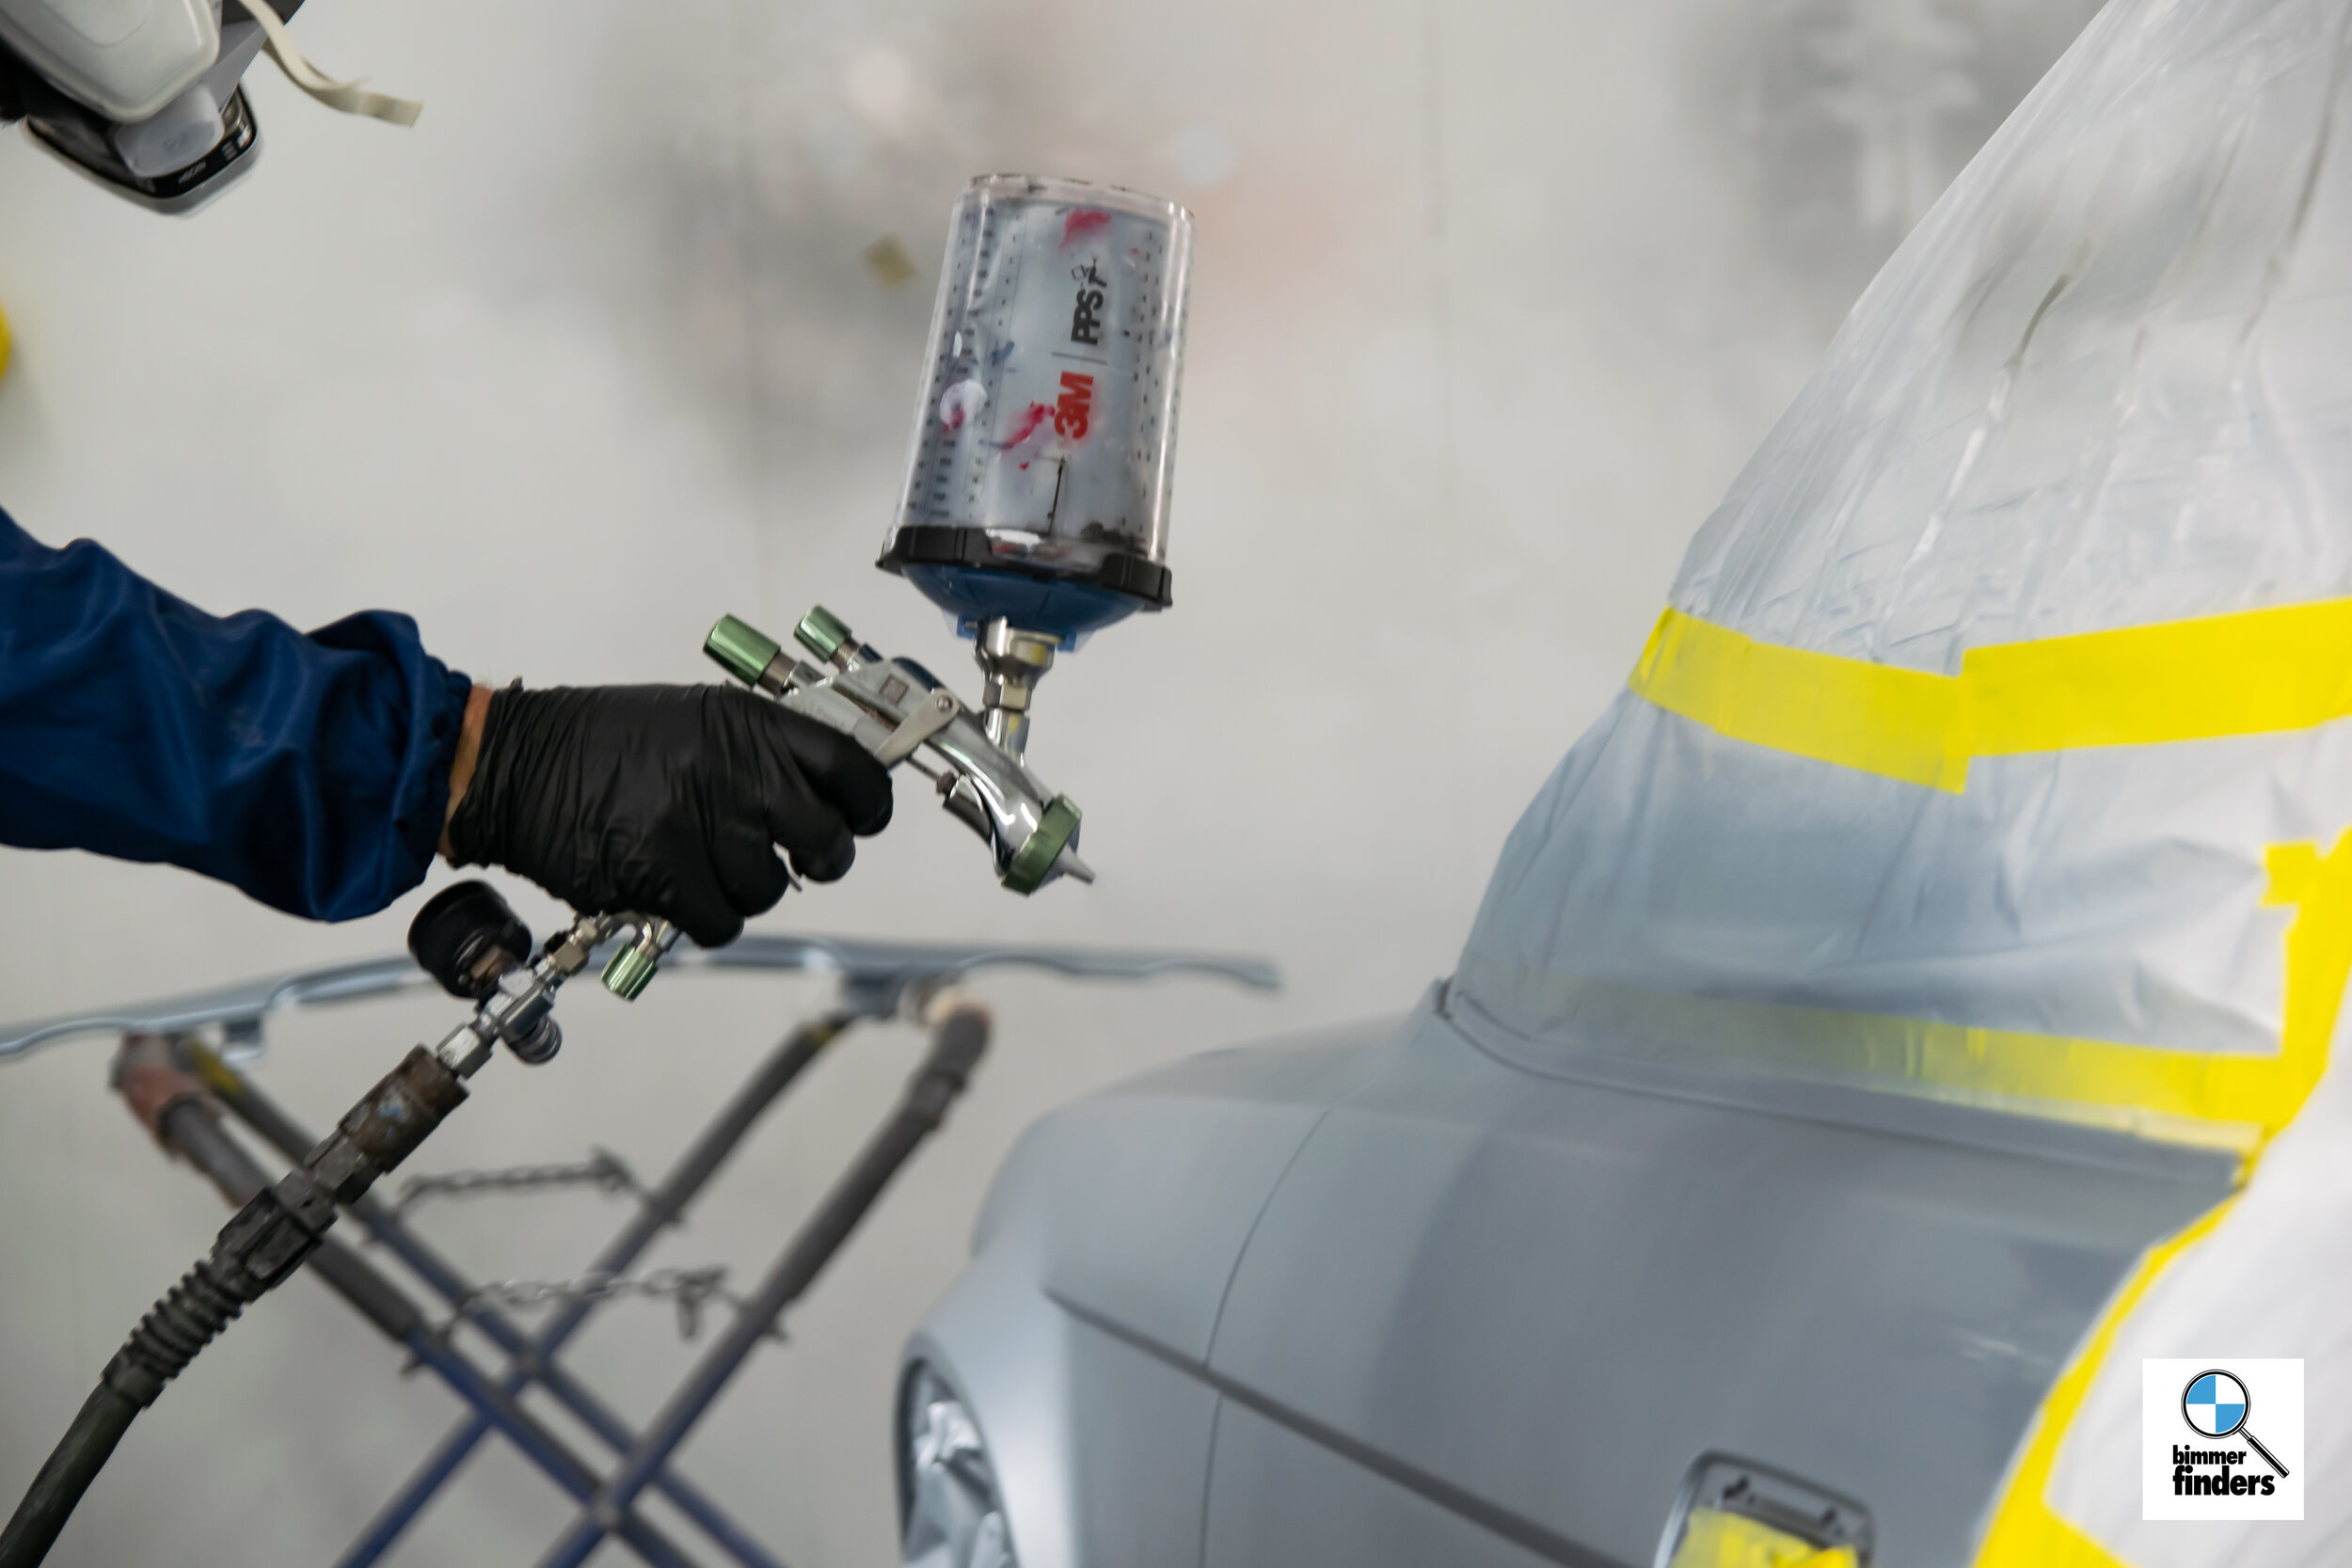
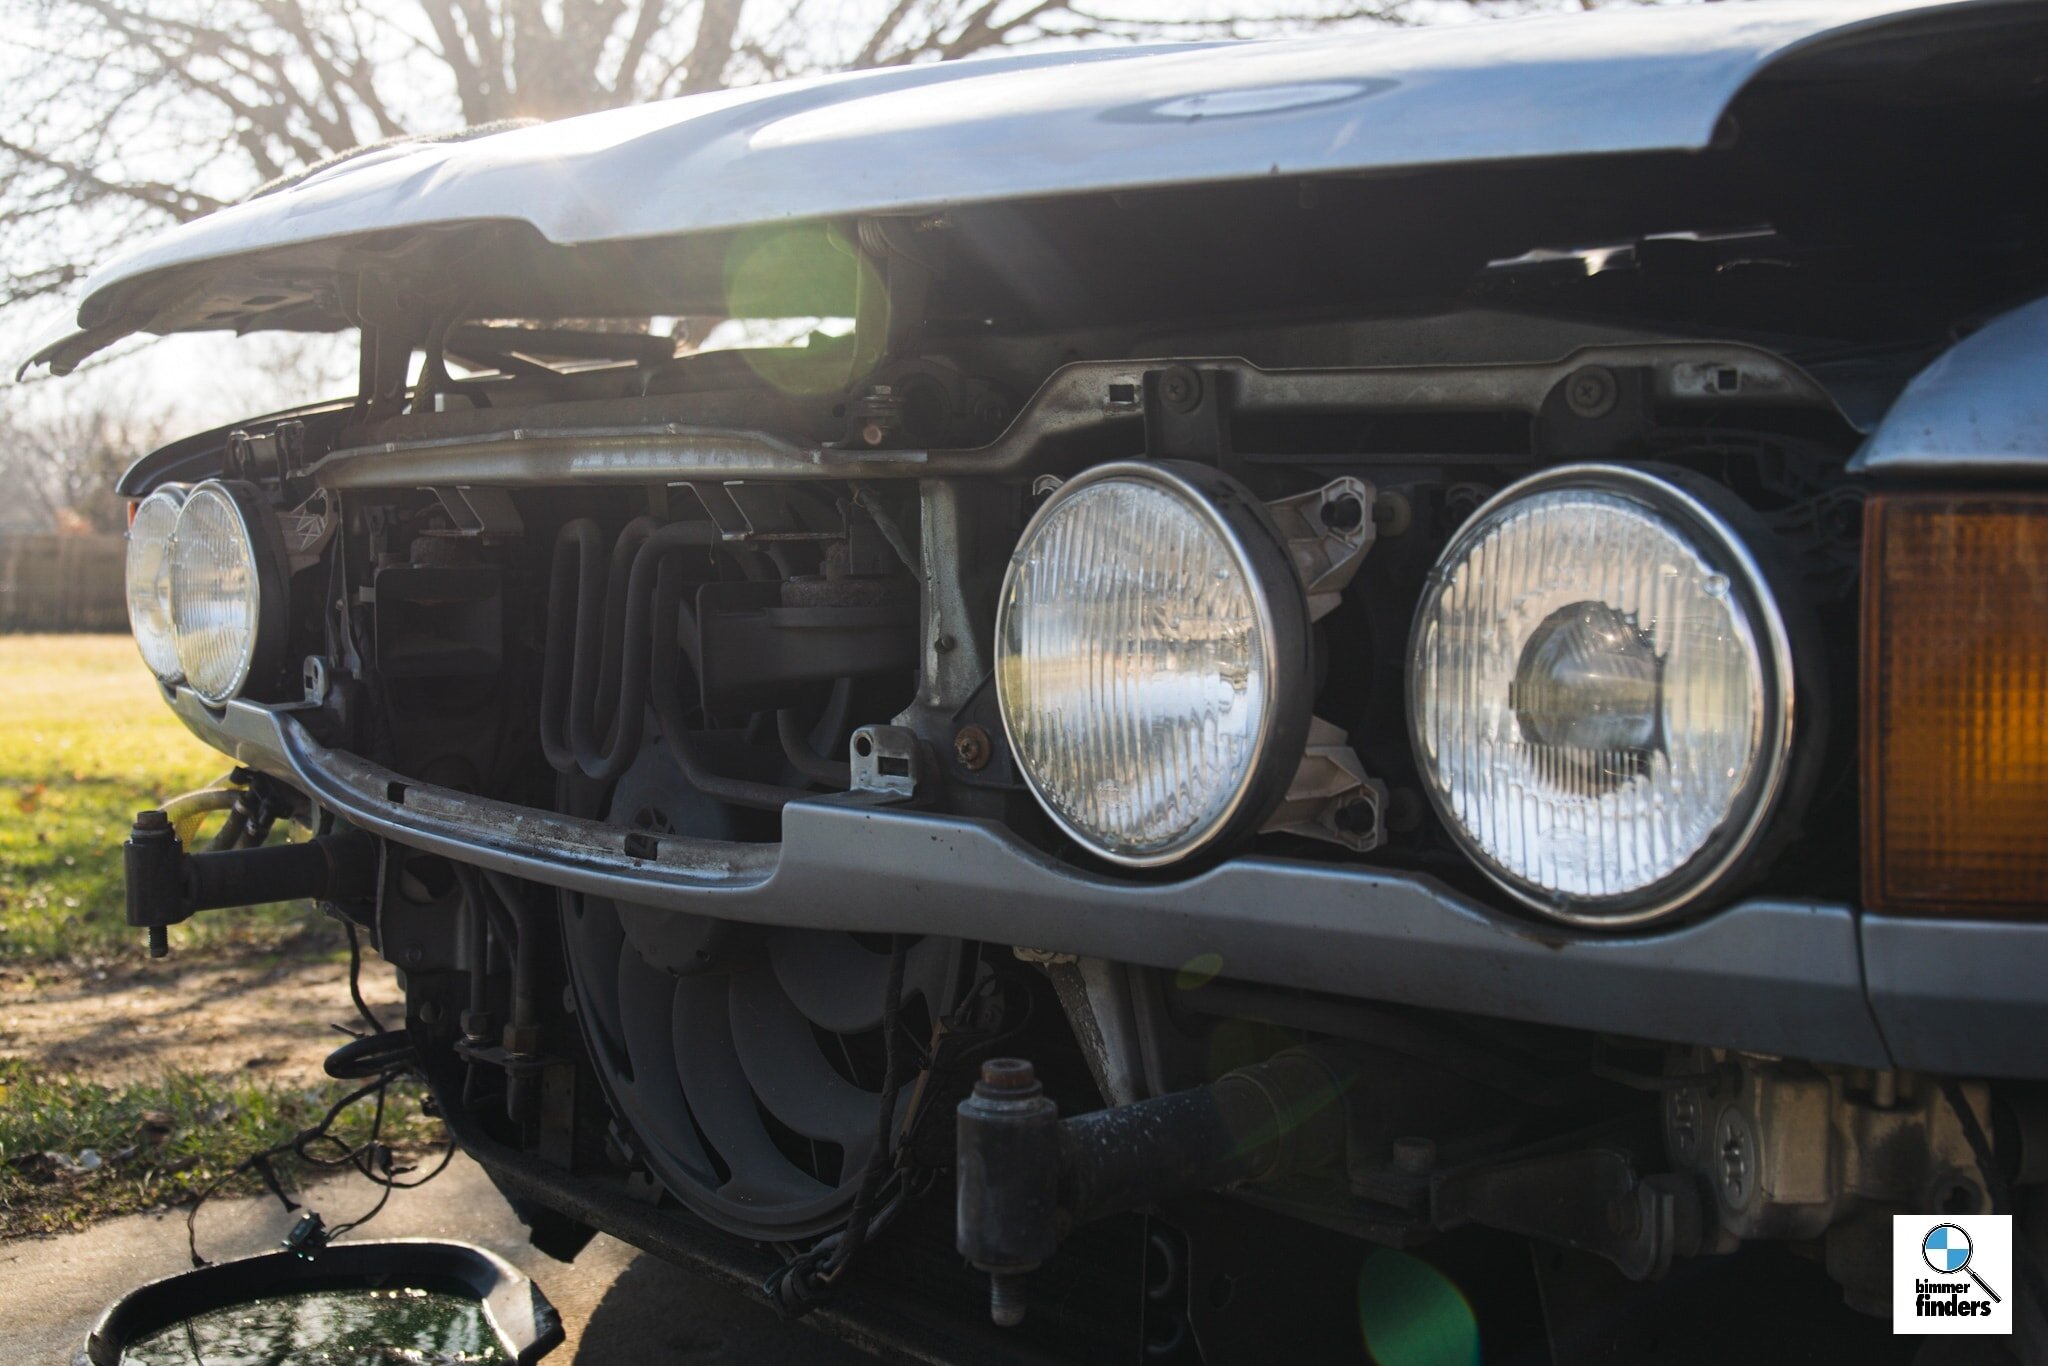
It came out awesome. Months had led up to this point, so you could imagine my excitement. I put the headlights back in so I could drive it home with blinkers and such.
Also, yours truly.
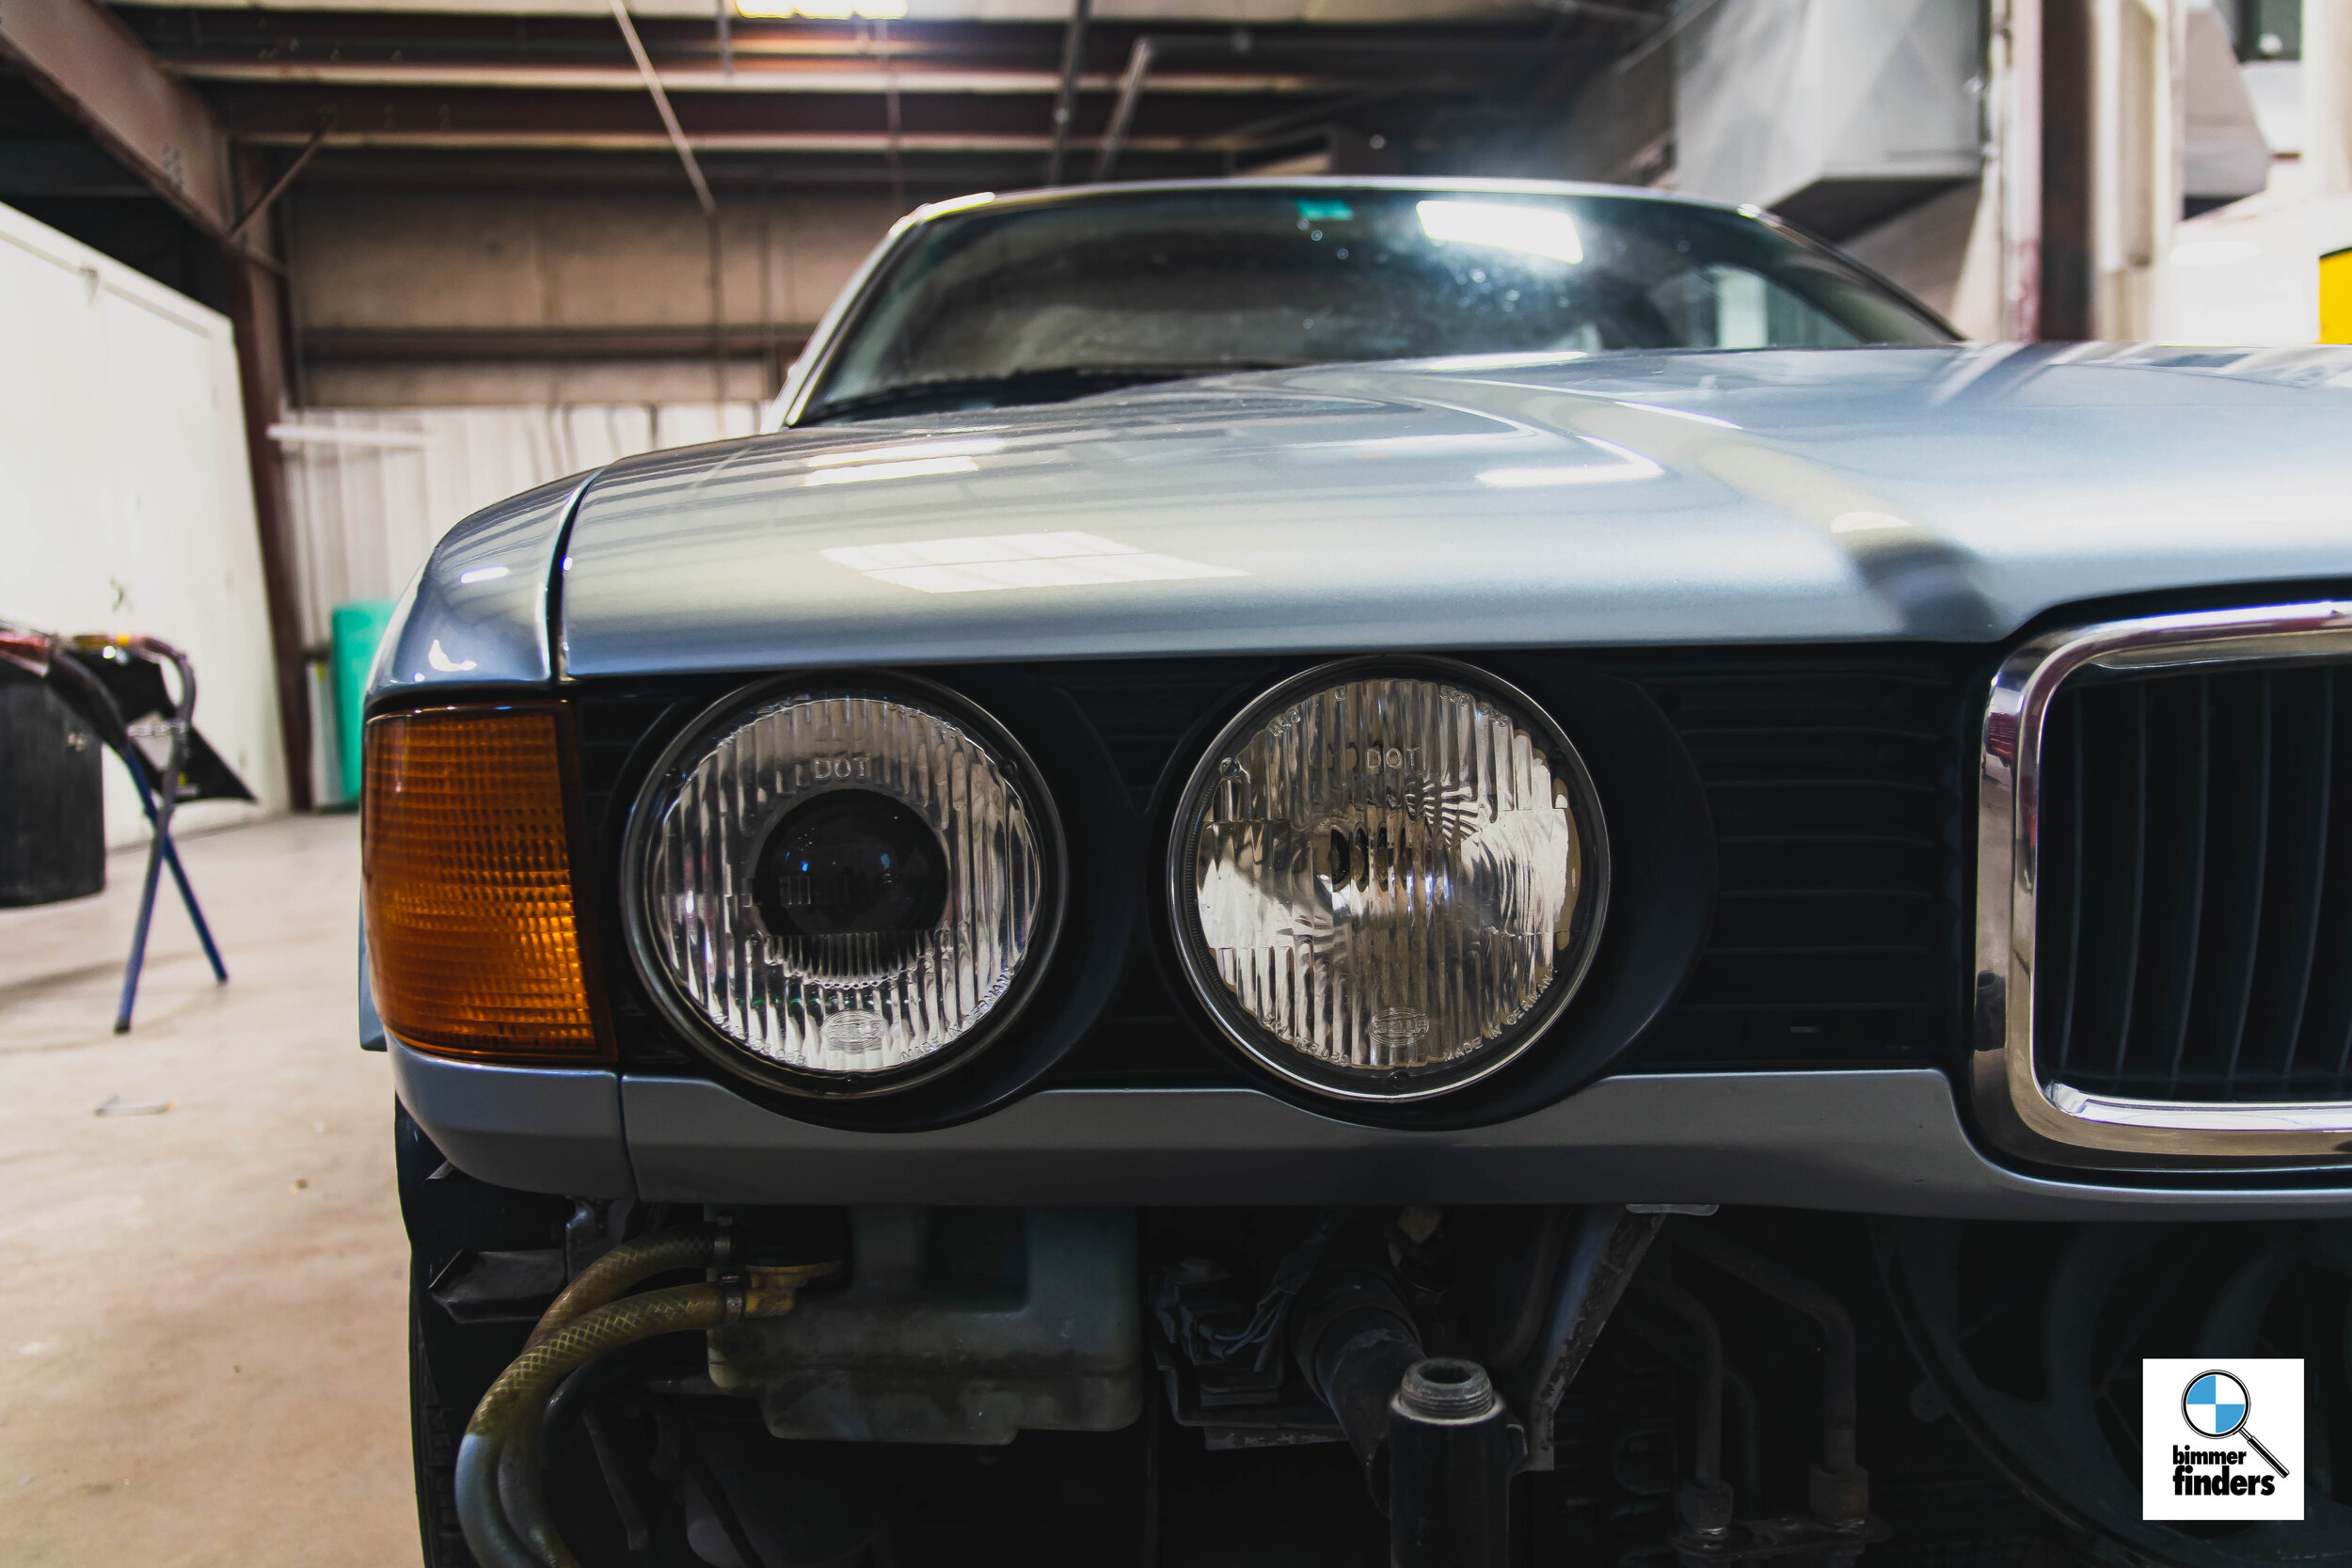

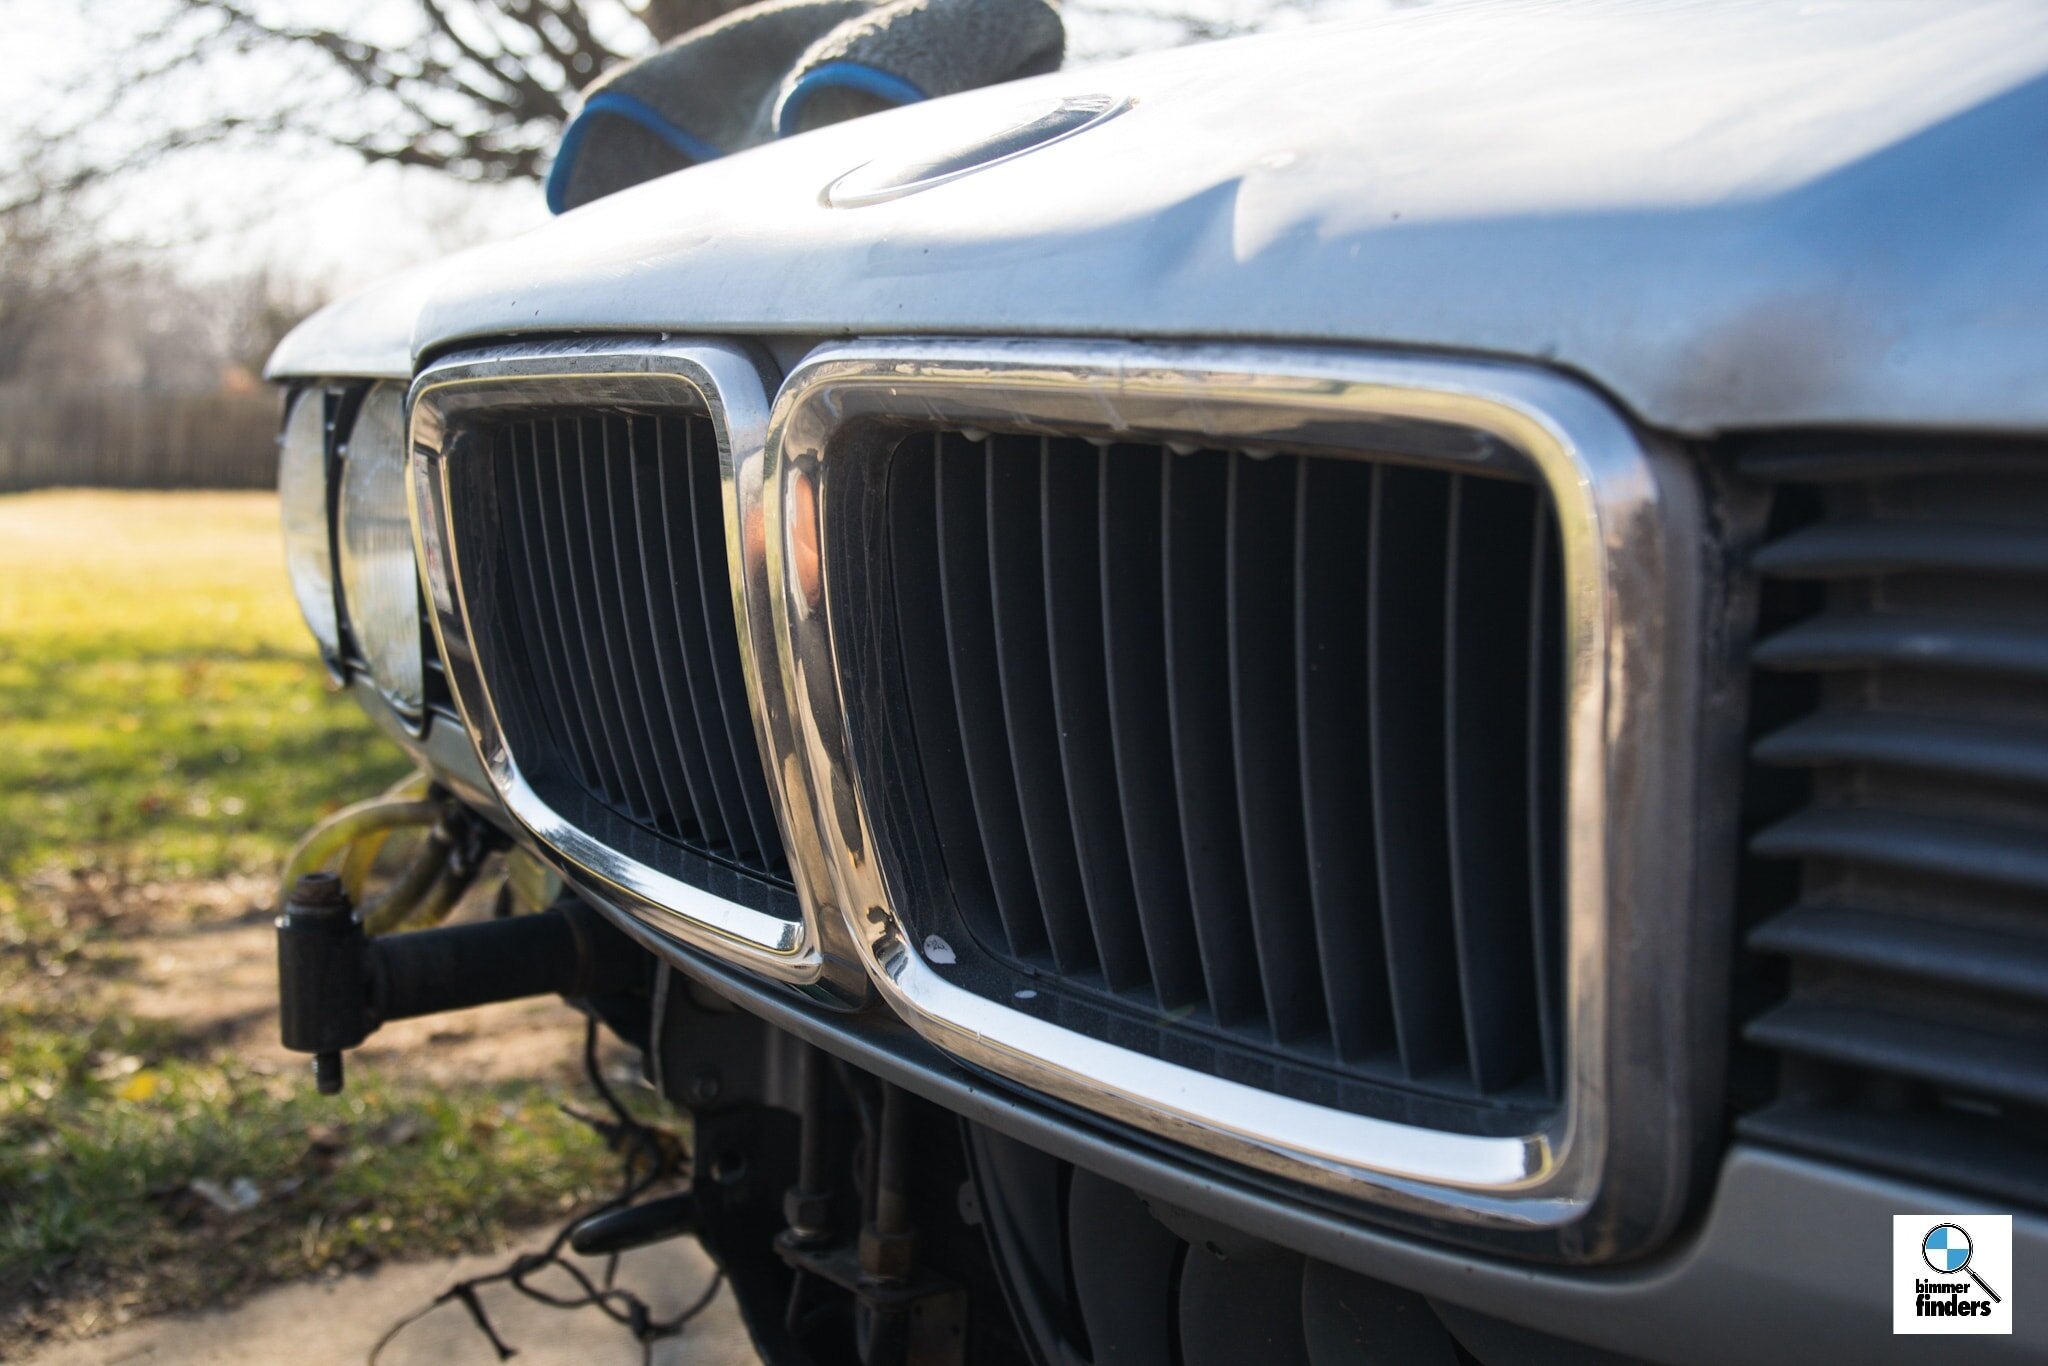
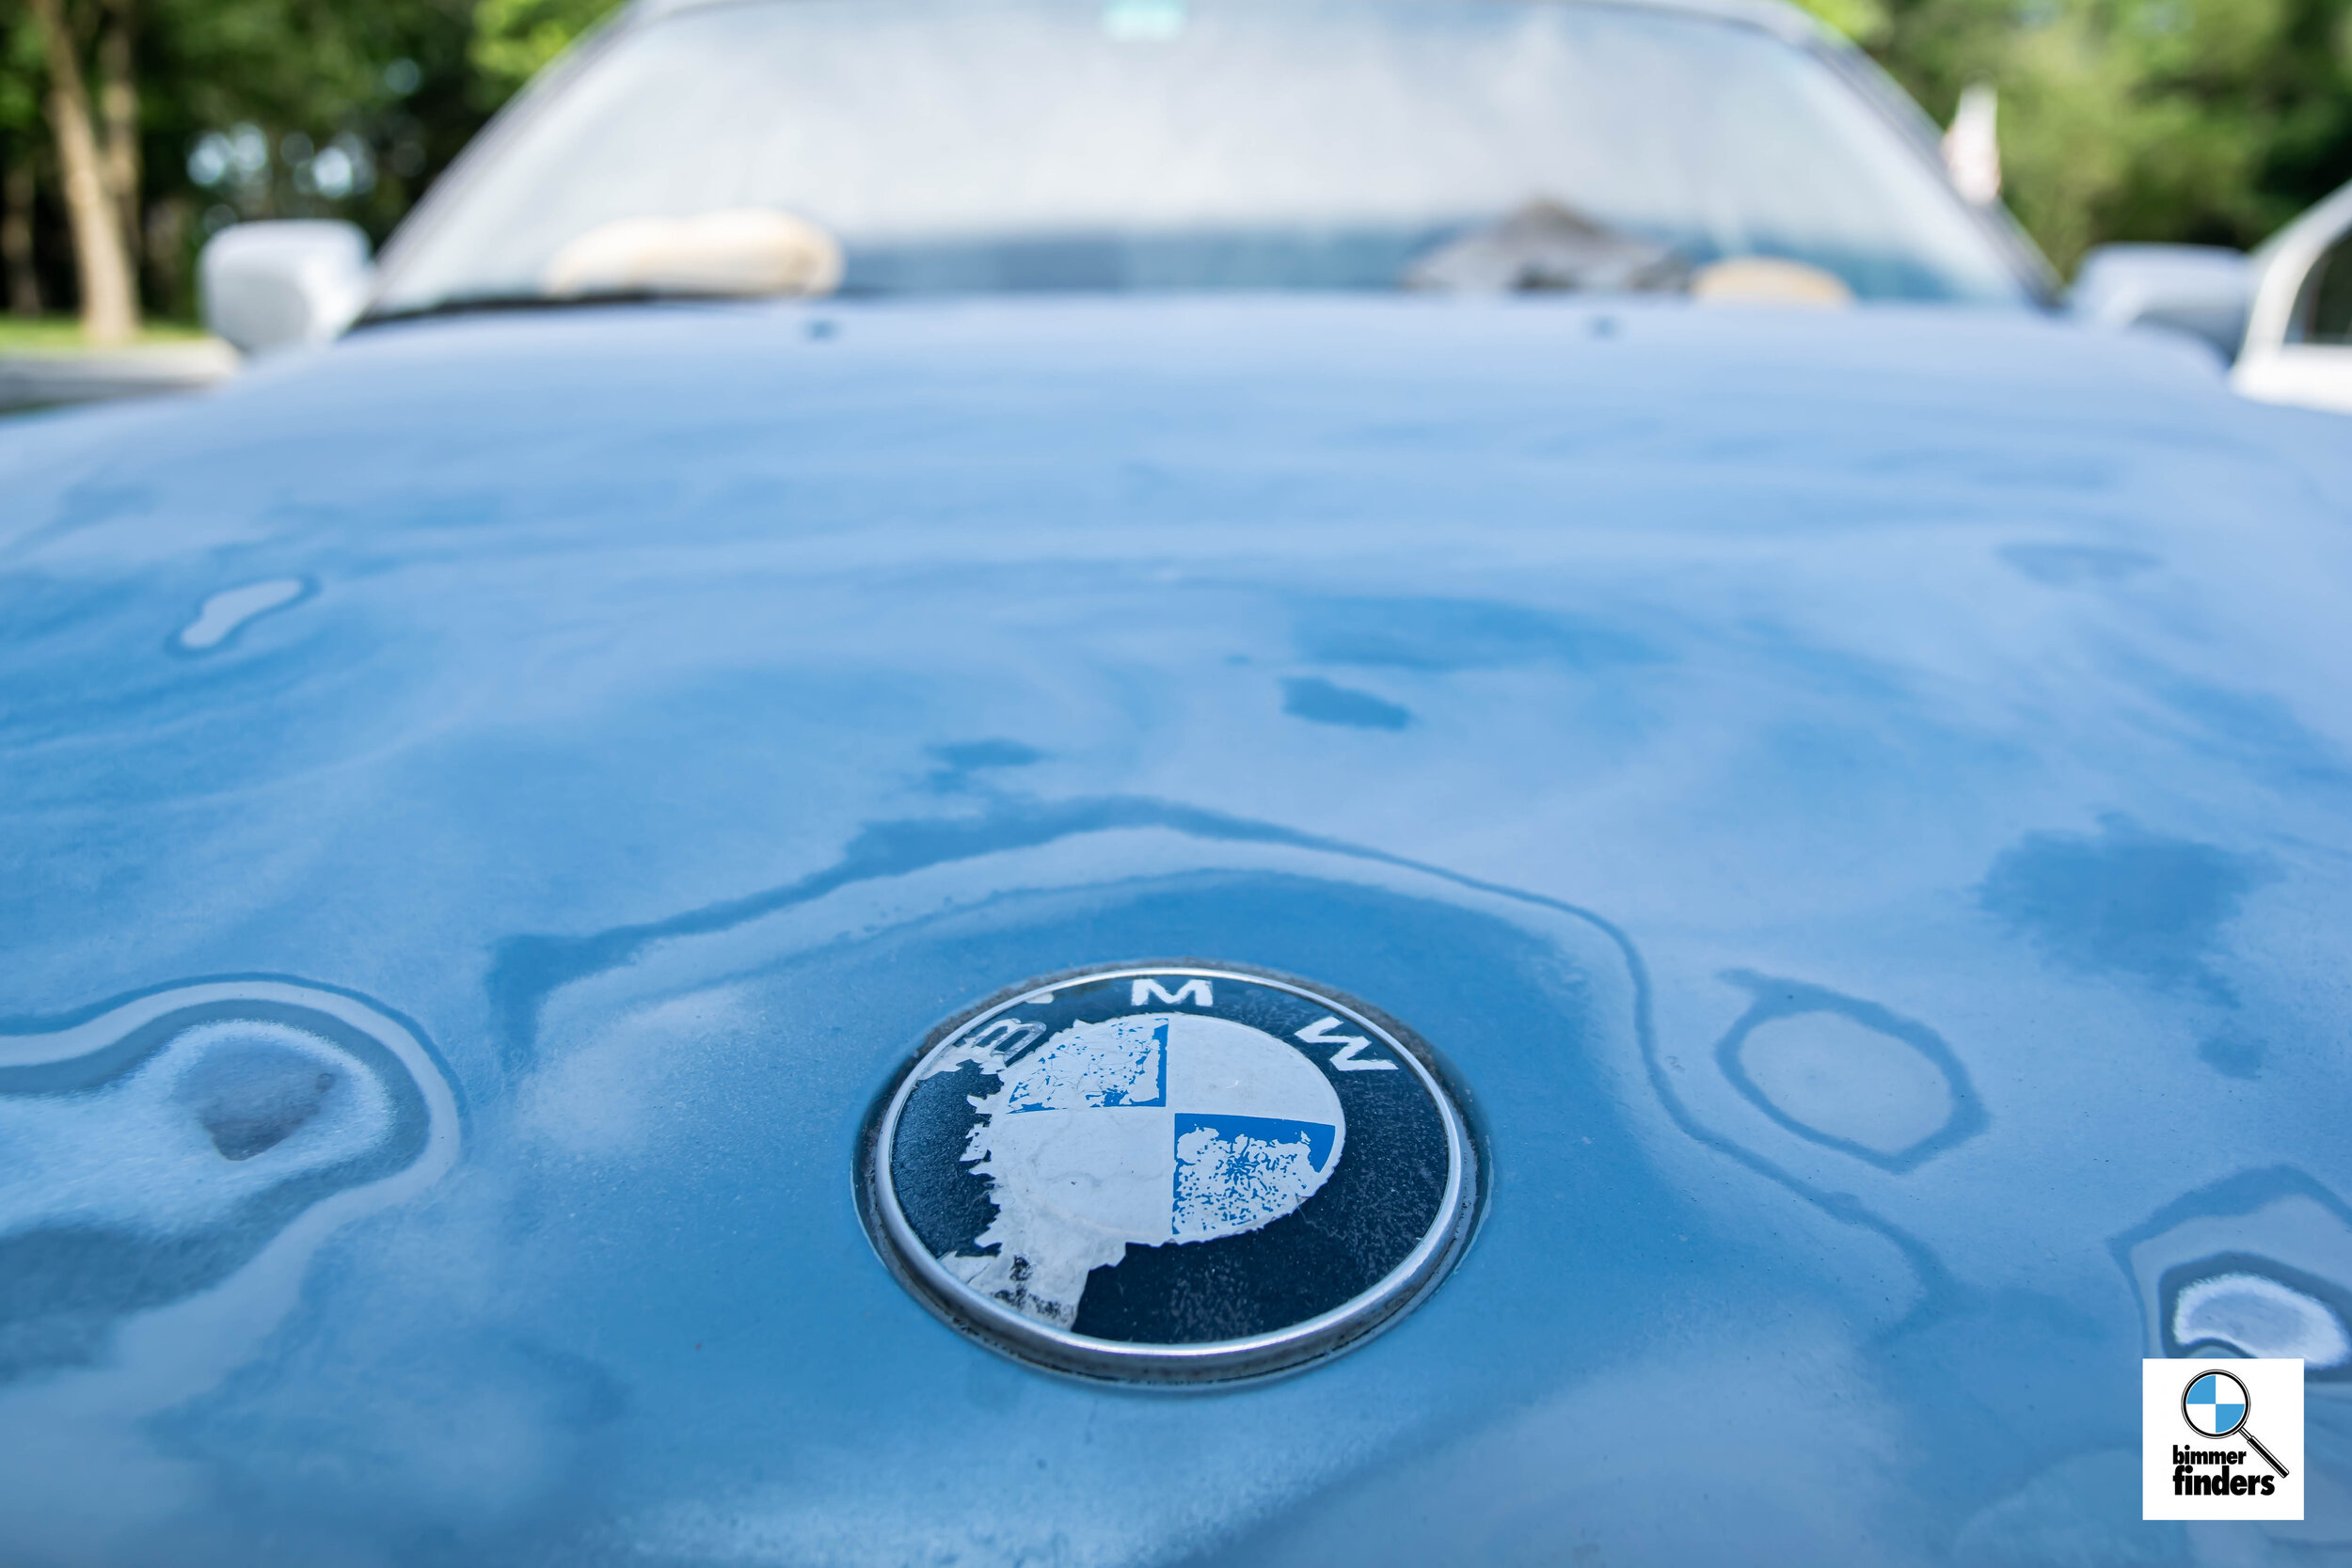
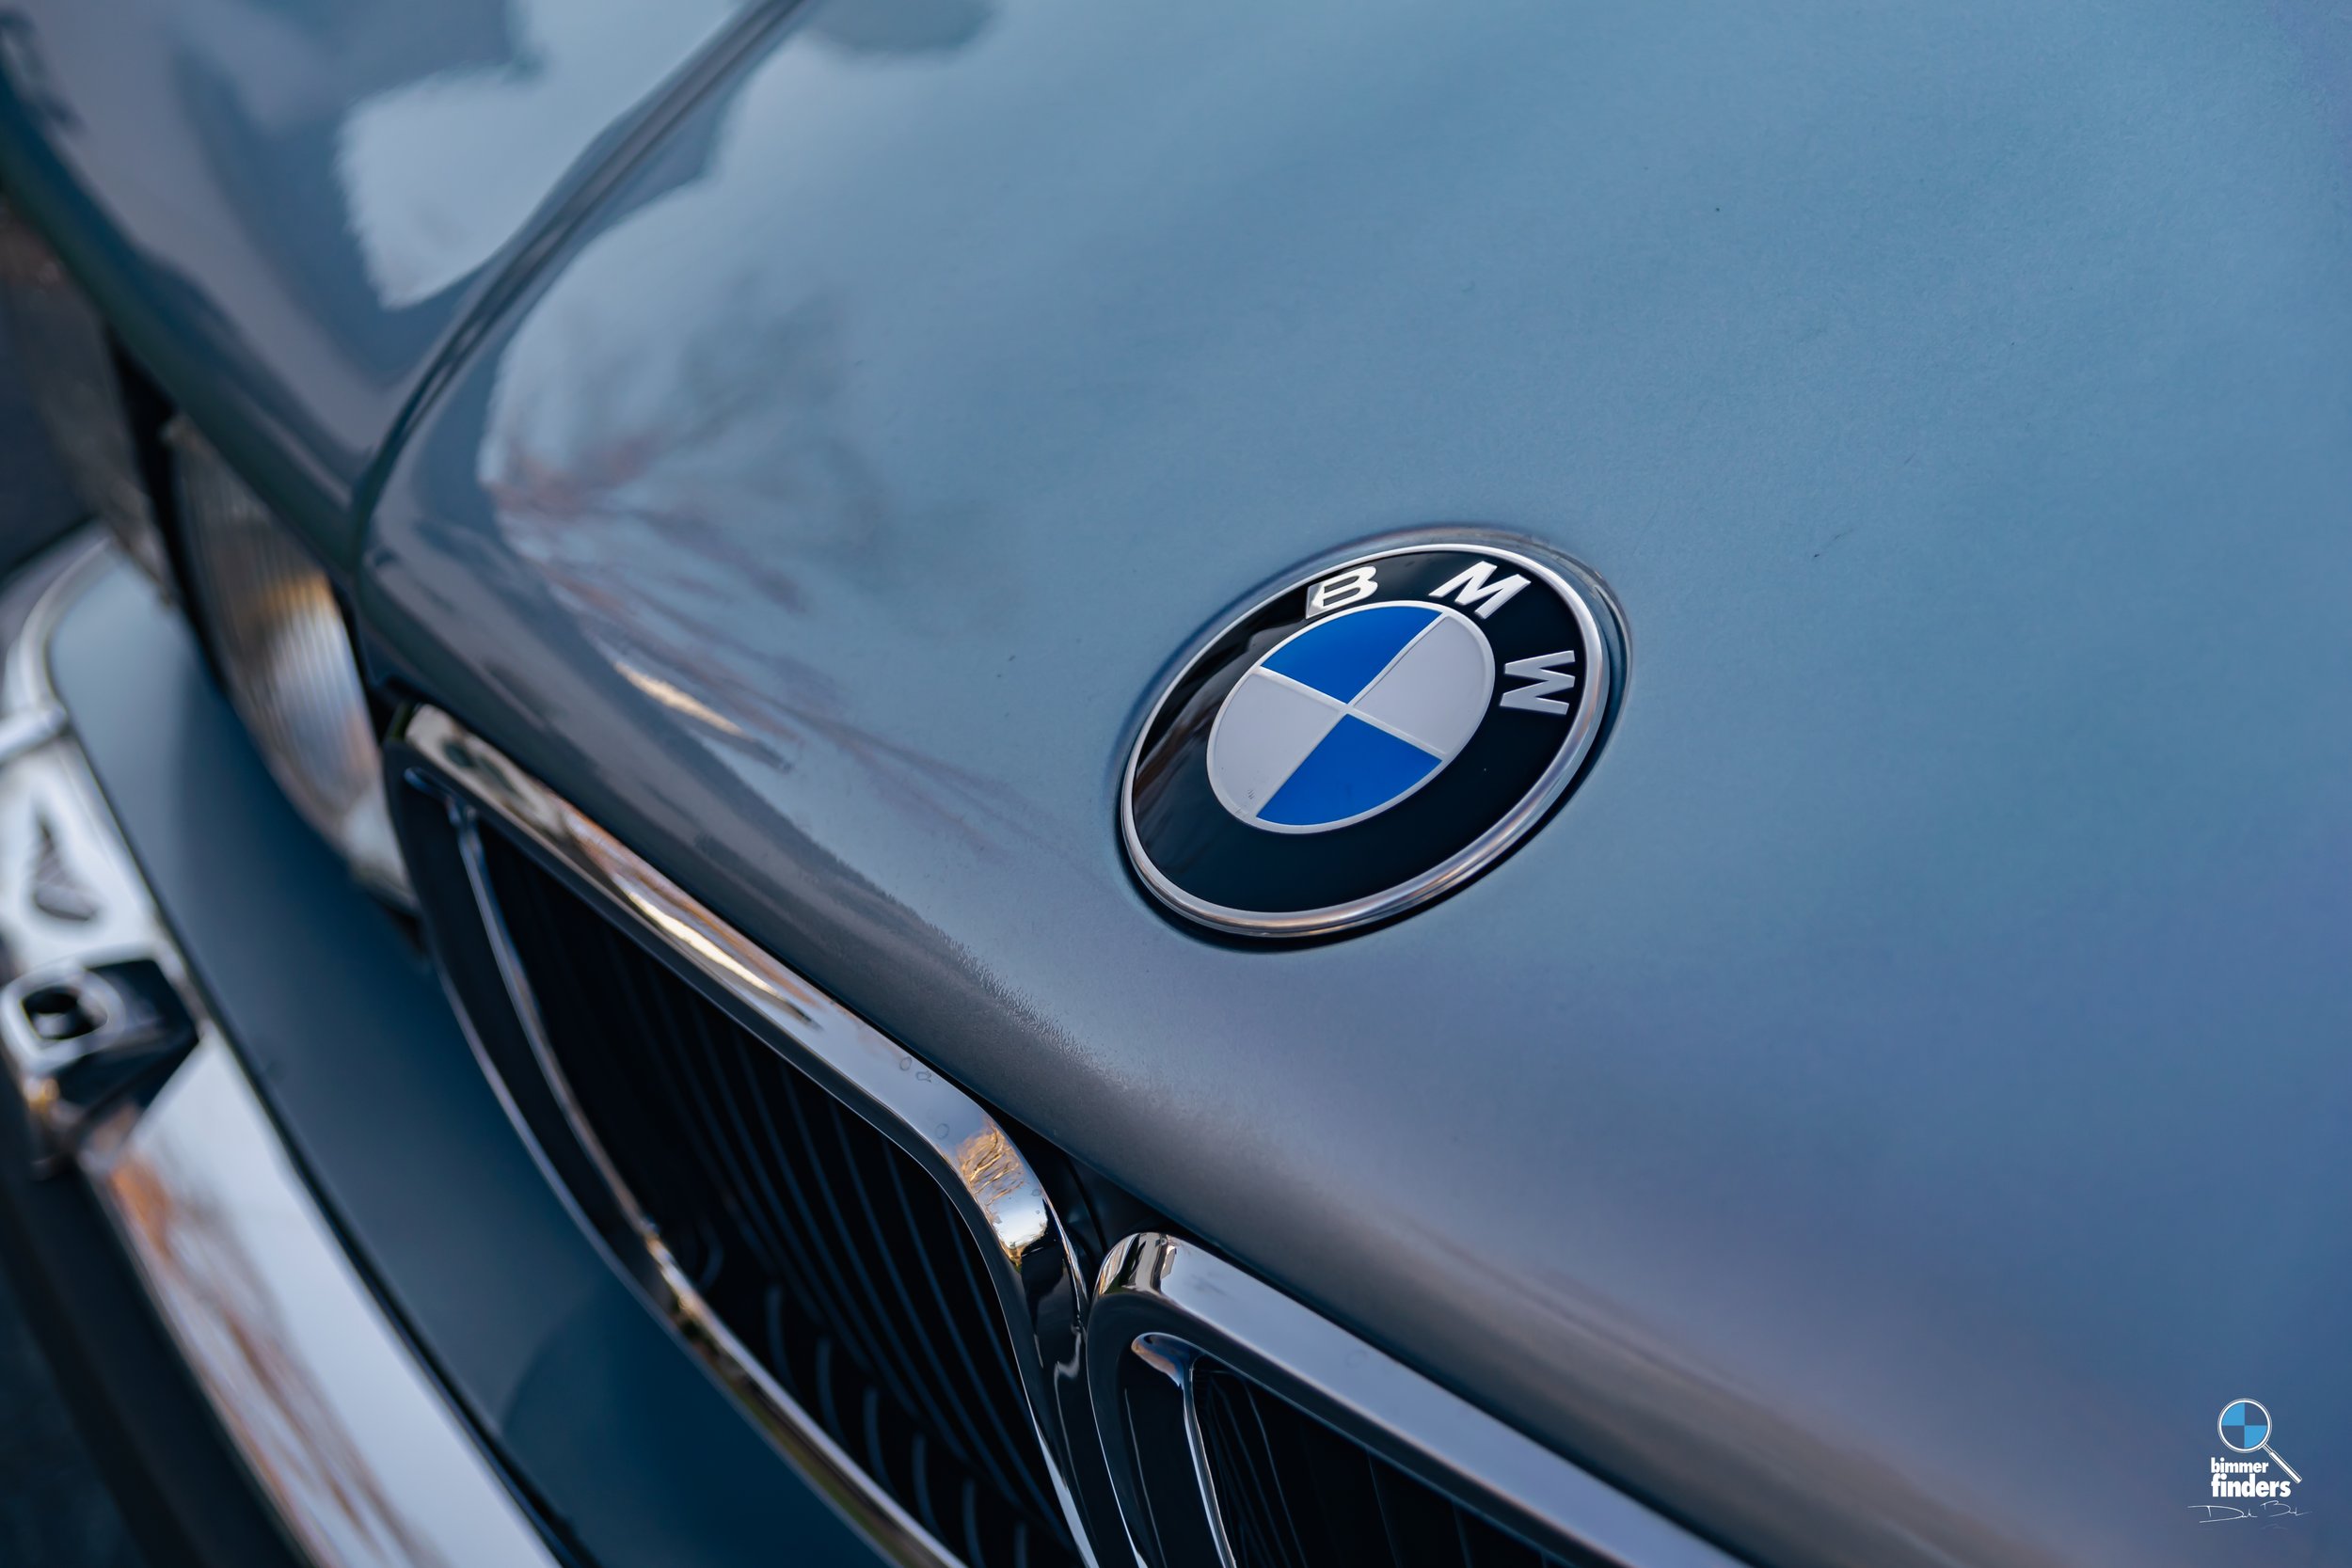
As soon as I got it back to the house, parts started flying on. I had been restoring and ceramic coating many of them in my spare time, so a lot of the car was starting to look brand new again… just, not yet installed. Other pieces, like the kidneys and roundels, I had ordered new from Germany to ensure the car presented its absolute best, especially up front. New door handle gaskets are a lovely touch that goes a long way.


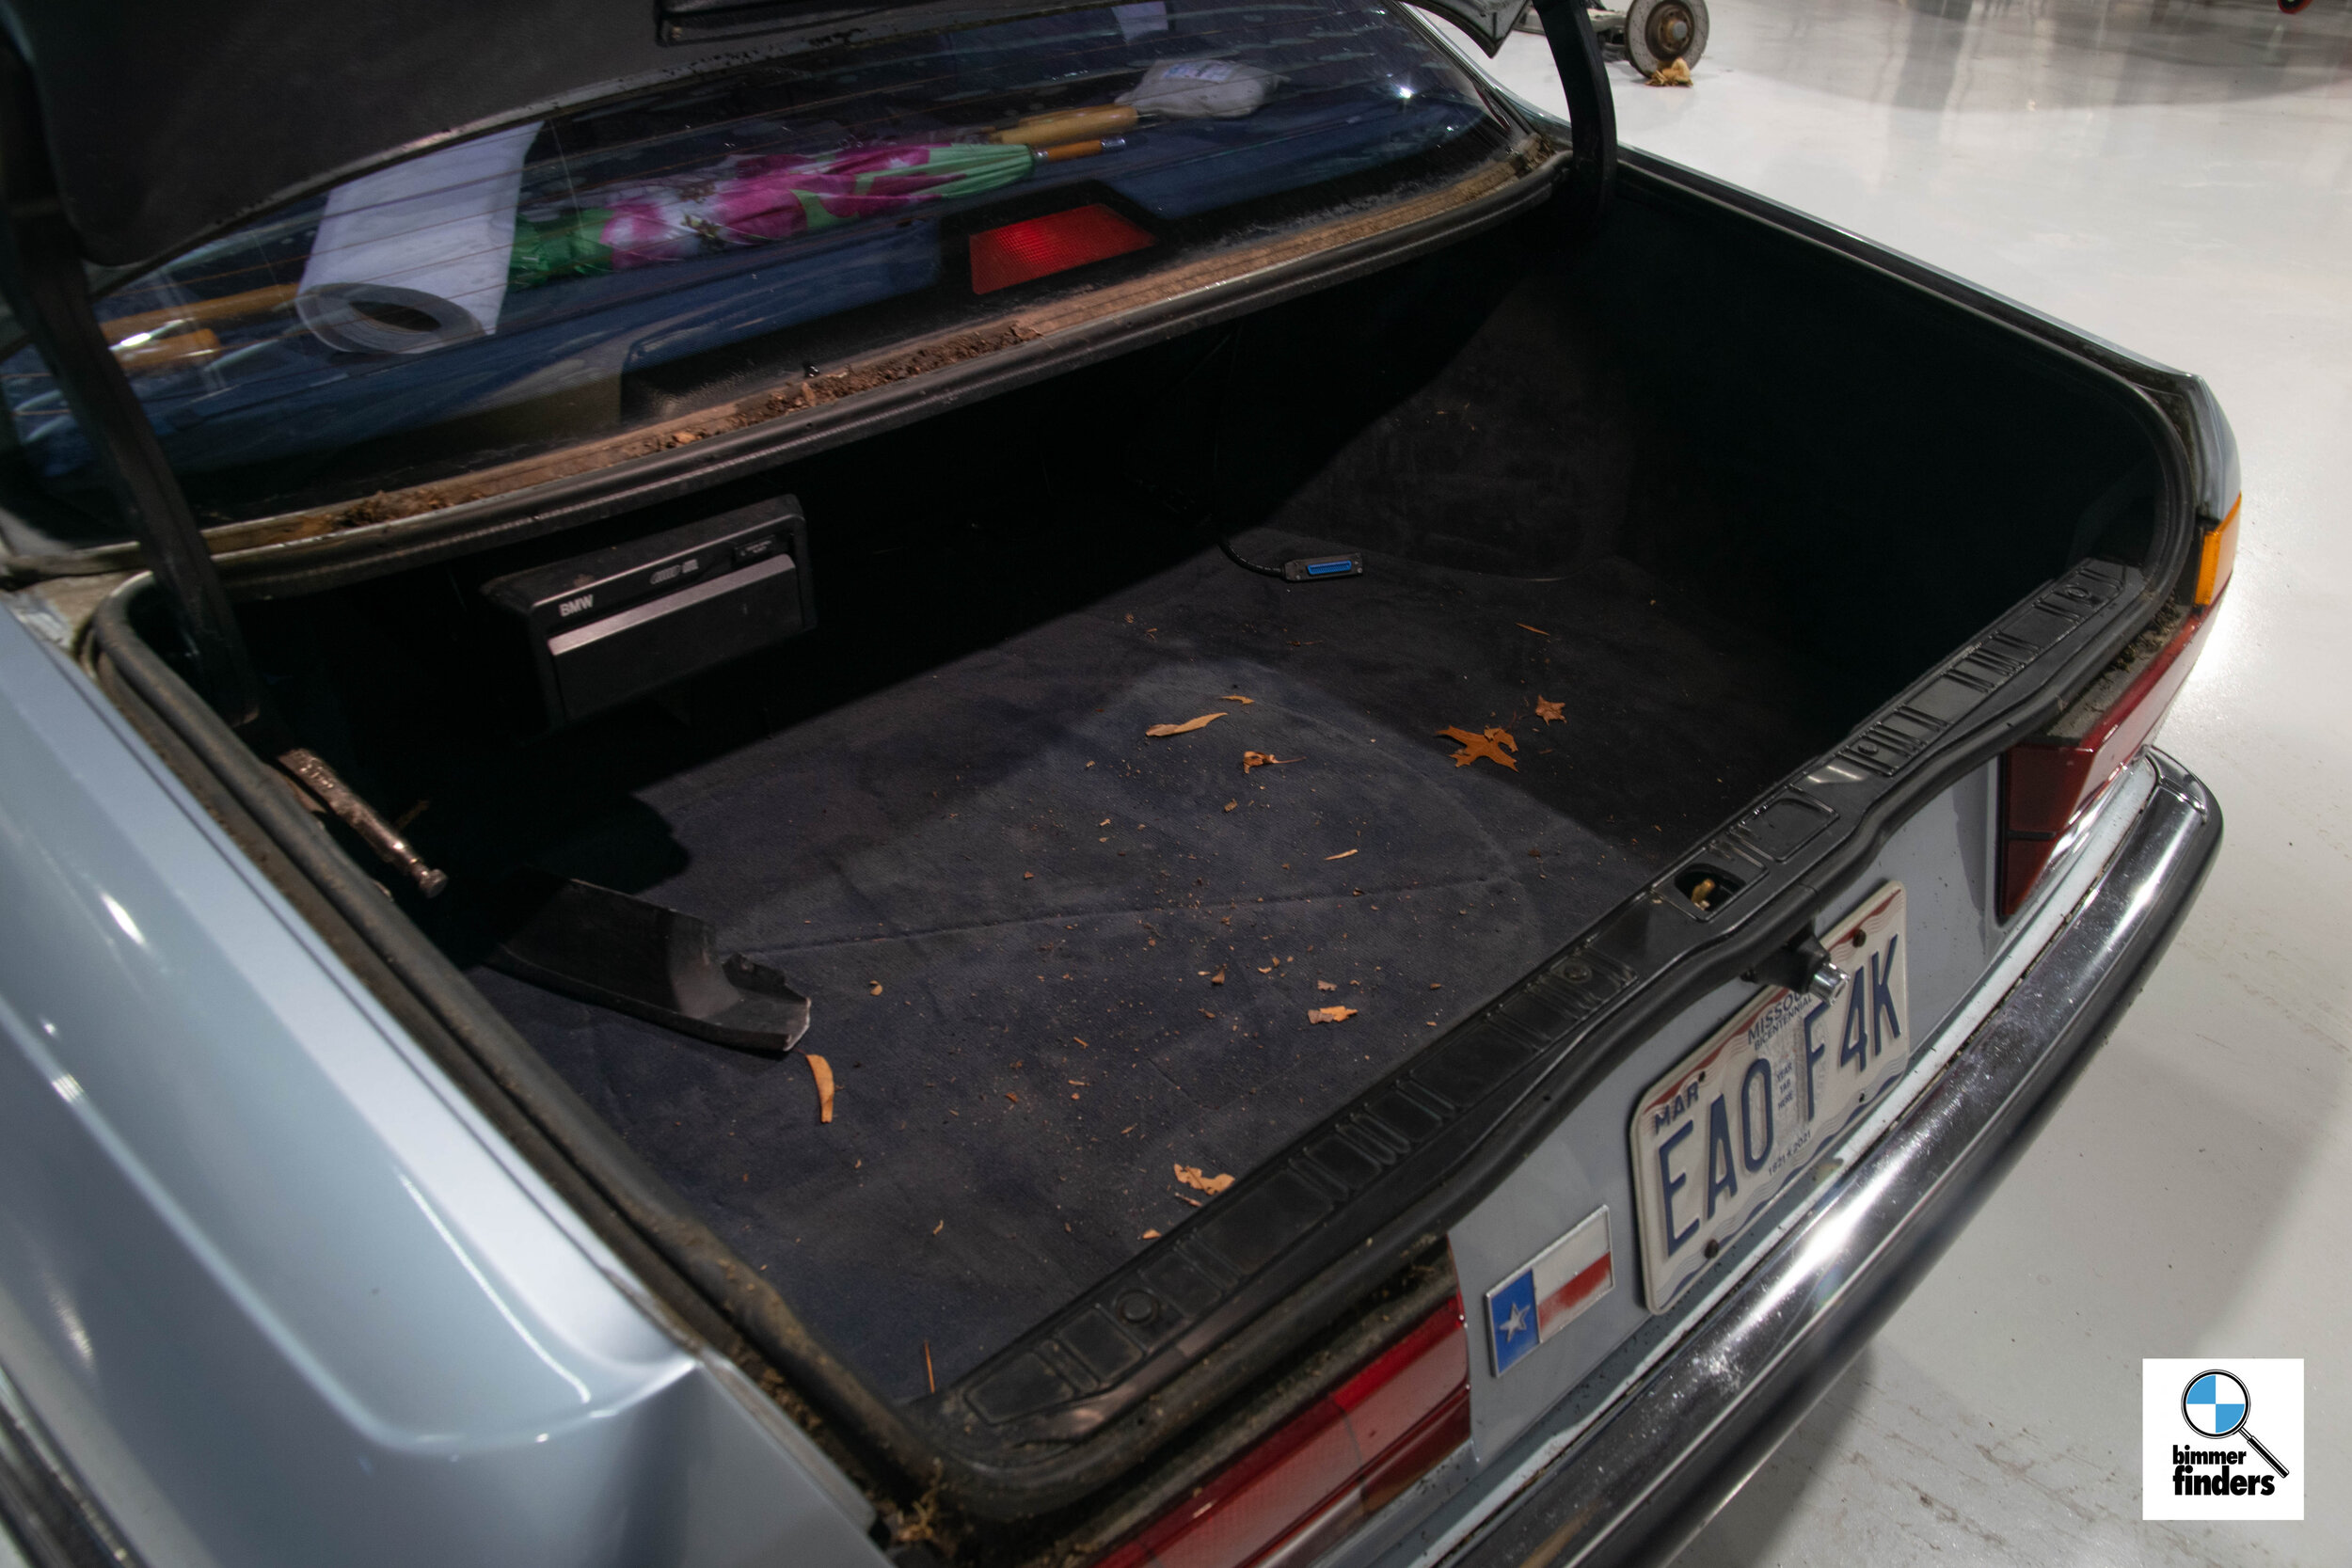
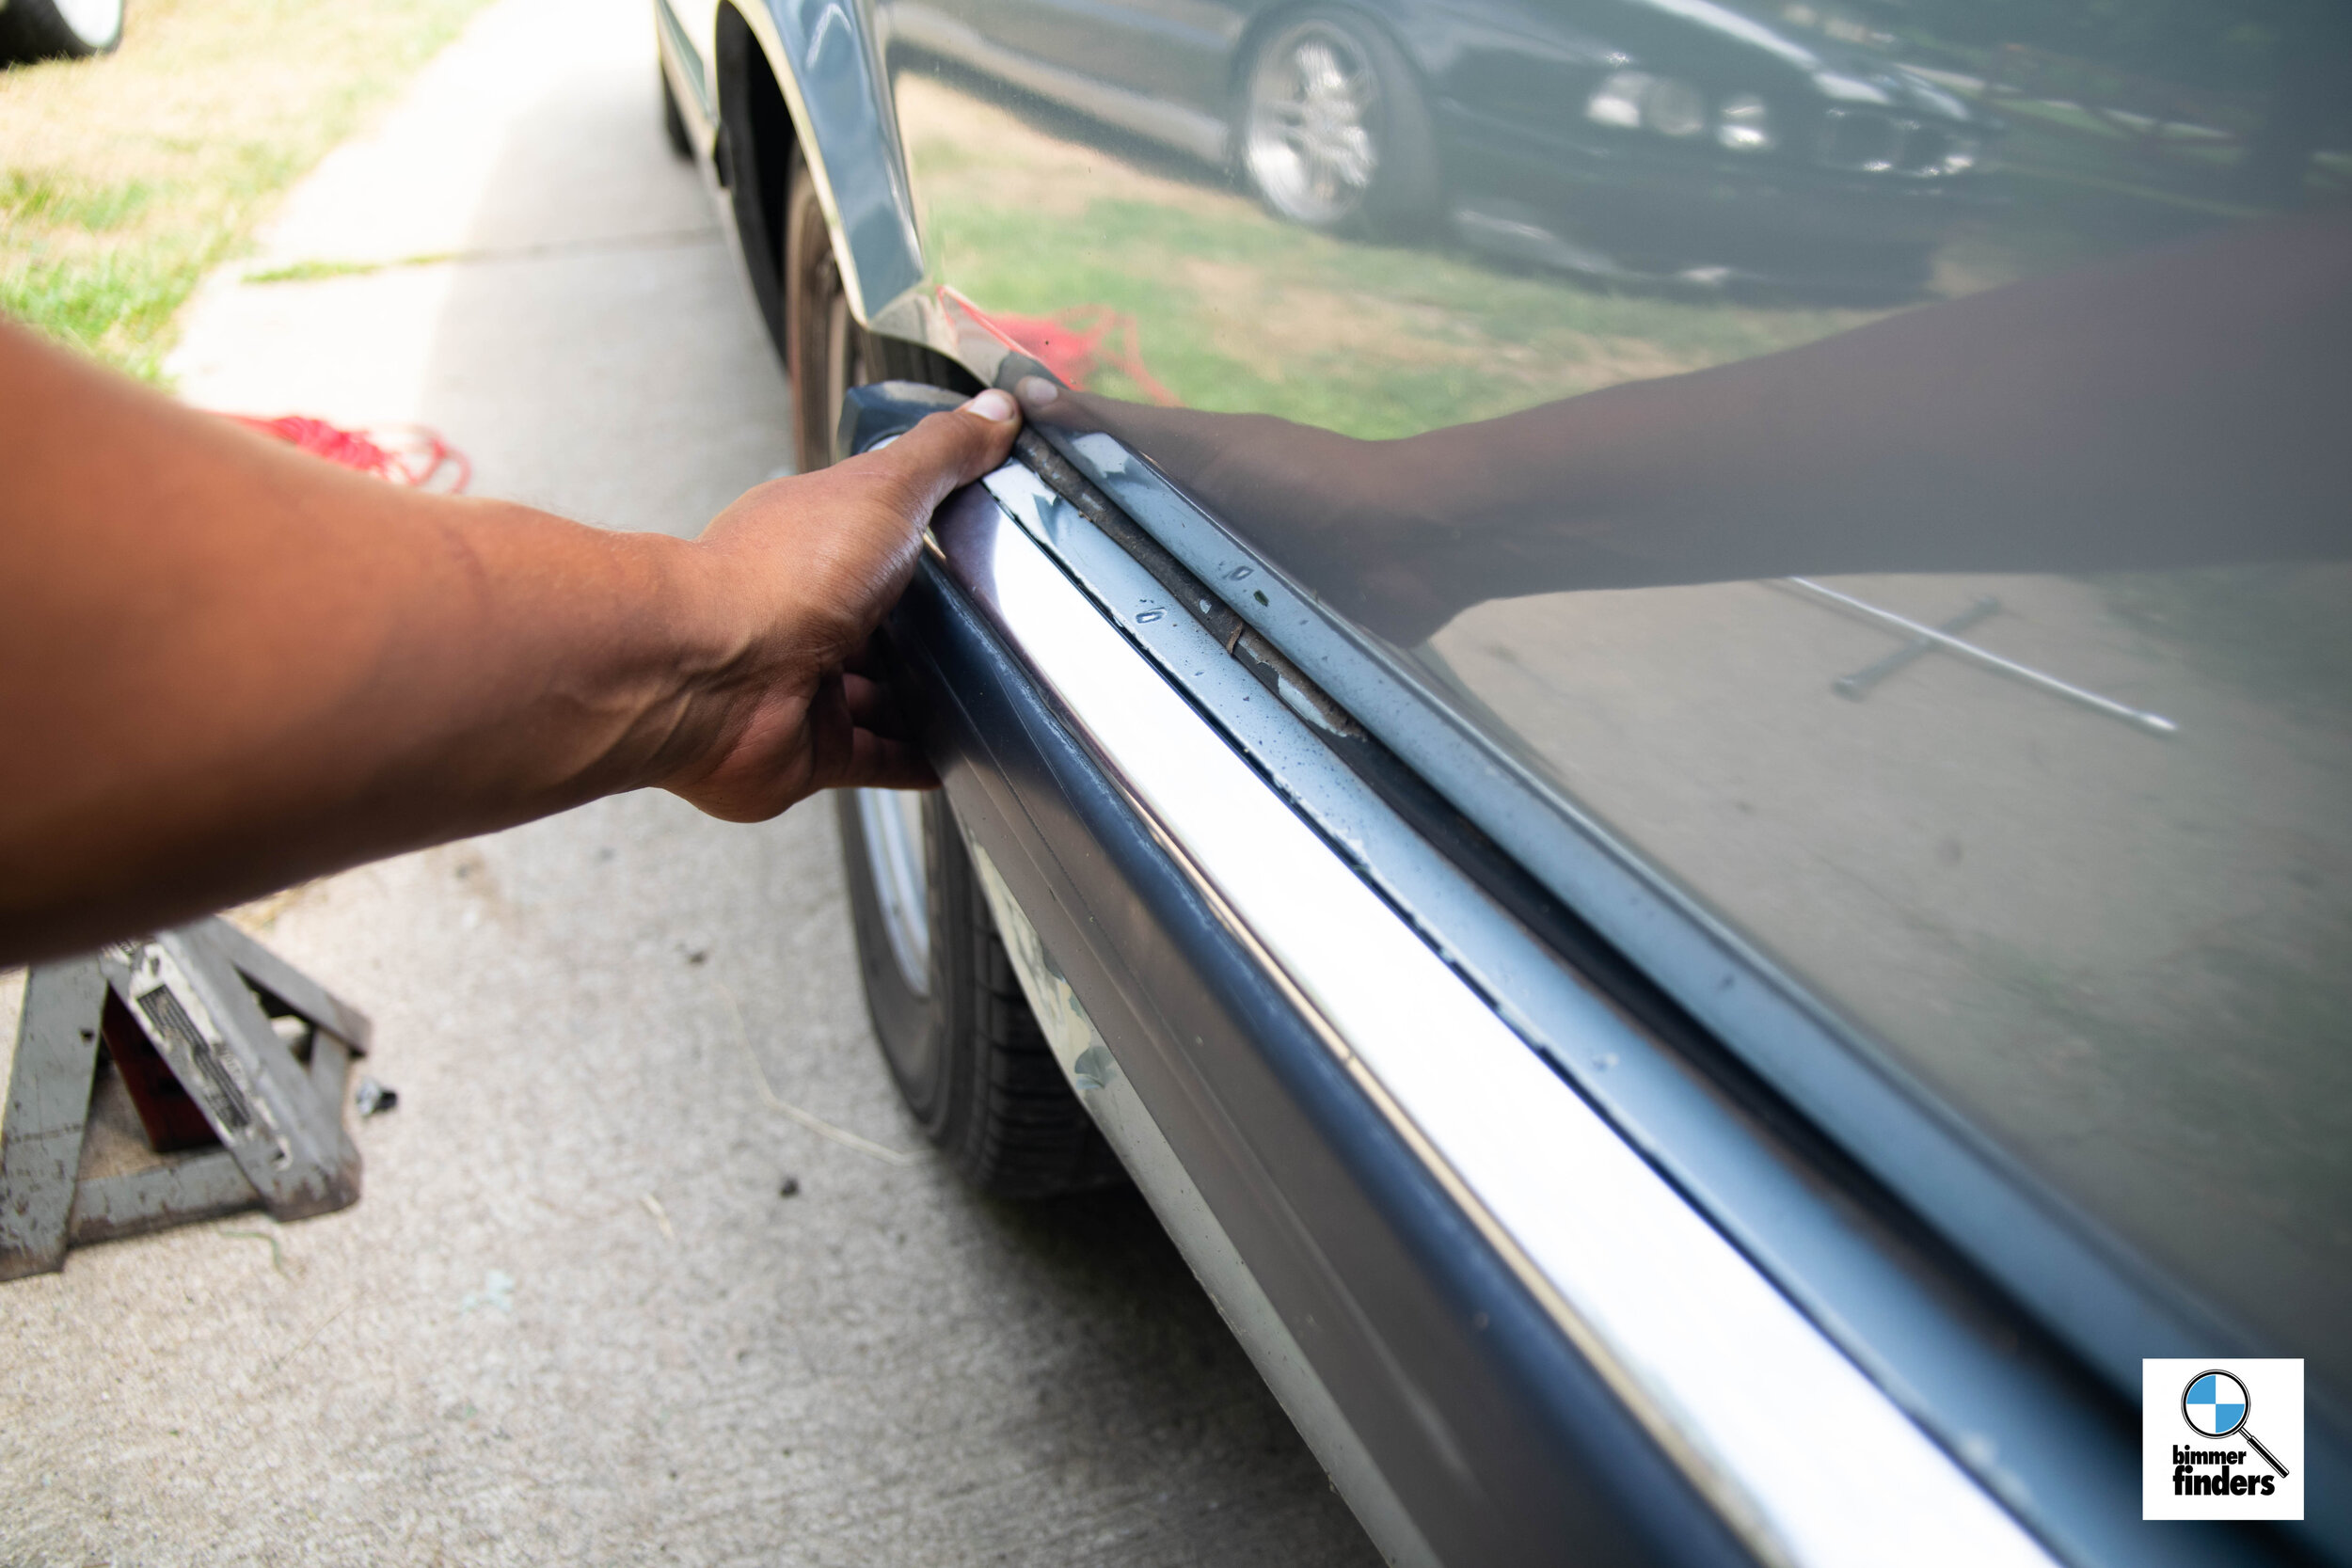
The light at the end of the tunnel also meant catching up on more cleaning and things I had put on the backburner, like removing more tint and getting behind the lights and seals to free up that god-forsaken crud that rested beneath. This went for the trunk and spare area as well — I wanted every part of this car to show its best side.


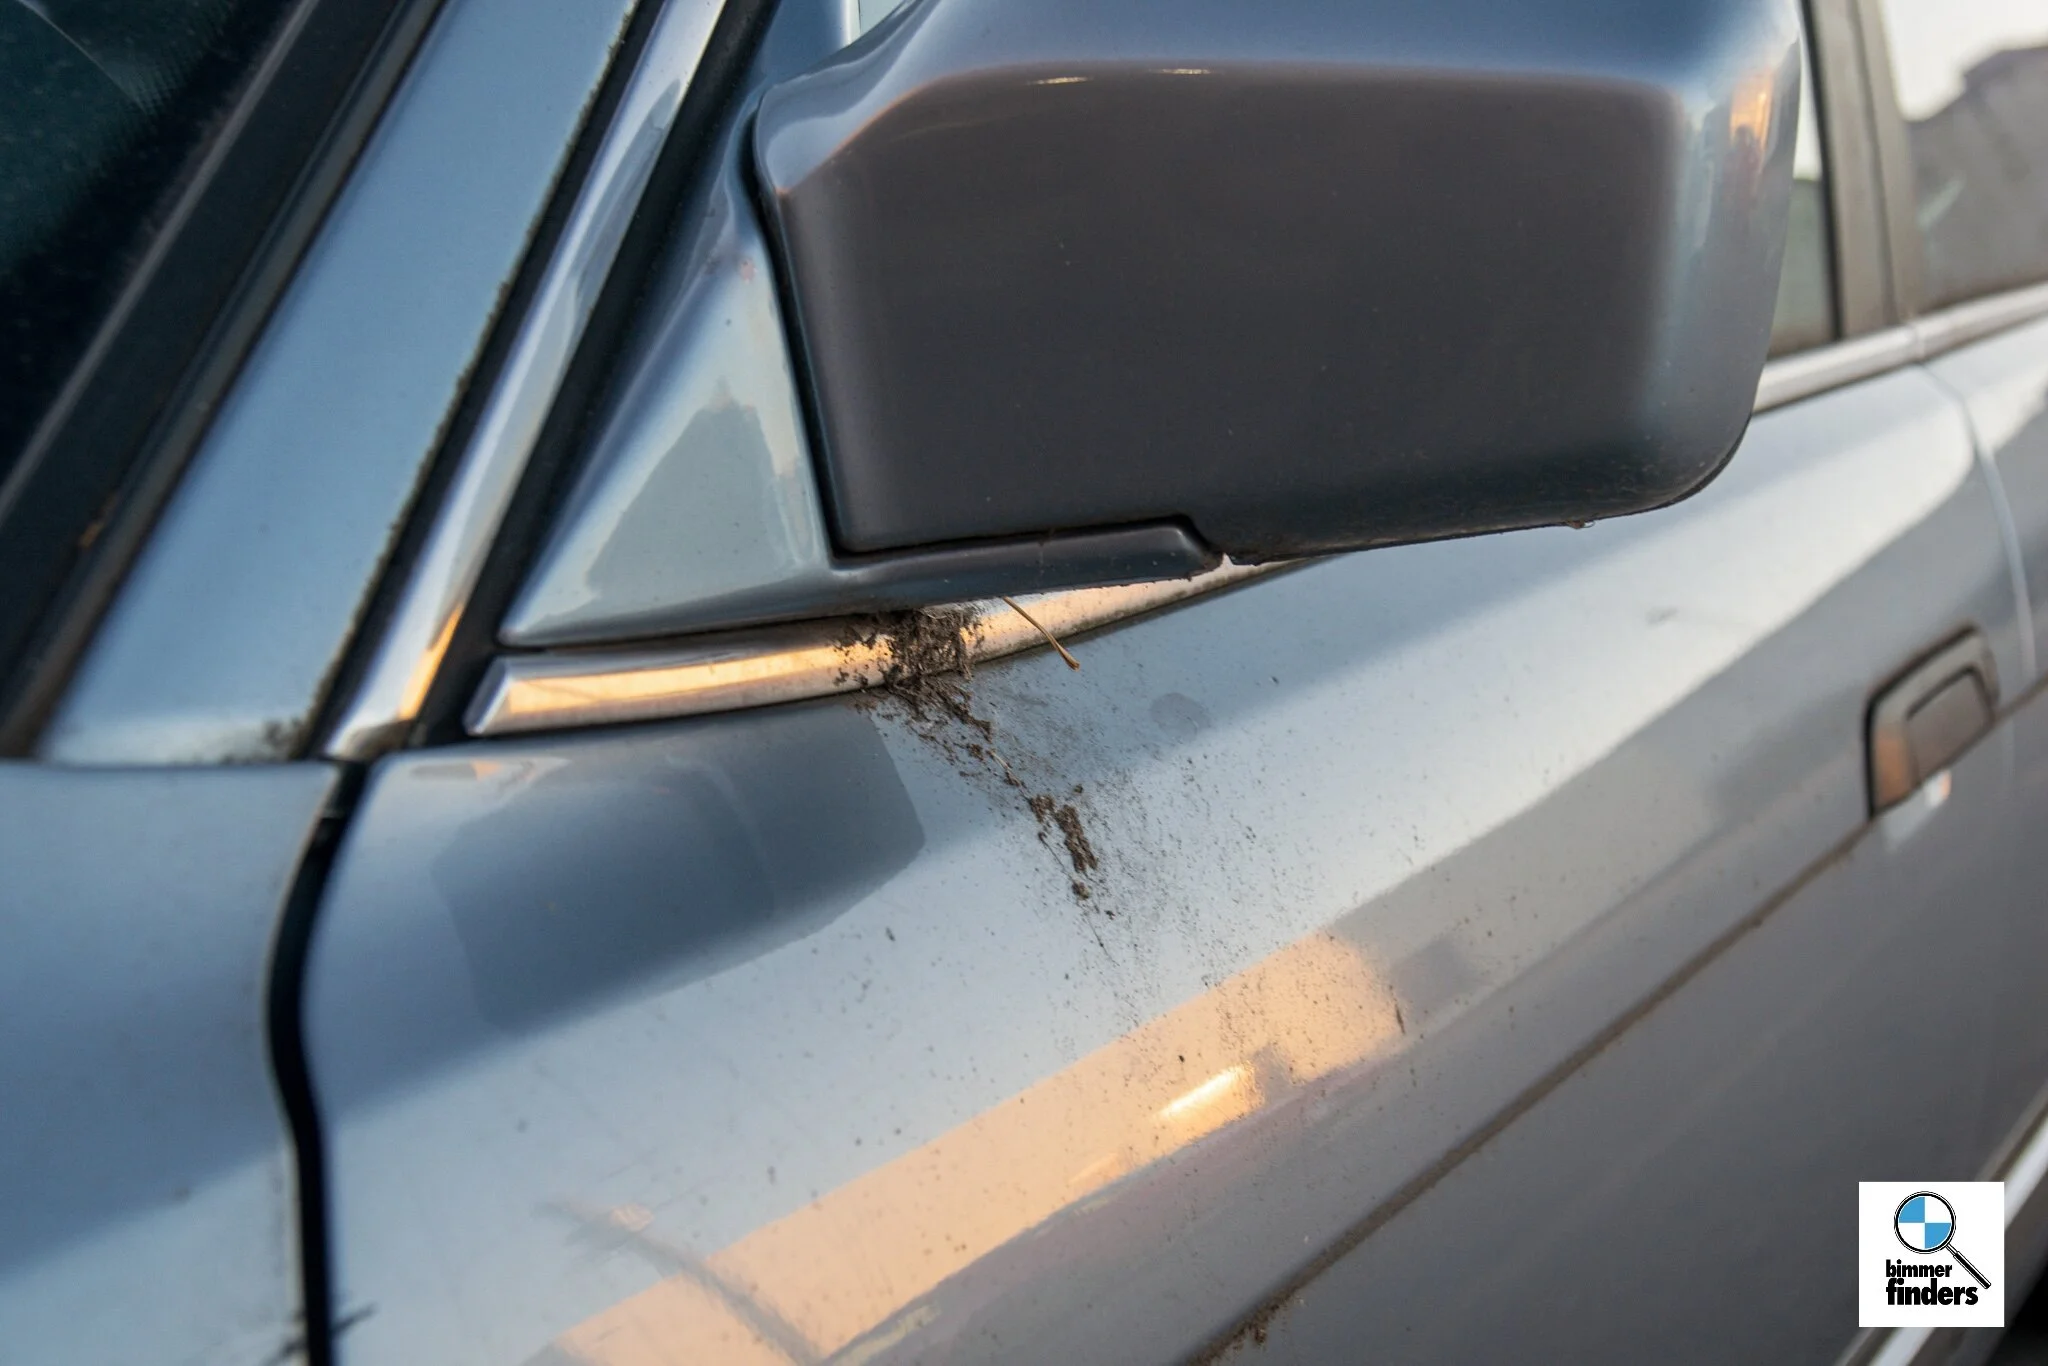
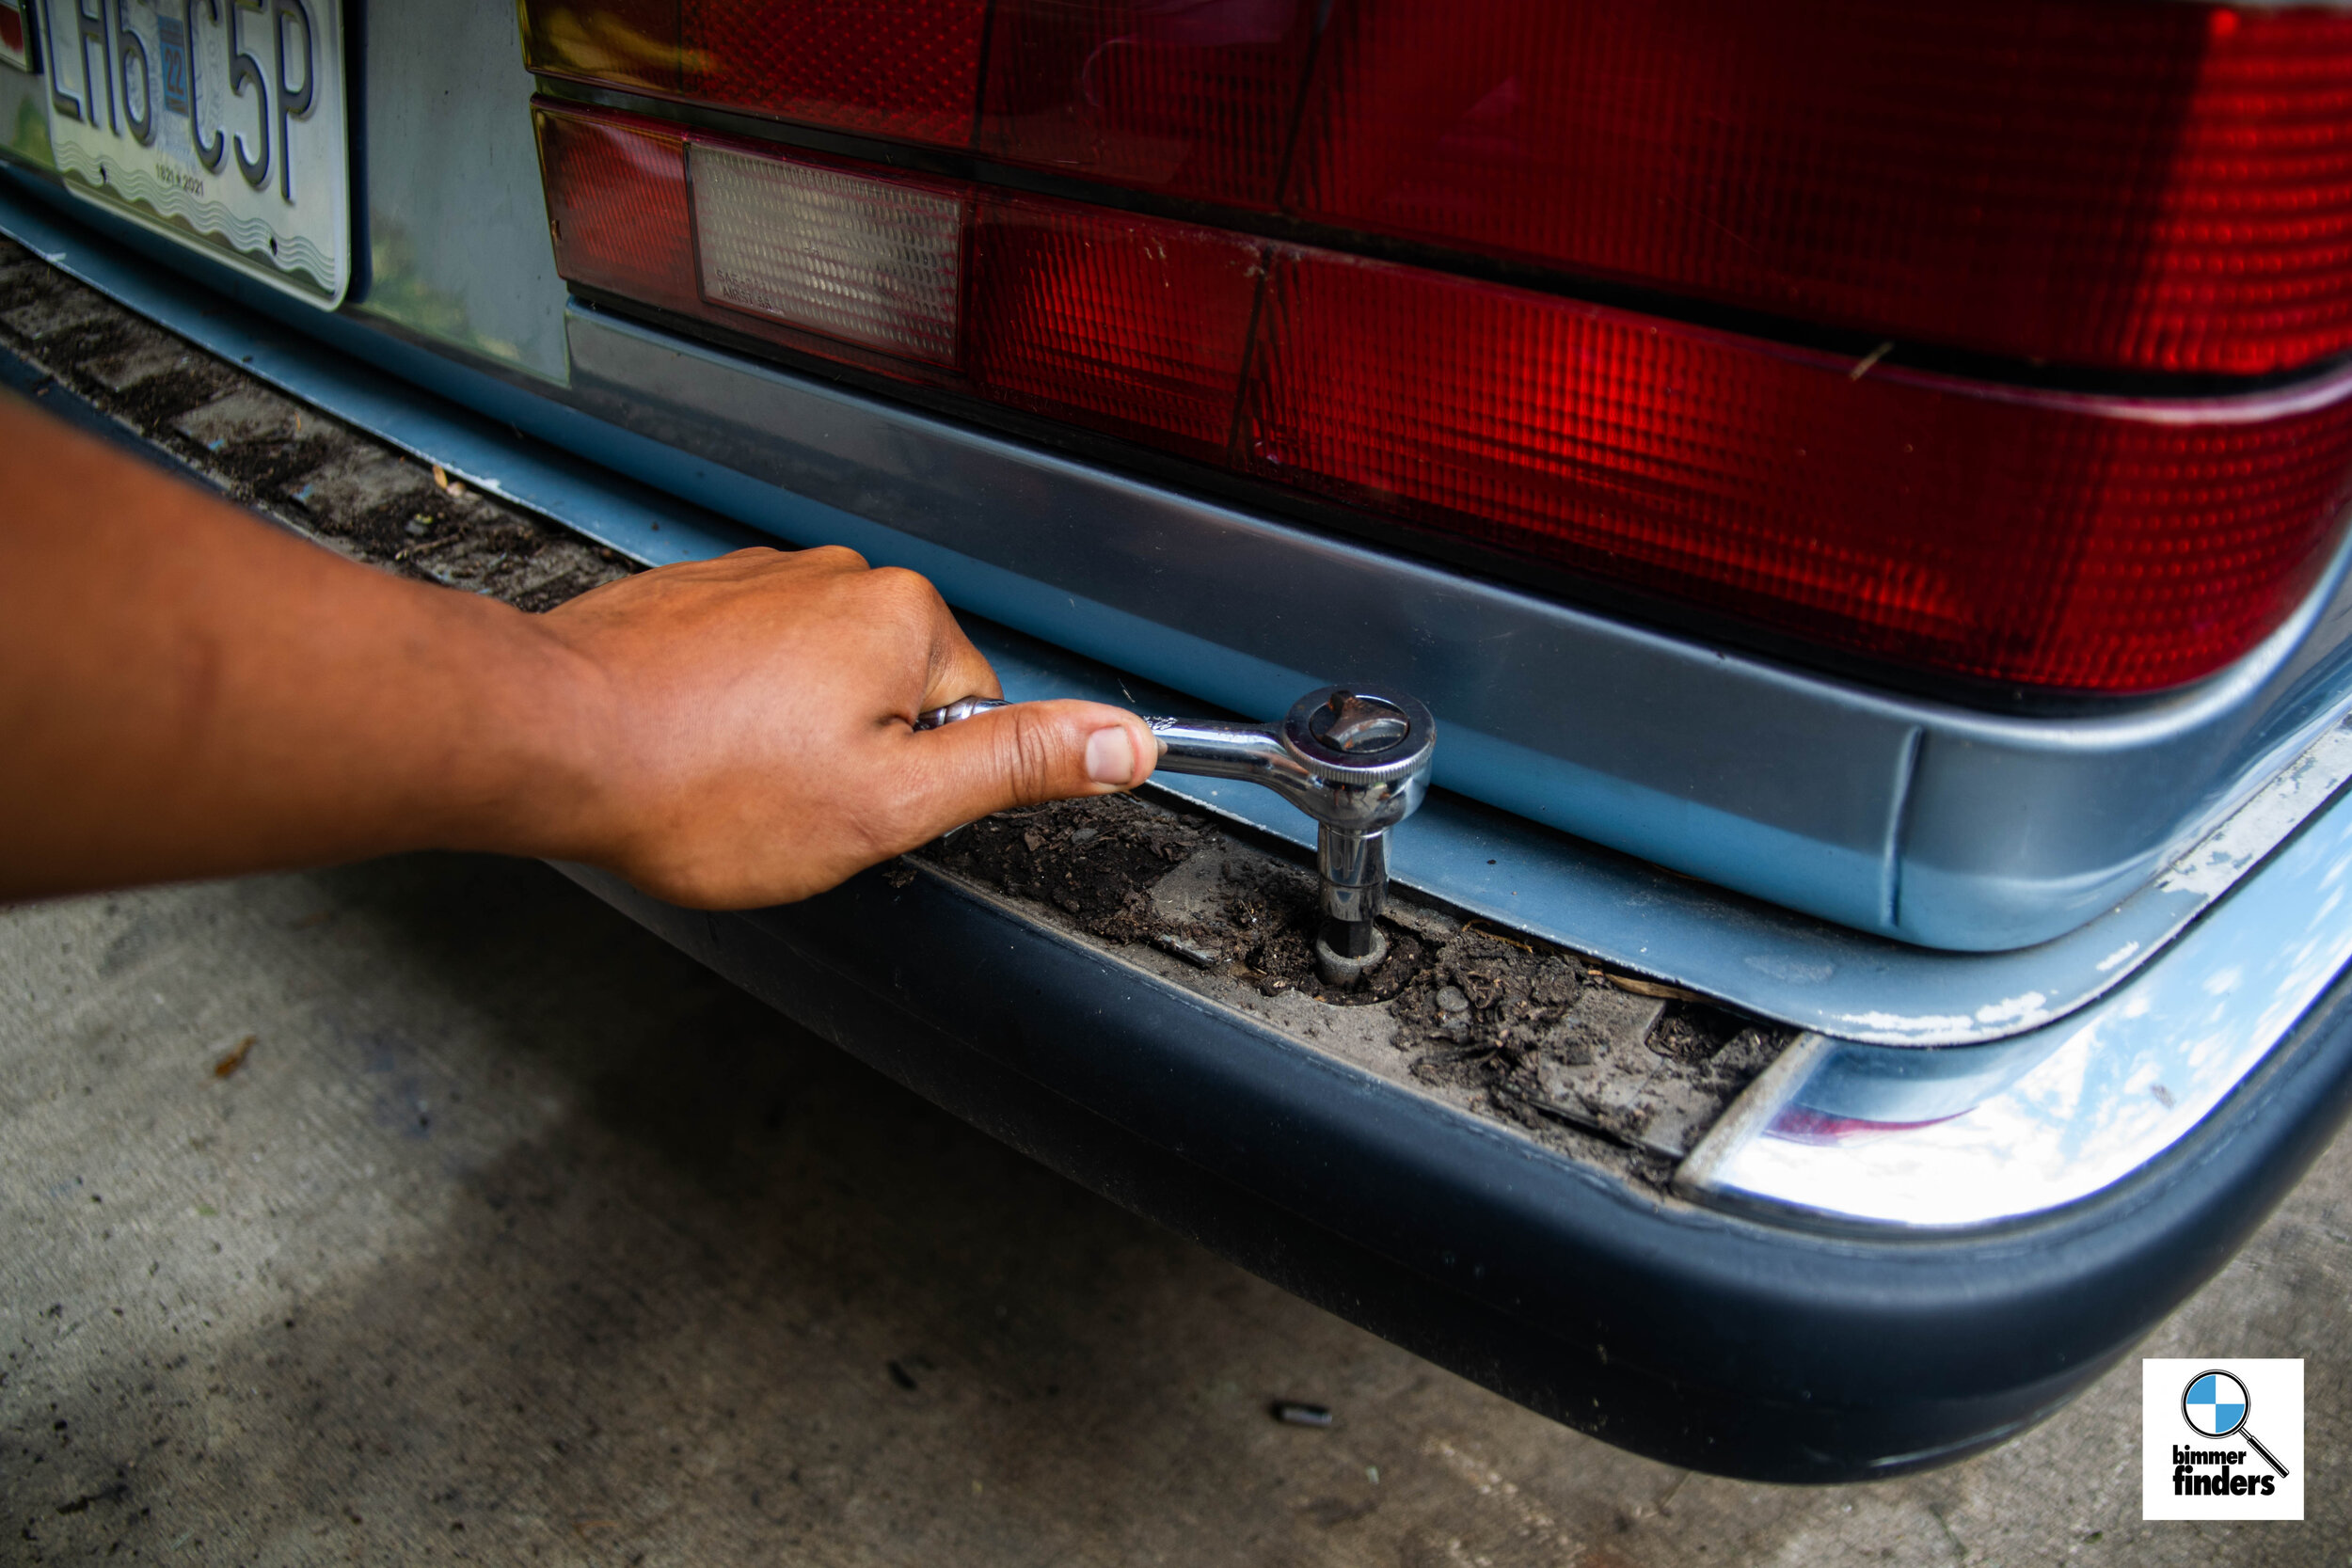
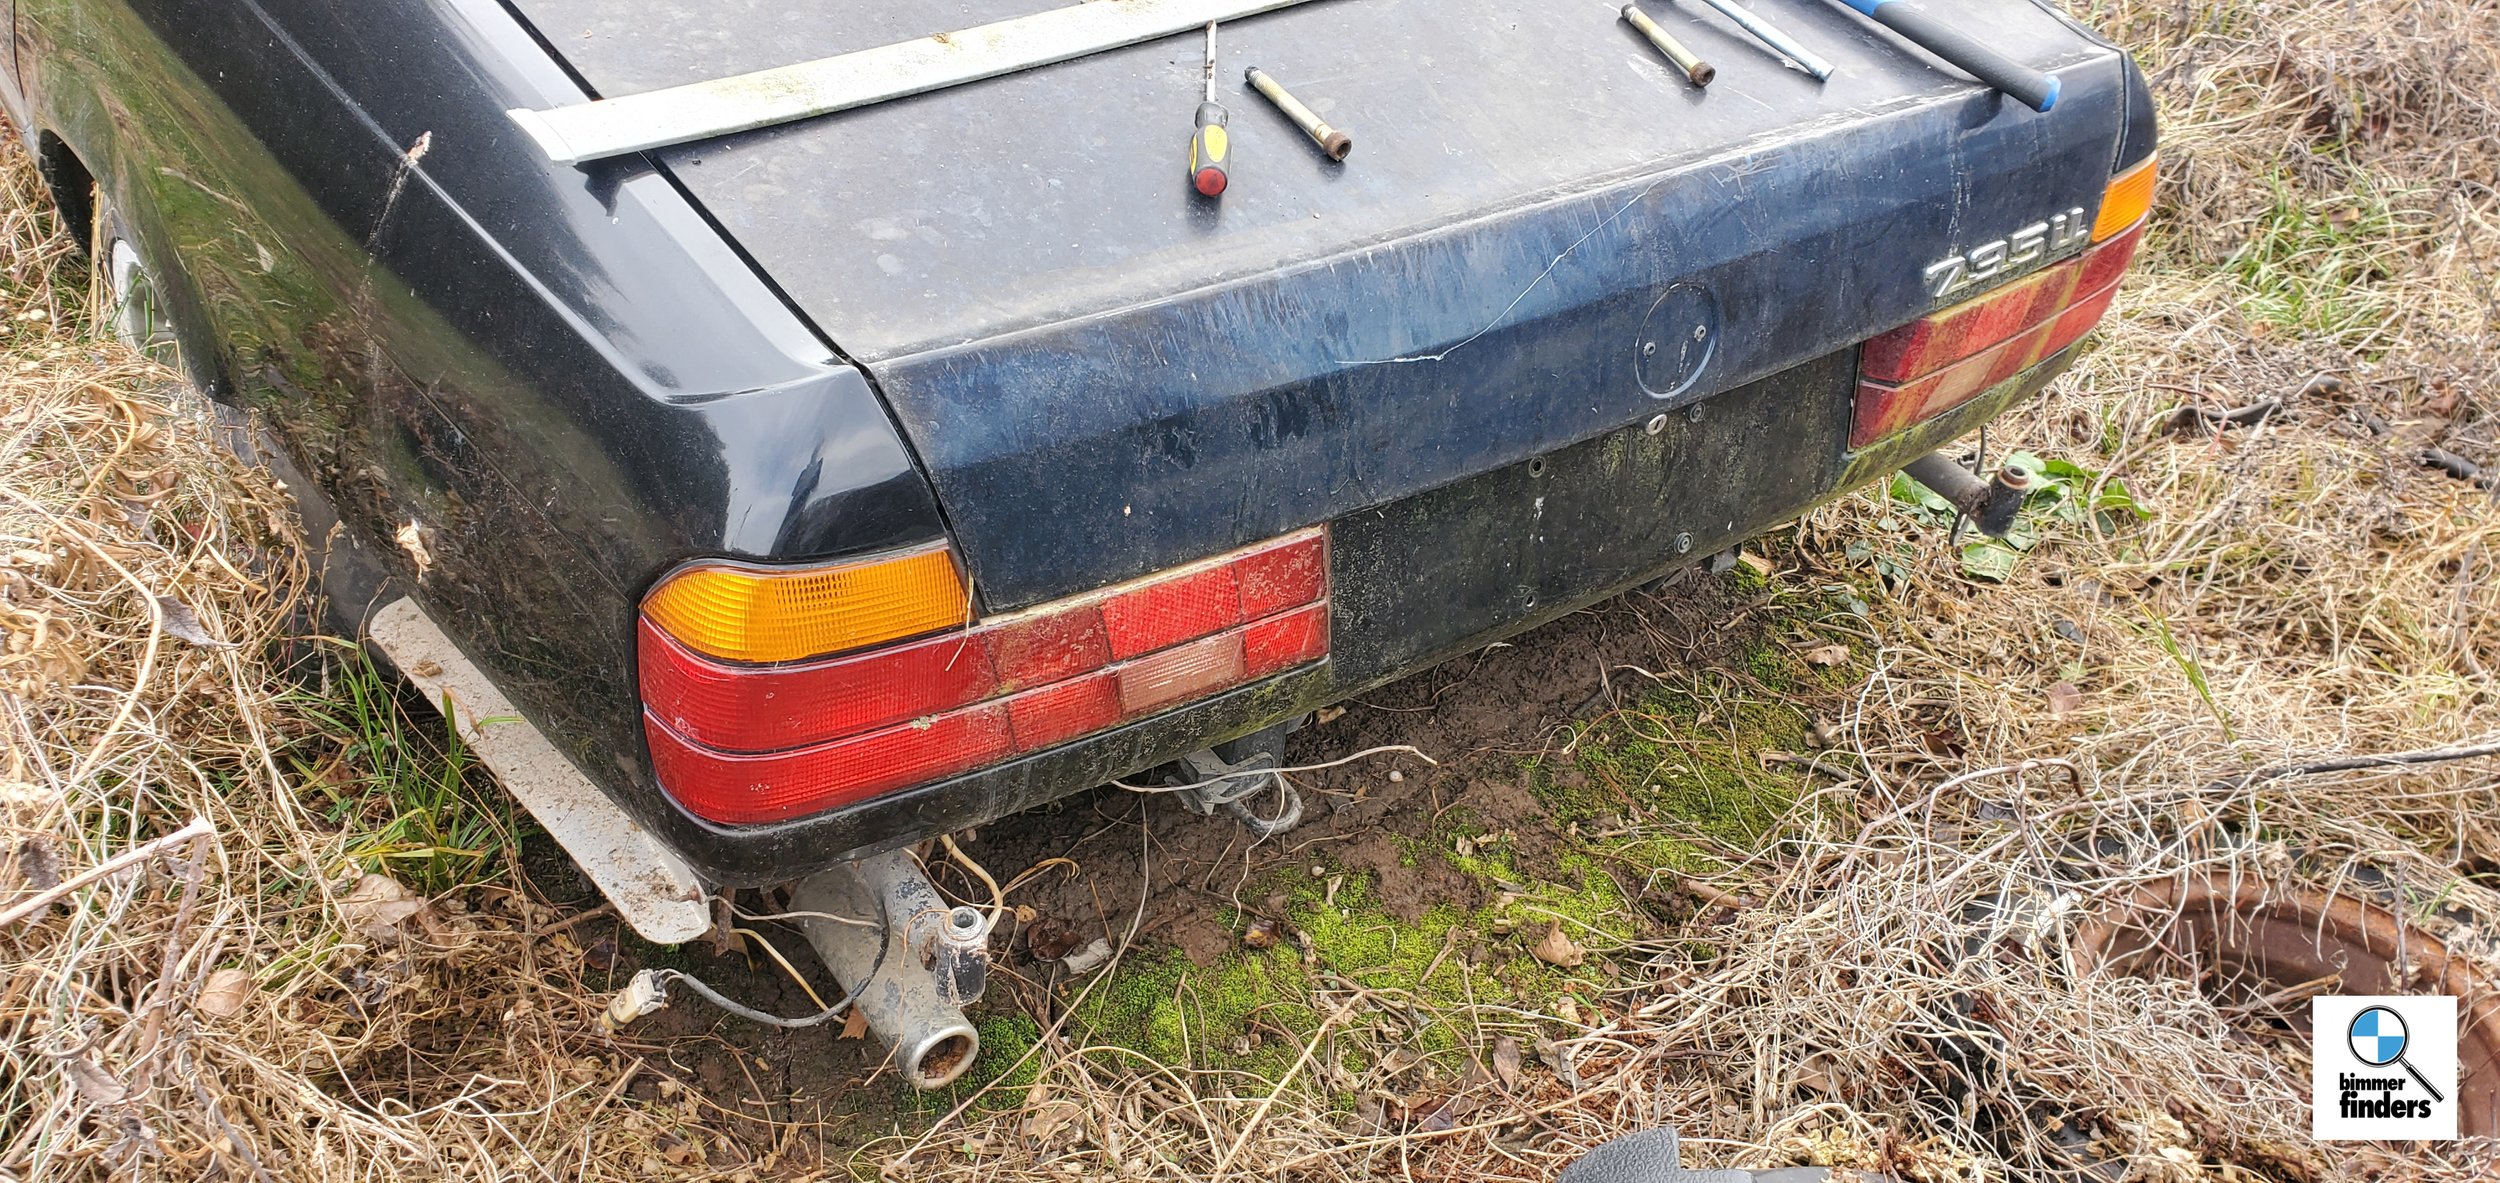
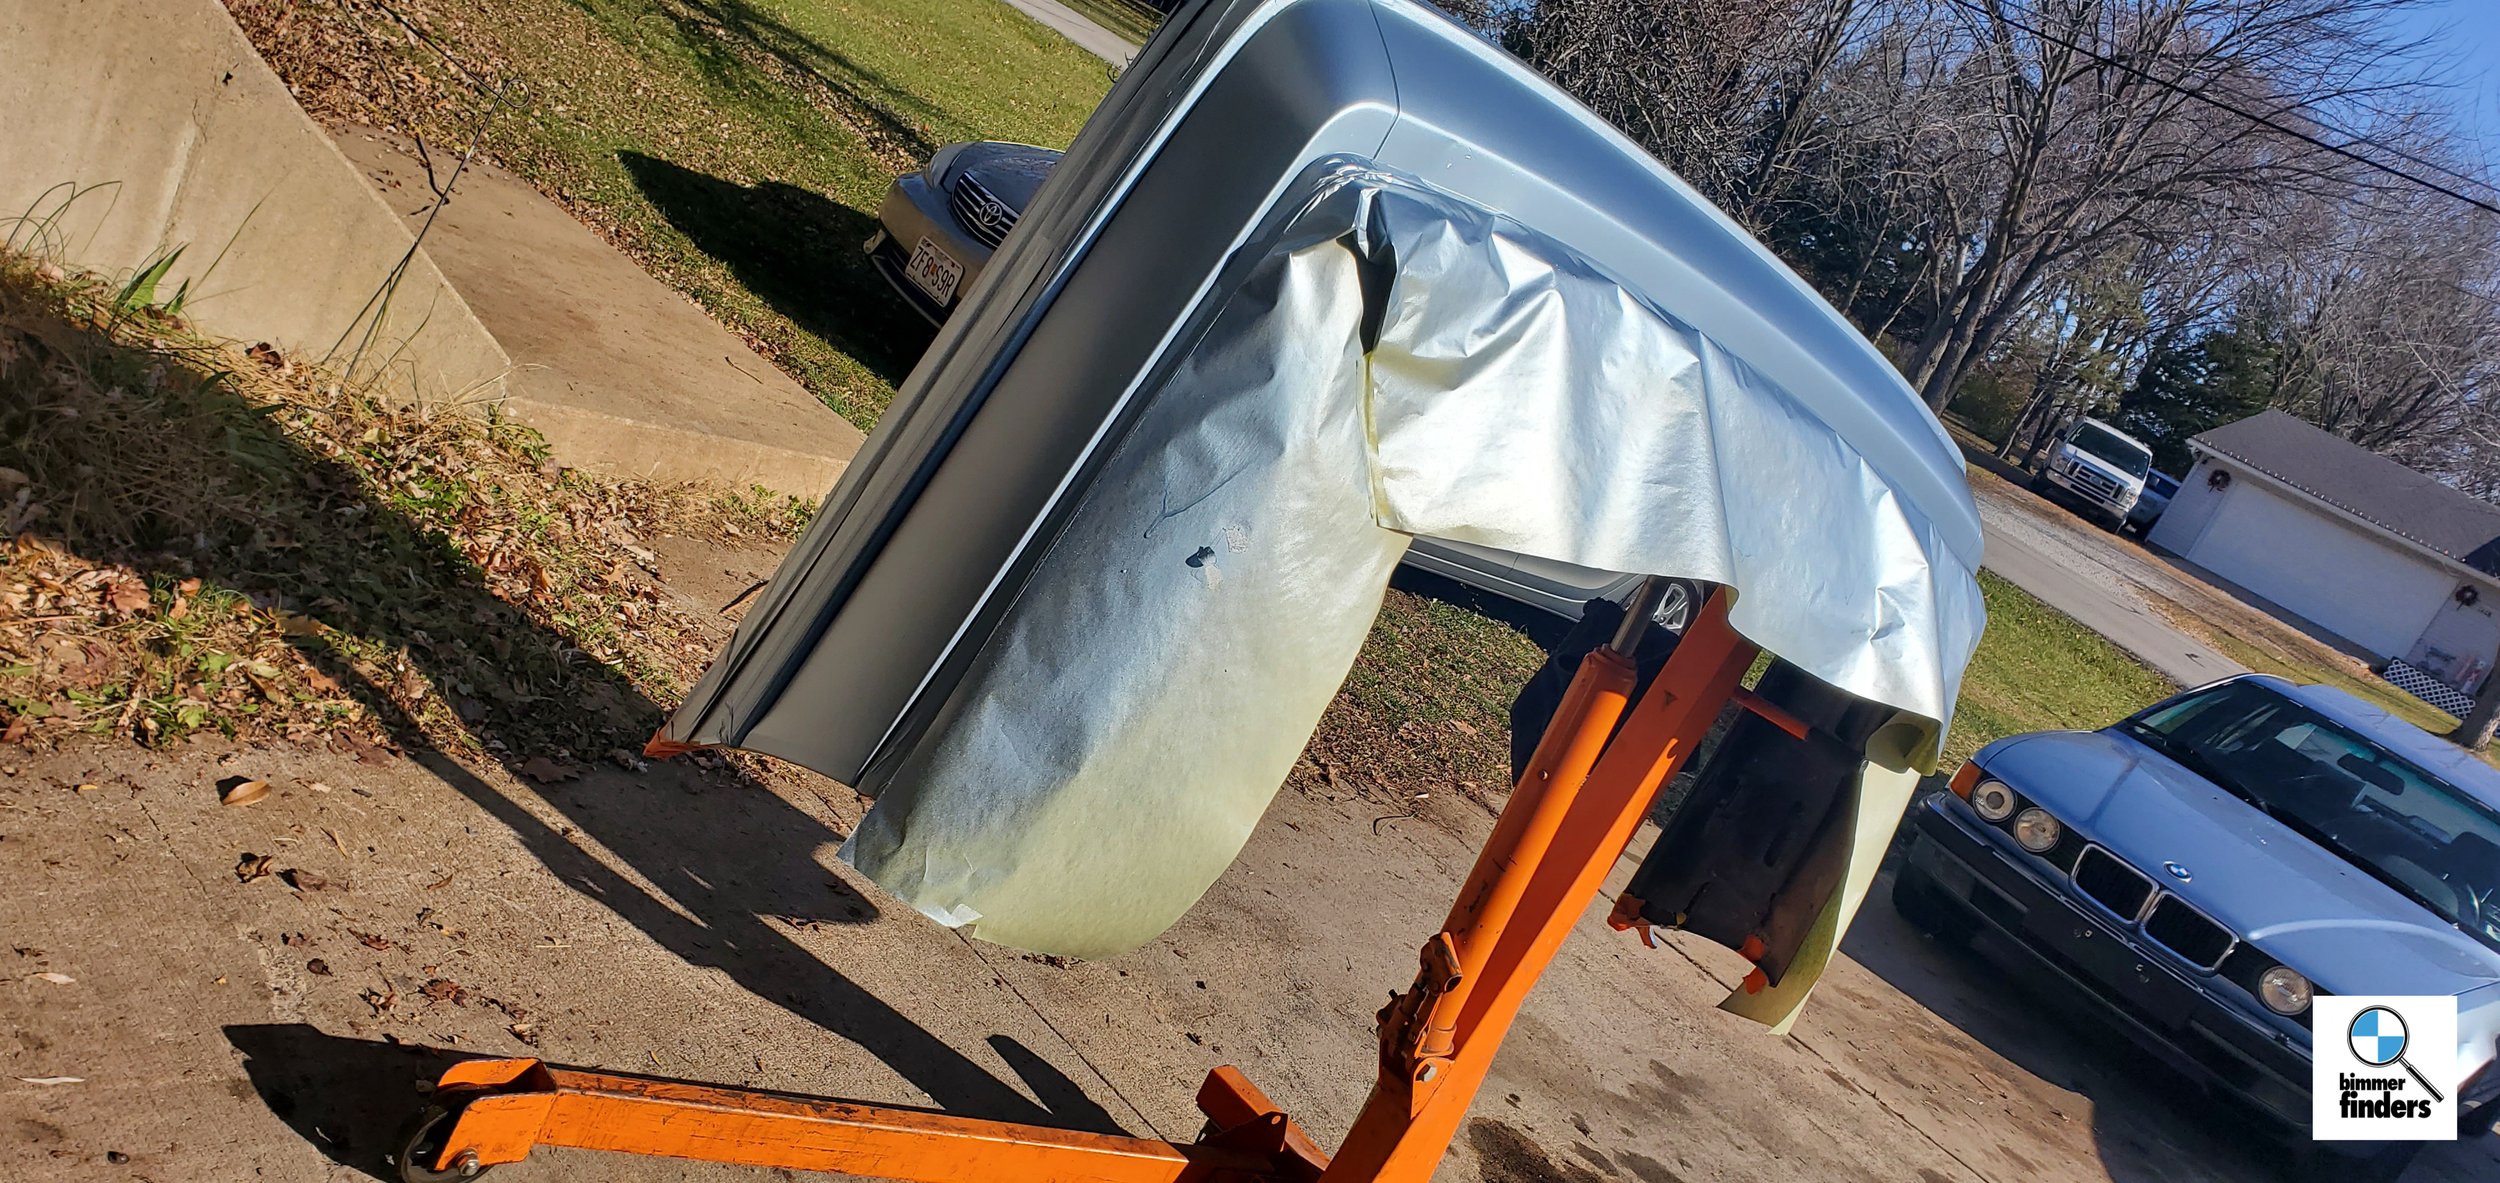
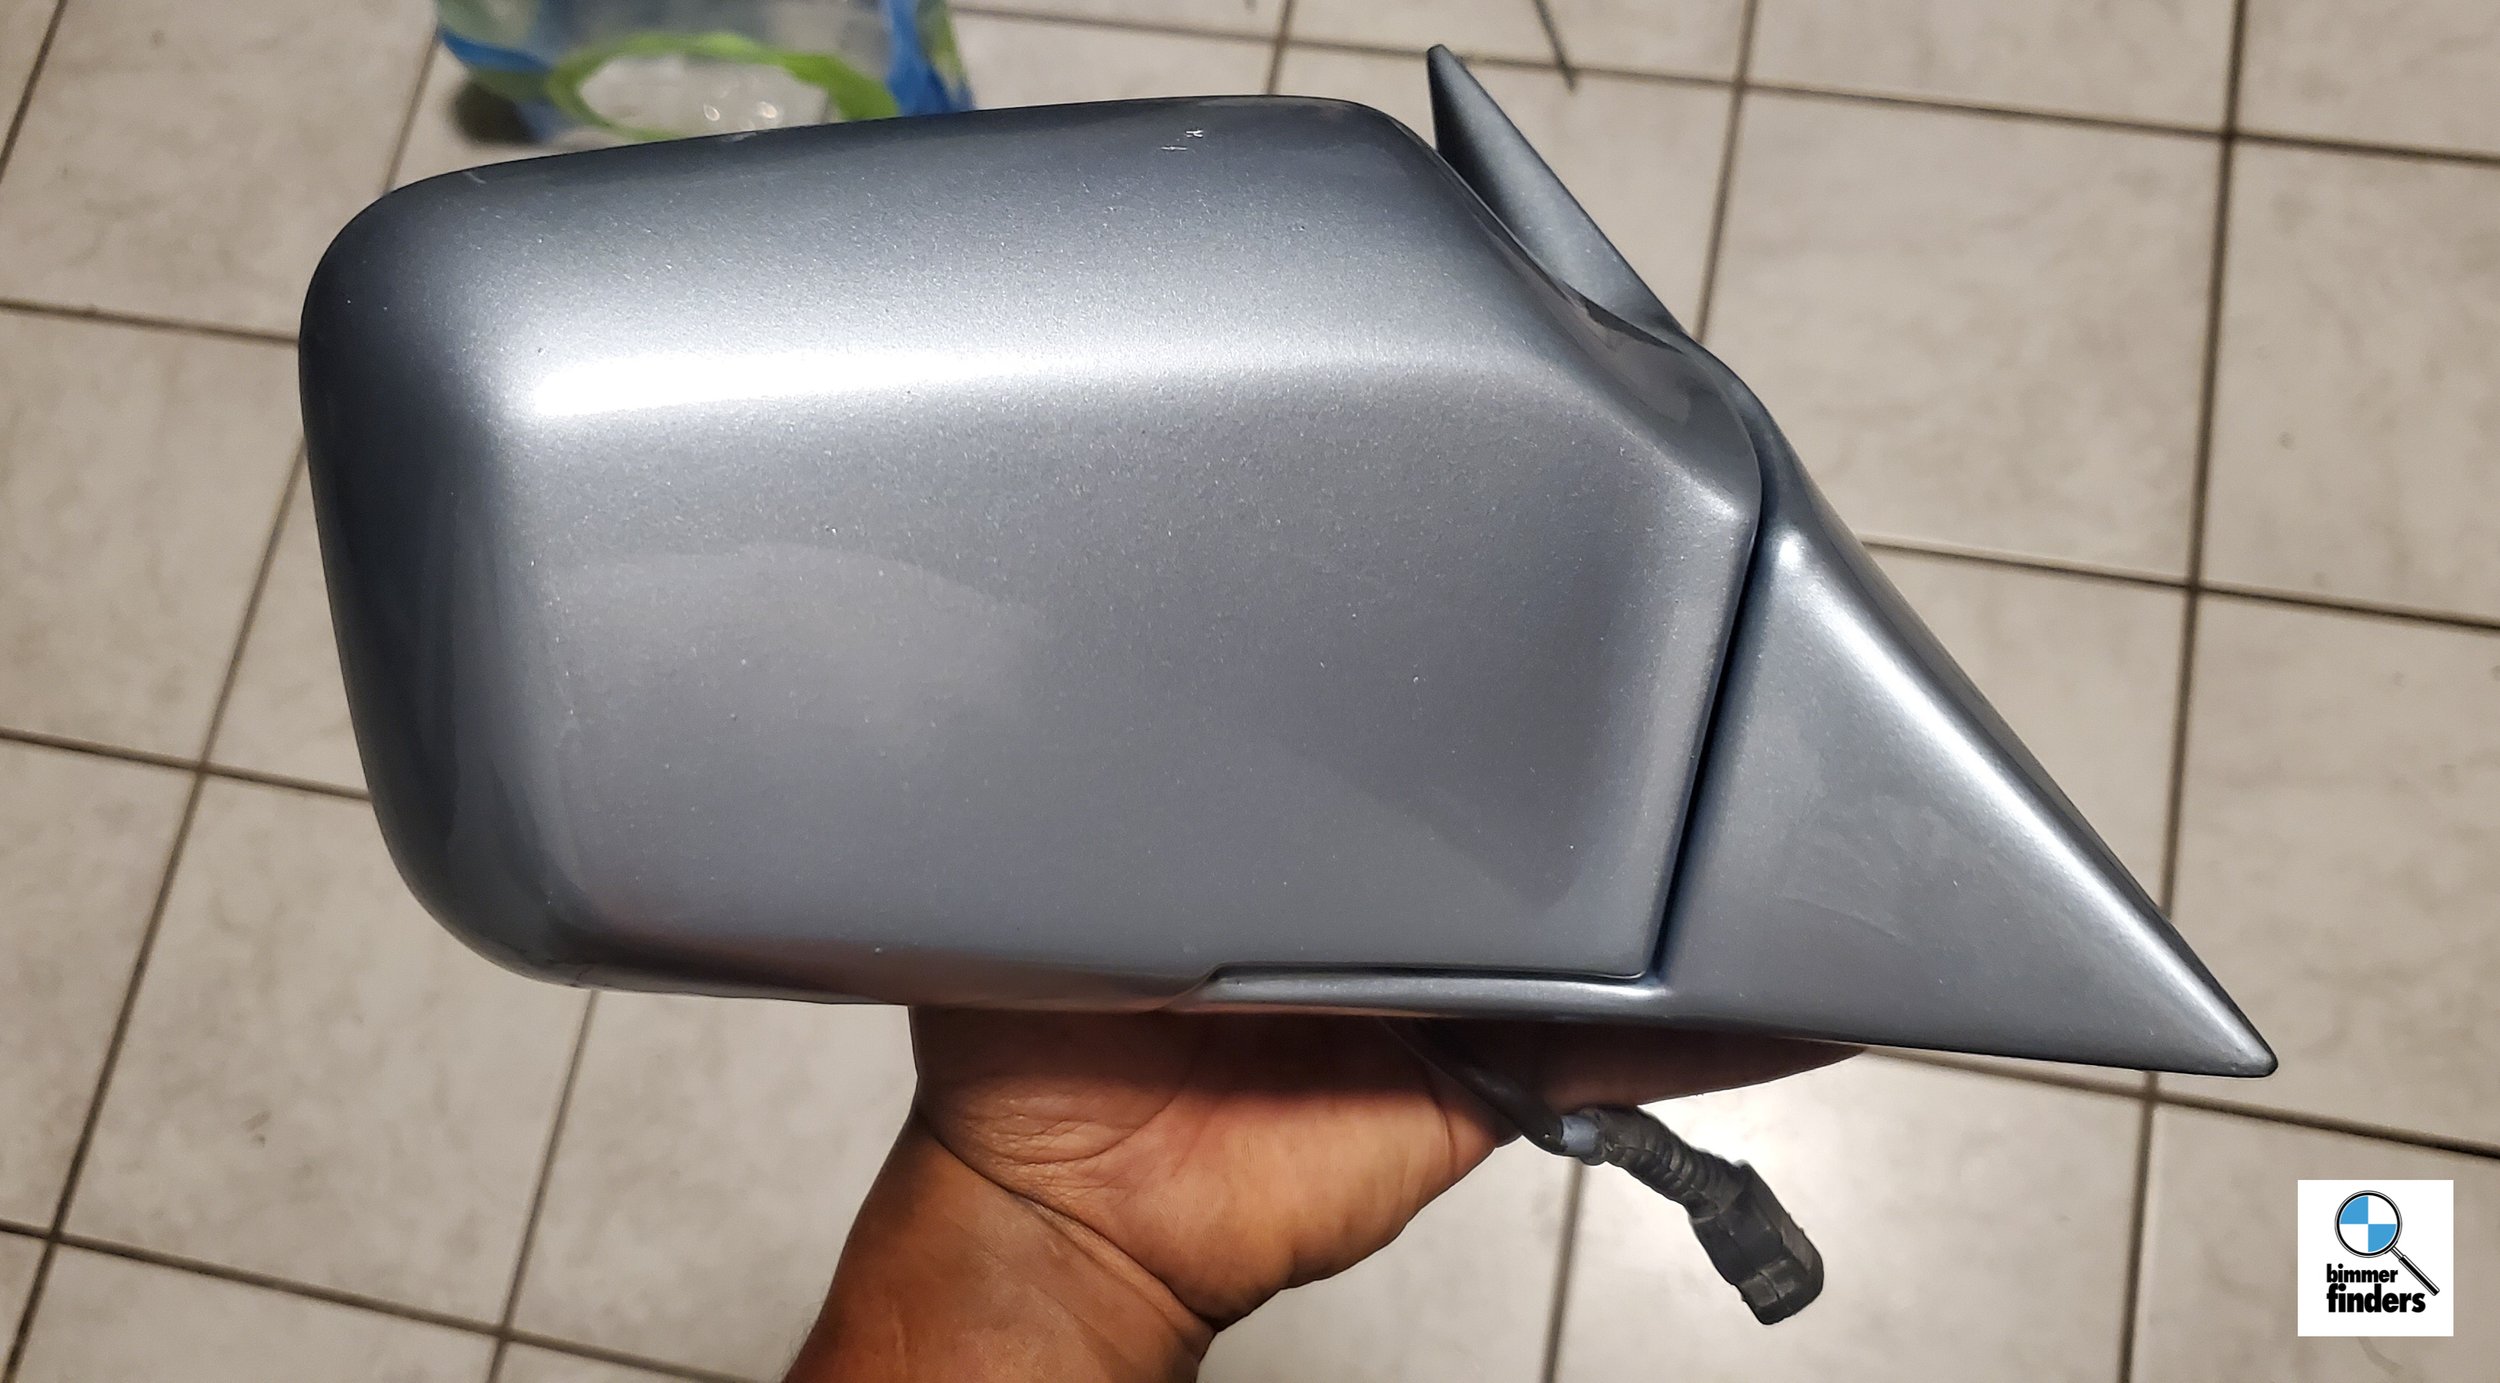
As mentioned, the bumpers on the e32s are a single piece, so if there is any damage to the “impact strip” — which on my case there was, on the rear(in addition to a poor repaint) — there is no replacing just that piece. Luckily, I knew where a 735iL was that had good body parts in good shape; so I waited for some warm weather, pulled it, then painted it the next day. I also pulled the passenger side mirror from this one, as the paint on mine was lifting from the surface. I painted that as well.
I replaced the roundels in the center caps for a refreshed look on the wheels as well, which pretty well completes the cosmetic side of things. This car has come a very long way from an old BMW on the side of a road: Its now, as intended, a roadworthy executive sedan that commands attention.


AS TIME TICKS ON
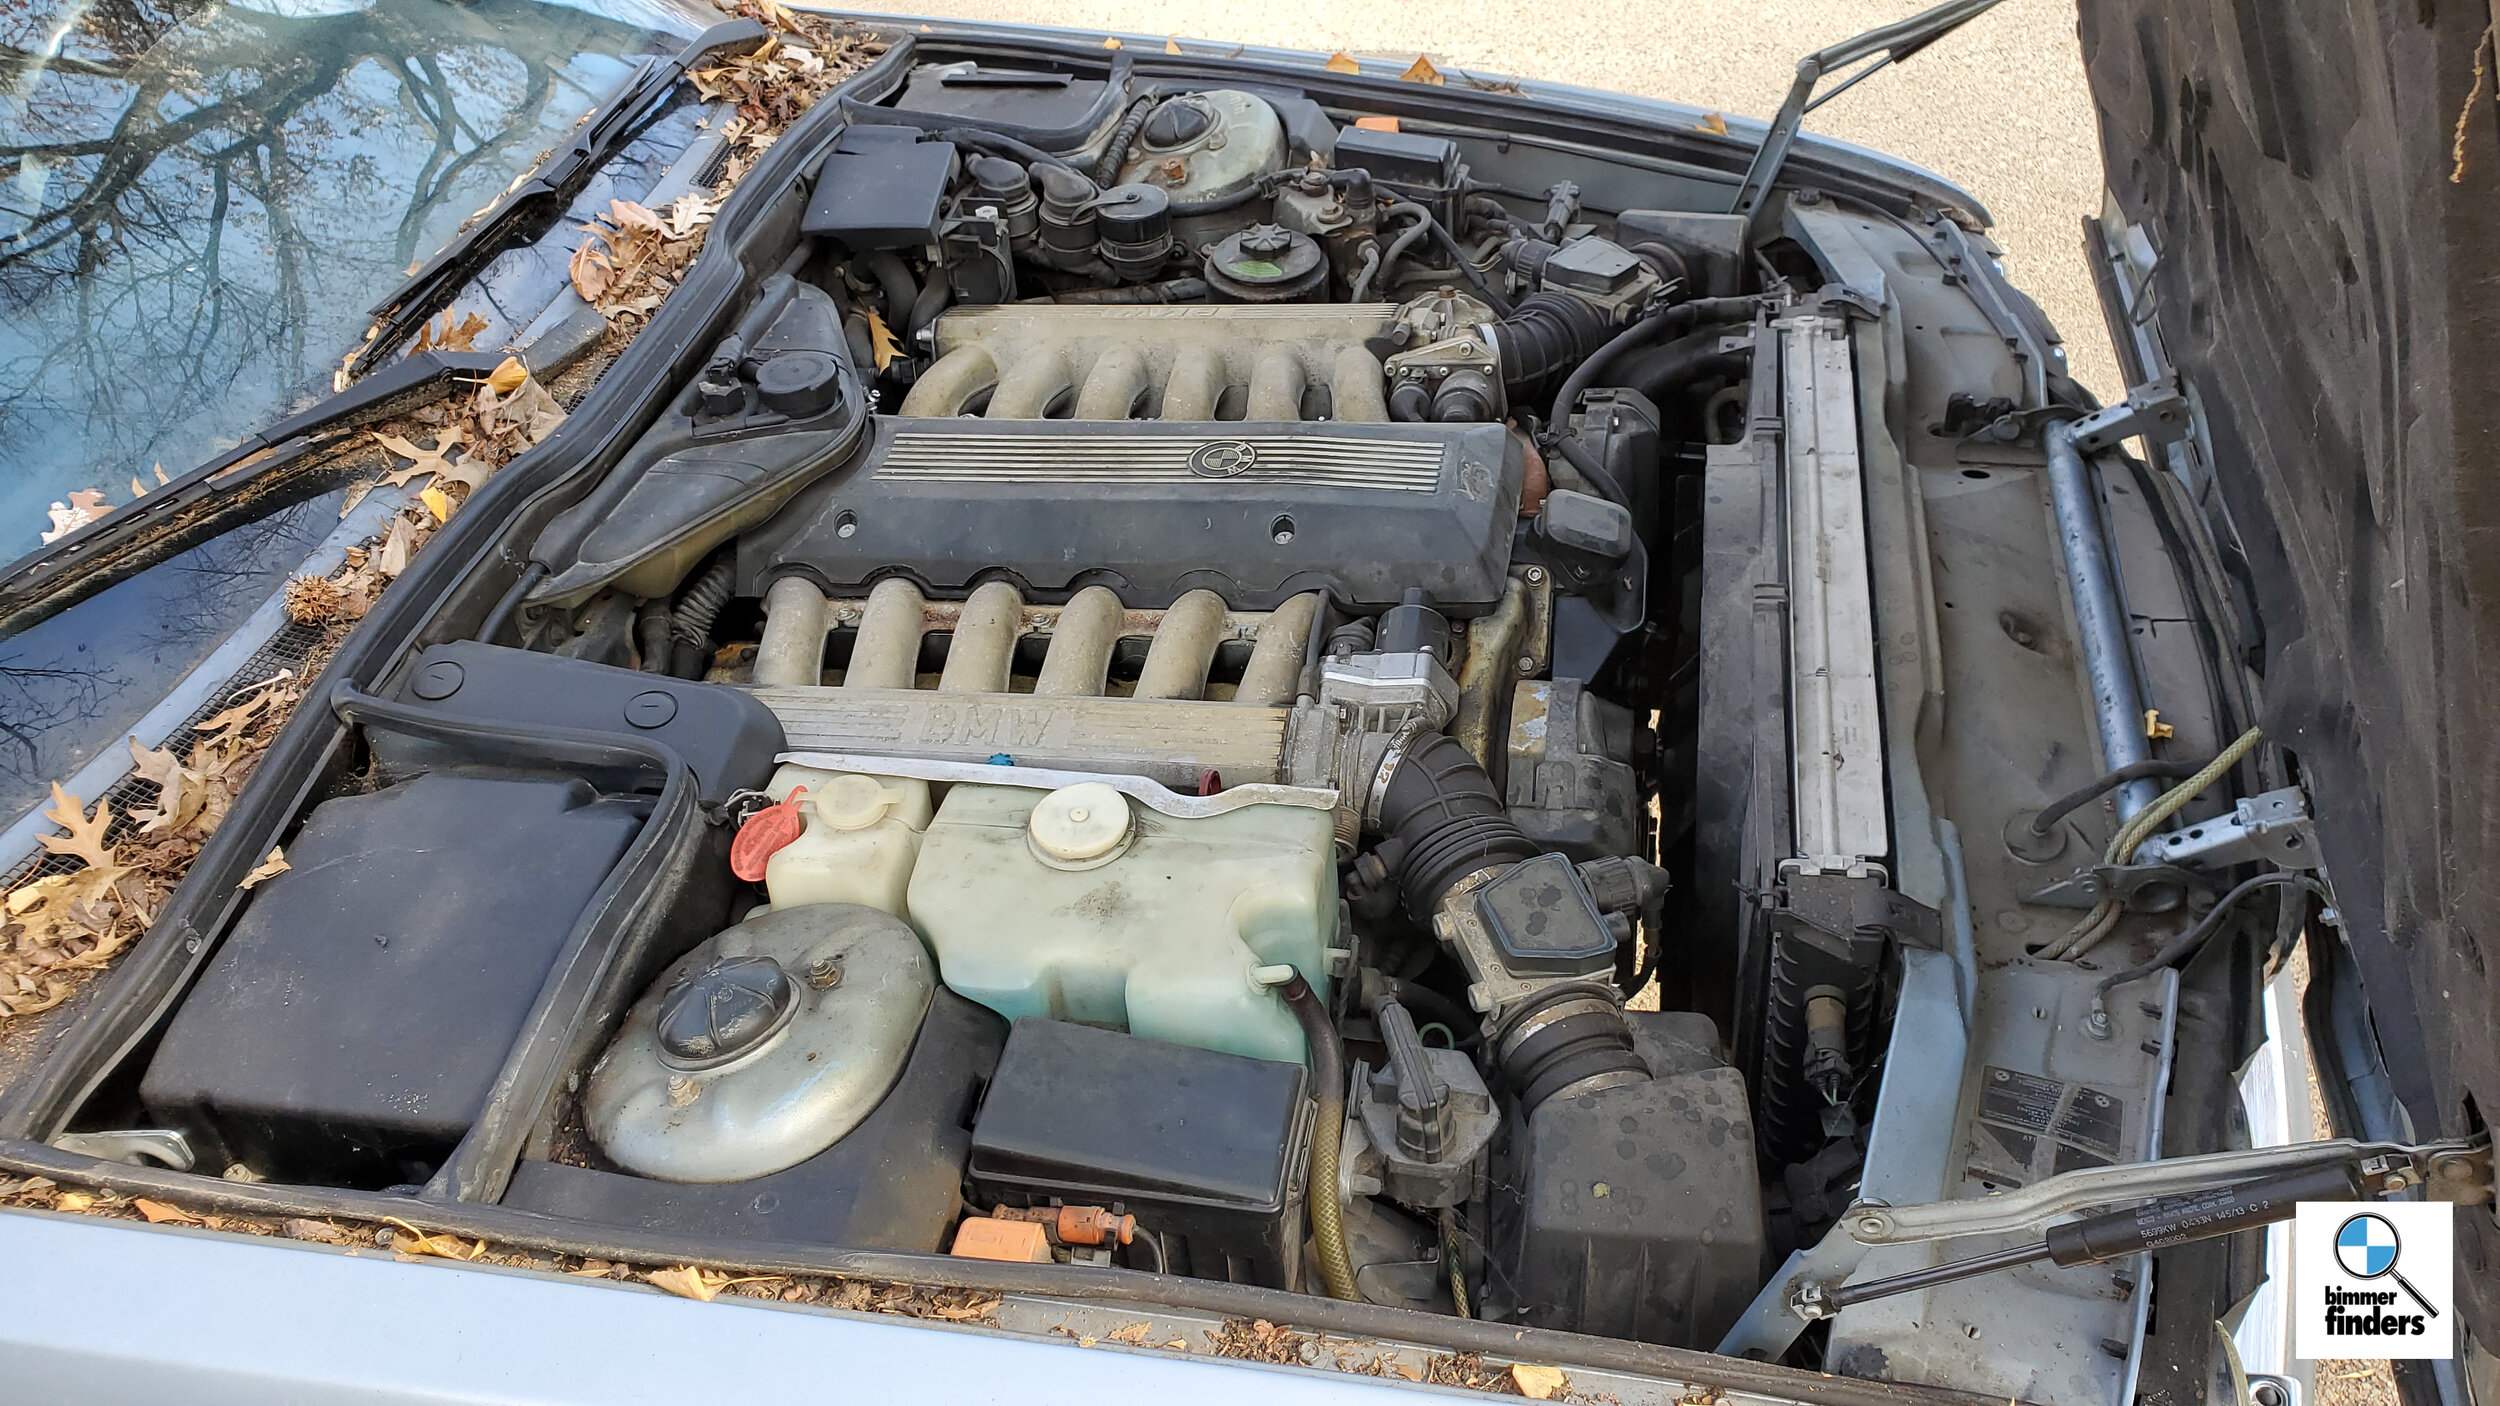
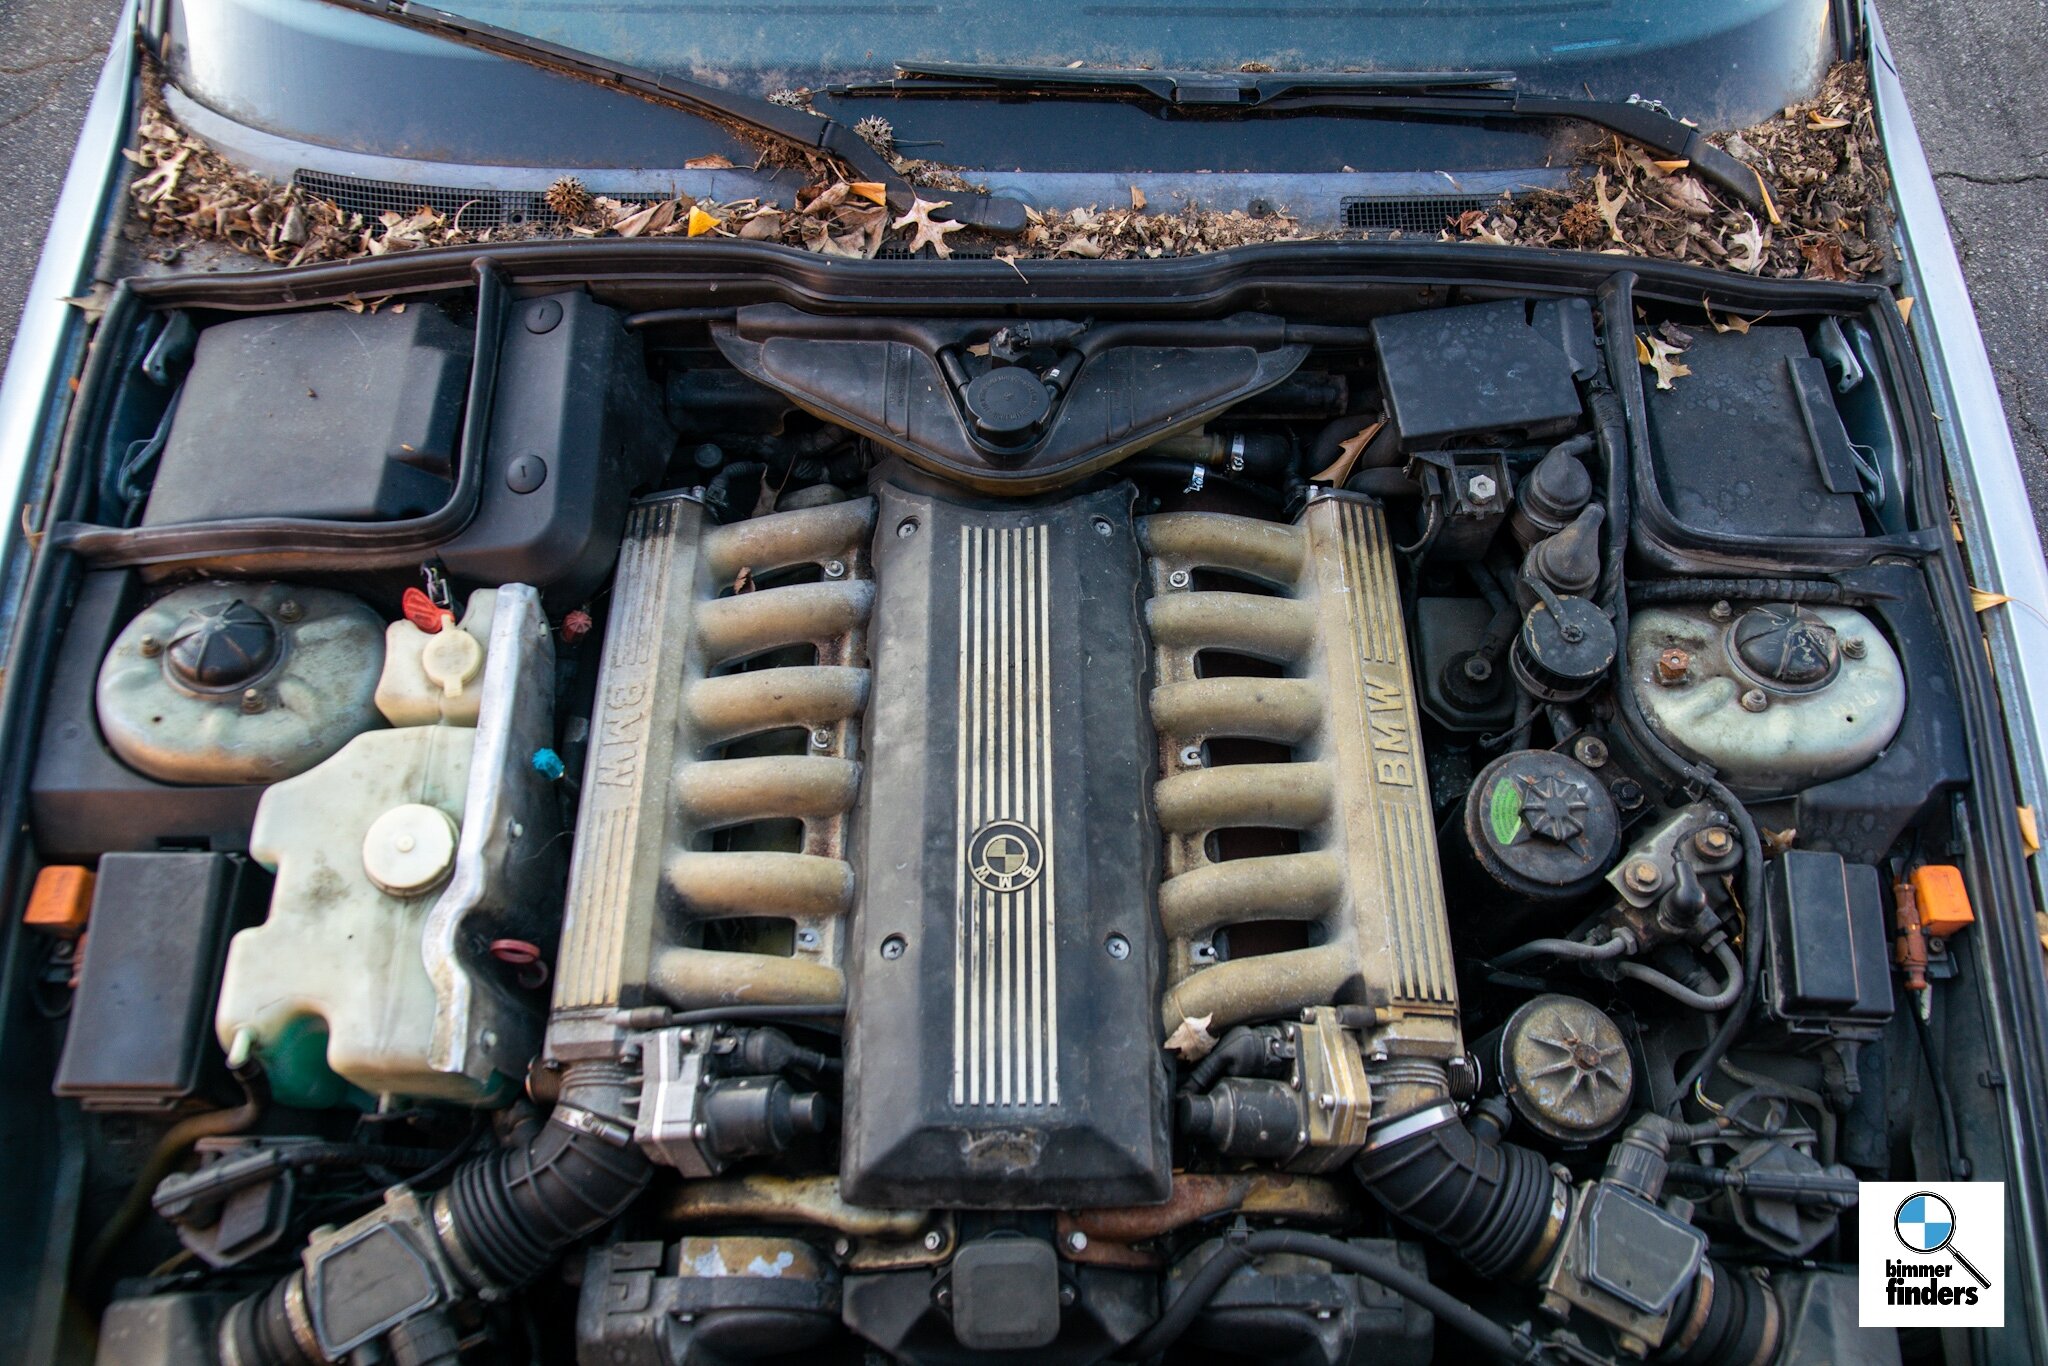
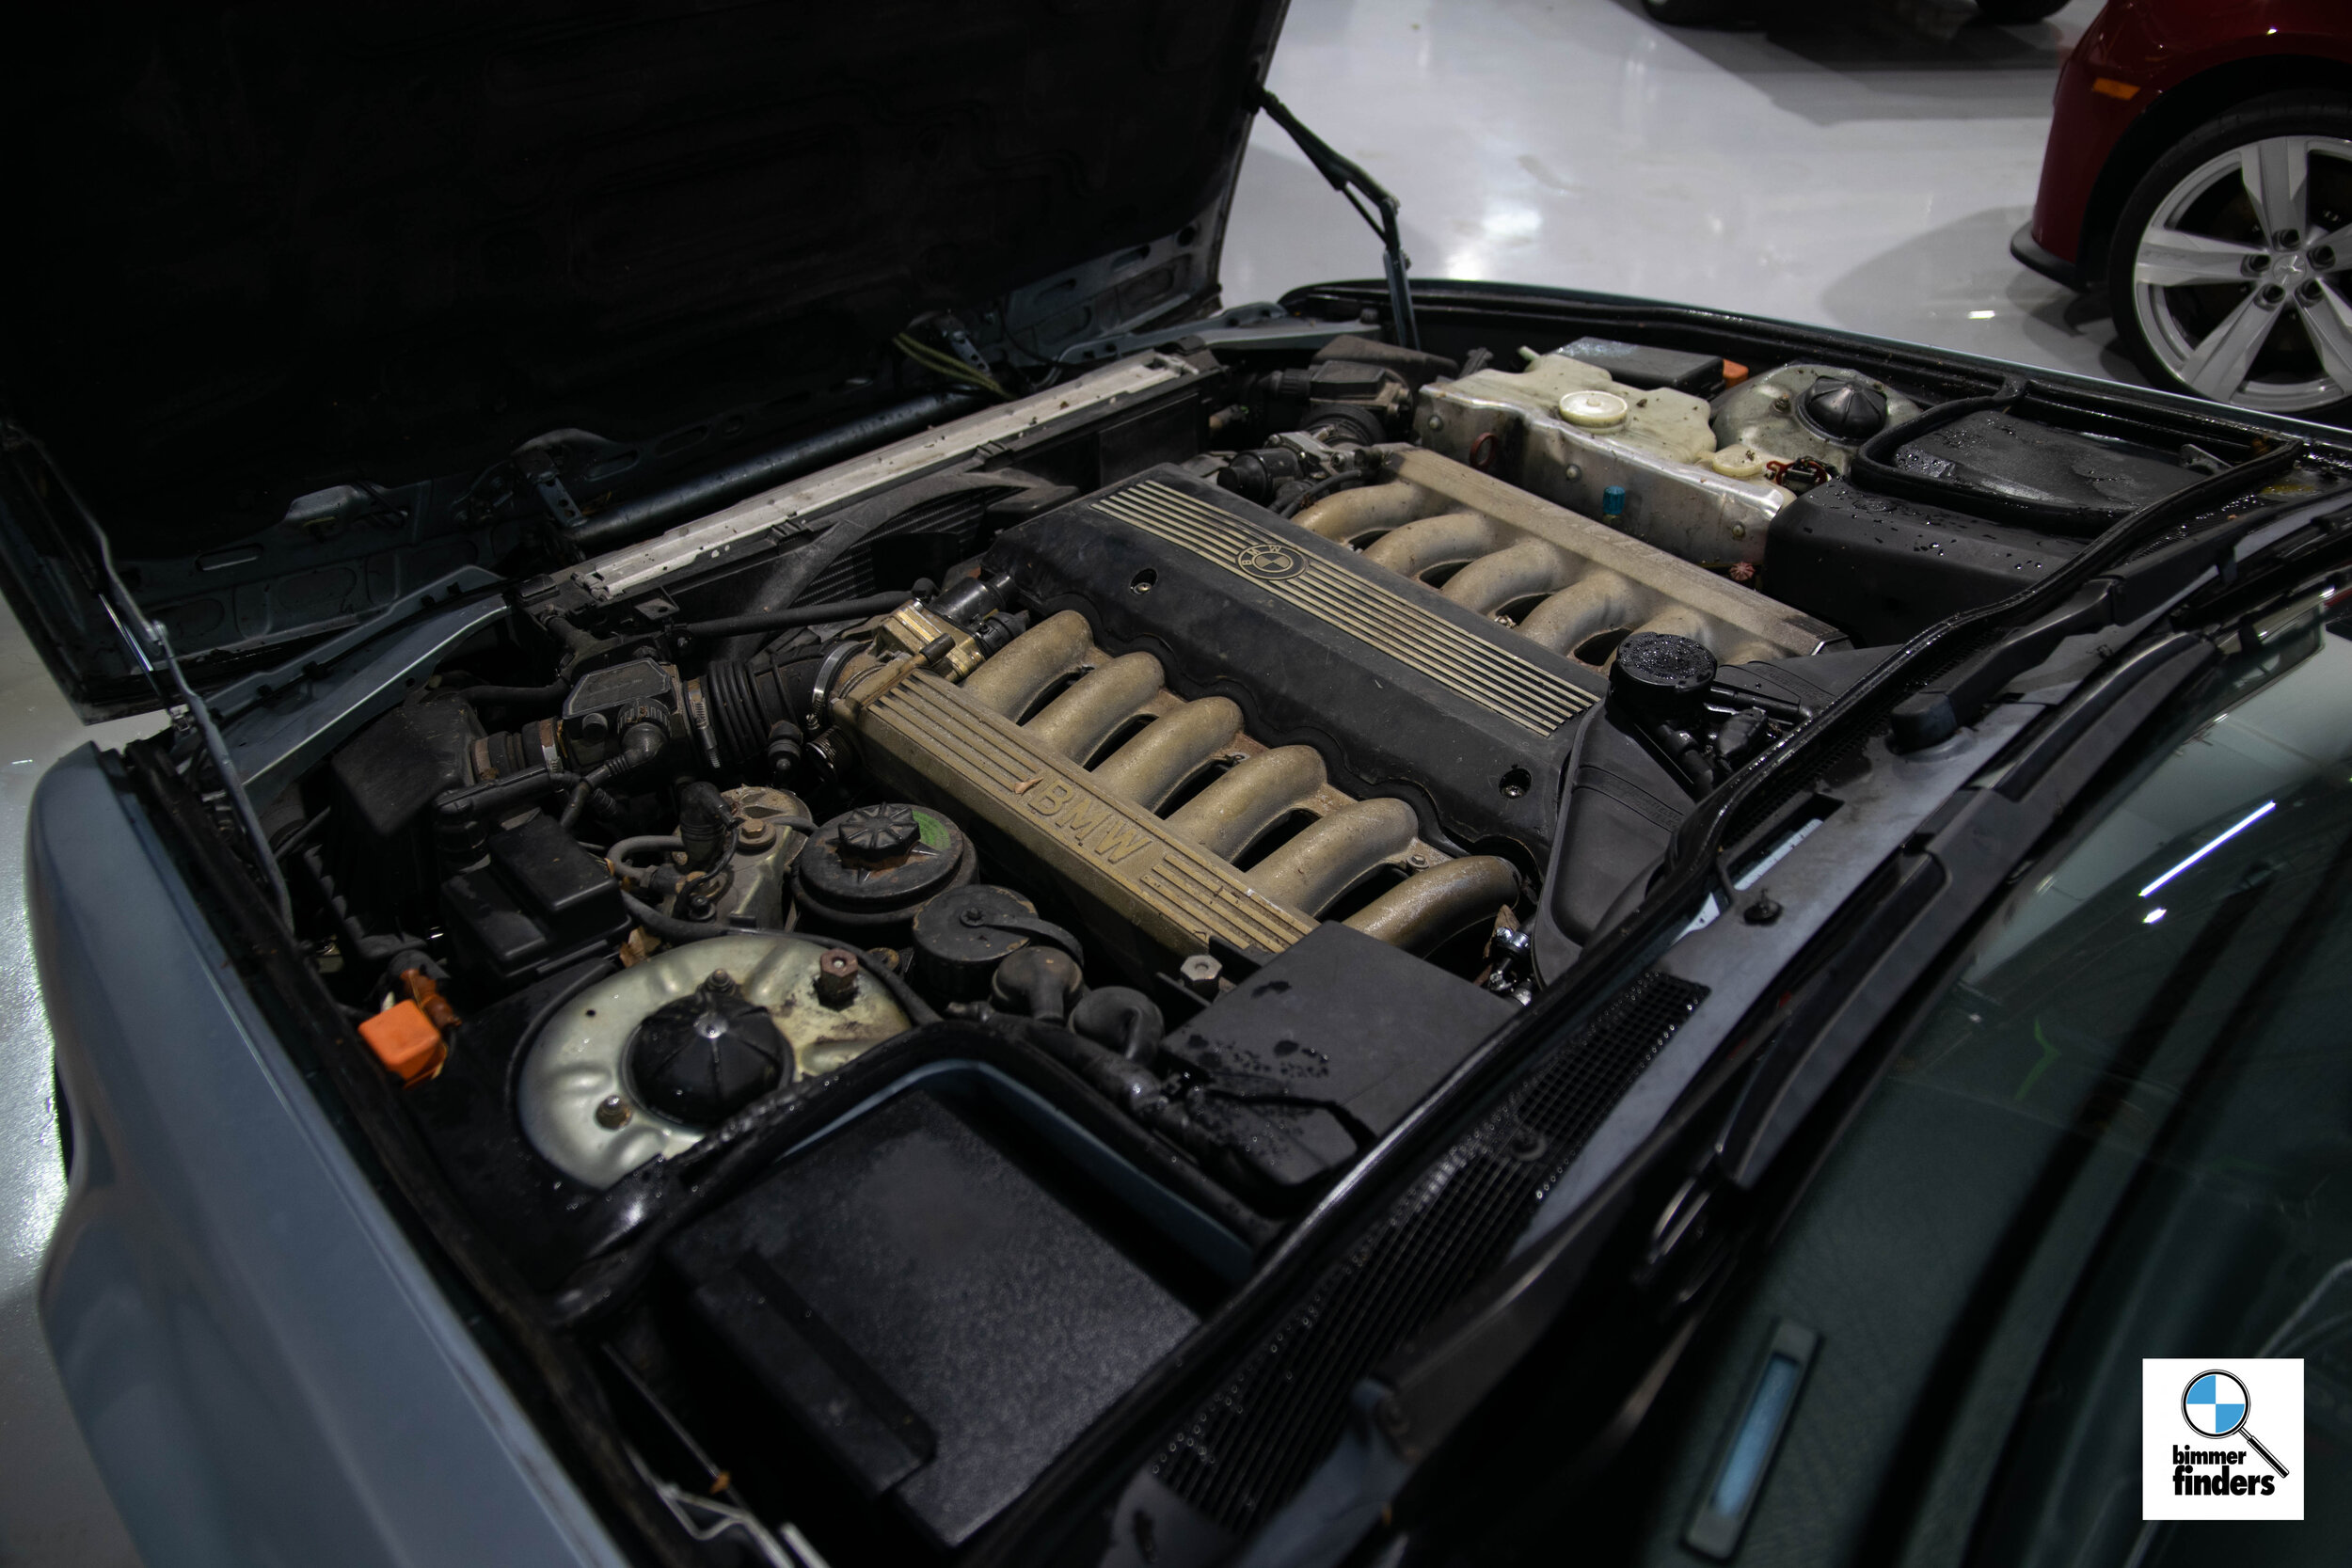
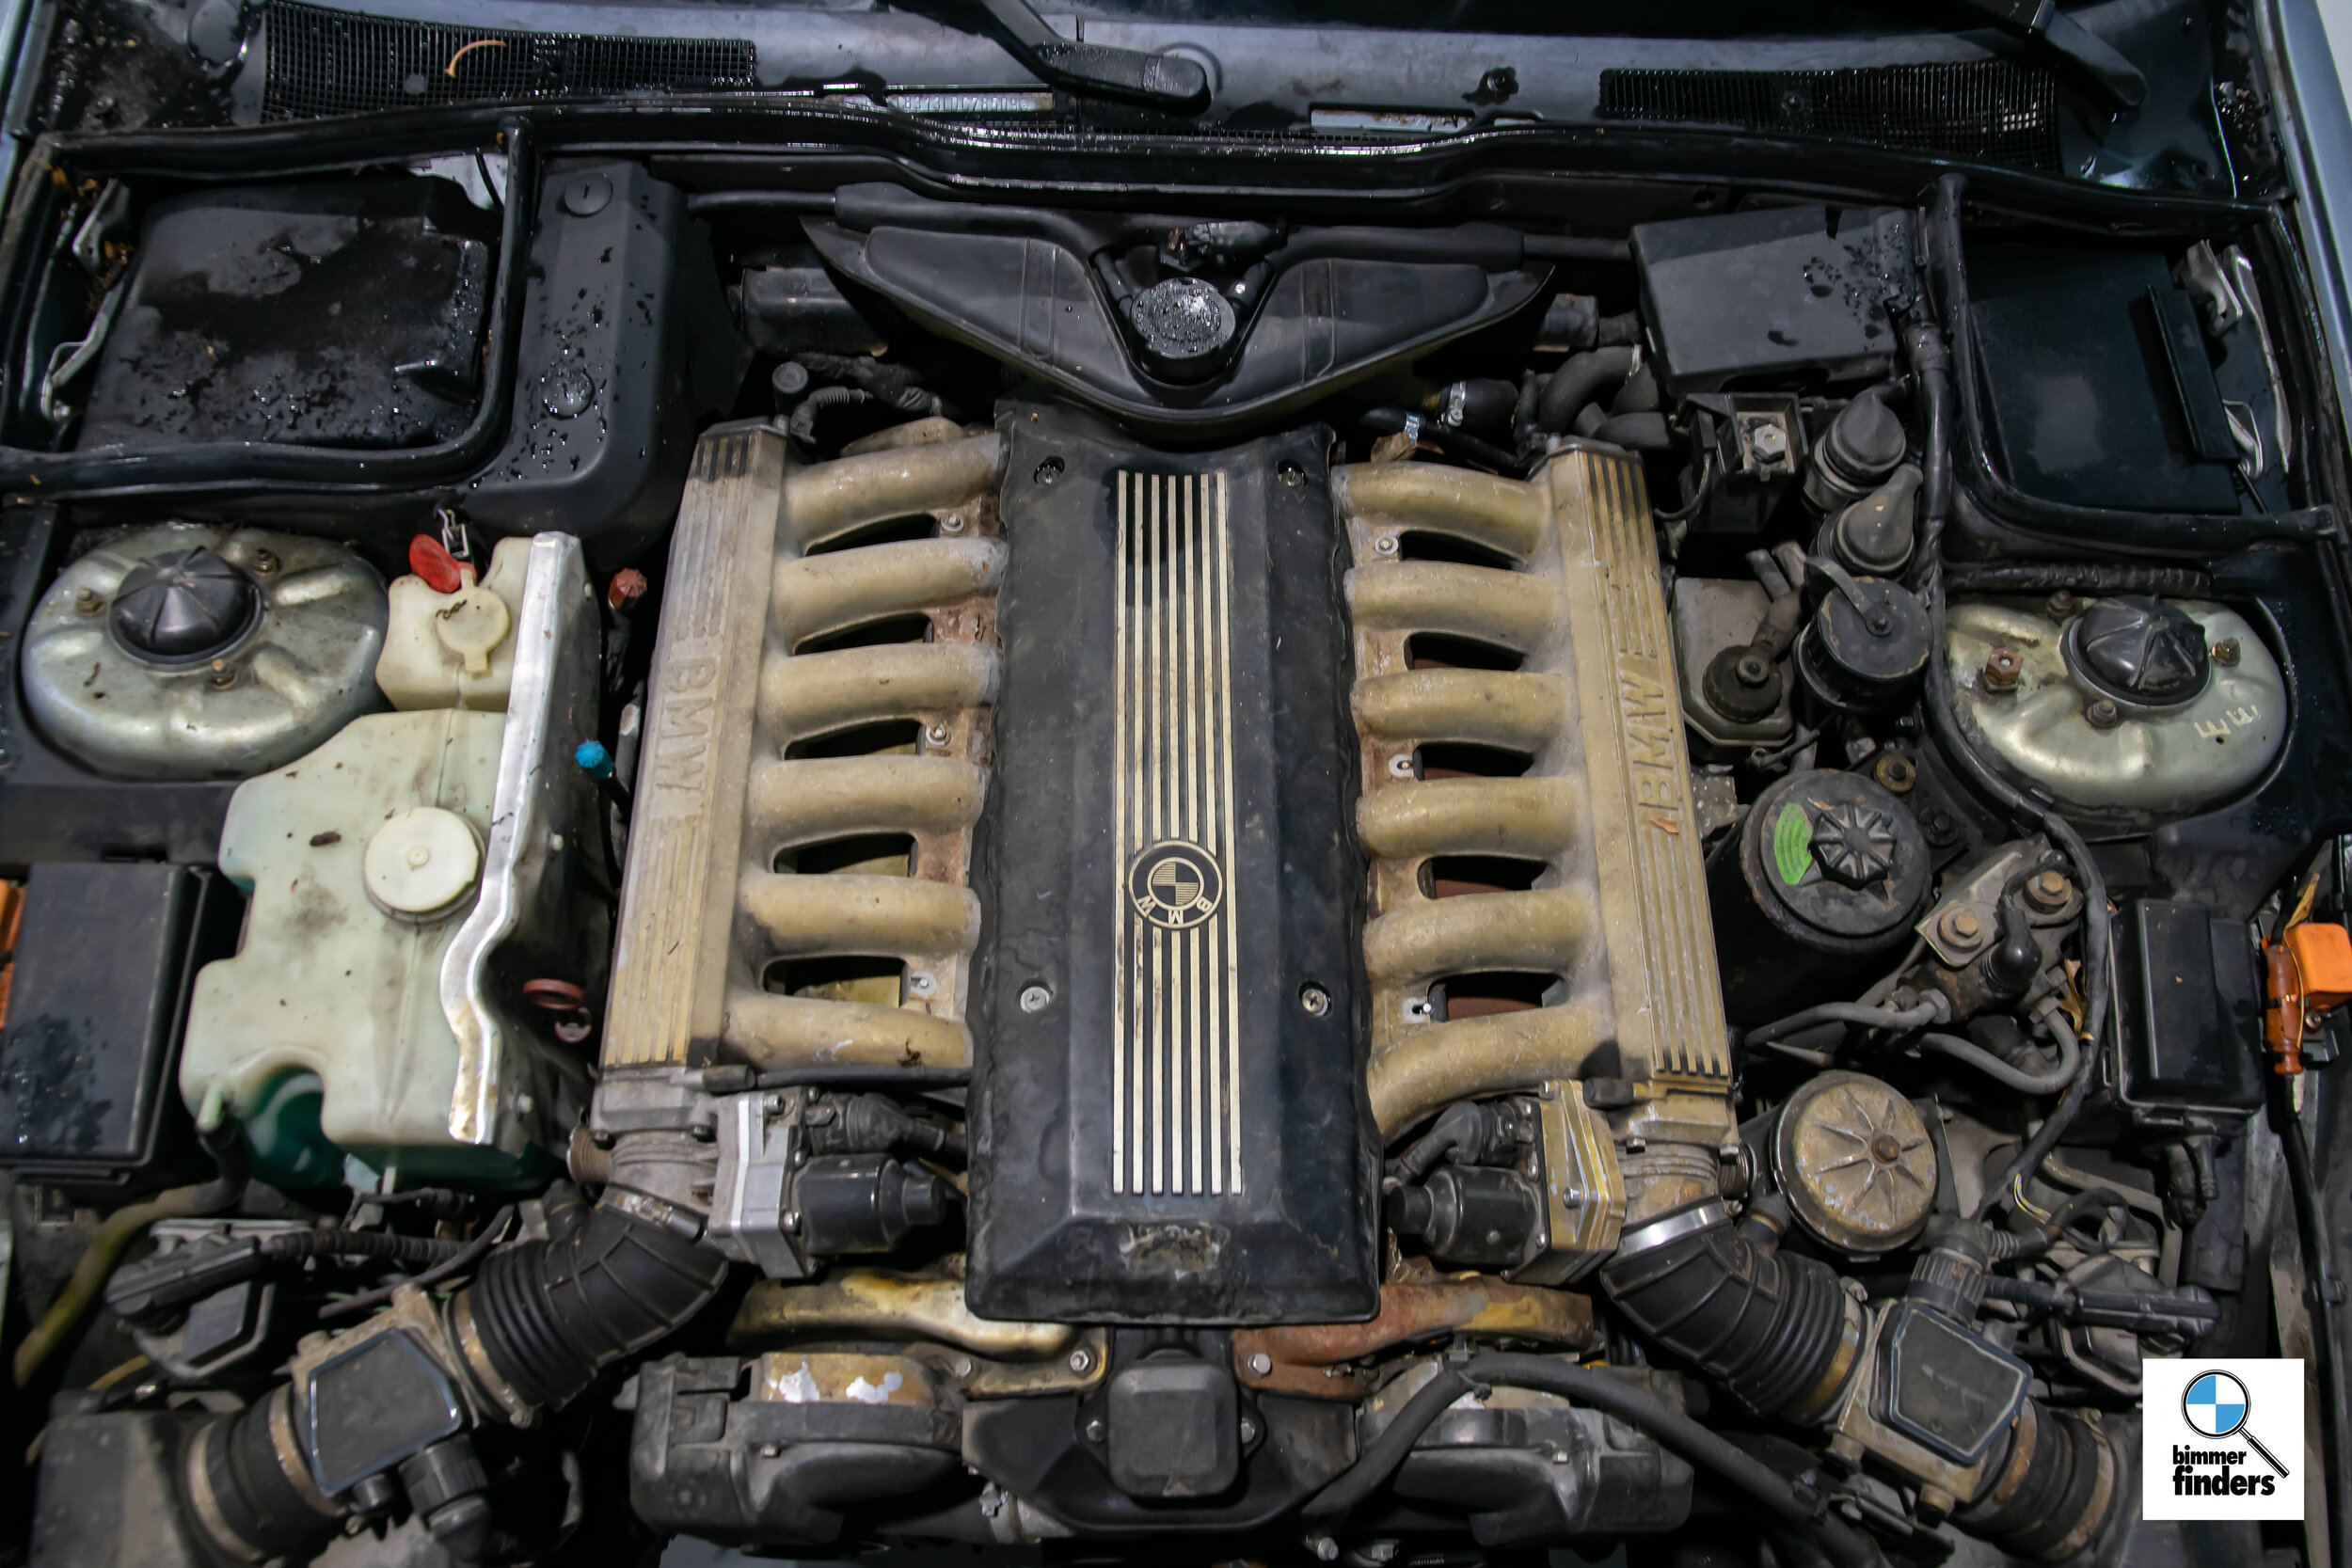
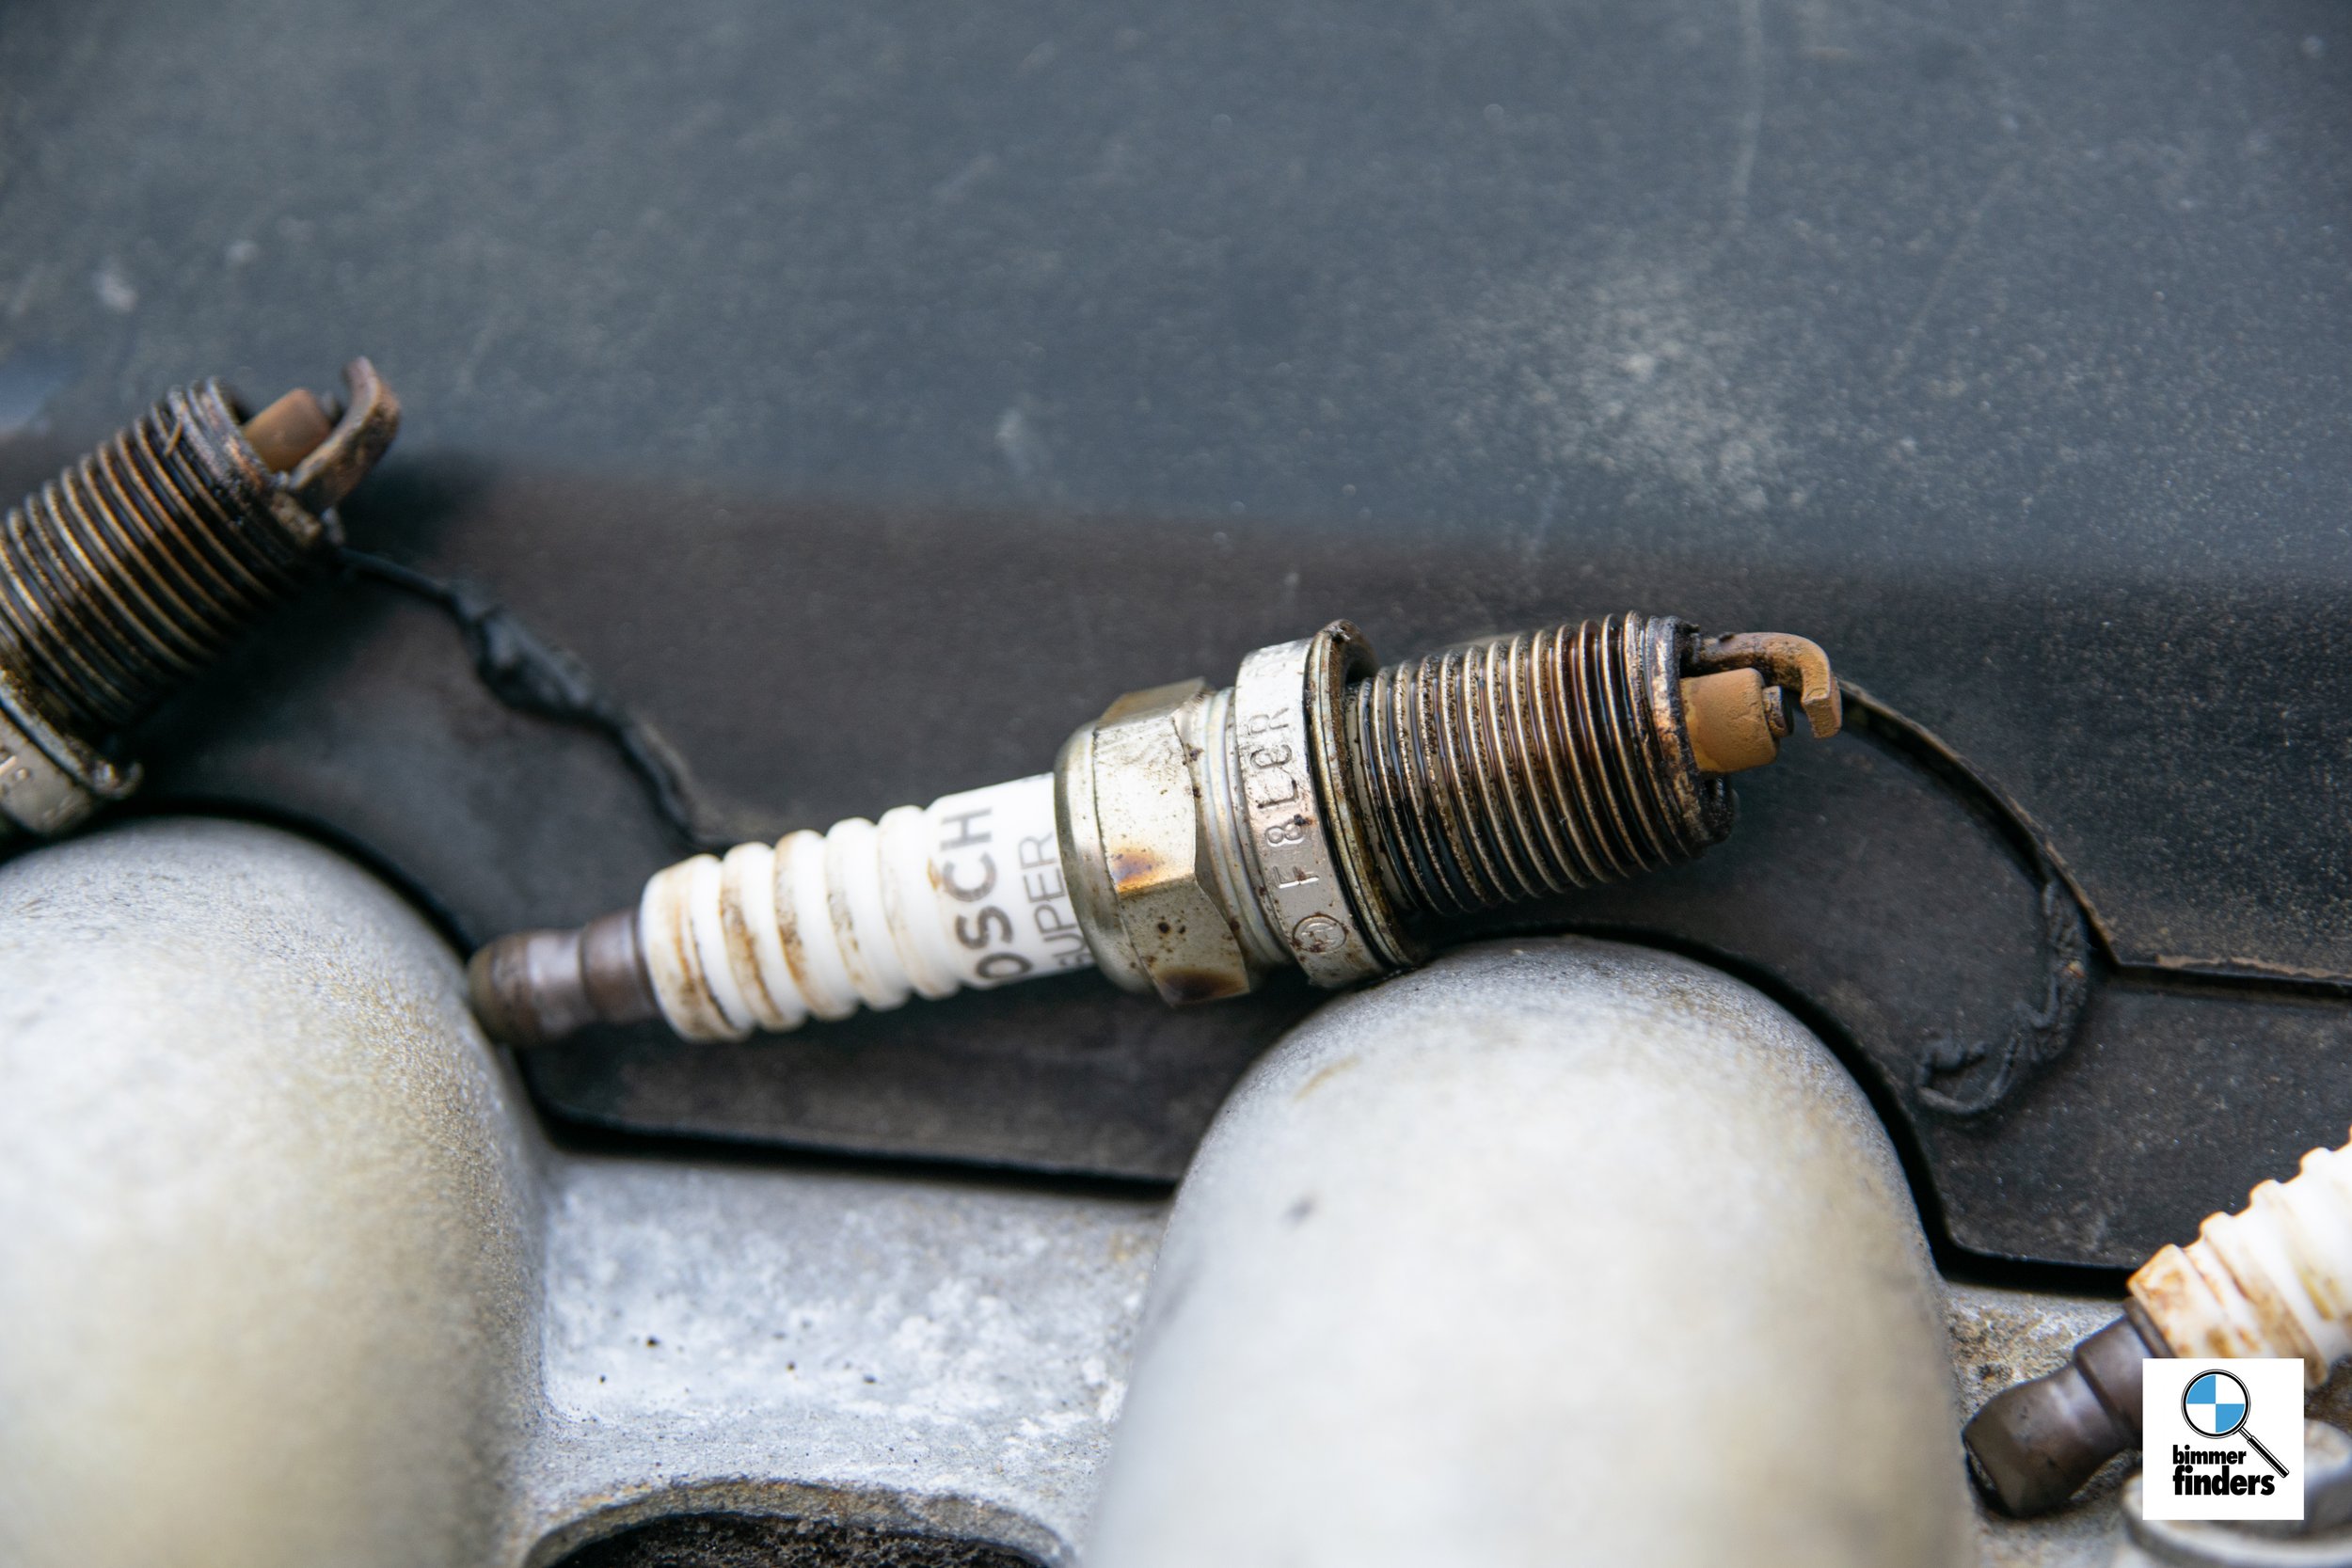
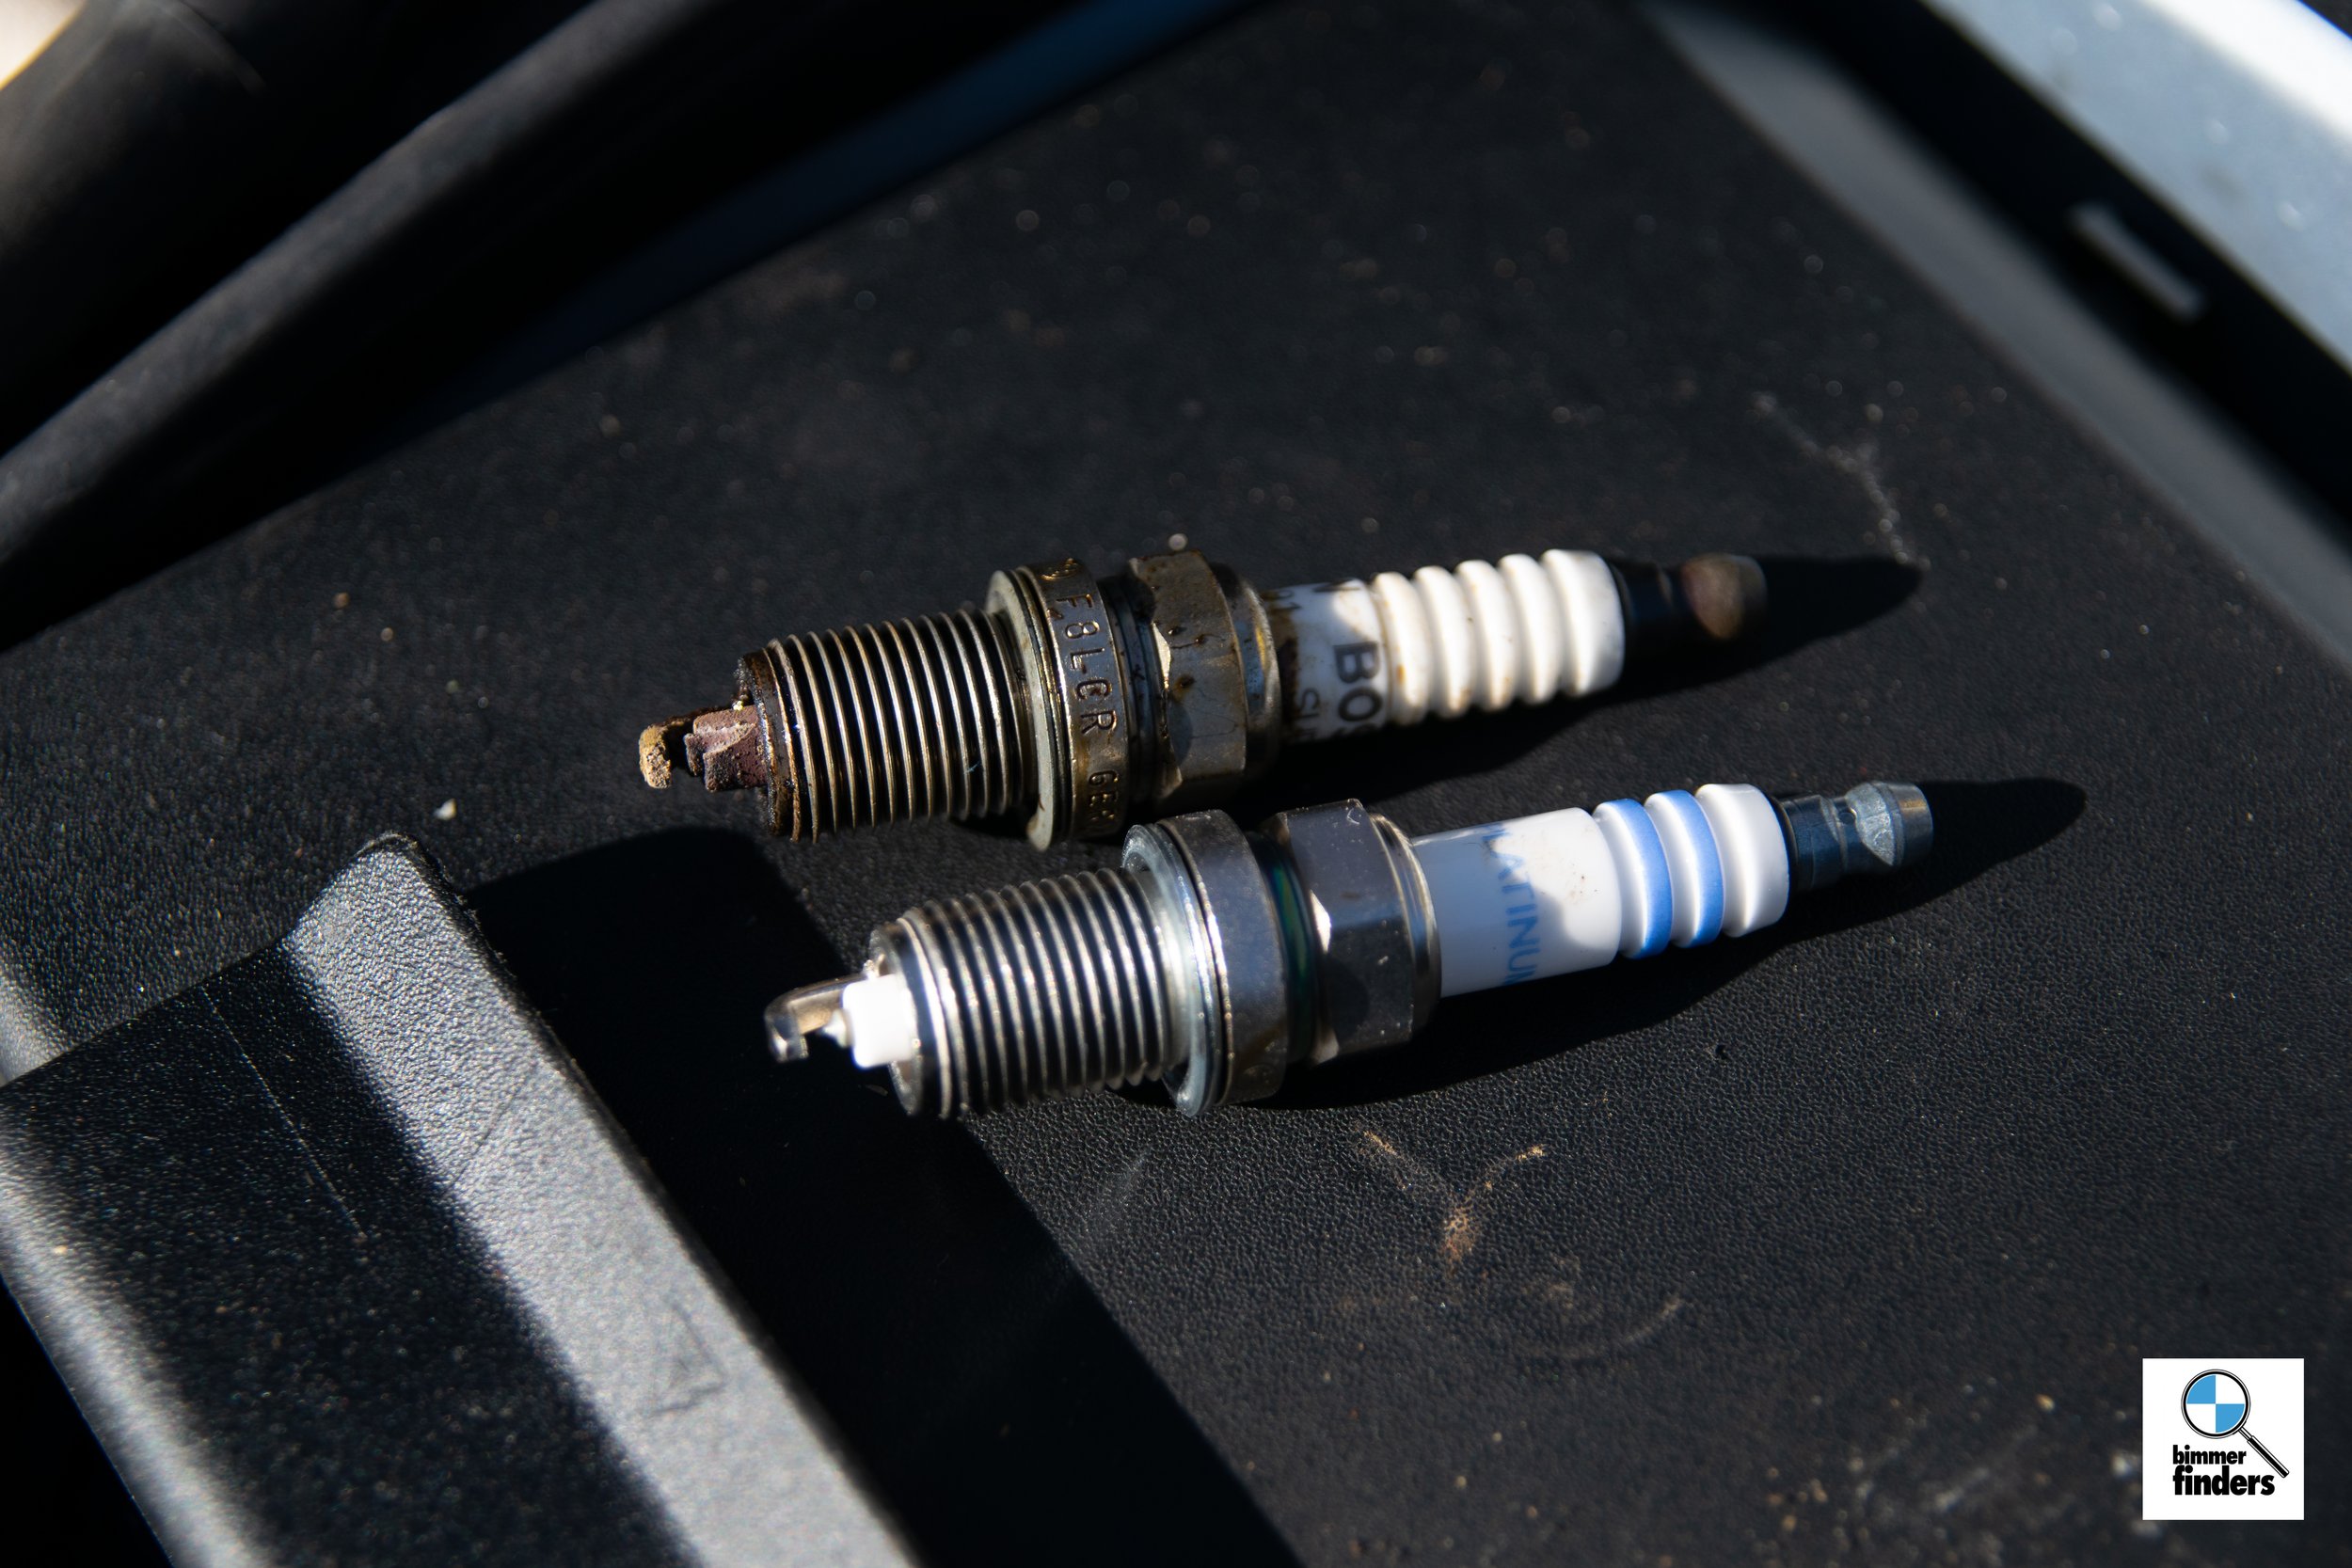
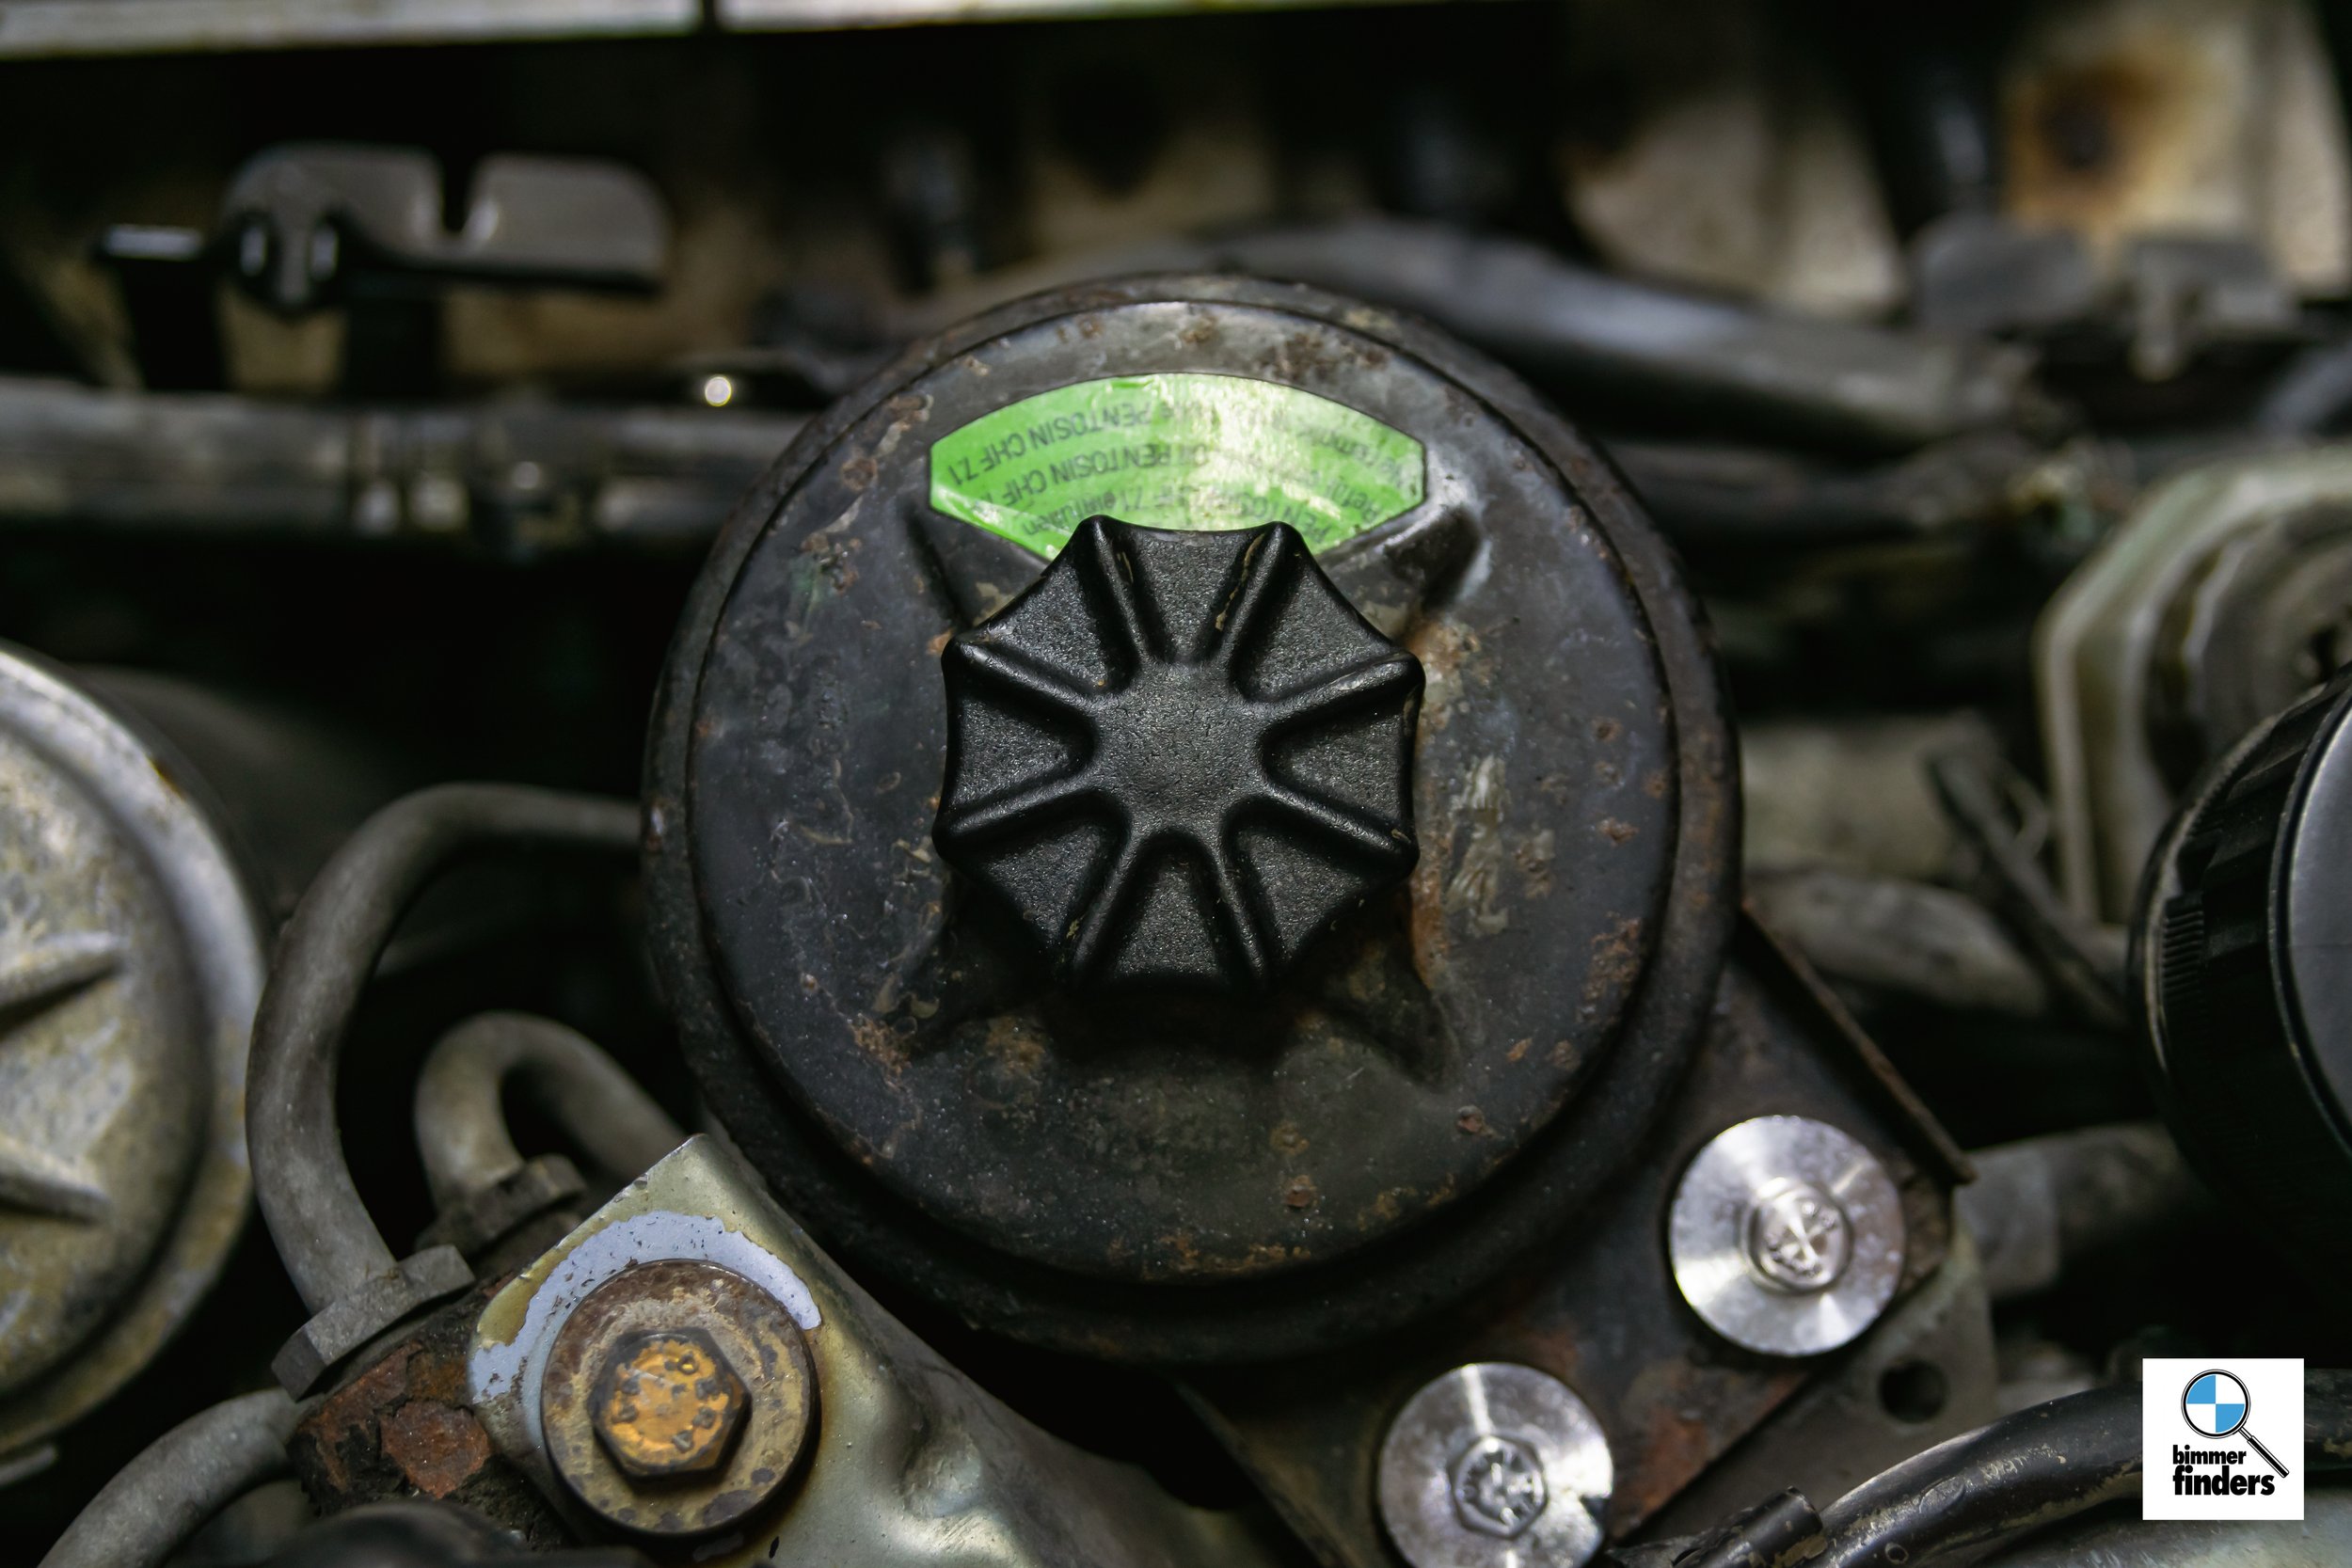
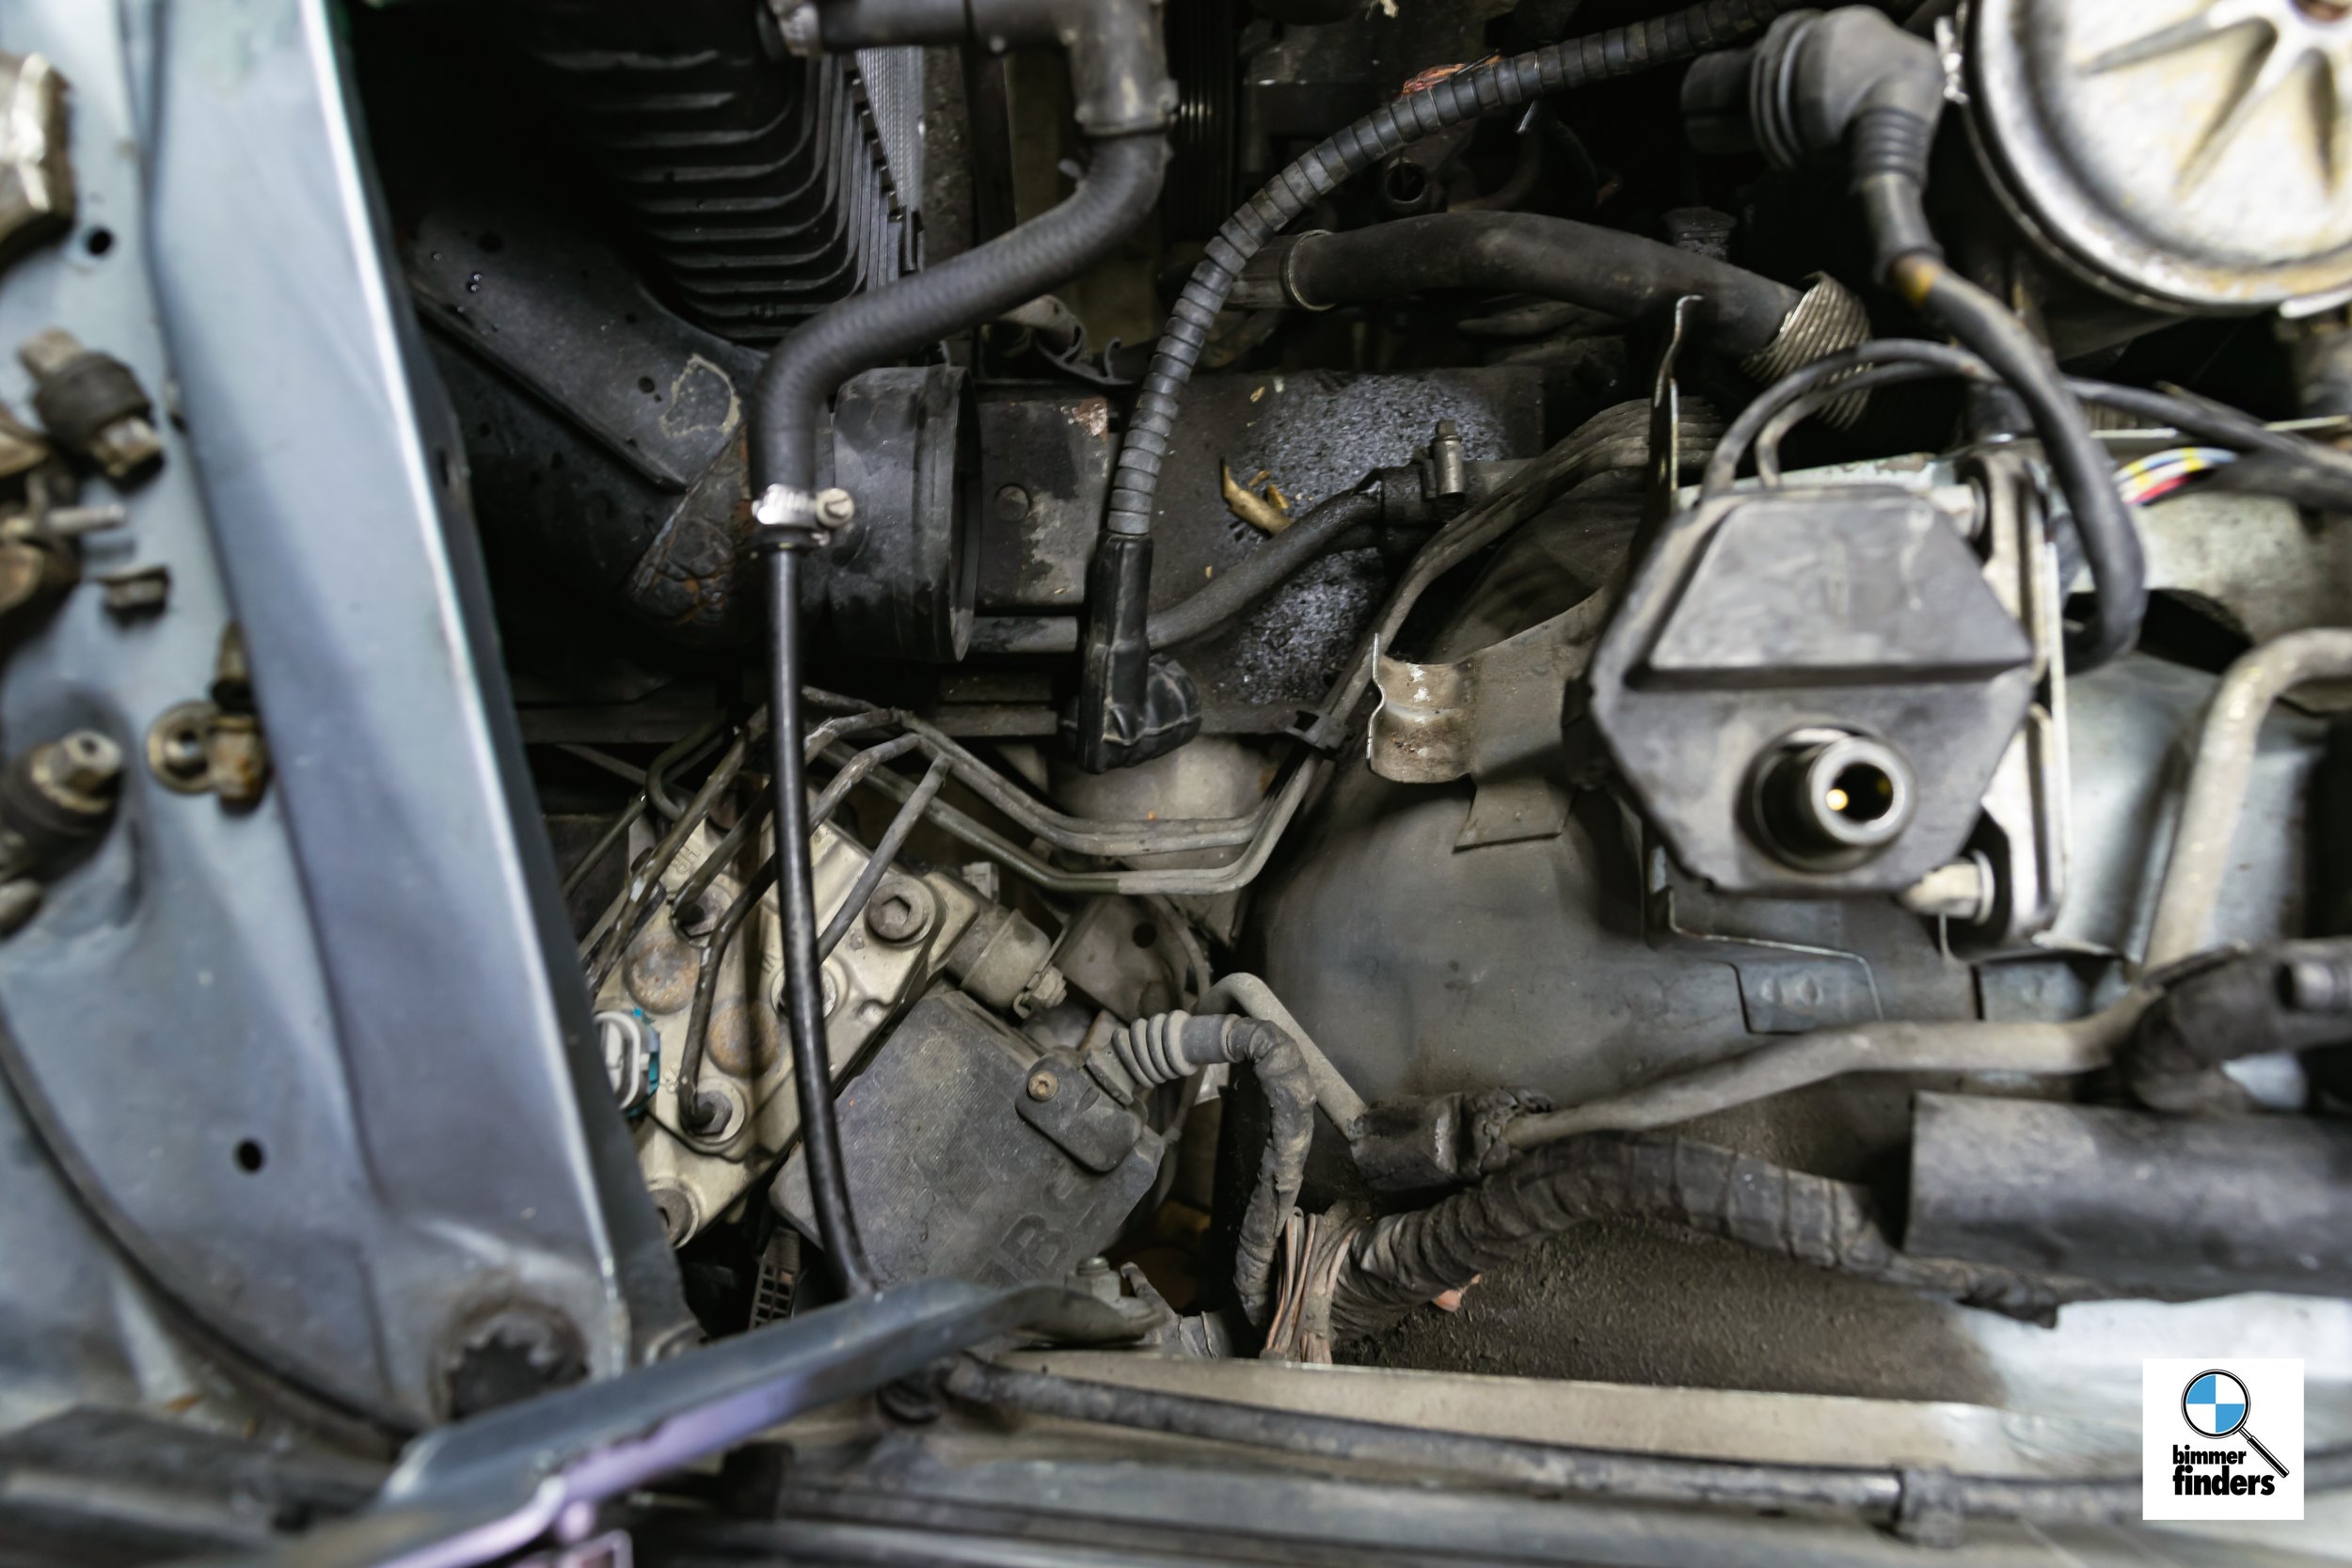
The last piece I’m tackling is actually the focal point of this car, or what makes it special — the engine and its bay. Having already done the radiator and temp sensor, this car over the past 1000 miles of ownership hasn’t had any other issues than a persistent lifter tick that, despite much effort chemically with oil treatments and the like, would not go away; We’re looking at either that or a broken rocker arm, which isn’t out of the question and frankly more probable than the lifter. I exhausted most of my options with trying to avoid digging into the engine, and then one day I decided to investigate why it was getting such(worse than what’s already bad) poor fuel mileage. I pulled one of the spark plugs and knew immediately there was no escaping pulling the intakes off. The amount of oil that encased most of the plugs on the driver’s side was egregious, to say the least.


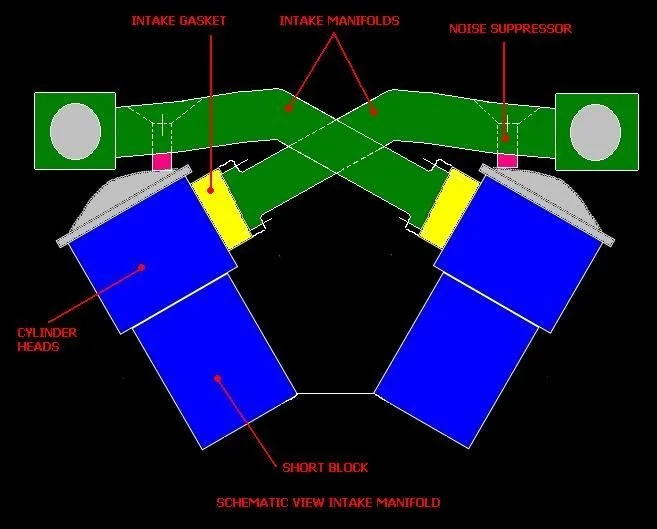
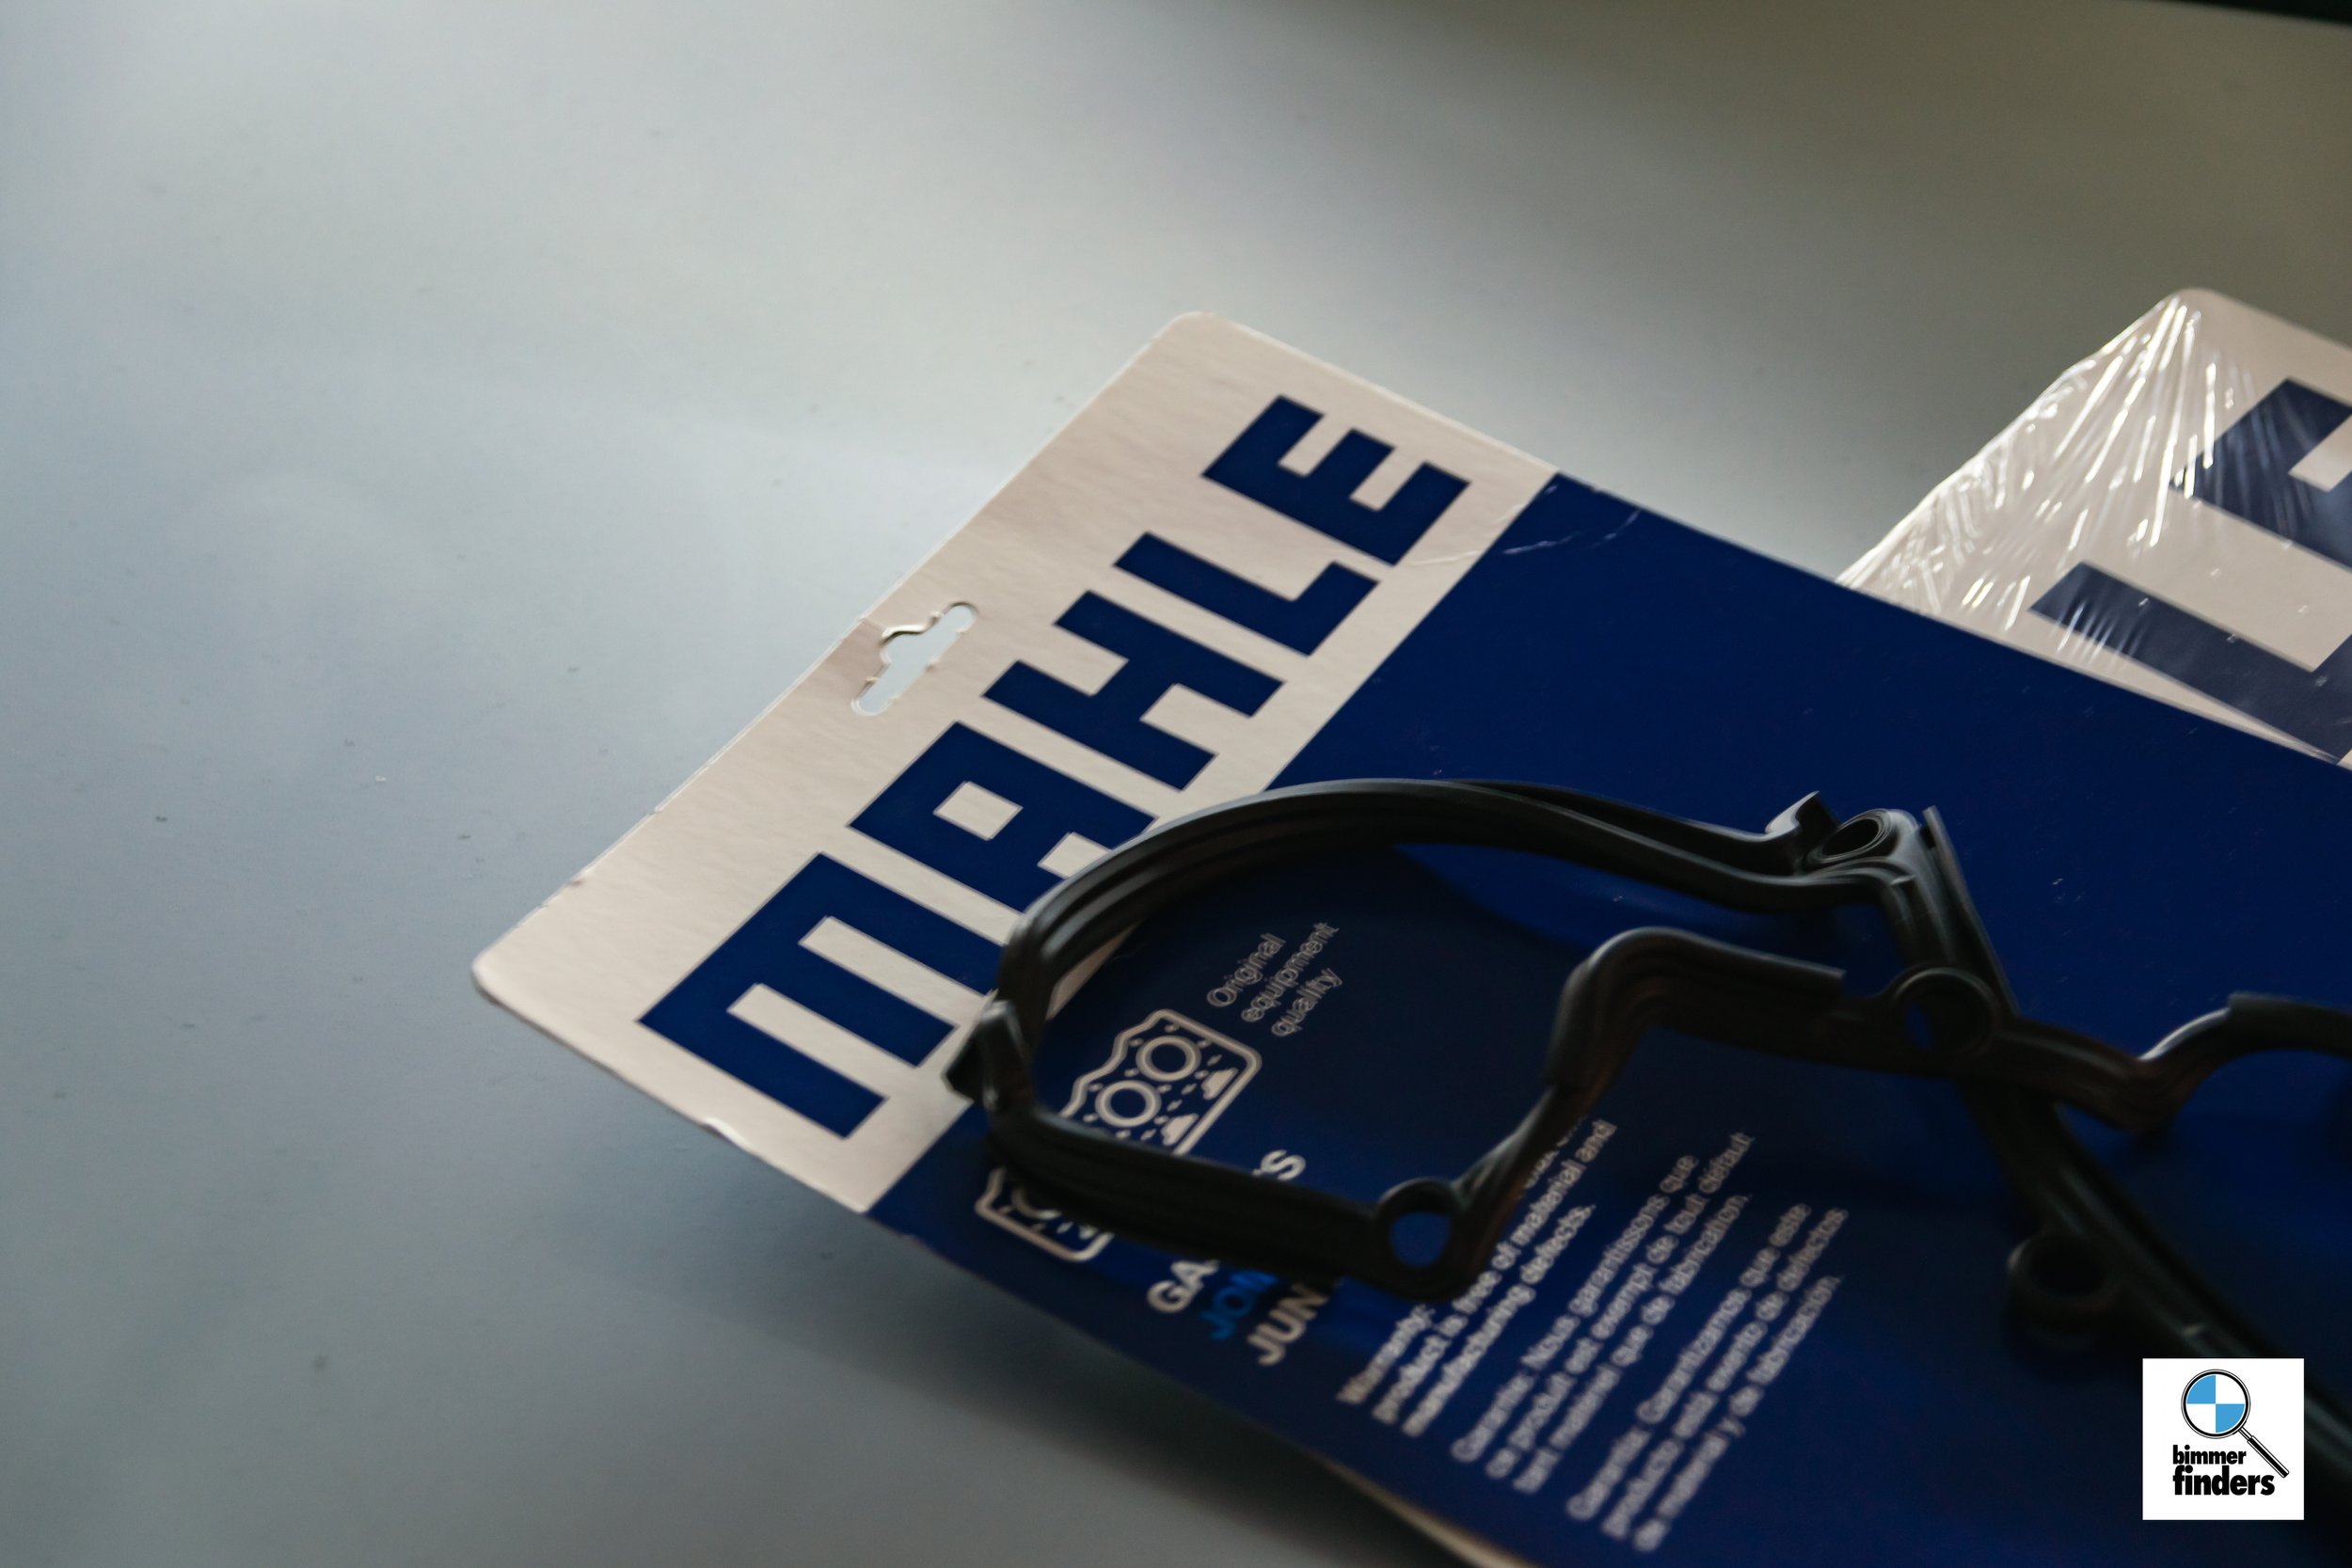
In short, this means I have to replace the valve cover gaskets, and at that point, I may as well take care of the lifter noise/rocker arm, as well as reseal the intakes/throttle body gaskets. On most cars, valve cover gaskets and intake removal is relatively simple. On v12 engines, its anything but, given the interwoven design of the intakes along with them completely covering the valve covers.

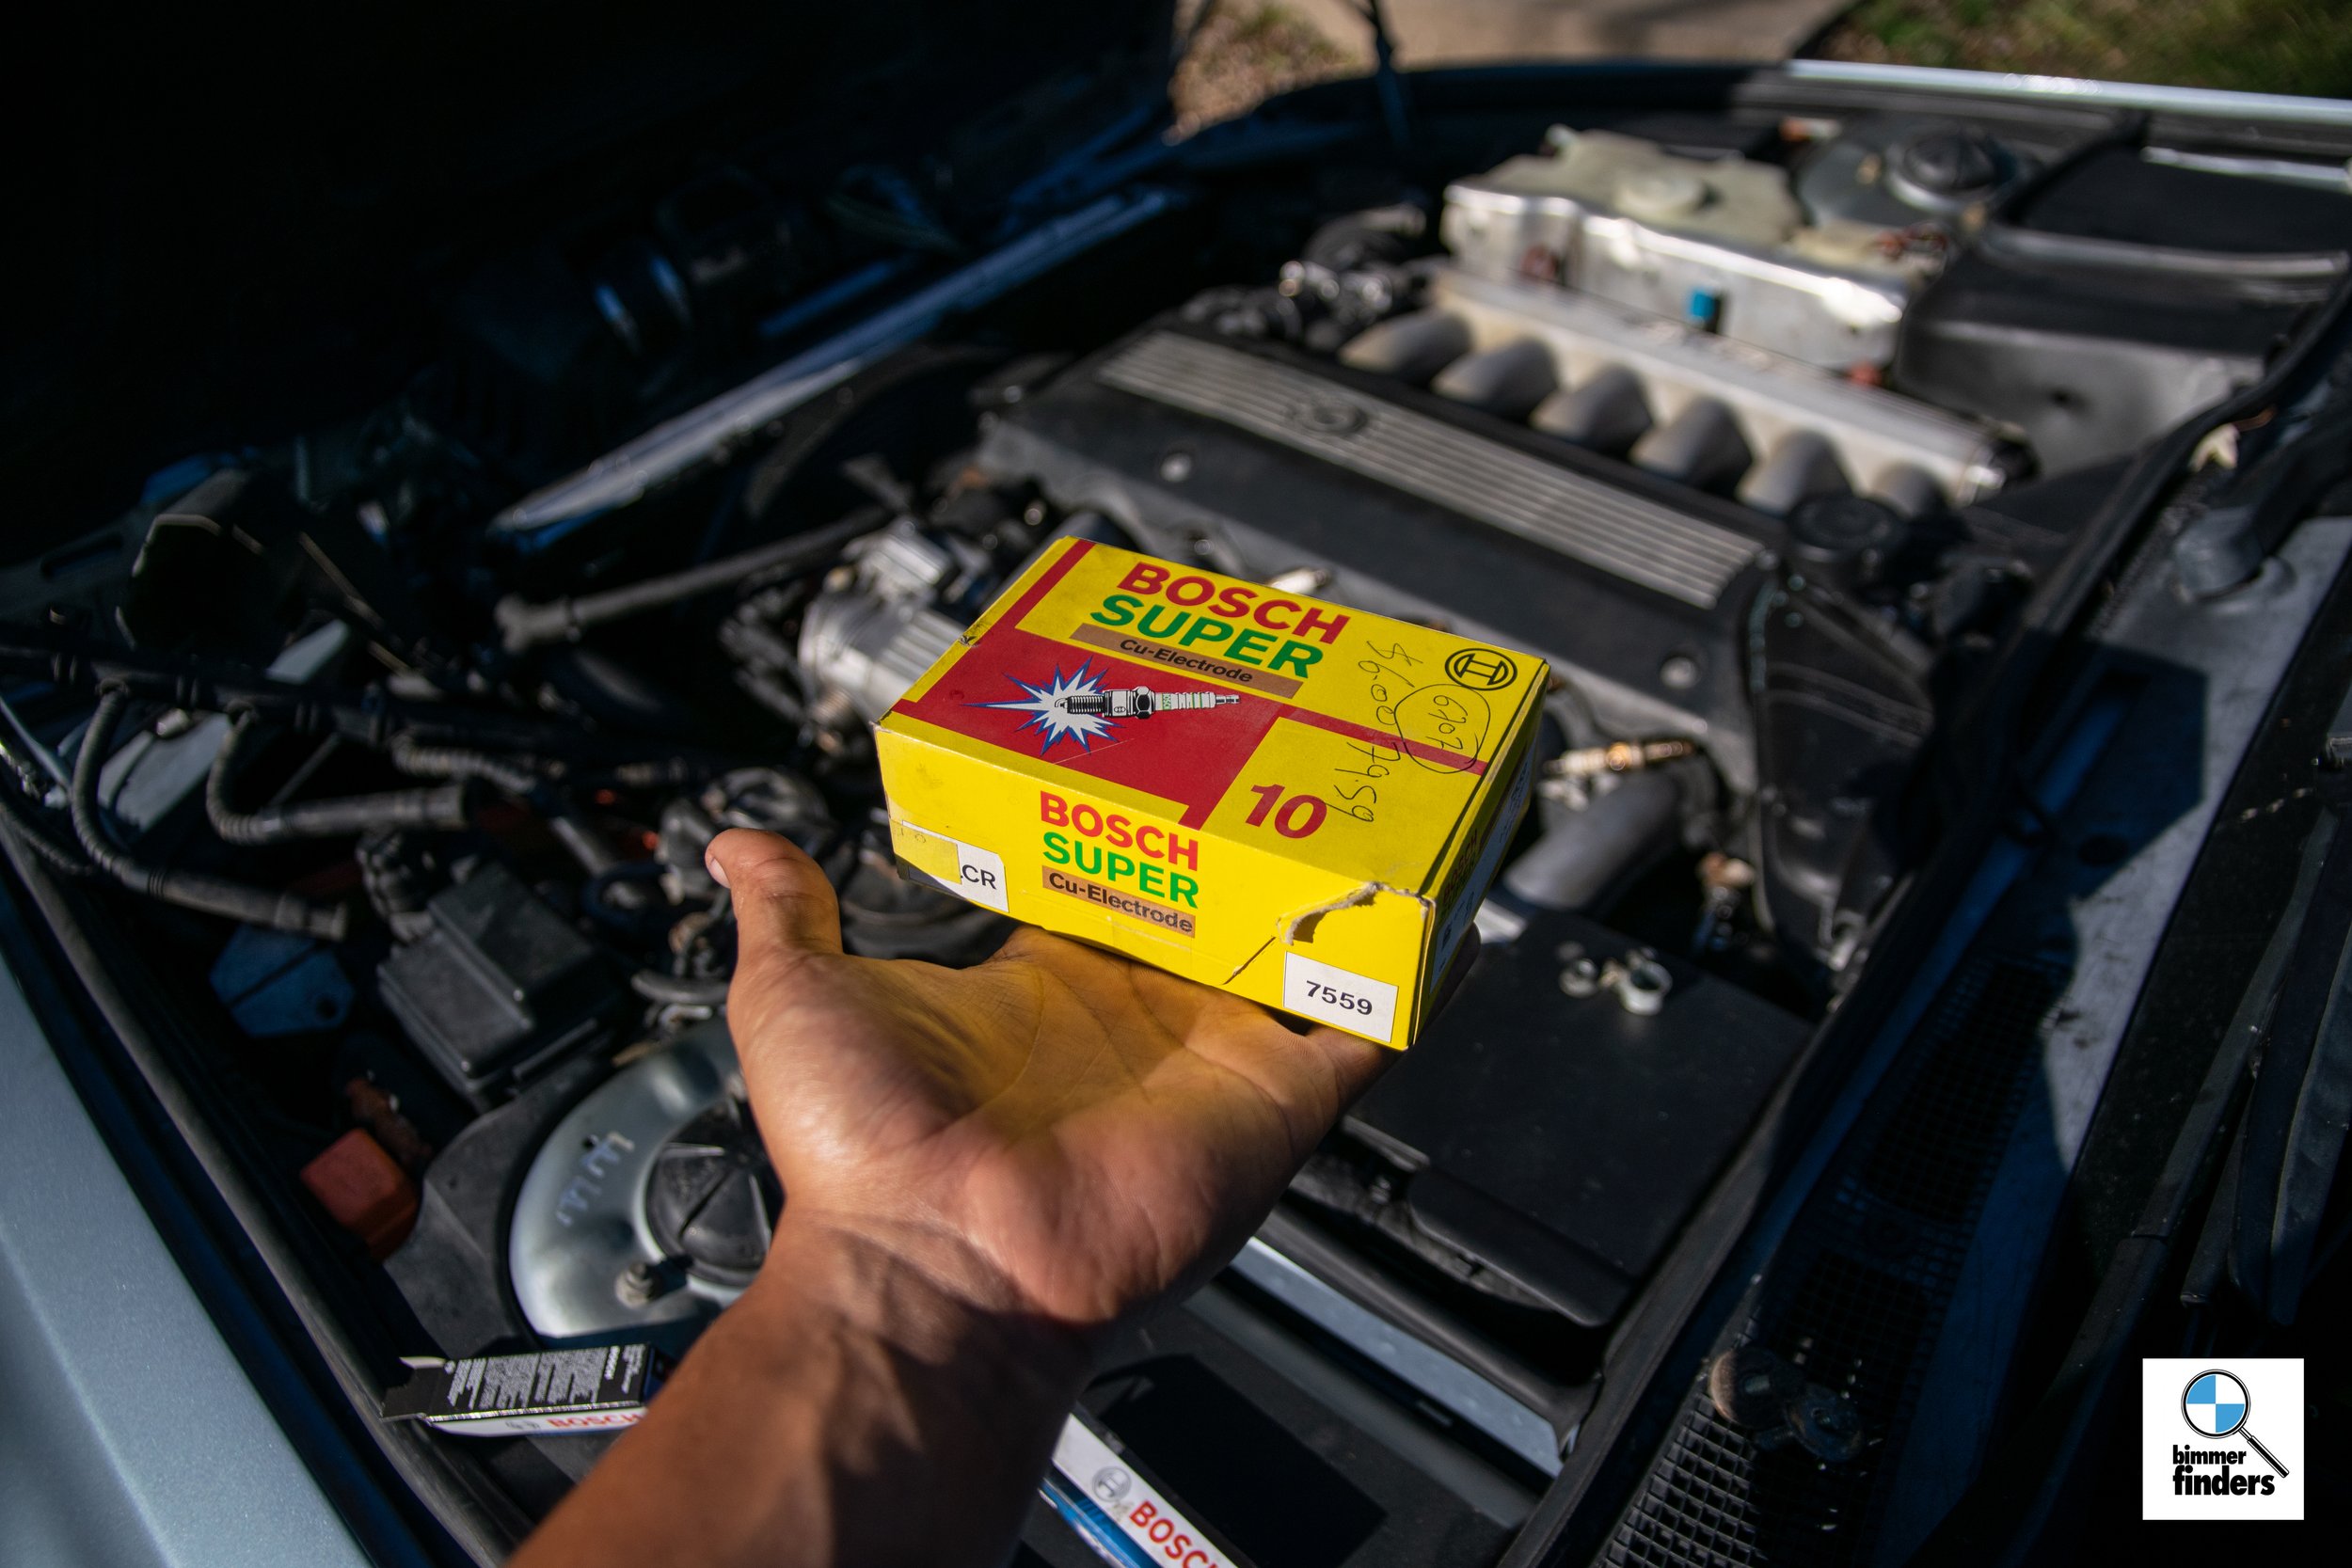
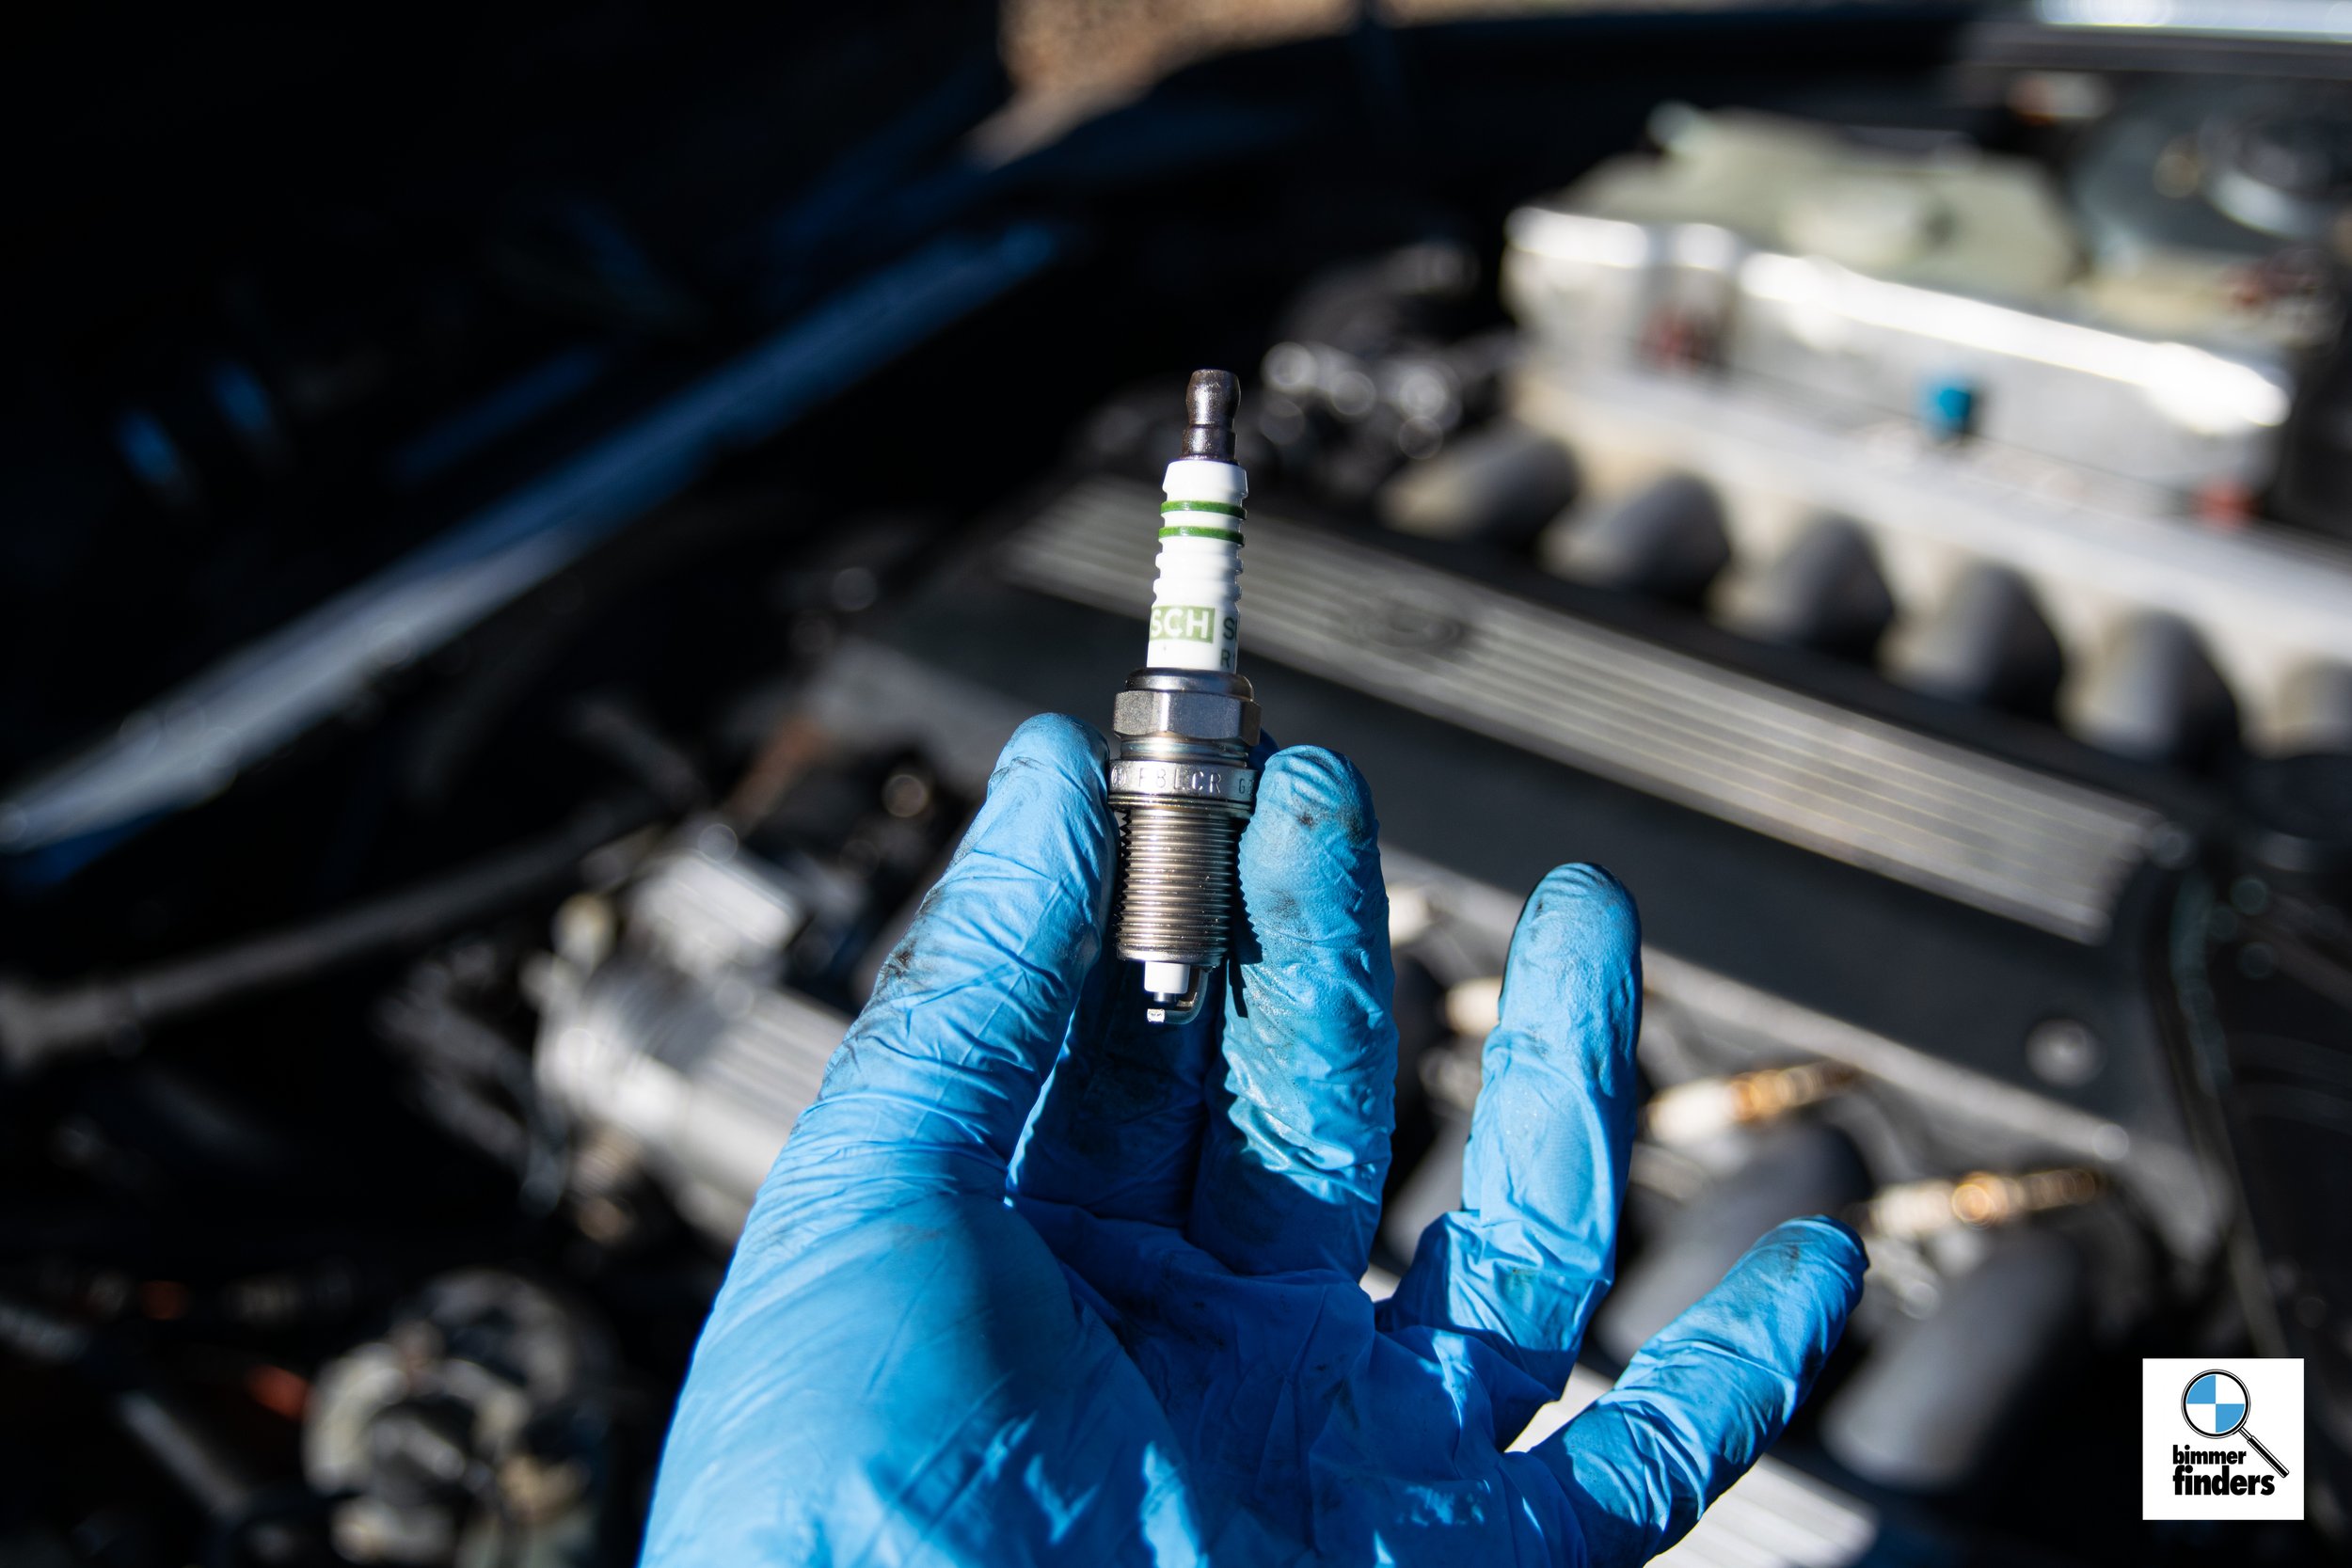
I went ahead and did all 12 plugs and replaced them with factory spec(and period correct in terms of packaging) plugs from my local Indy shop as well as ordered new gaskets for when I tear the top end down. The car runs significantly better, is far more responsive and, respectively to being a first-gen v12, gets better mileage. Its a true treat of a driving experience; Ultimate, even.


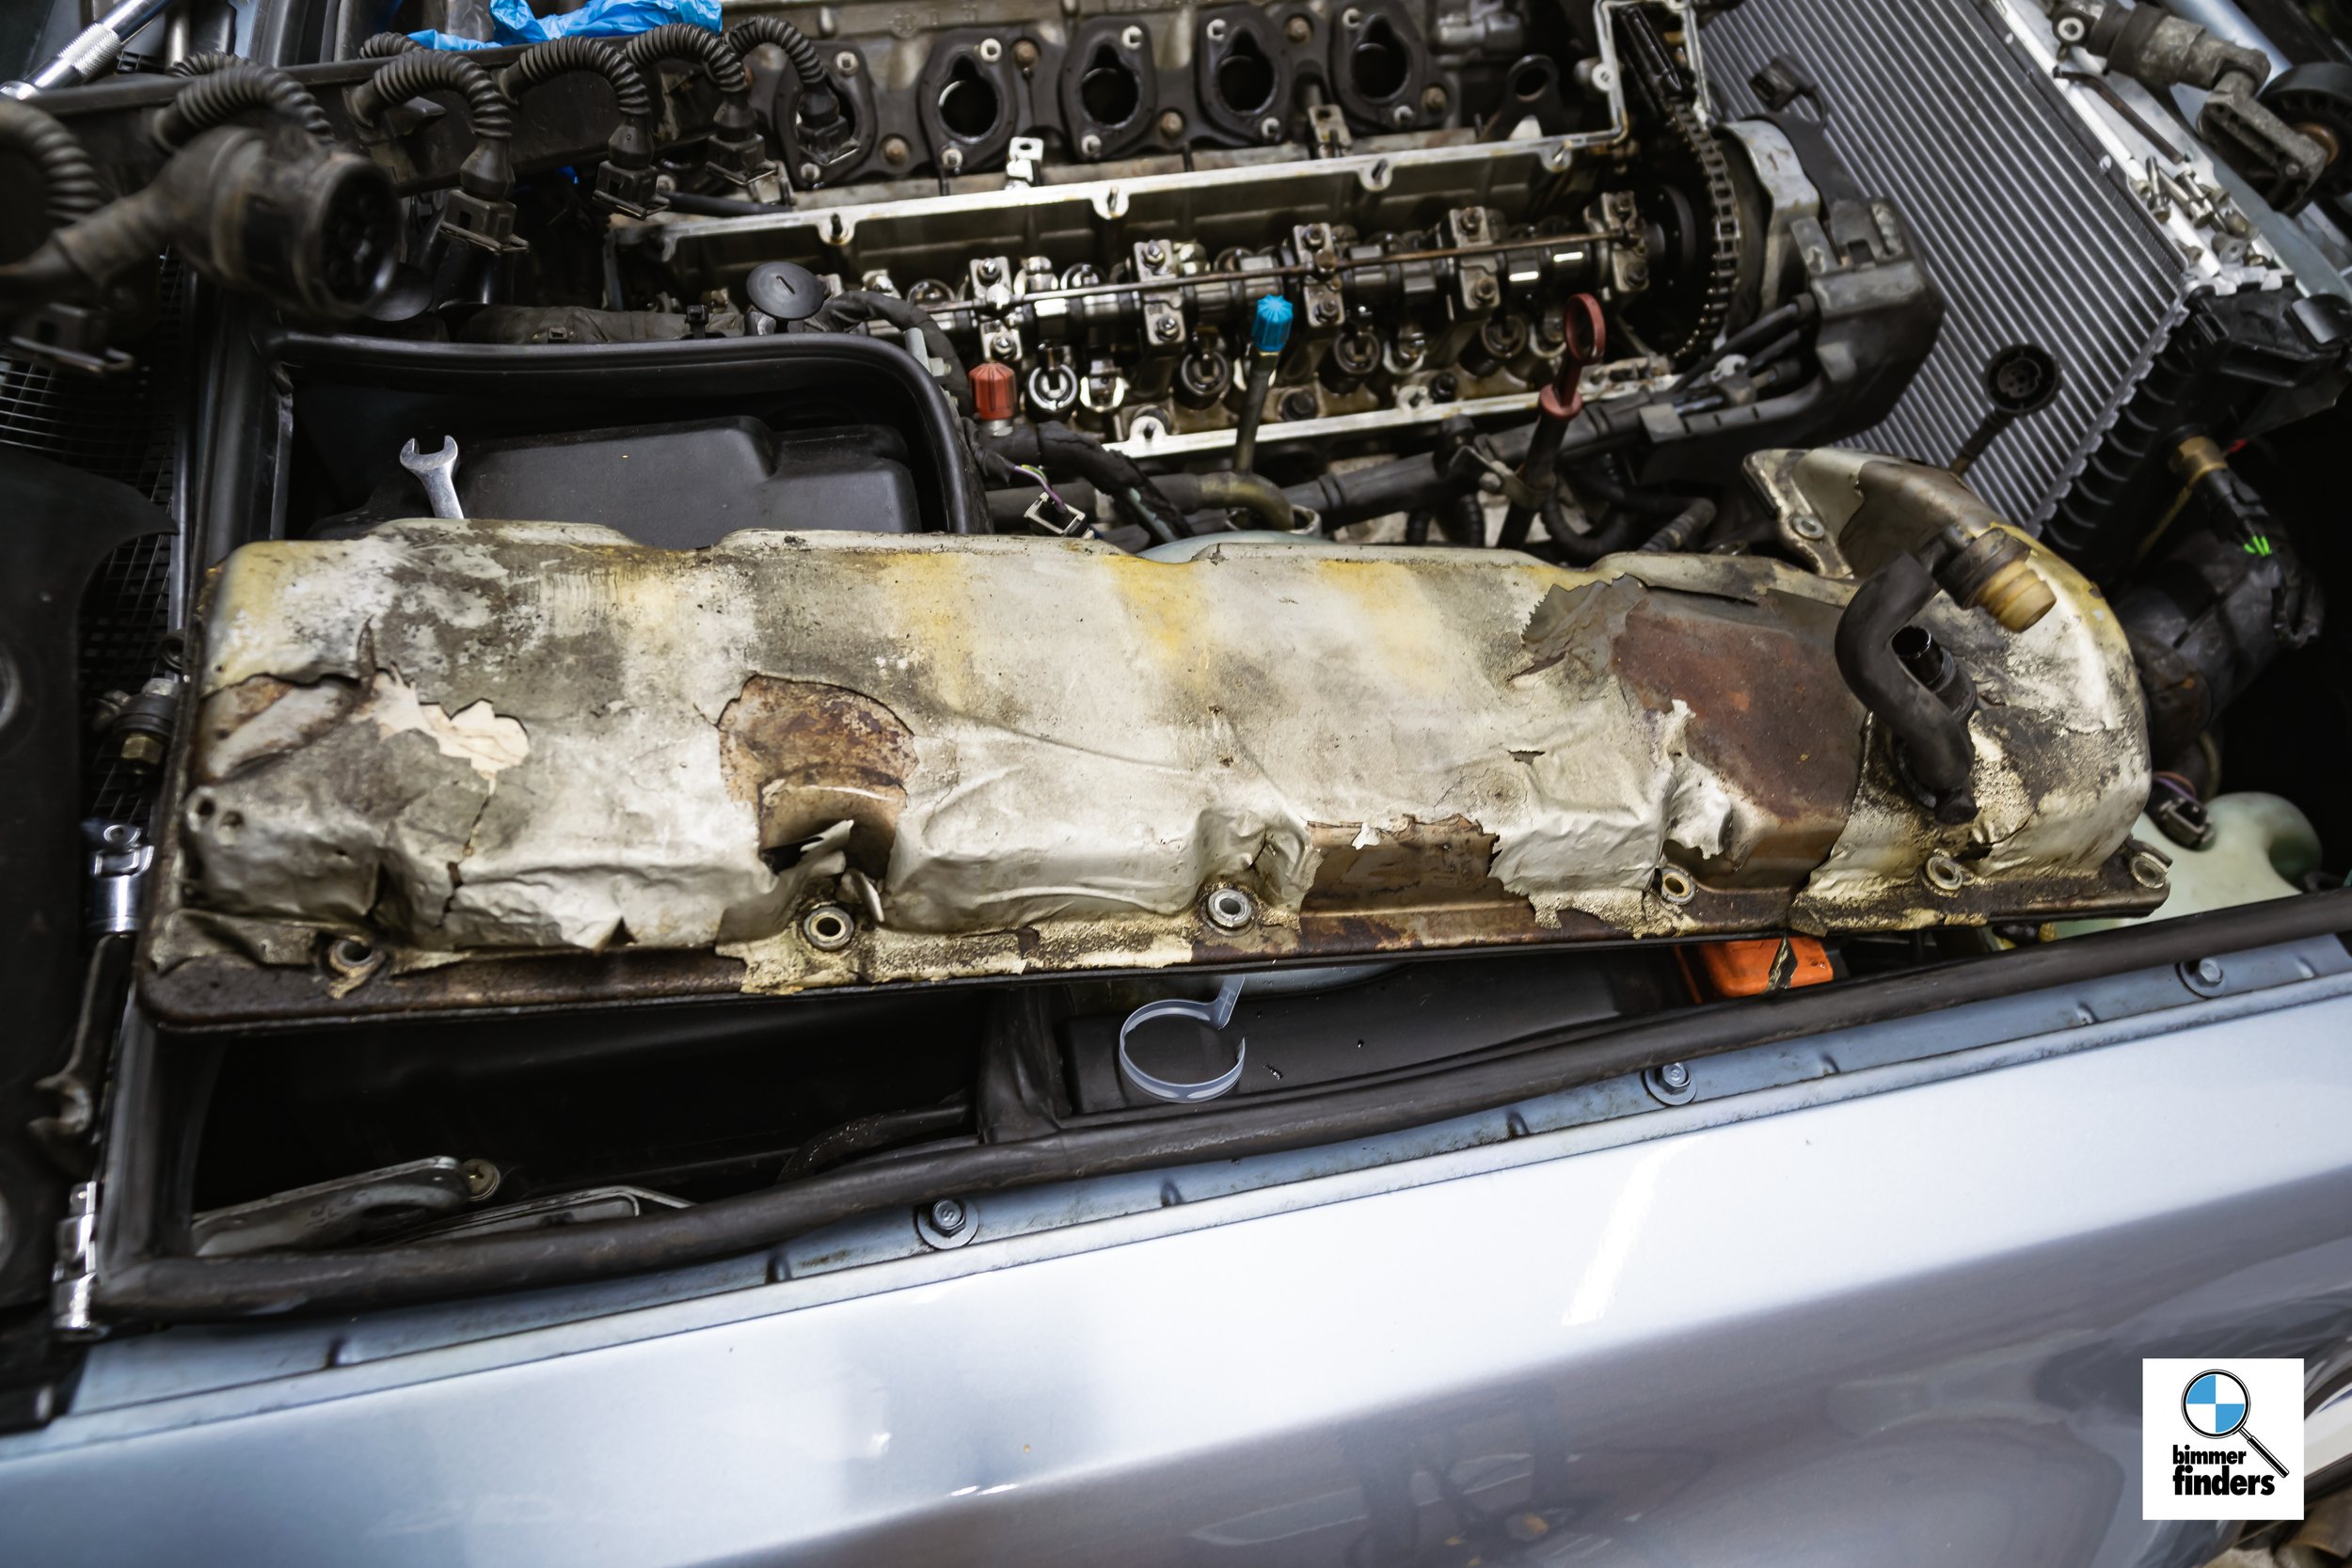
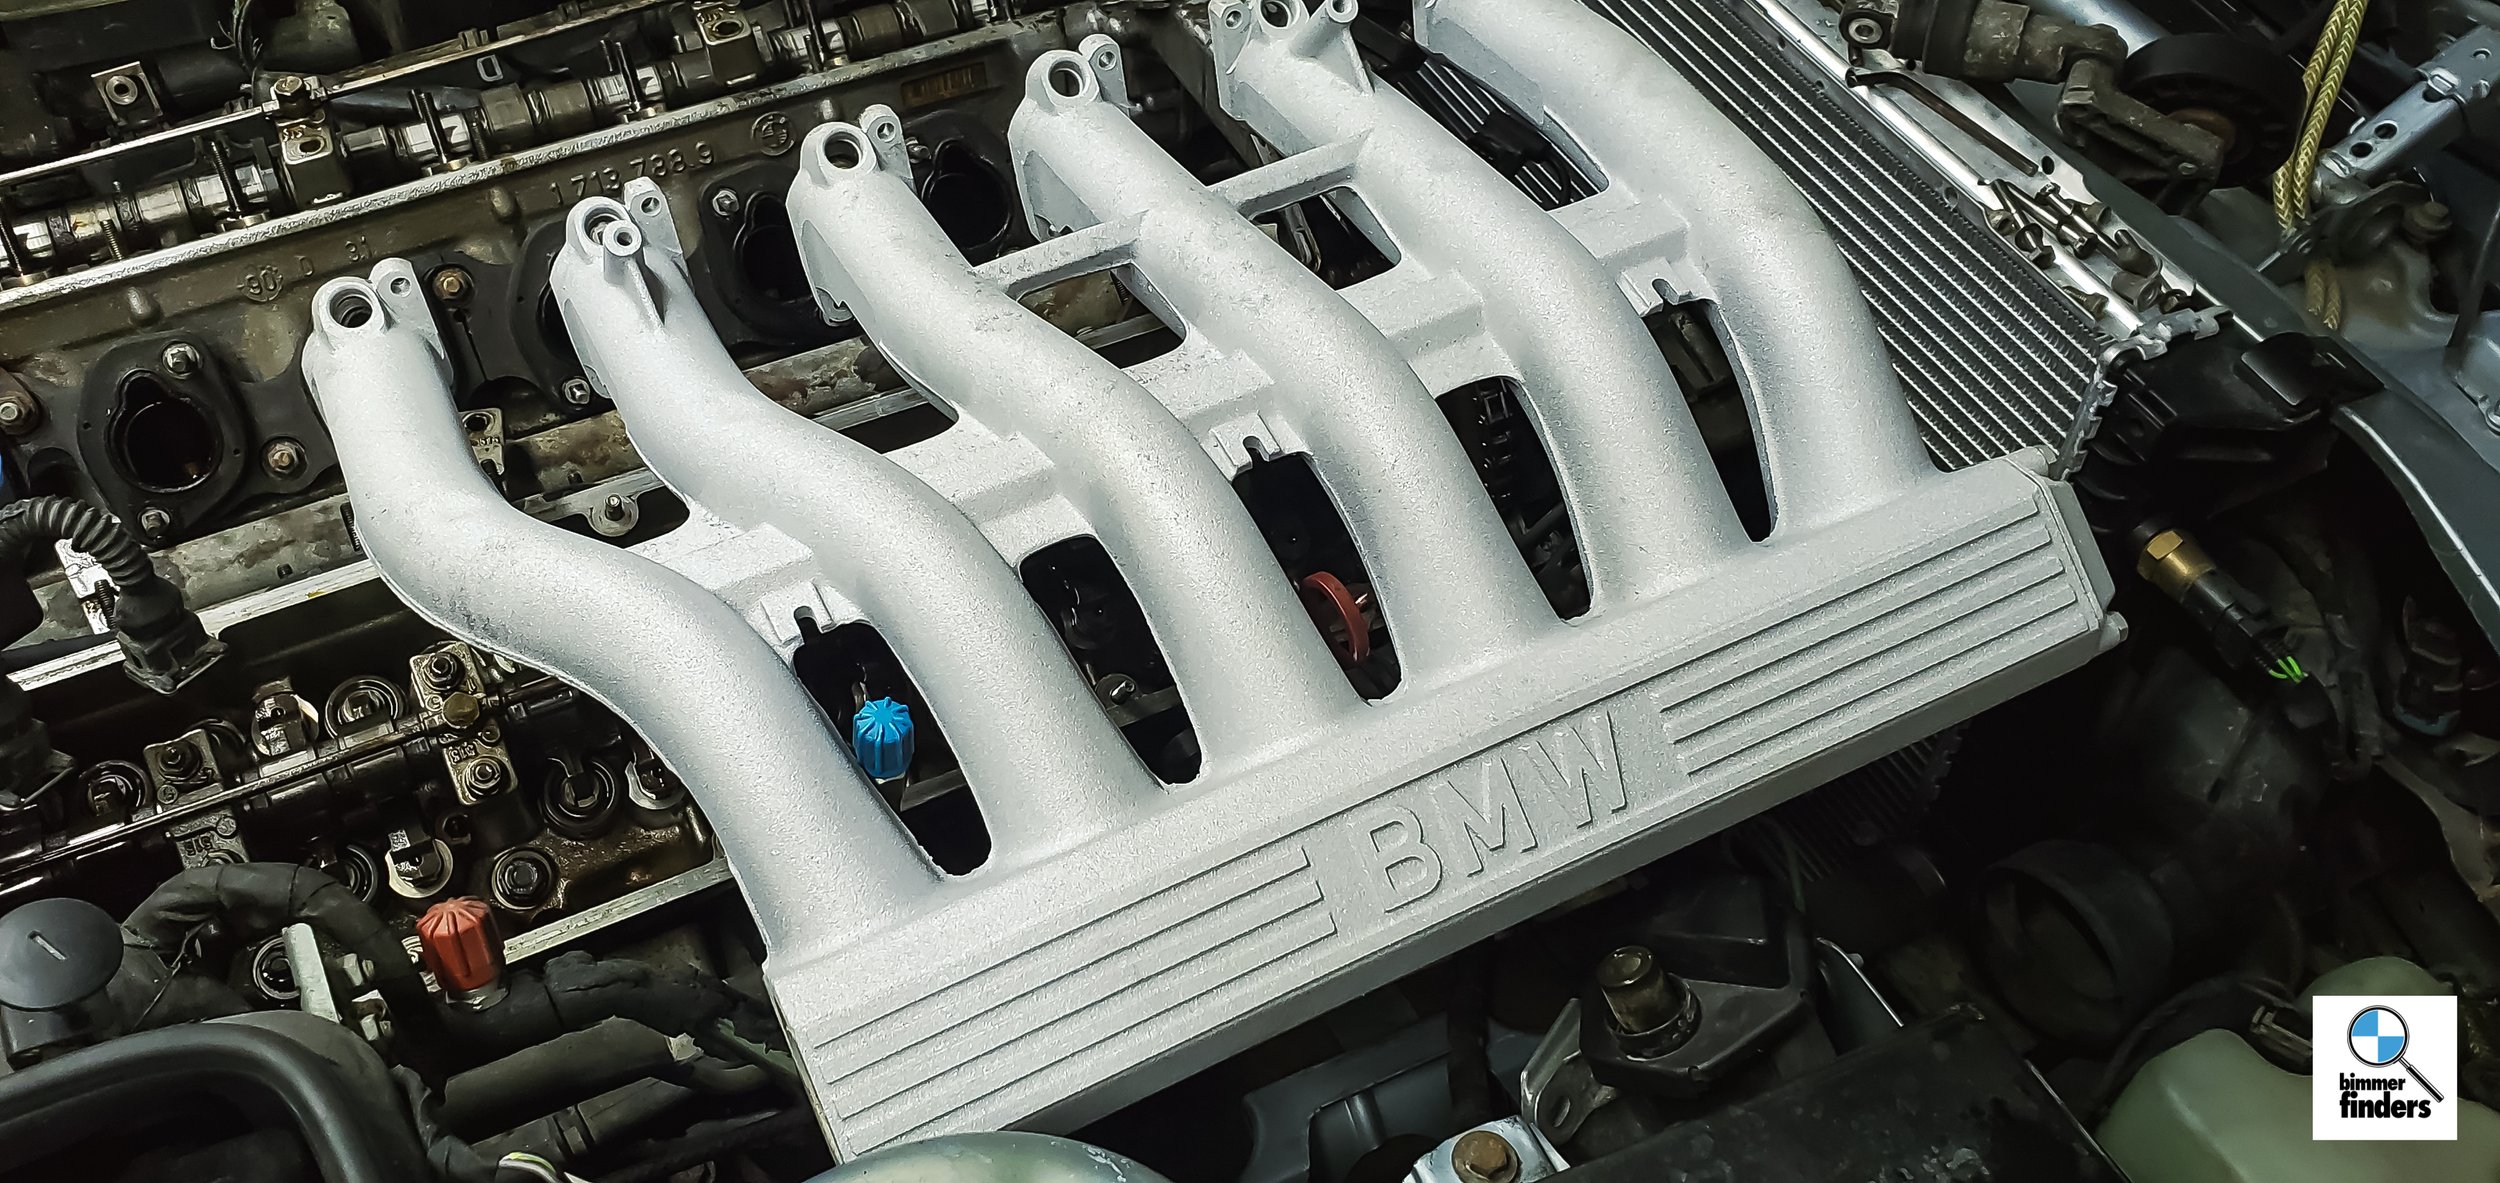
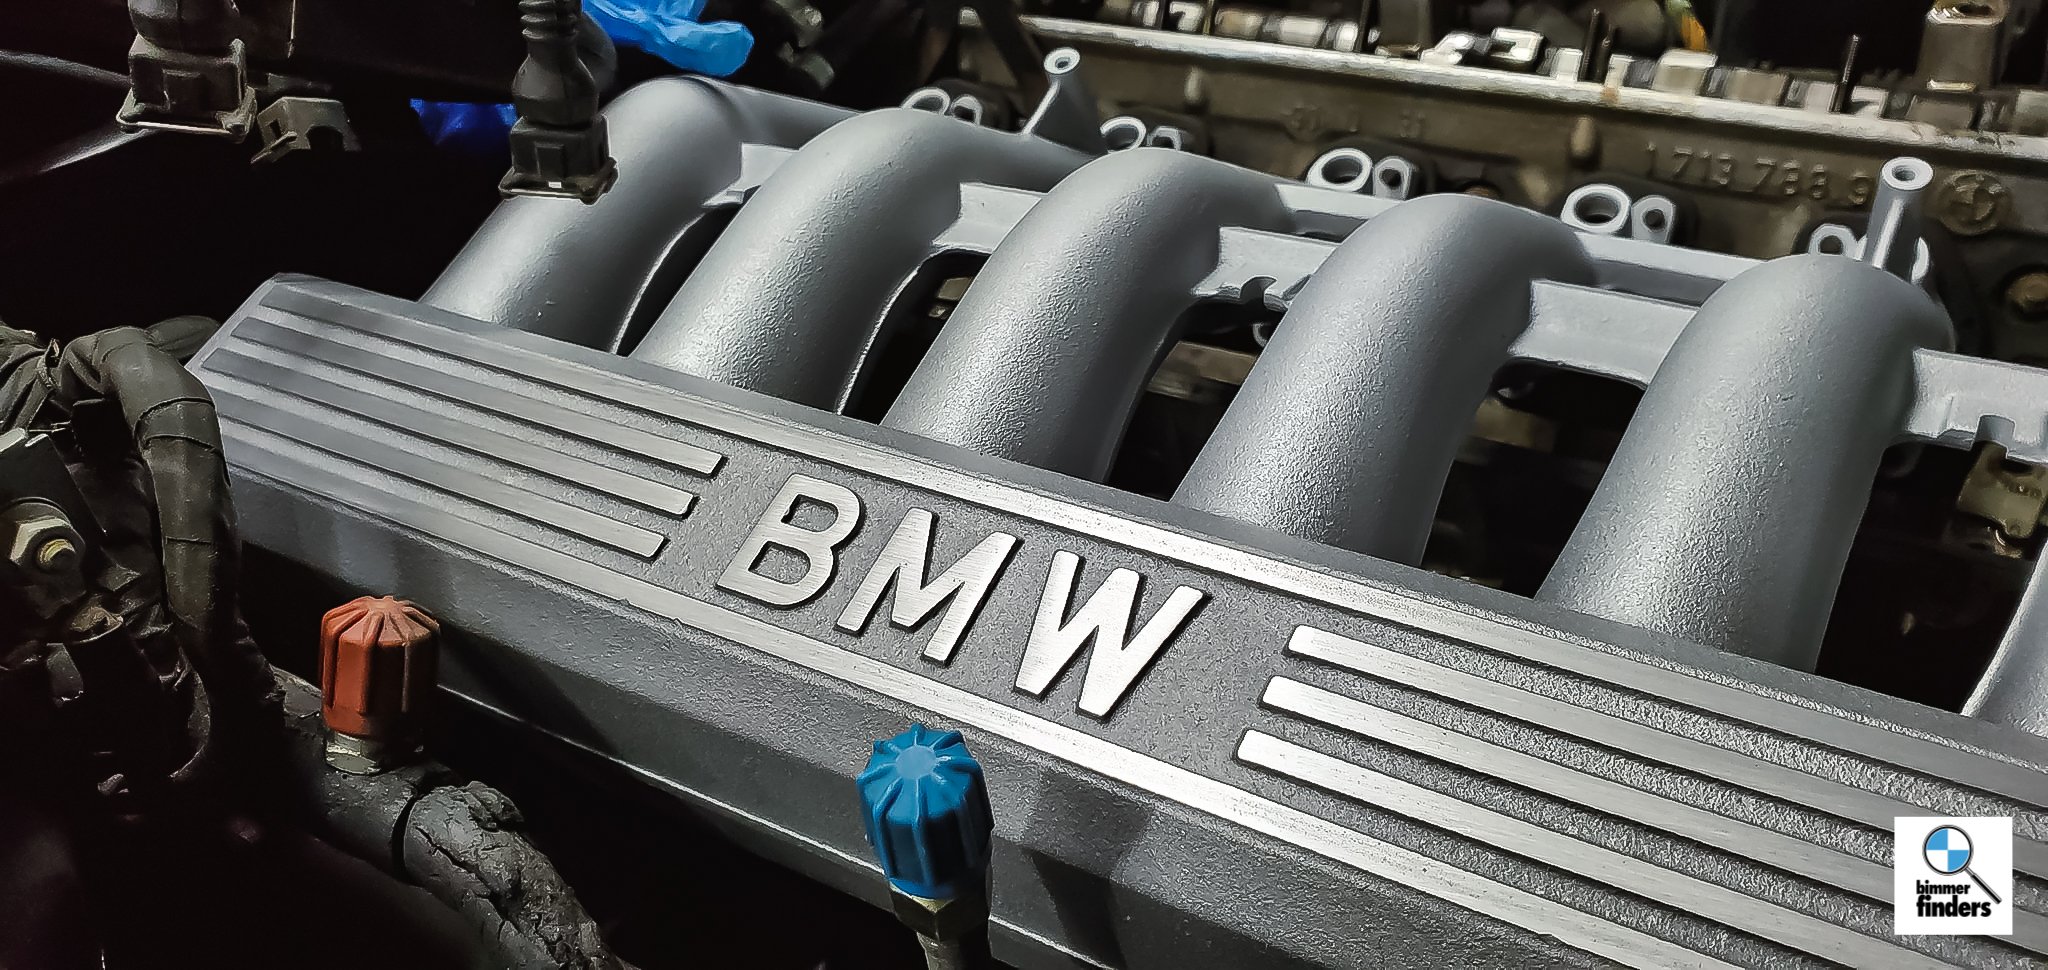
This also means I’ll be able to recondition the centerpiece of the engine bay, the intake manifolds themselves — as well as the valve covers beneath them, whose paint has long ago fallen off and are now rusty and unsightly. I’m currently driving this car(during the time this segment of the article is being written) and intend to continue to while I get everything wrapped up and pictures are taken while the weather participates; so I revisited the stash spot and picked from another 750 to clean up prior to doing the big job. This will ensure that it goes by as smoothly and quickly as possible using already refurbished parts. I got the intakes along with the valve covers that I’ll be reconditioning — during this time I’ll also be replacing the fuel pressure regulators and vacuum lines, as well as cleaning the injectors so to complete all of the “while you’re in there” items so that the next owner can drive with confidence & not worry about it.


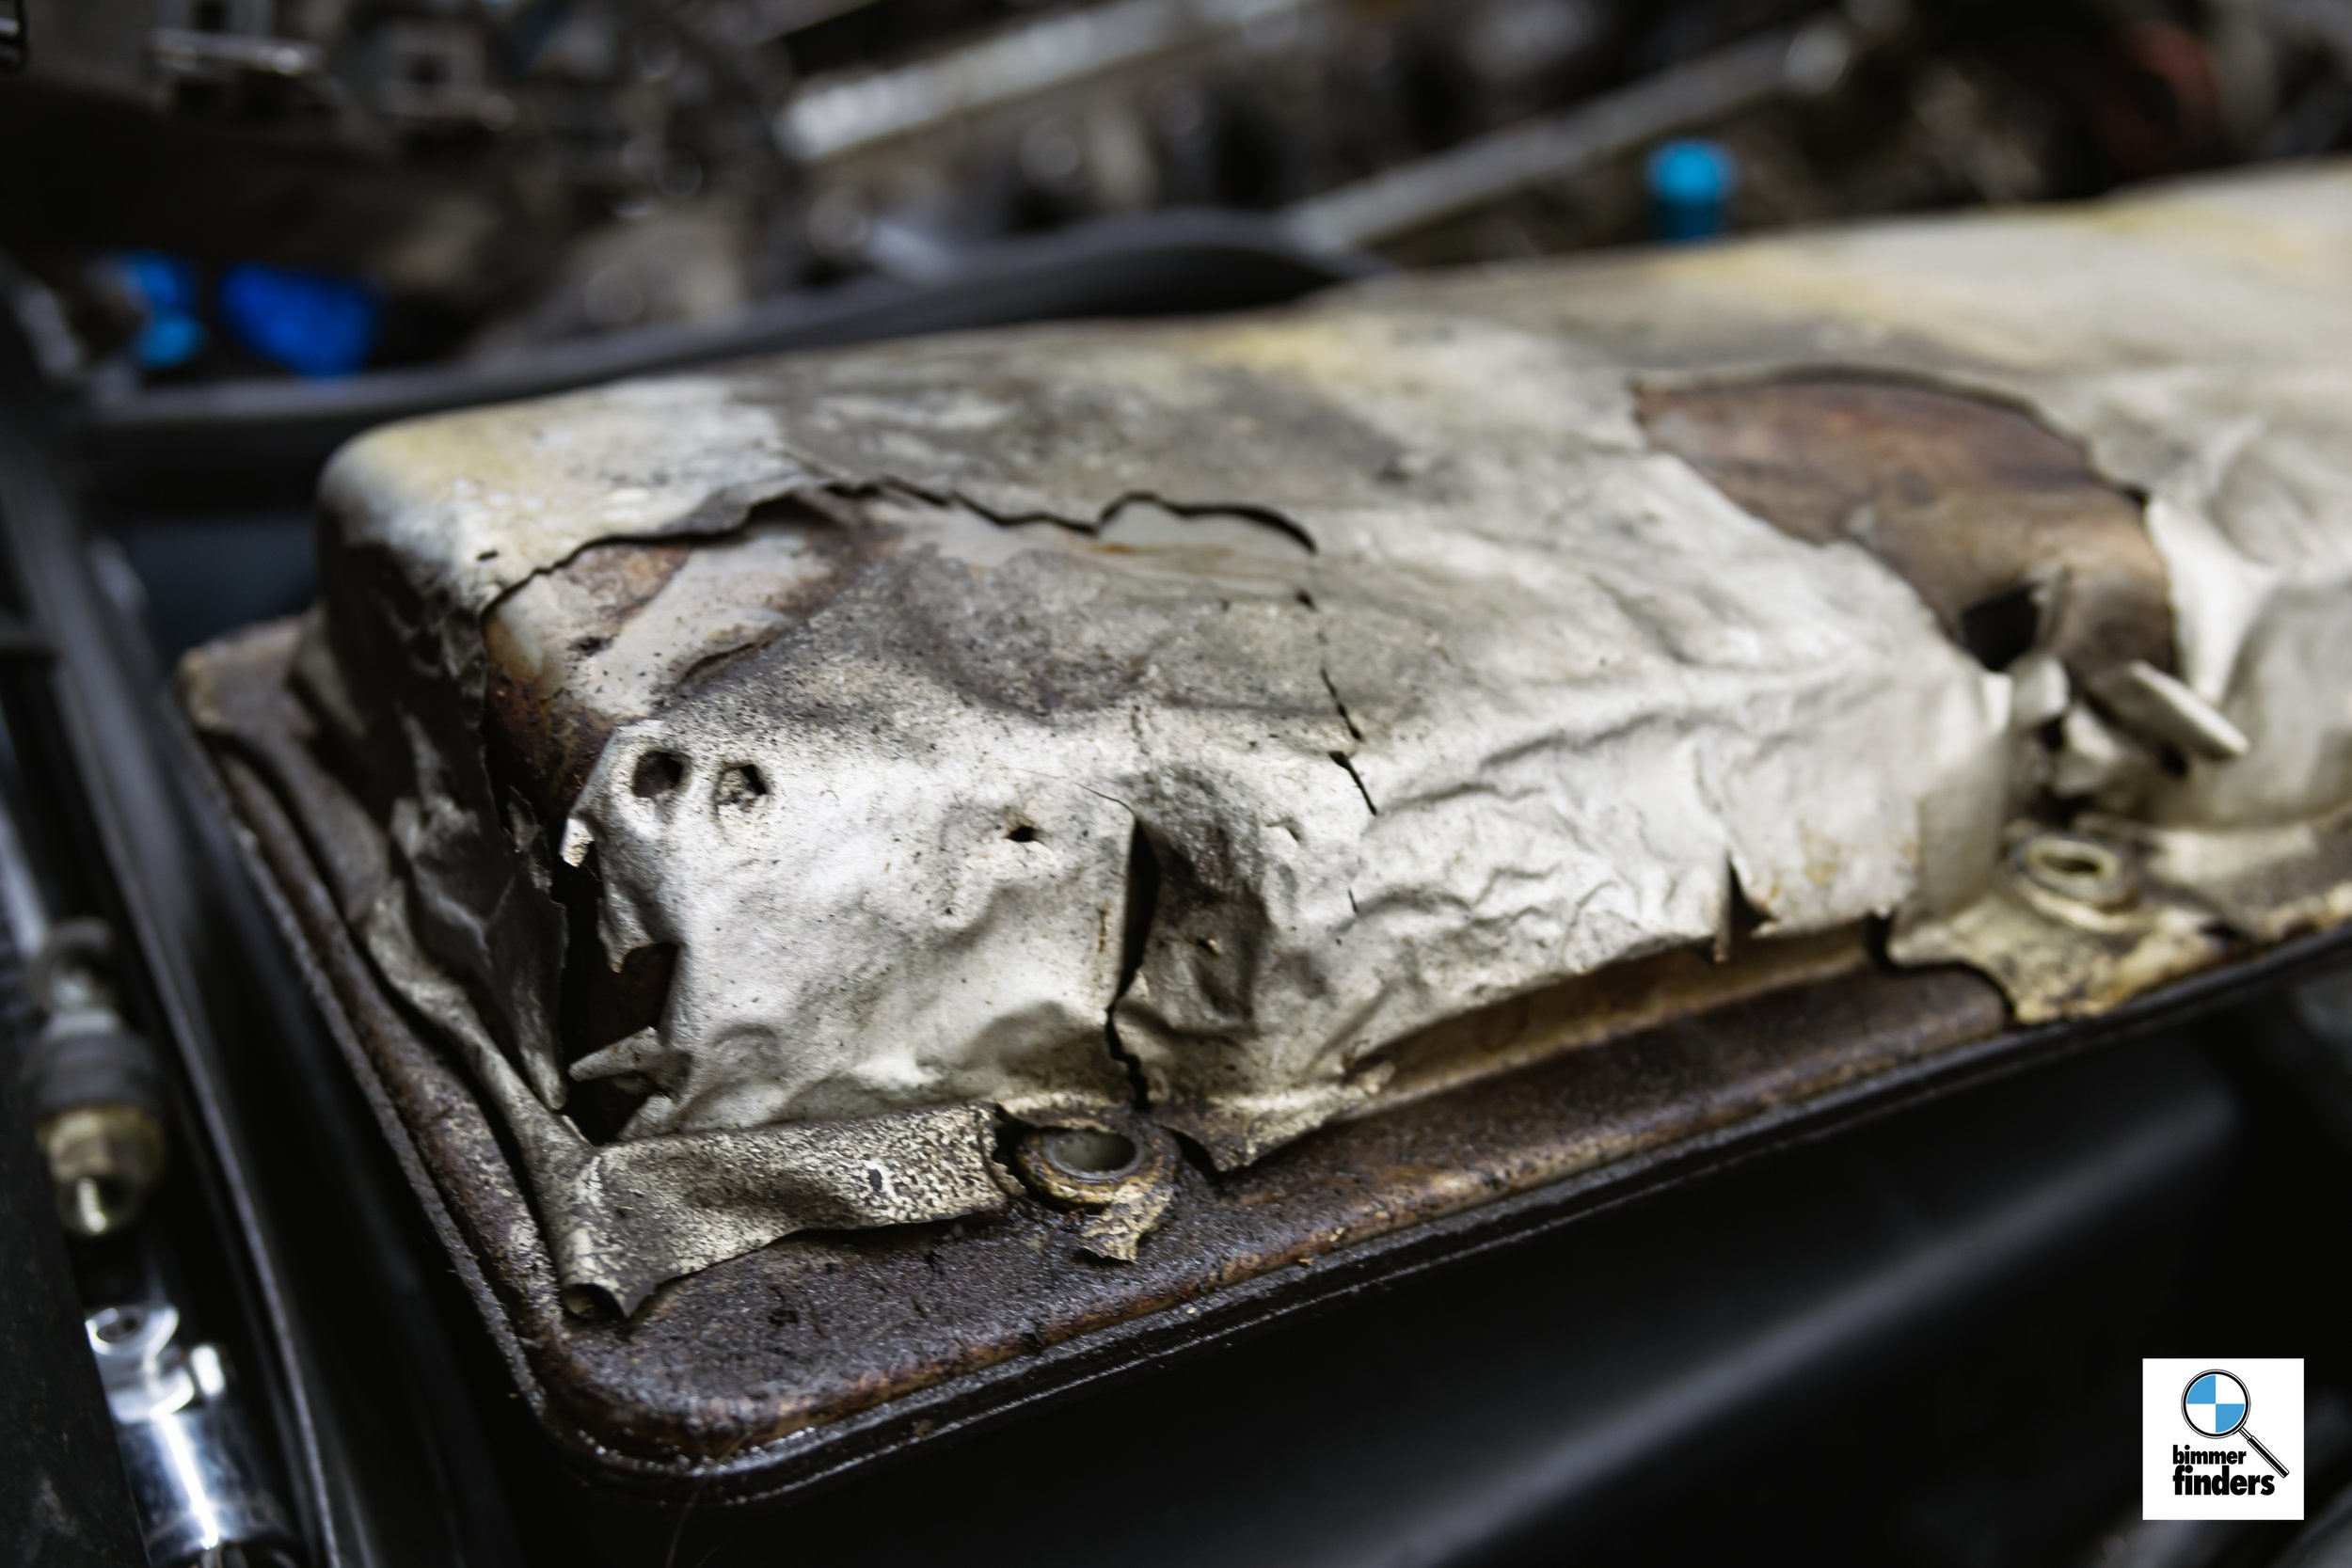
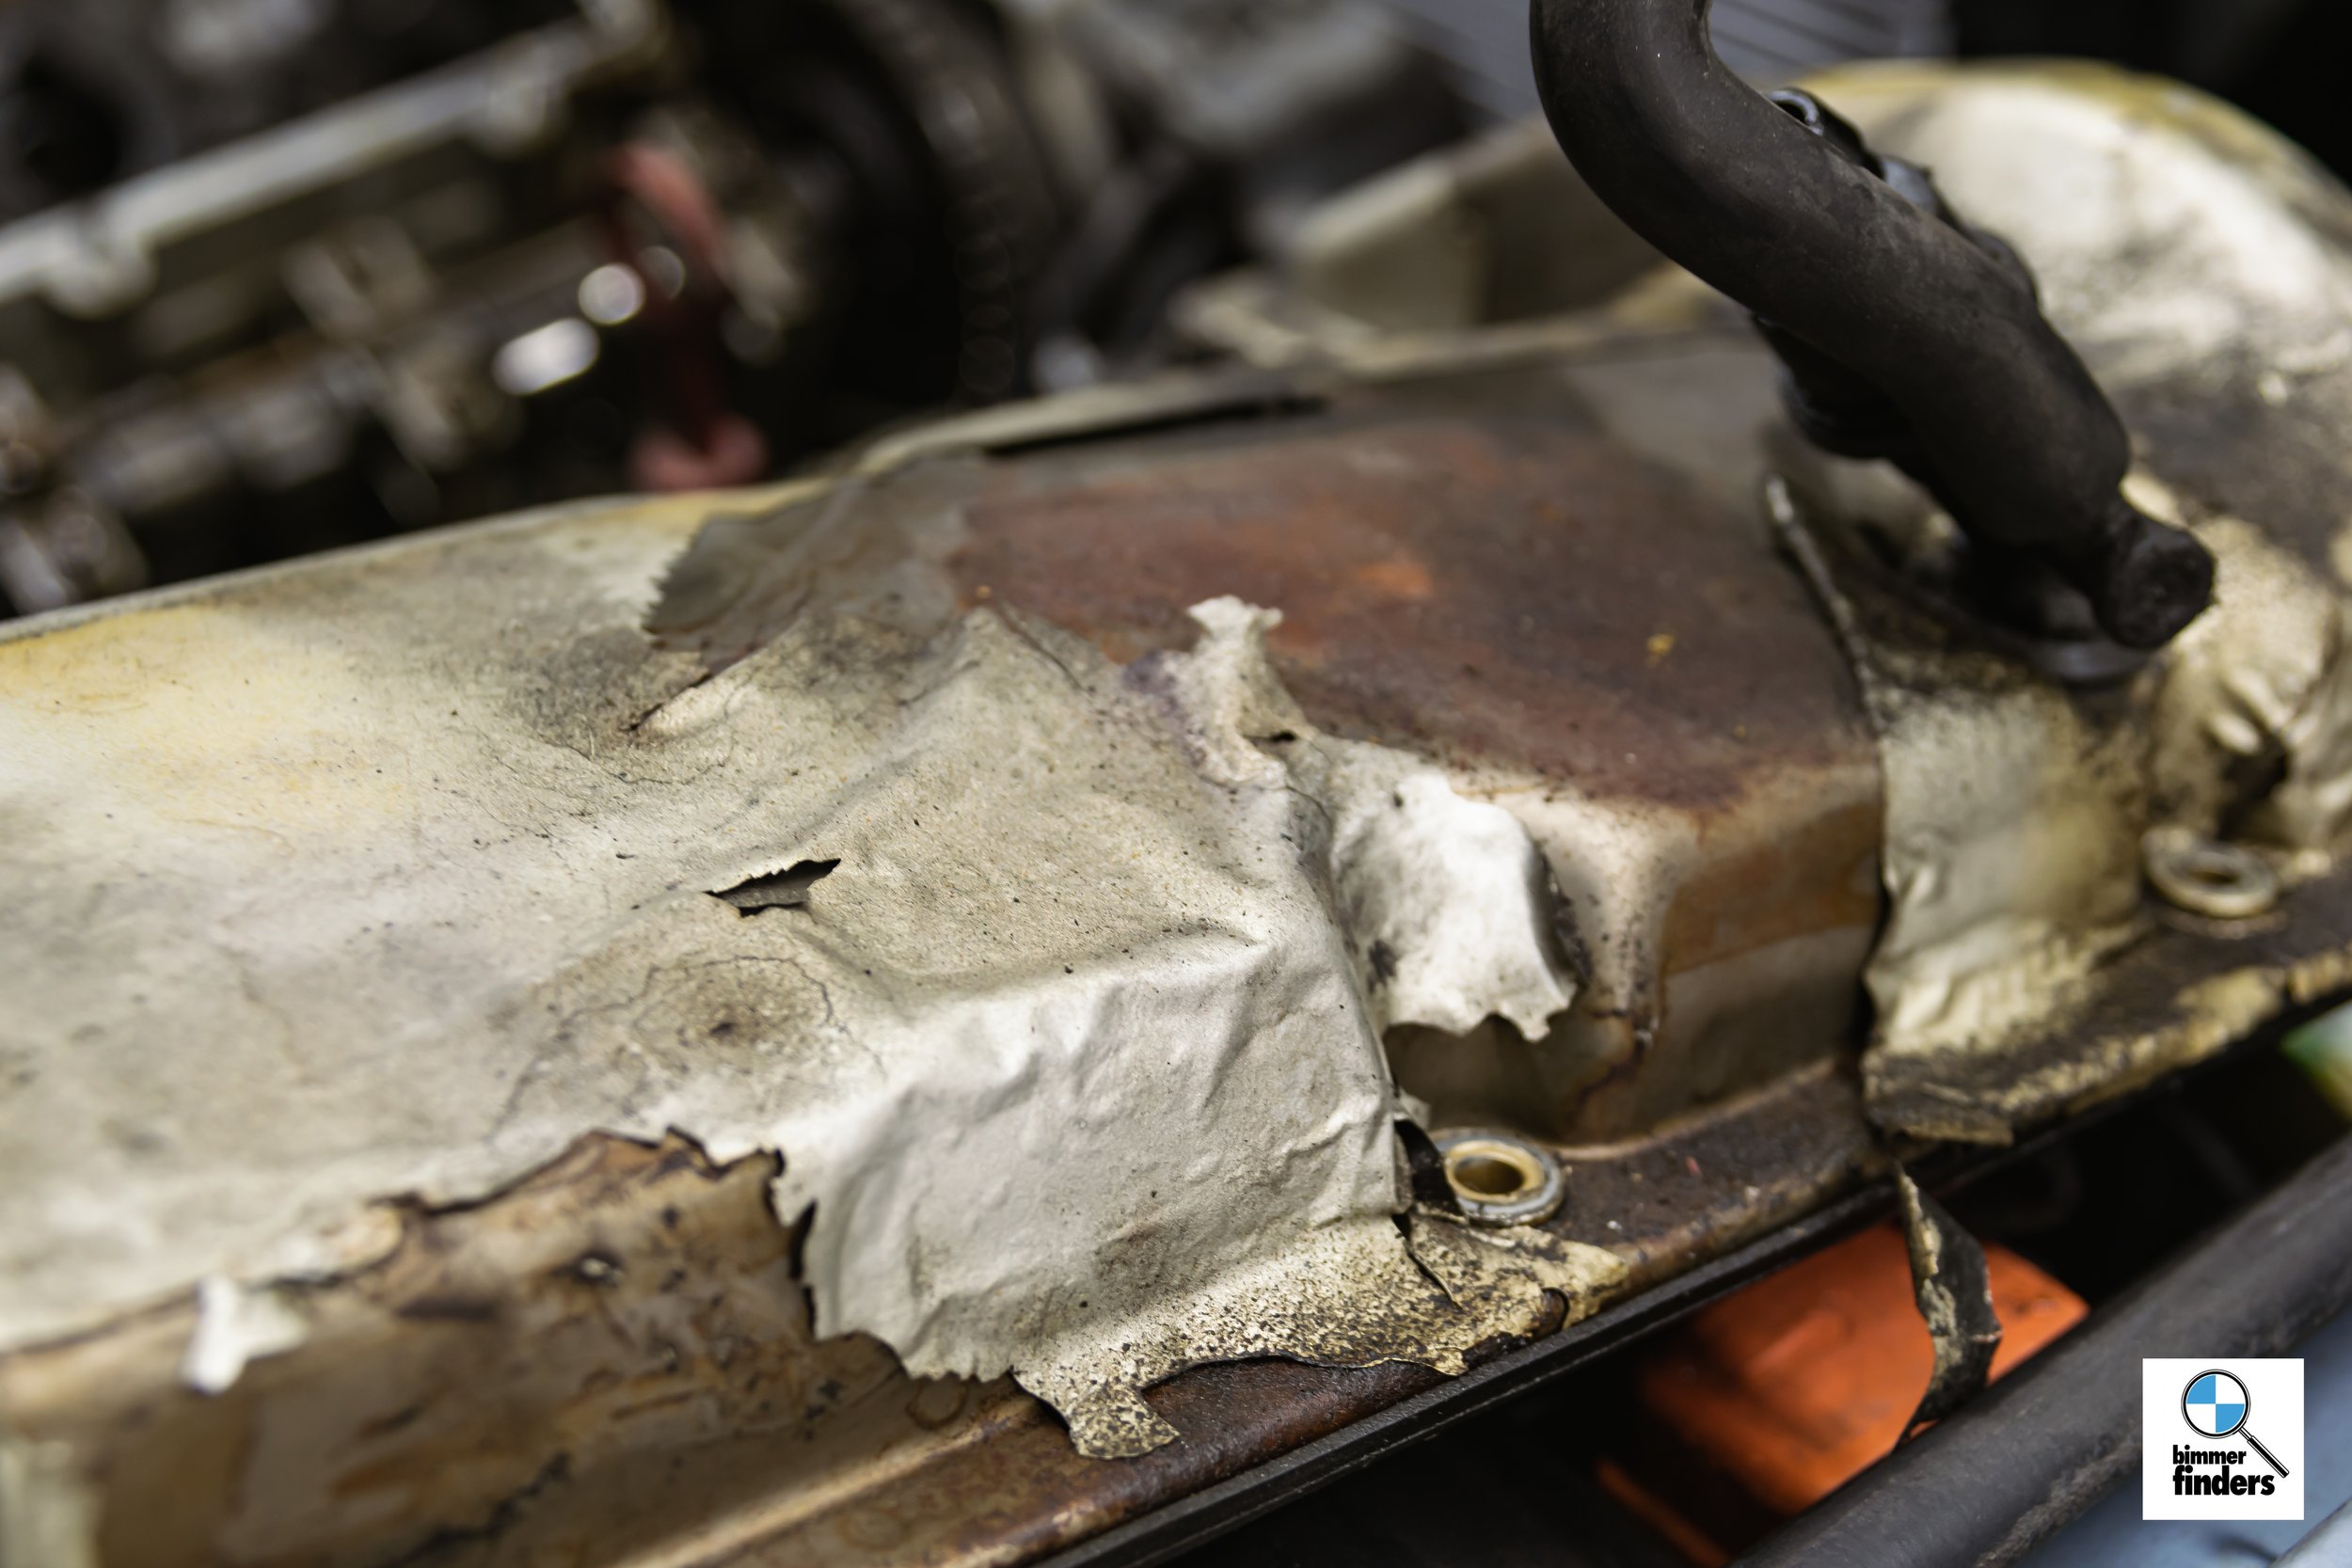
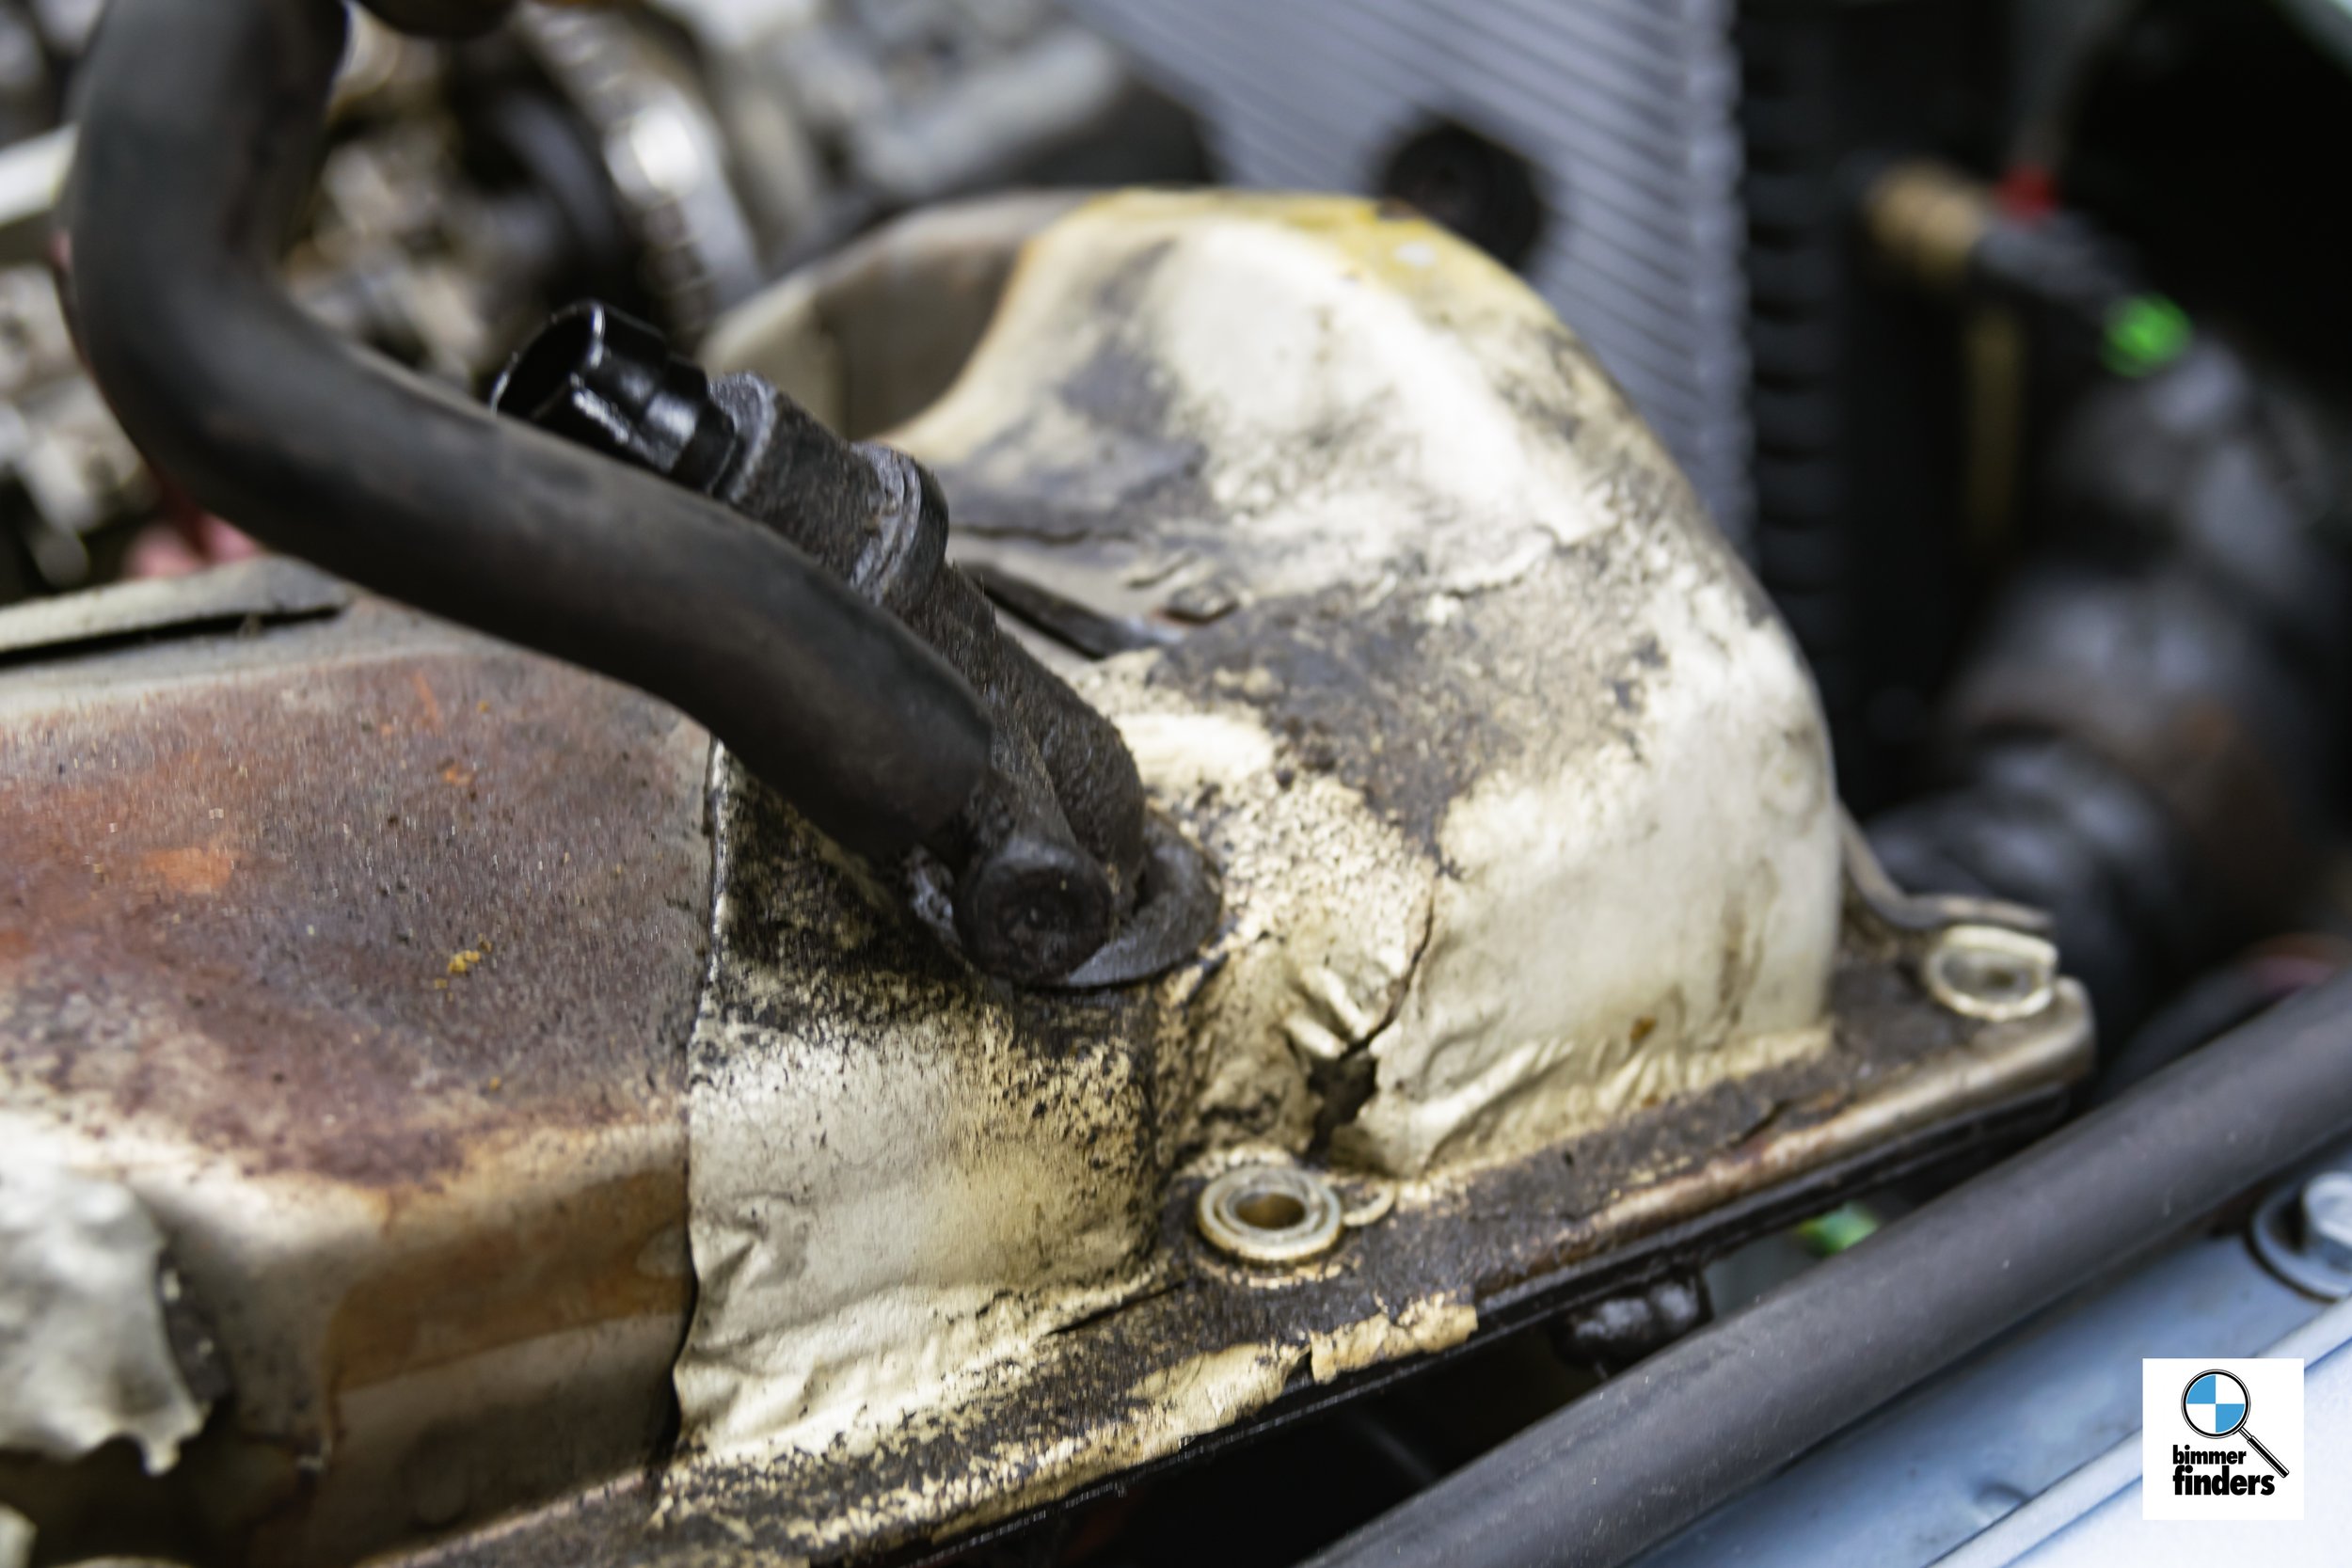
Tearing my engine down:

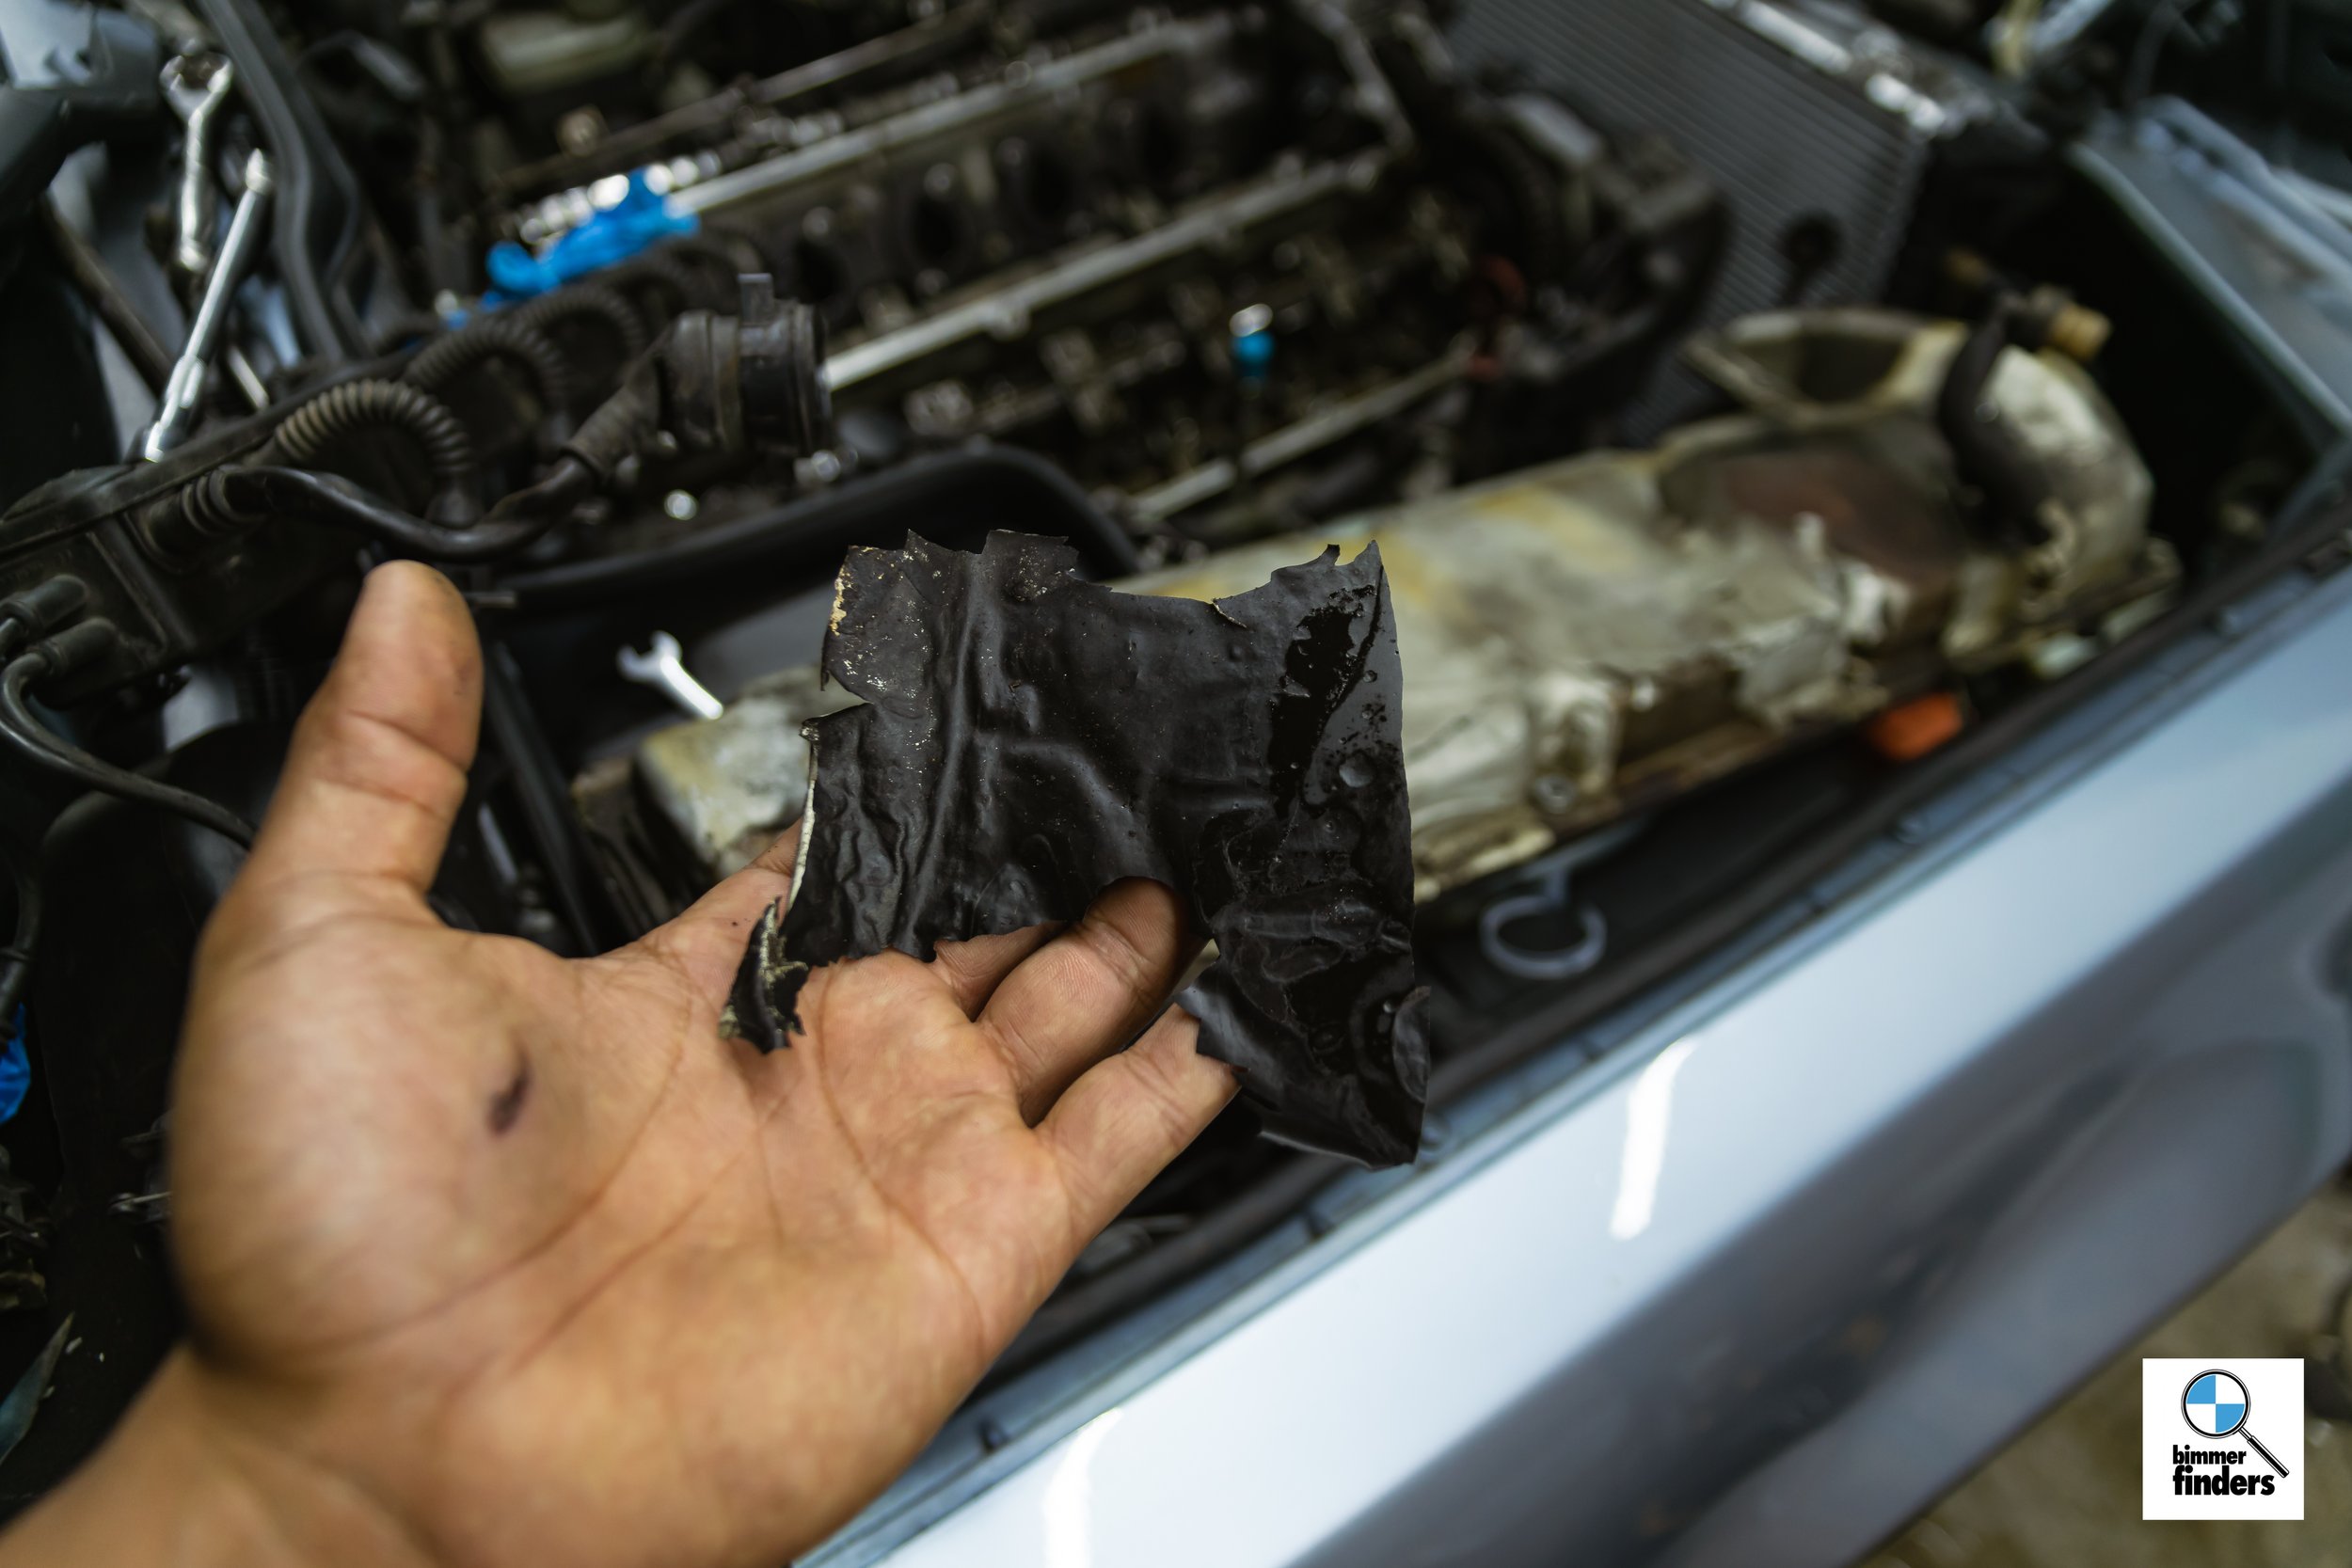
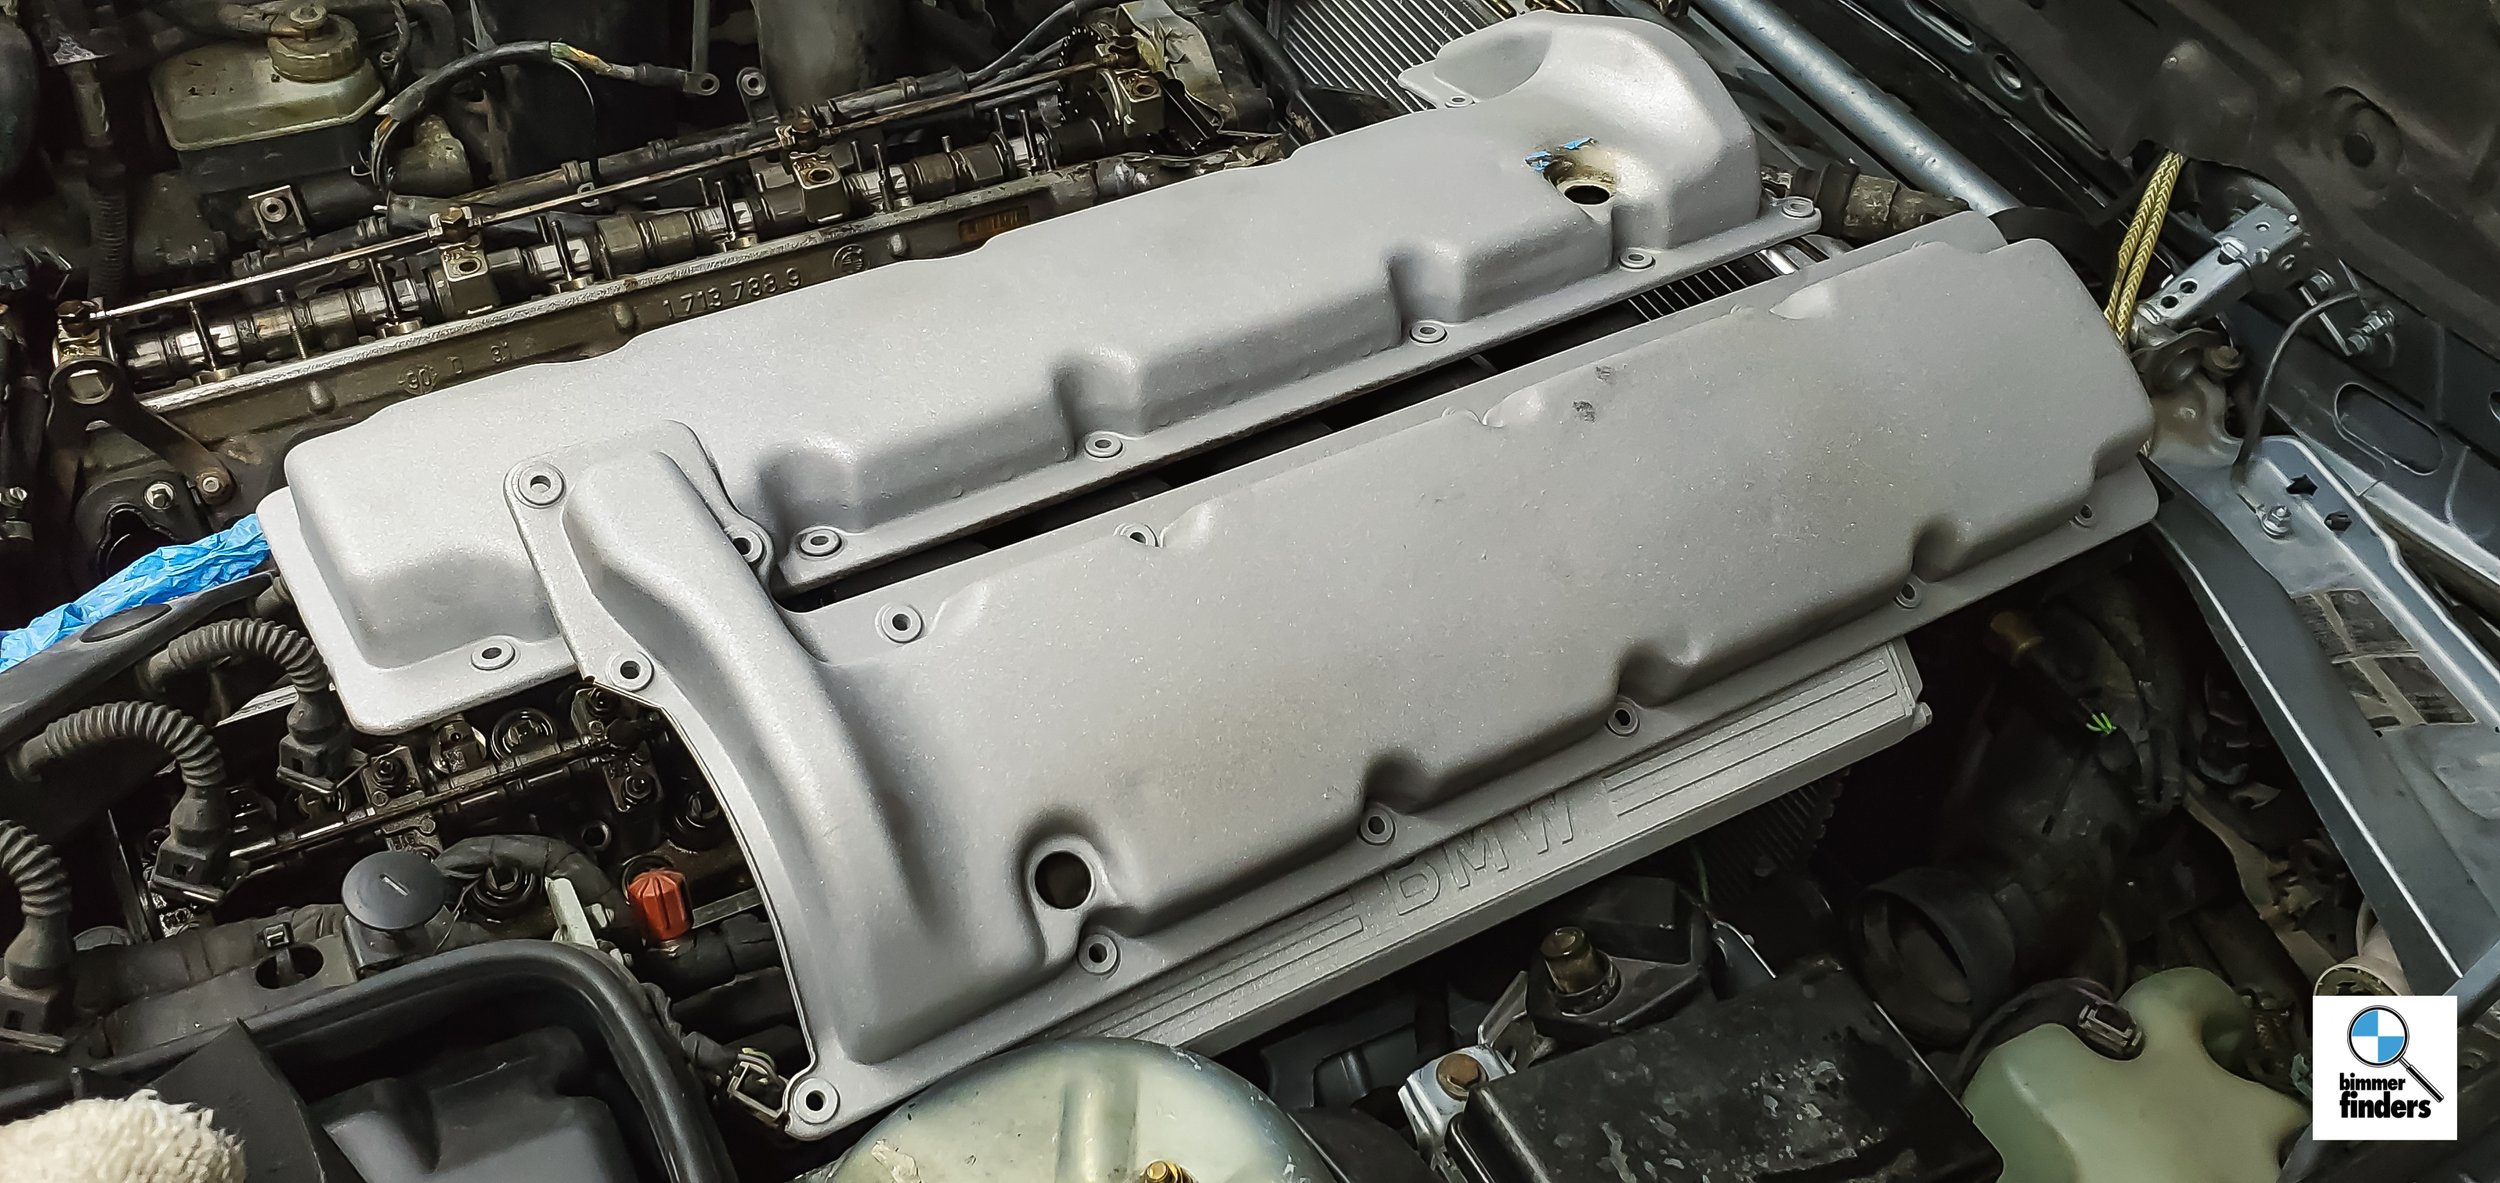
Here’s what the valve covers looked like underneath the intakes. The paint could be blown off:

However, underneath that mess was an absolutely beautiful valvetrain; the car’s low mileage and heavy maintenance are definitely reflected on the inside.

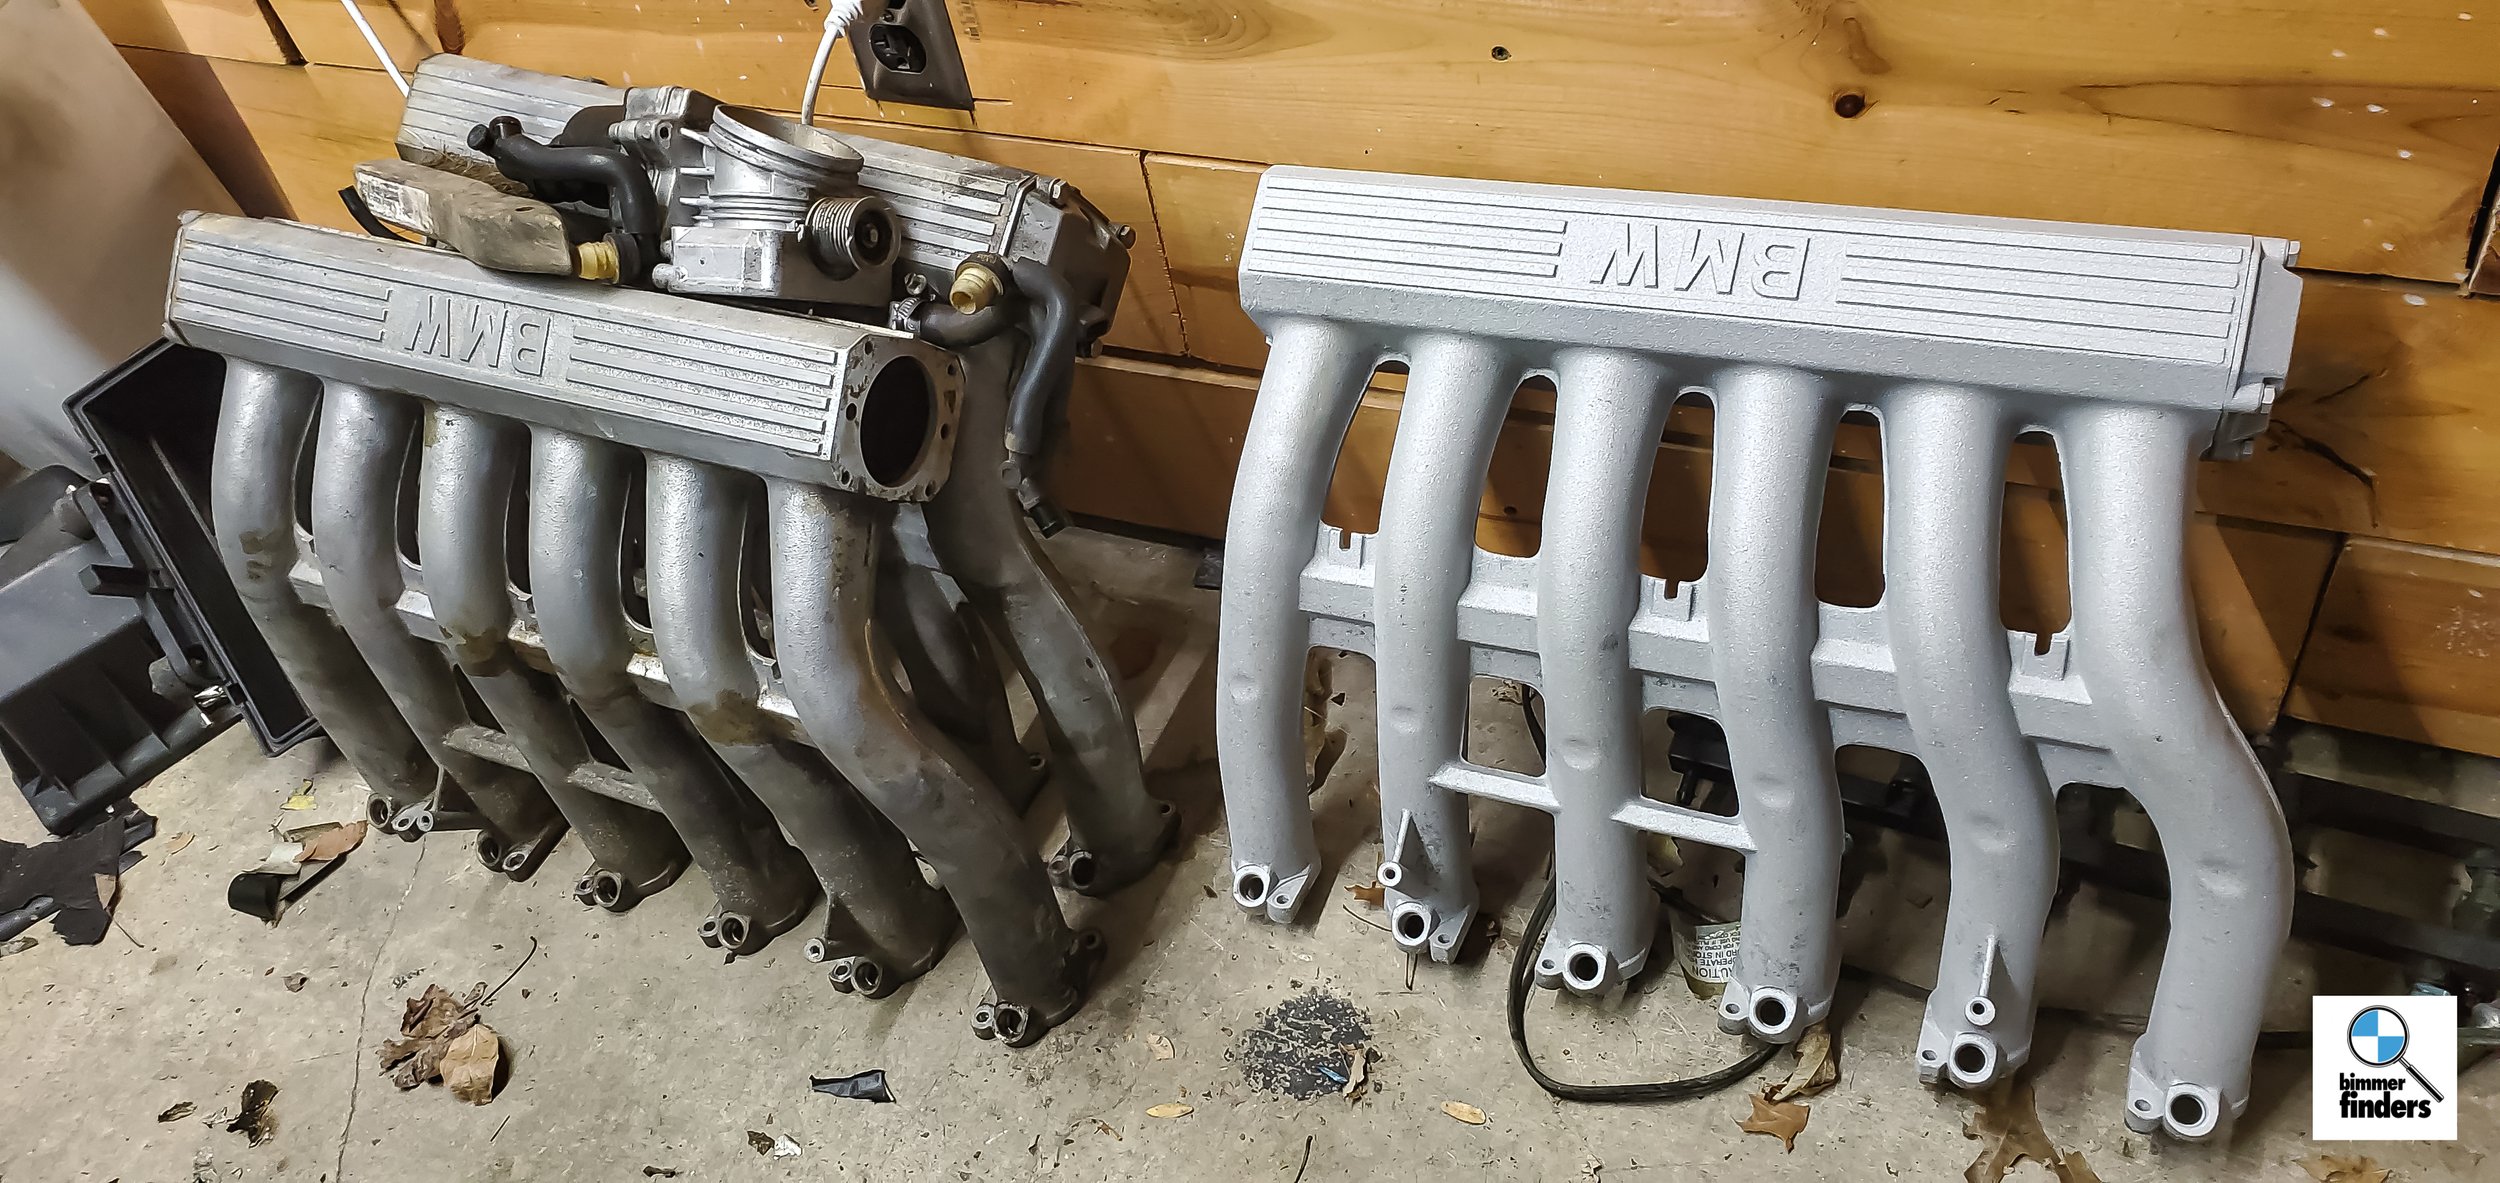
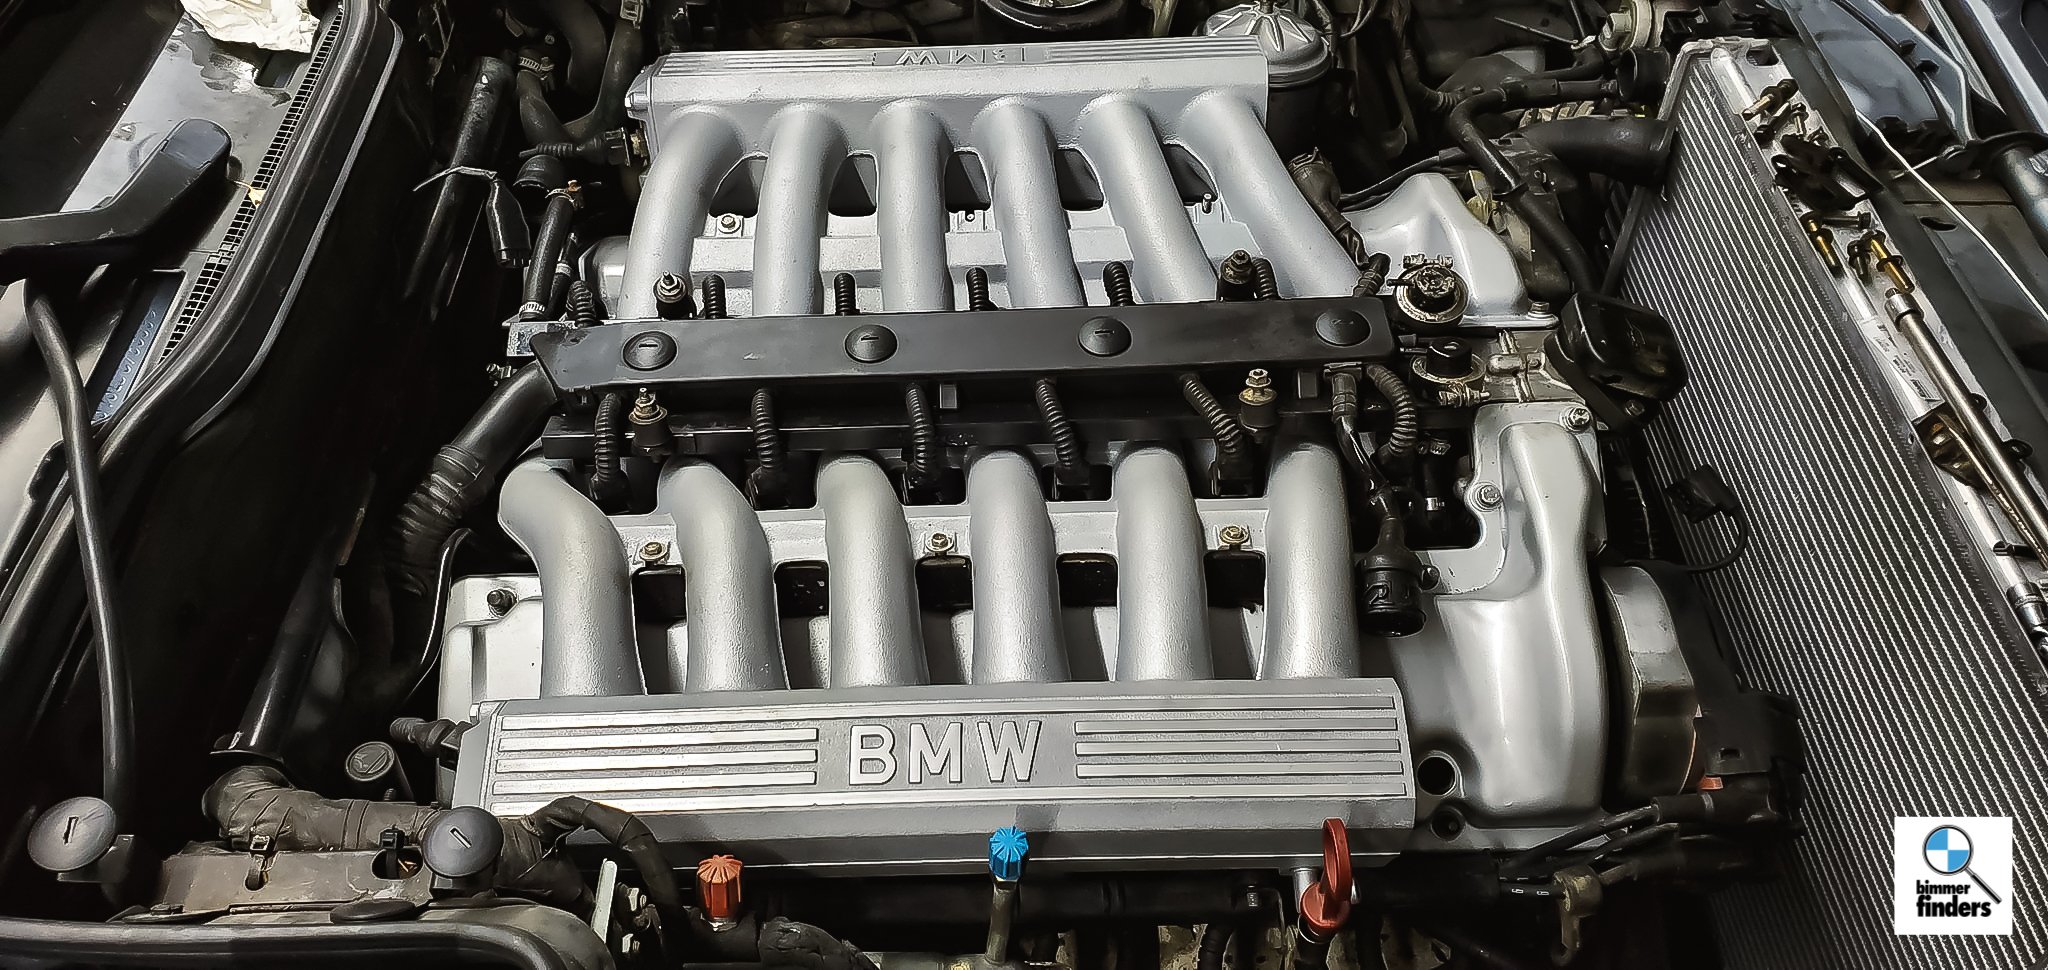
I had the intakes and valve covers media blasted, and then painted them. The difference in presentation is dramatic to say the least.
When replacing the intakes and upper end, I also cleaned the injectors, and painted the fuel rails. New valve cover gaskets and resealed intakes, I’m happy with the result.
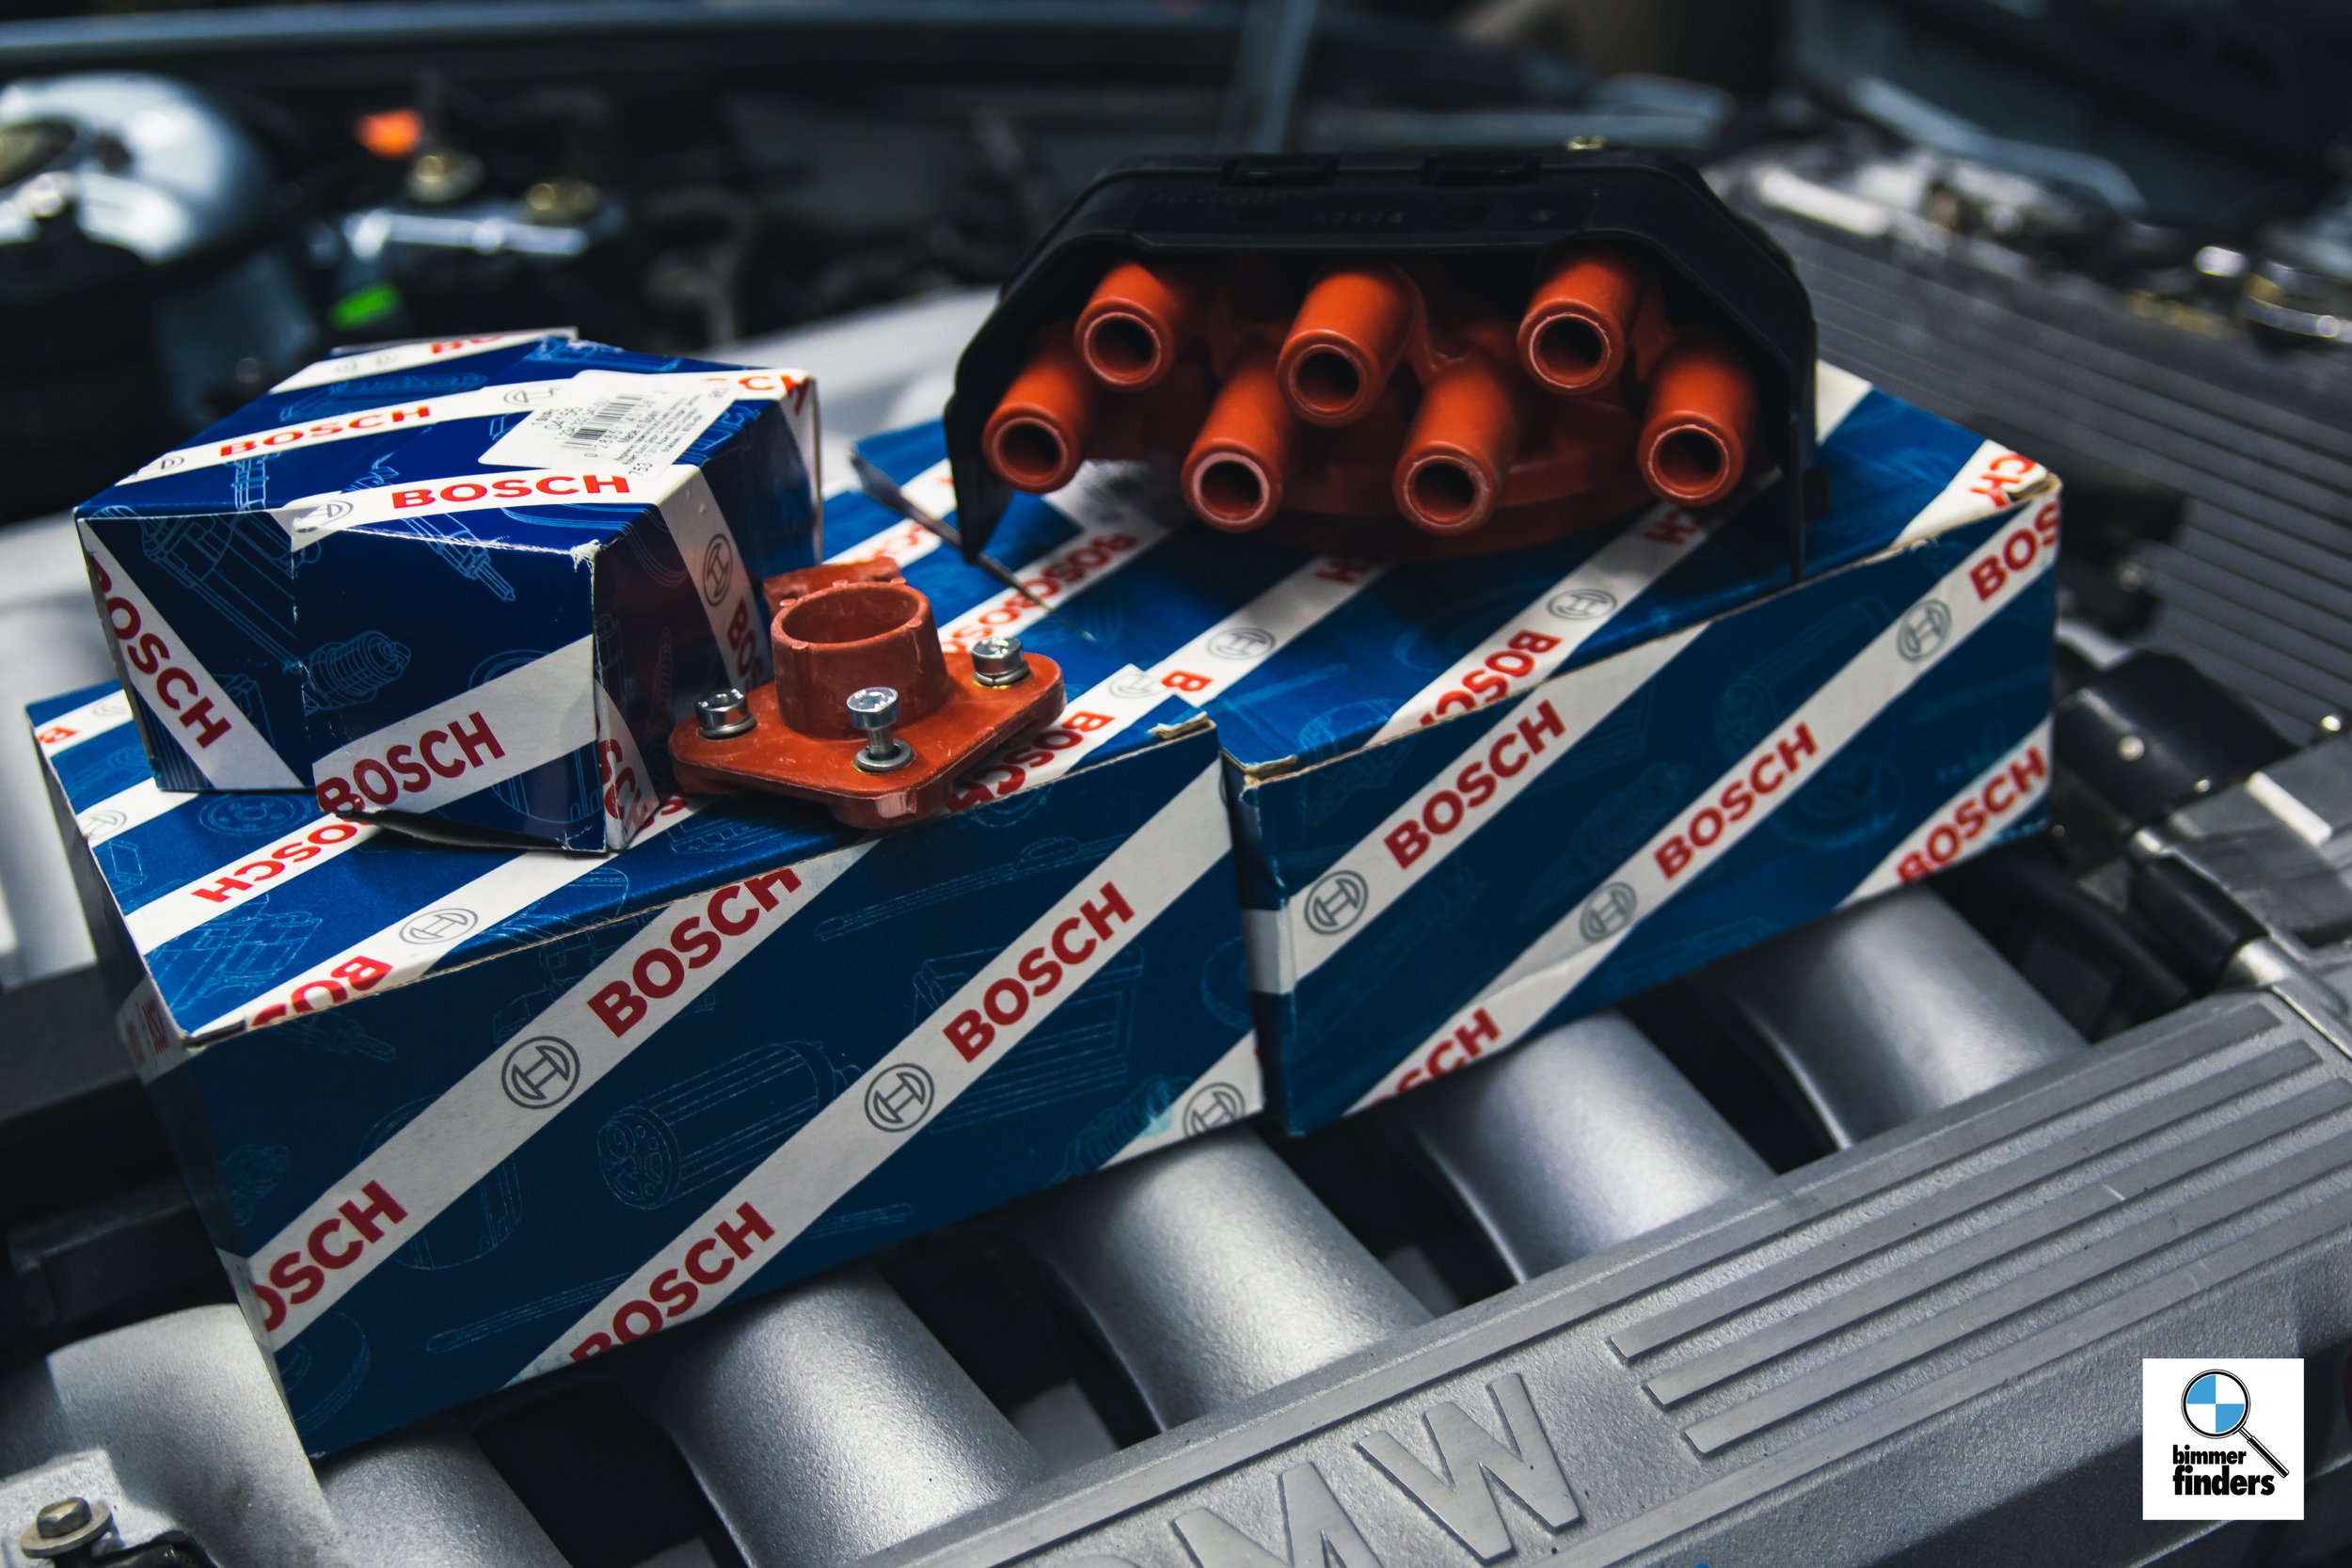
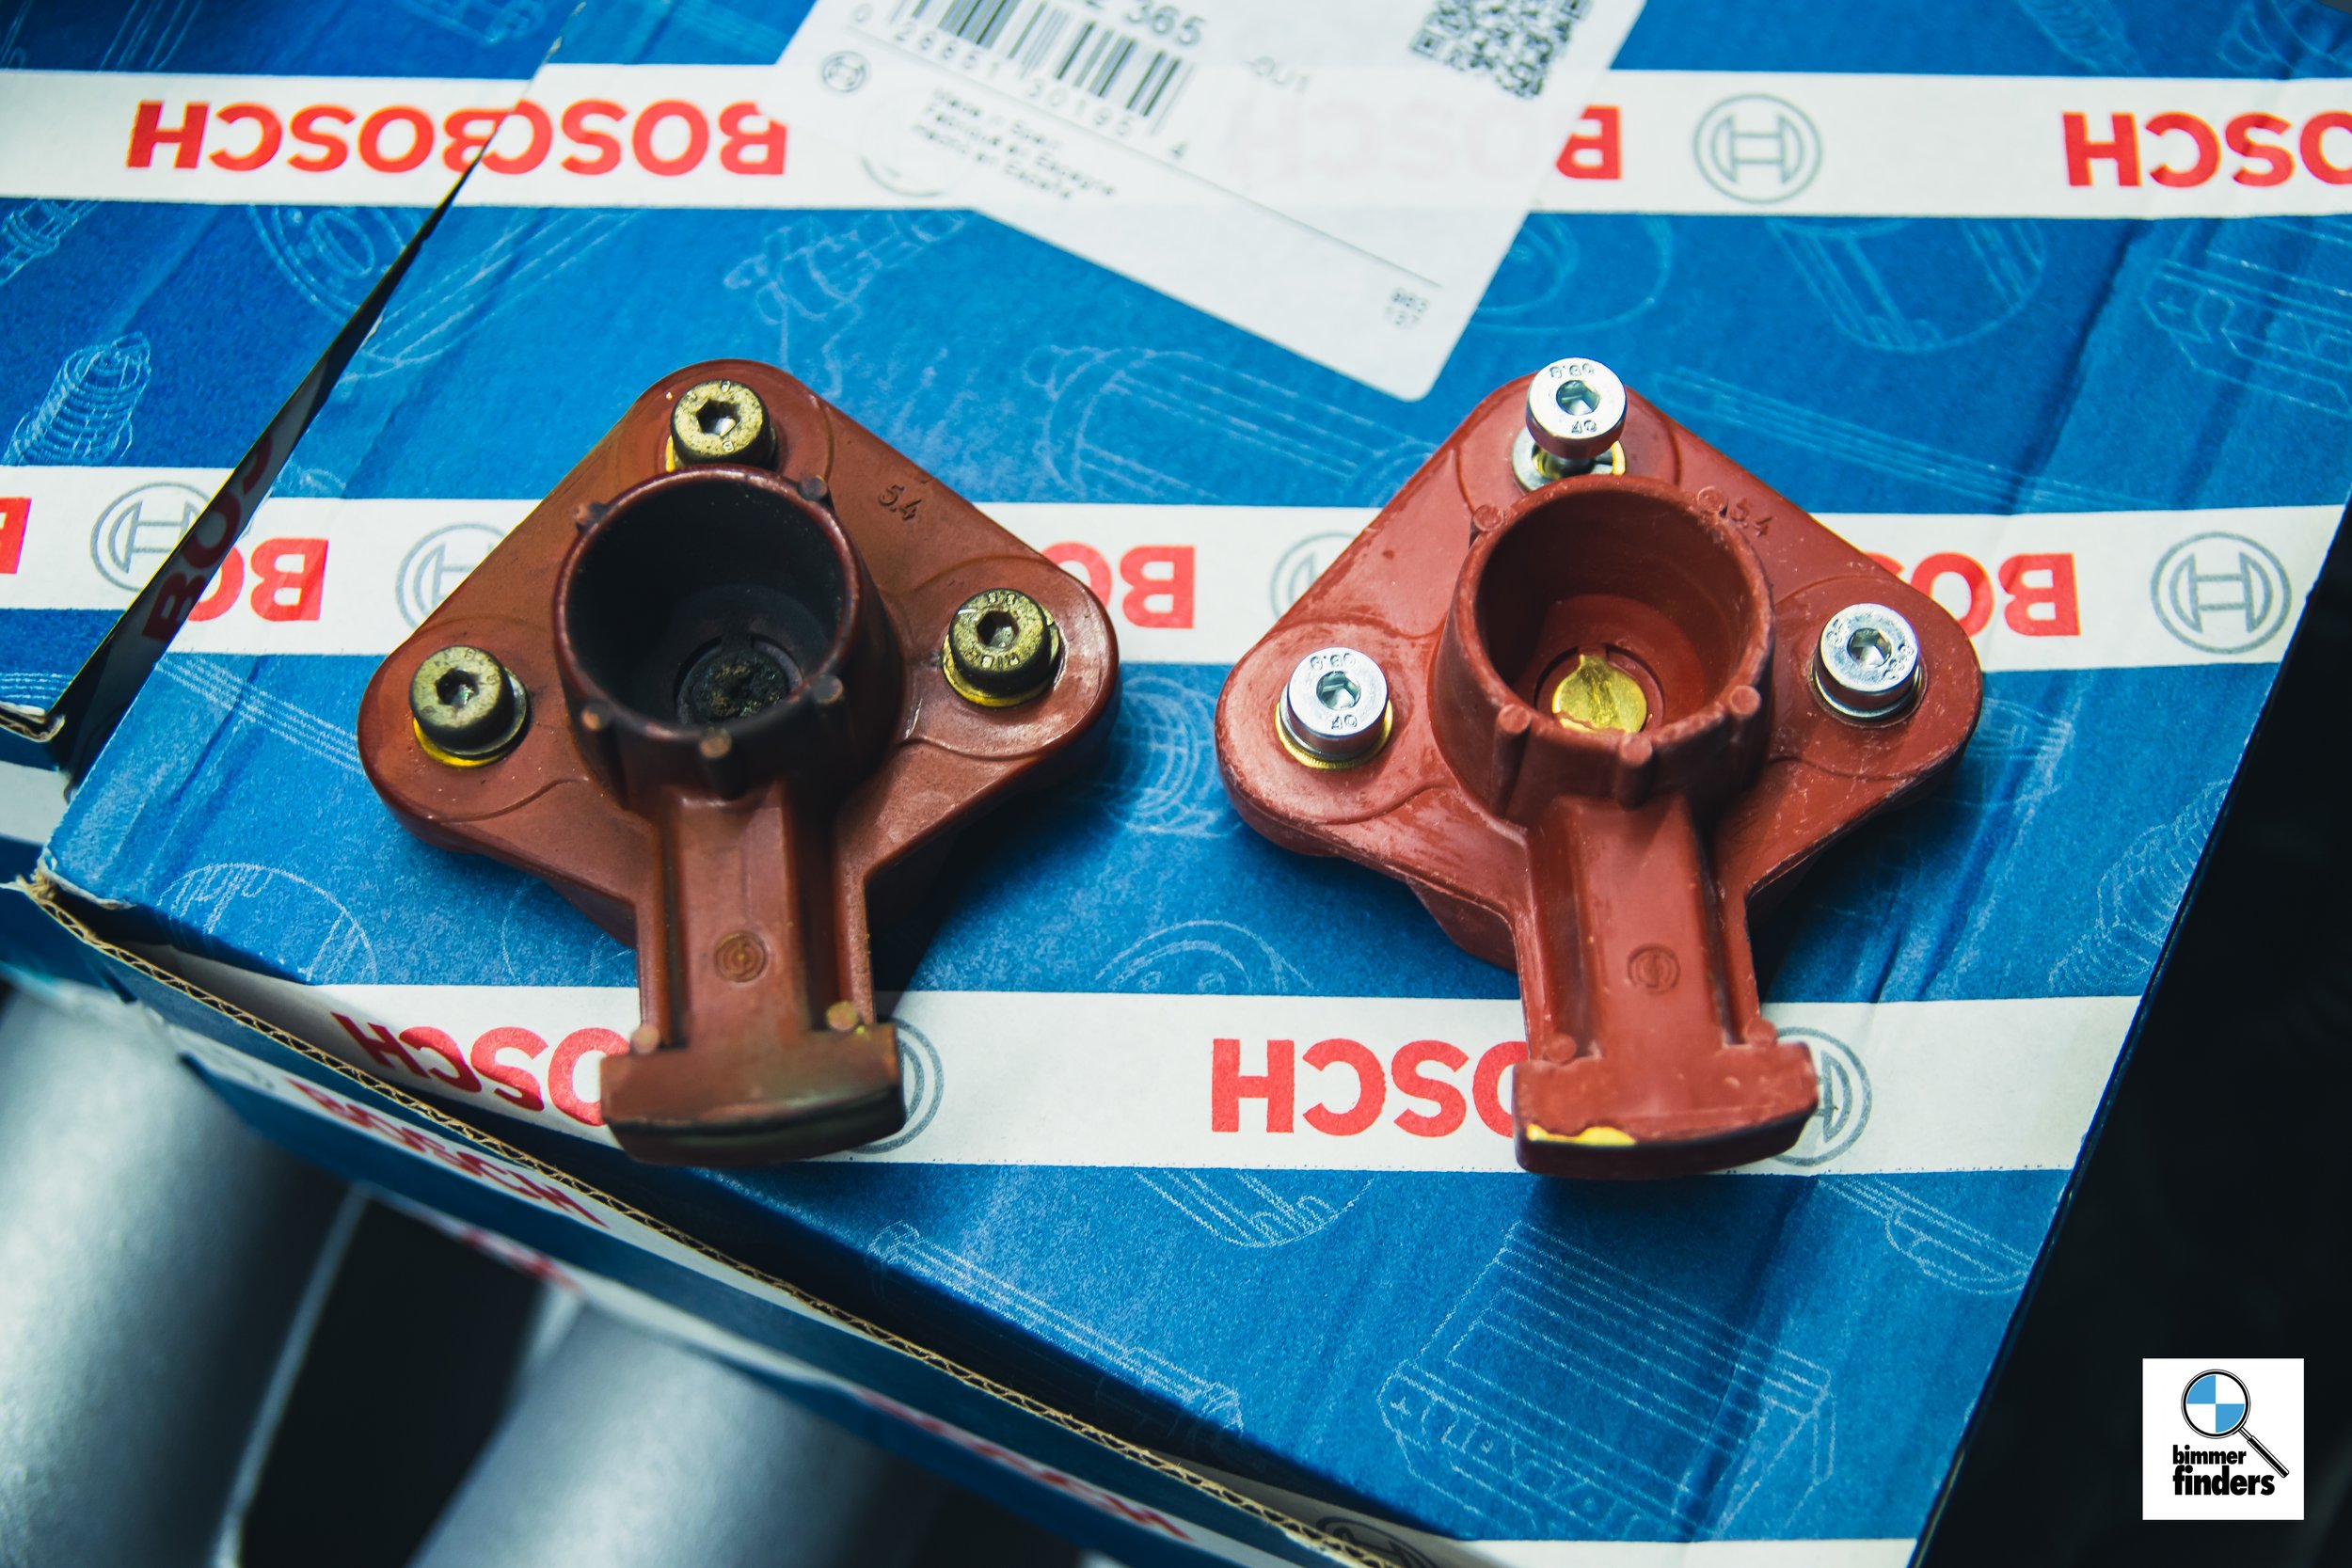
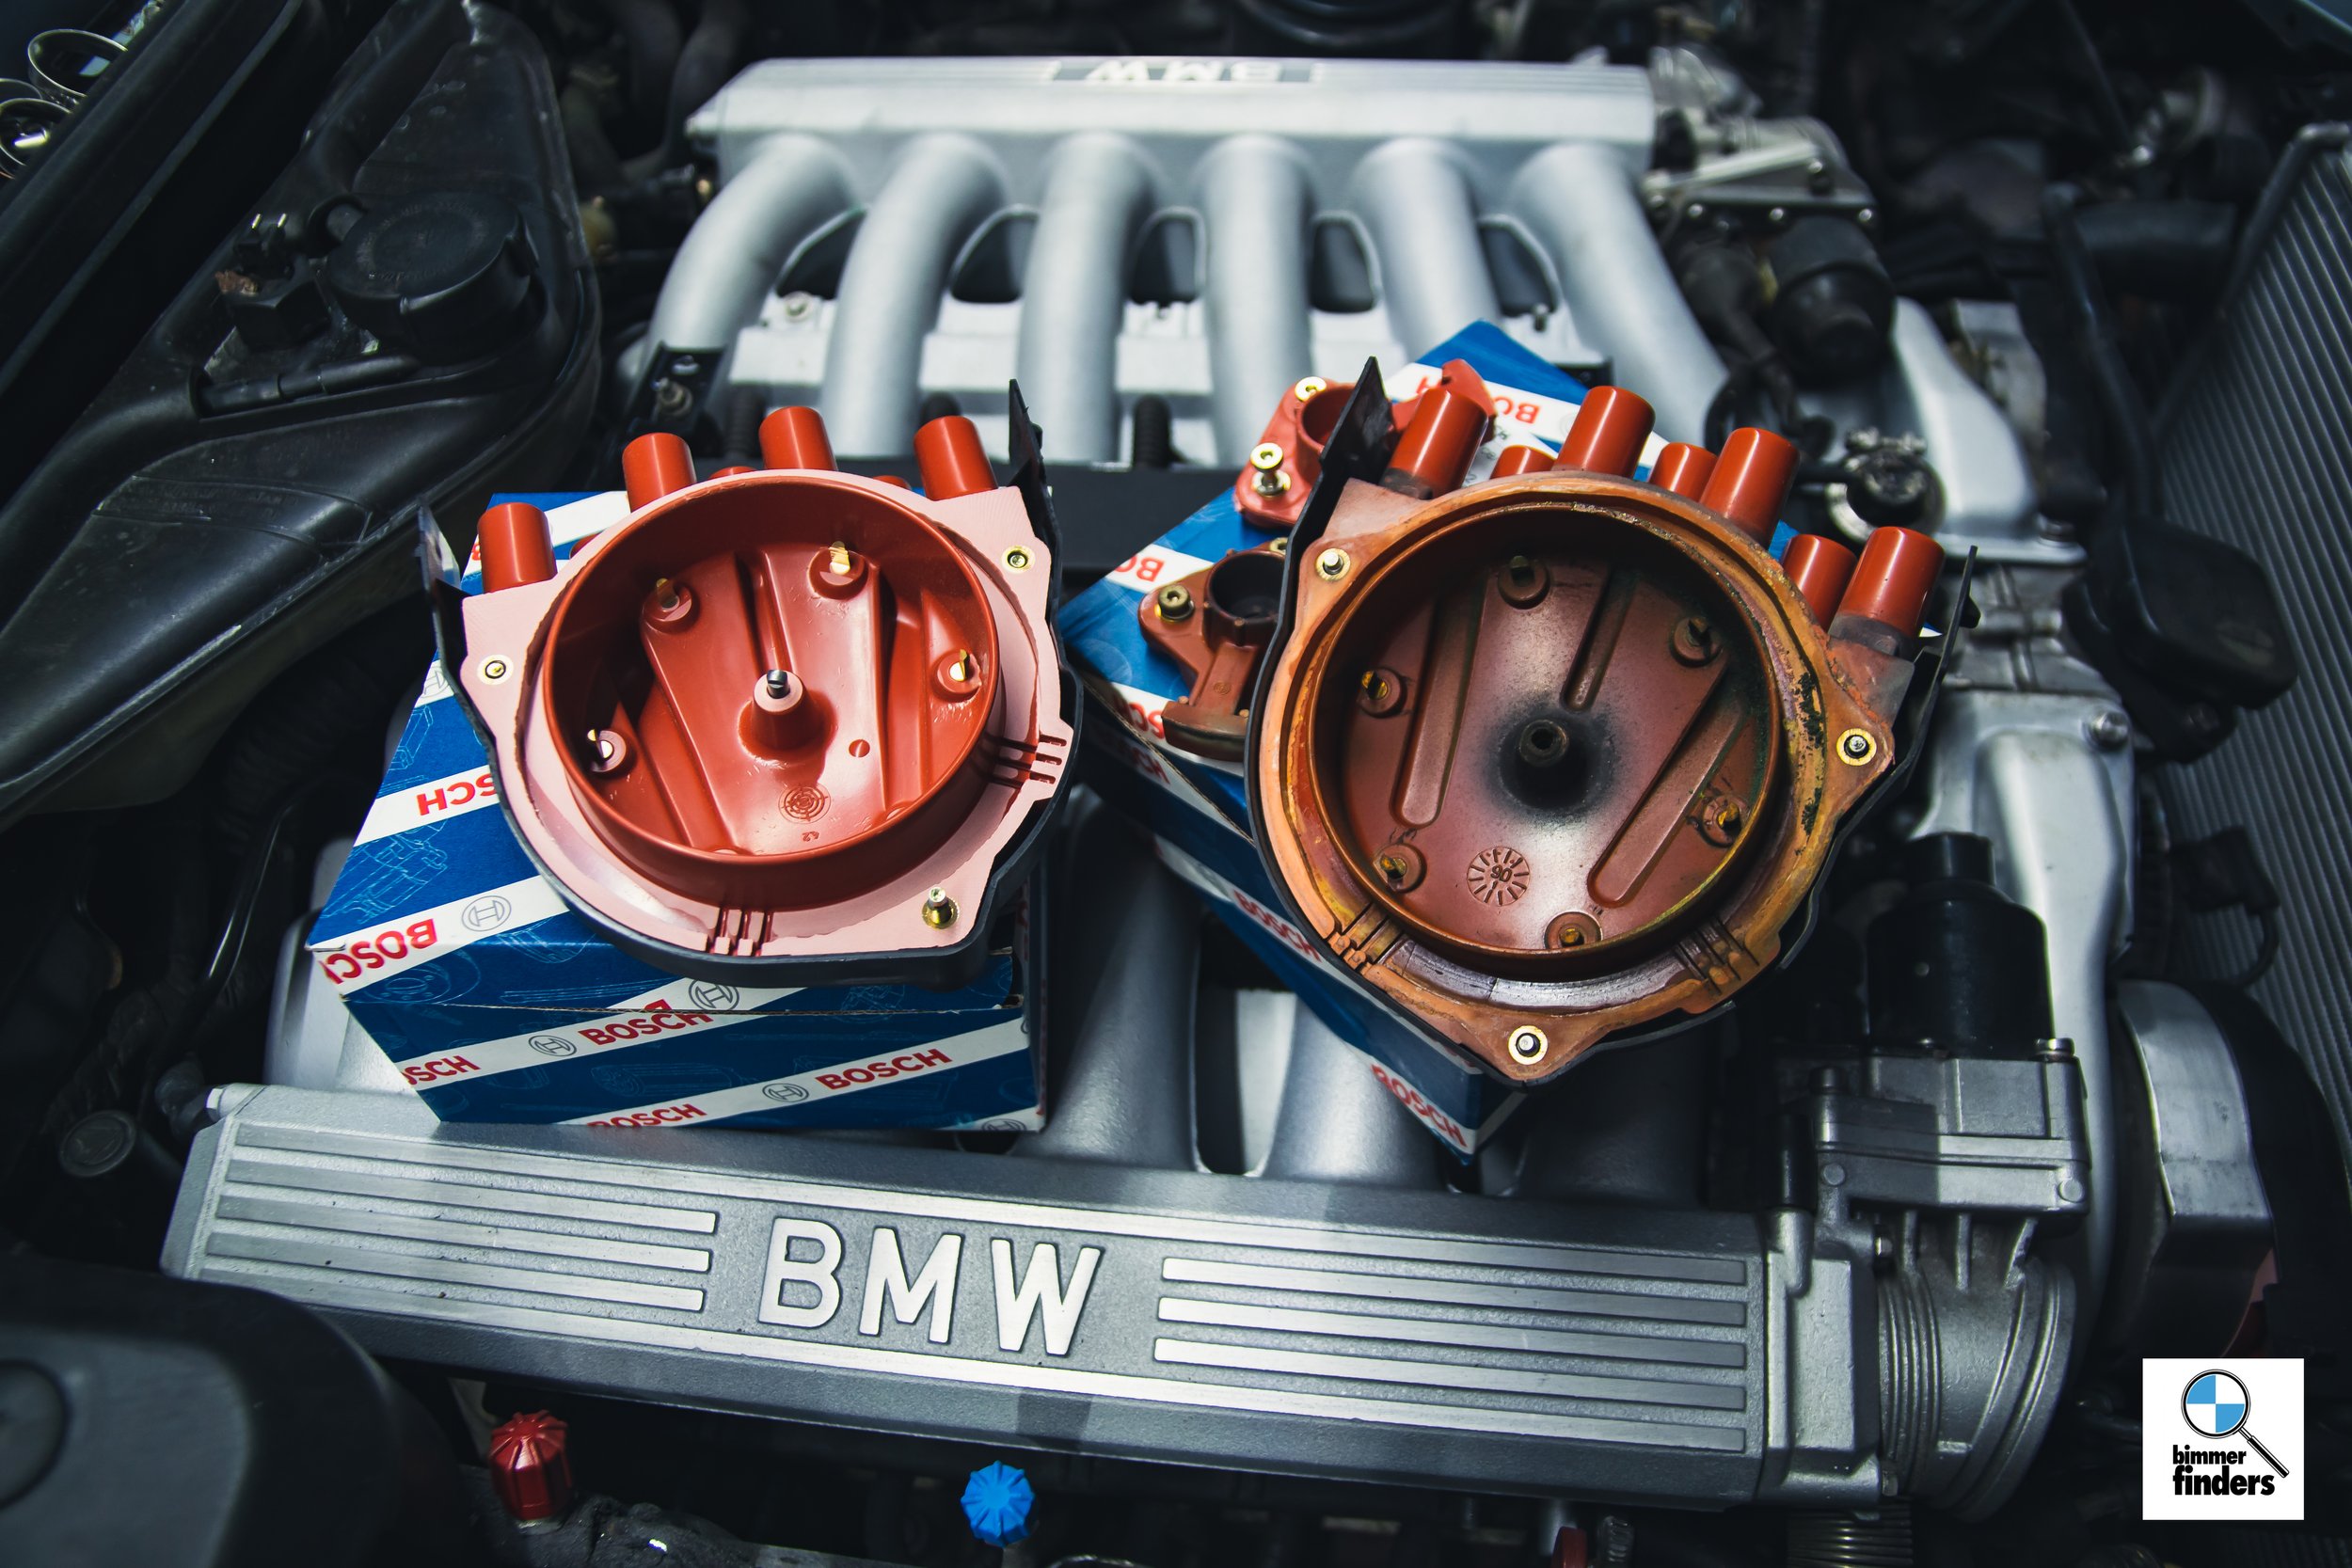
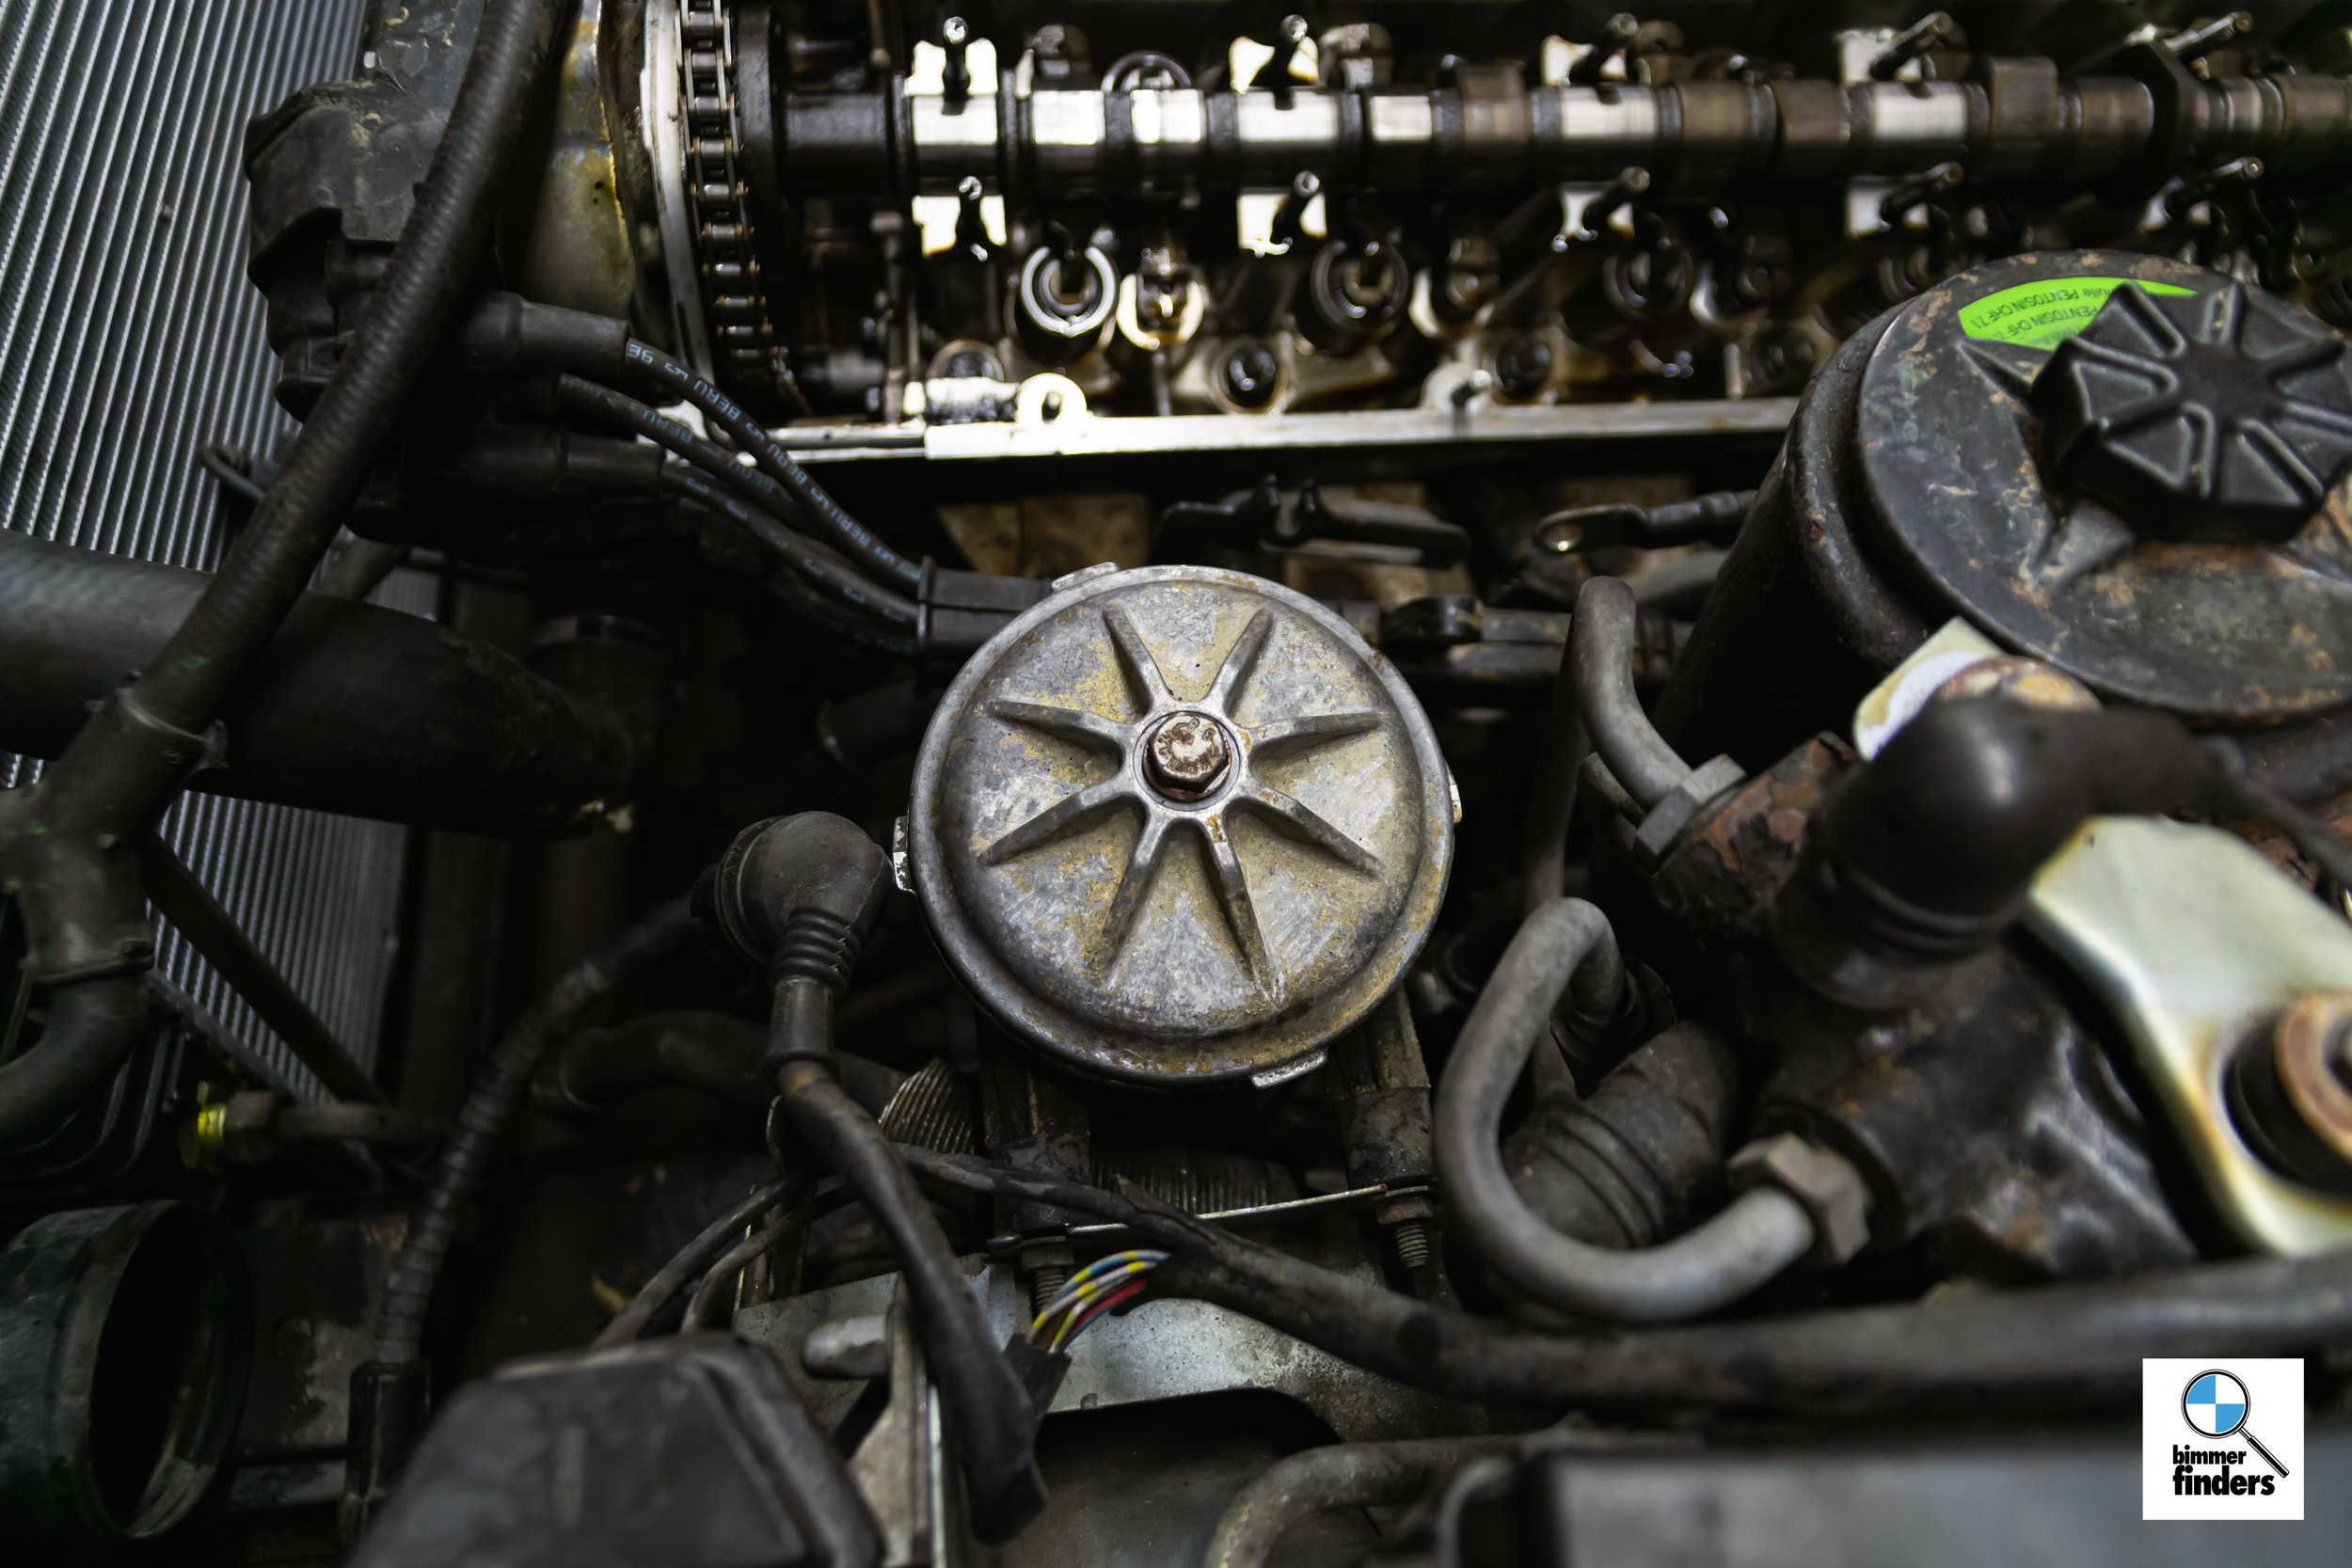
I also took the opportunity to do a few other “while you’re in there” items, including the caps and rotors. Not having seen them on the service history, I figured it was best to do. Compared to the old ones, it was definitely time.
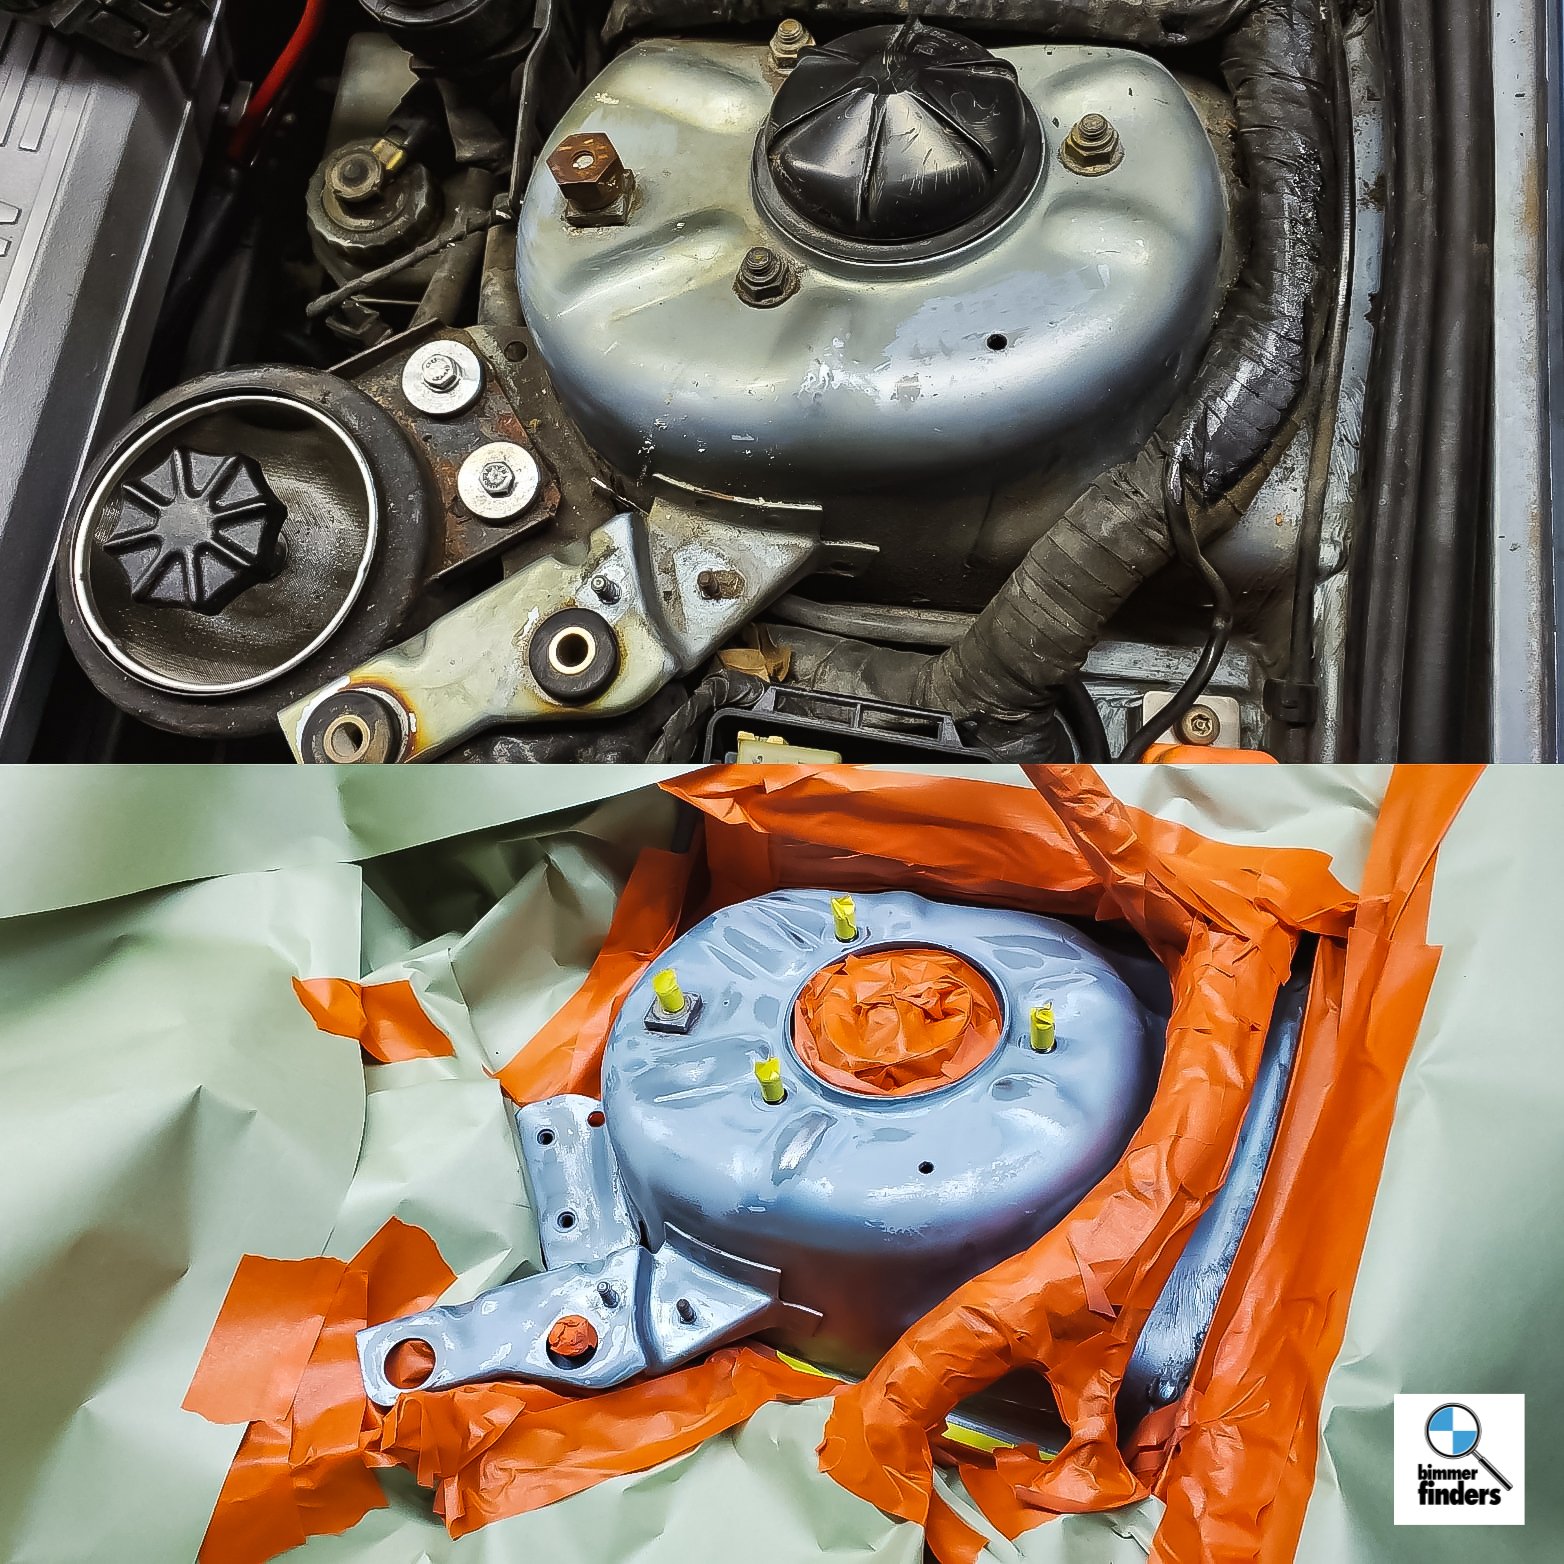
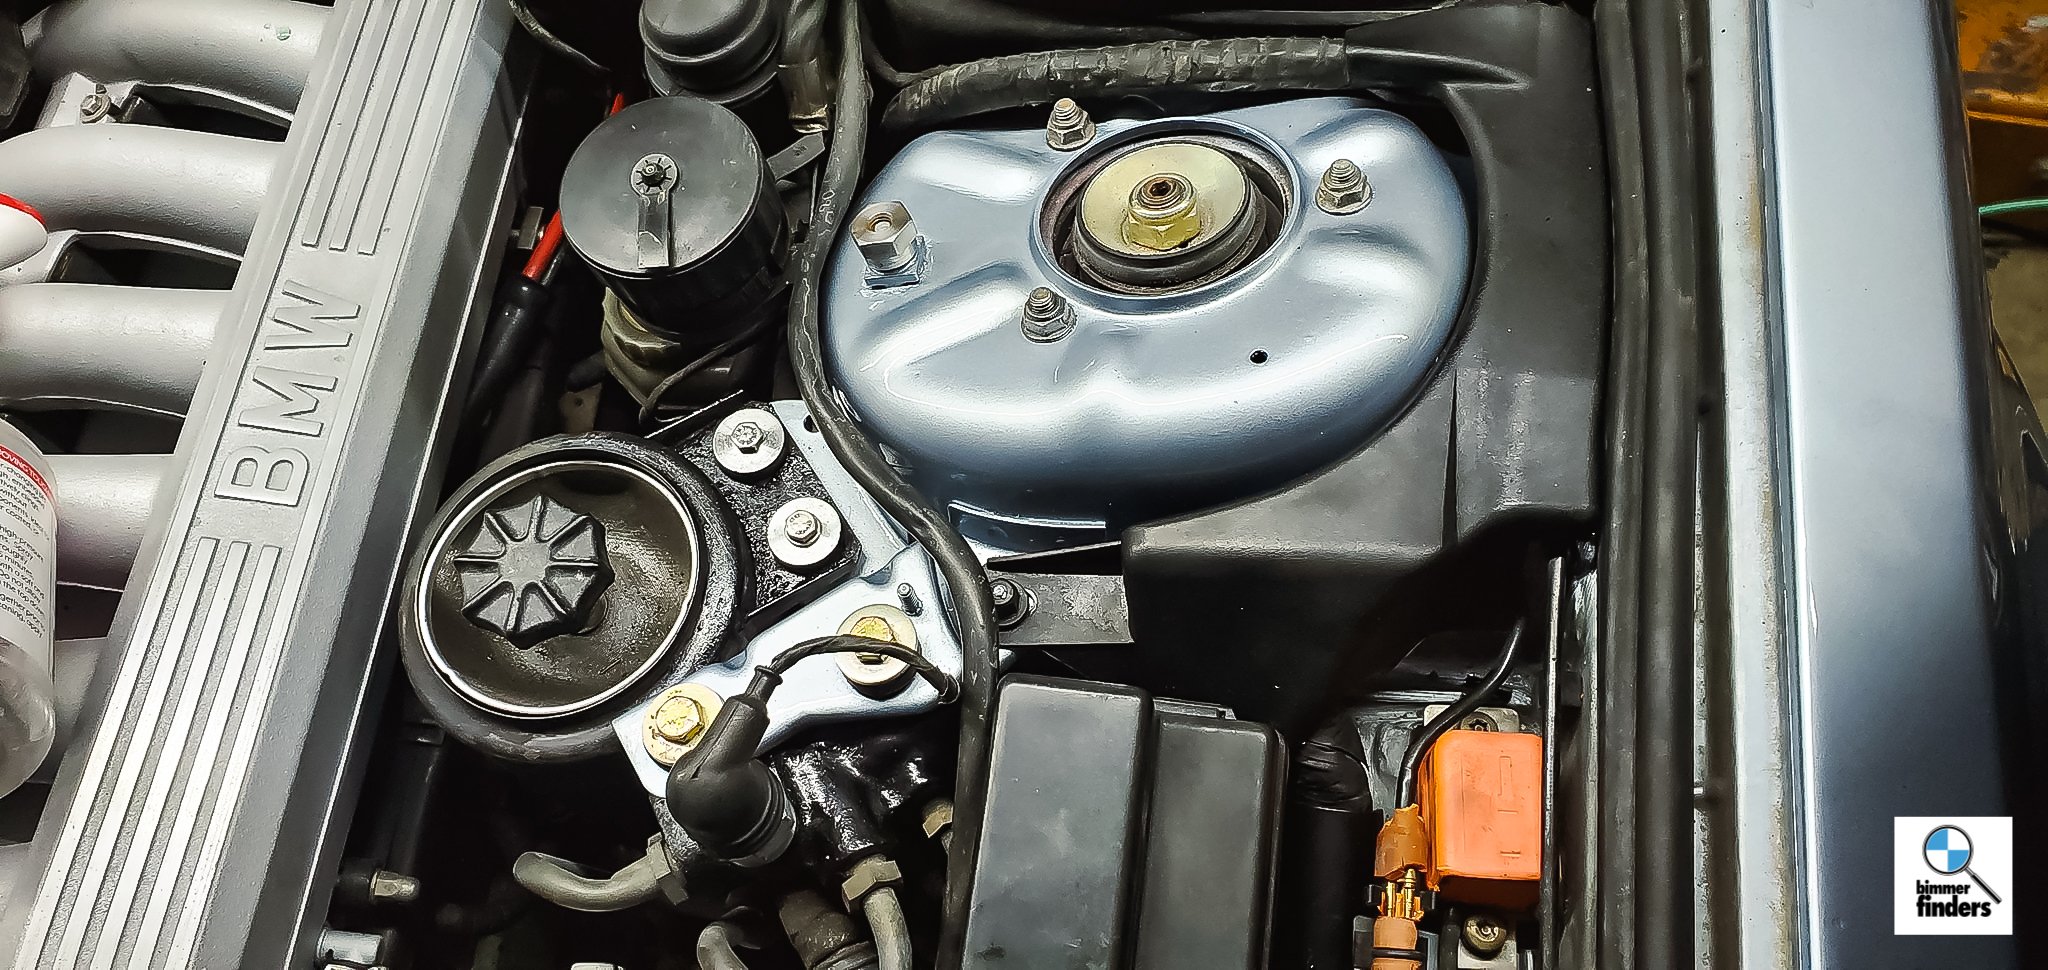
With everything looking so new and fresh, I noticed a problem that before would’ve gone unnoticed: The shock towers were covered in hideous cosmolene. Cosmolene is a waxy substance that BMW and other German manufacturers would spray in the engine bays of cars before shipment to deter them from rust and corrosion — It goes on clear, but yellows as it ages; giving it an unsightly look in any engine bay.
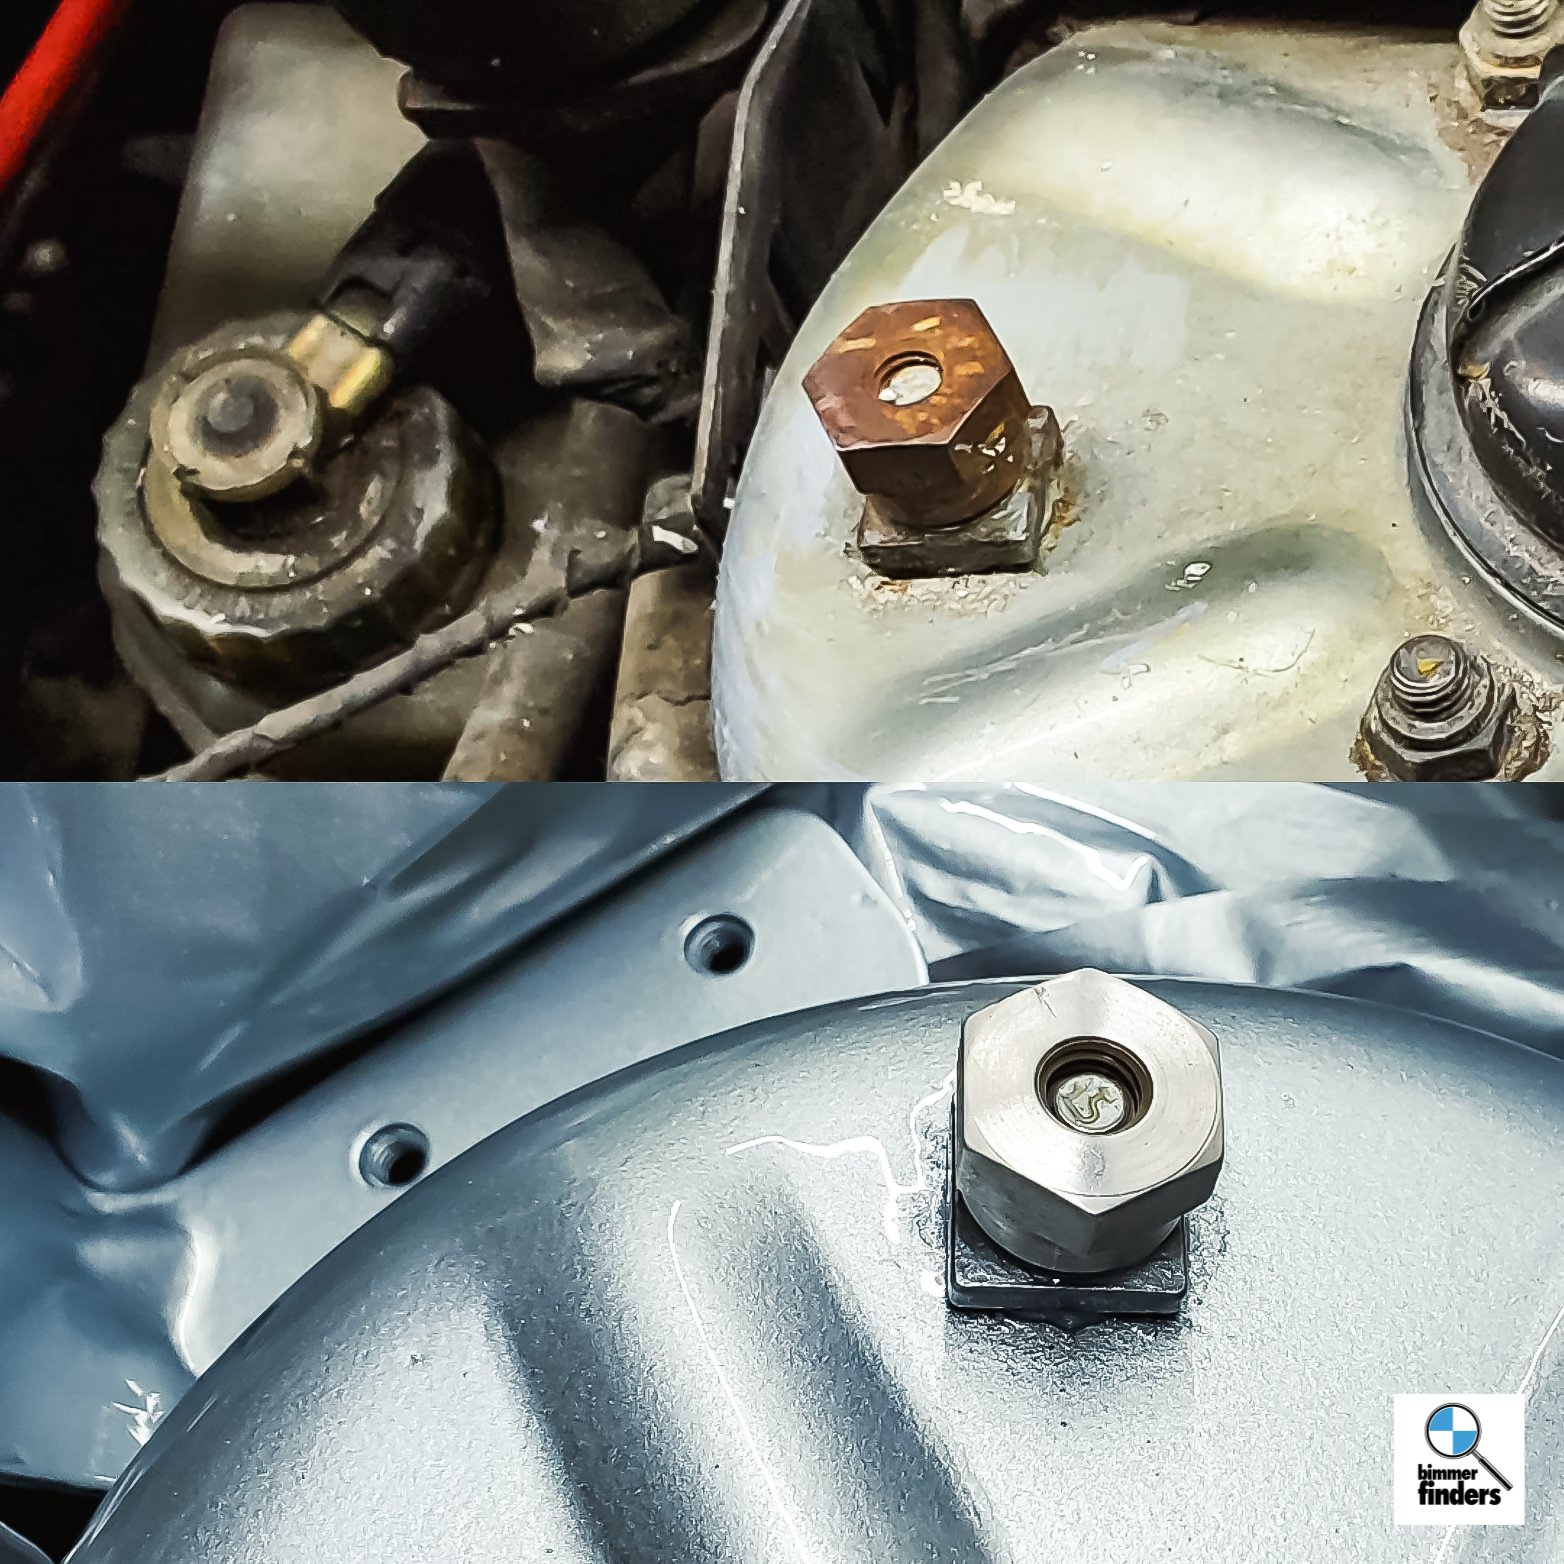
That had to go, and with no effective way to remove it without removing paint, I decided to take the task on of painting the shock towers. I also replaced/cleaned the nuts, bolts, and ground terminal. I’ll be replacing the washer fluid tank as well, as like the cosmolene, it now looks out of place with all of the bright colors.
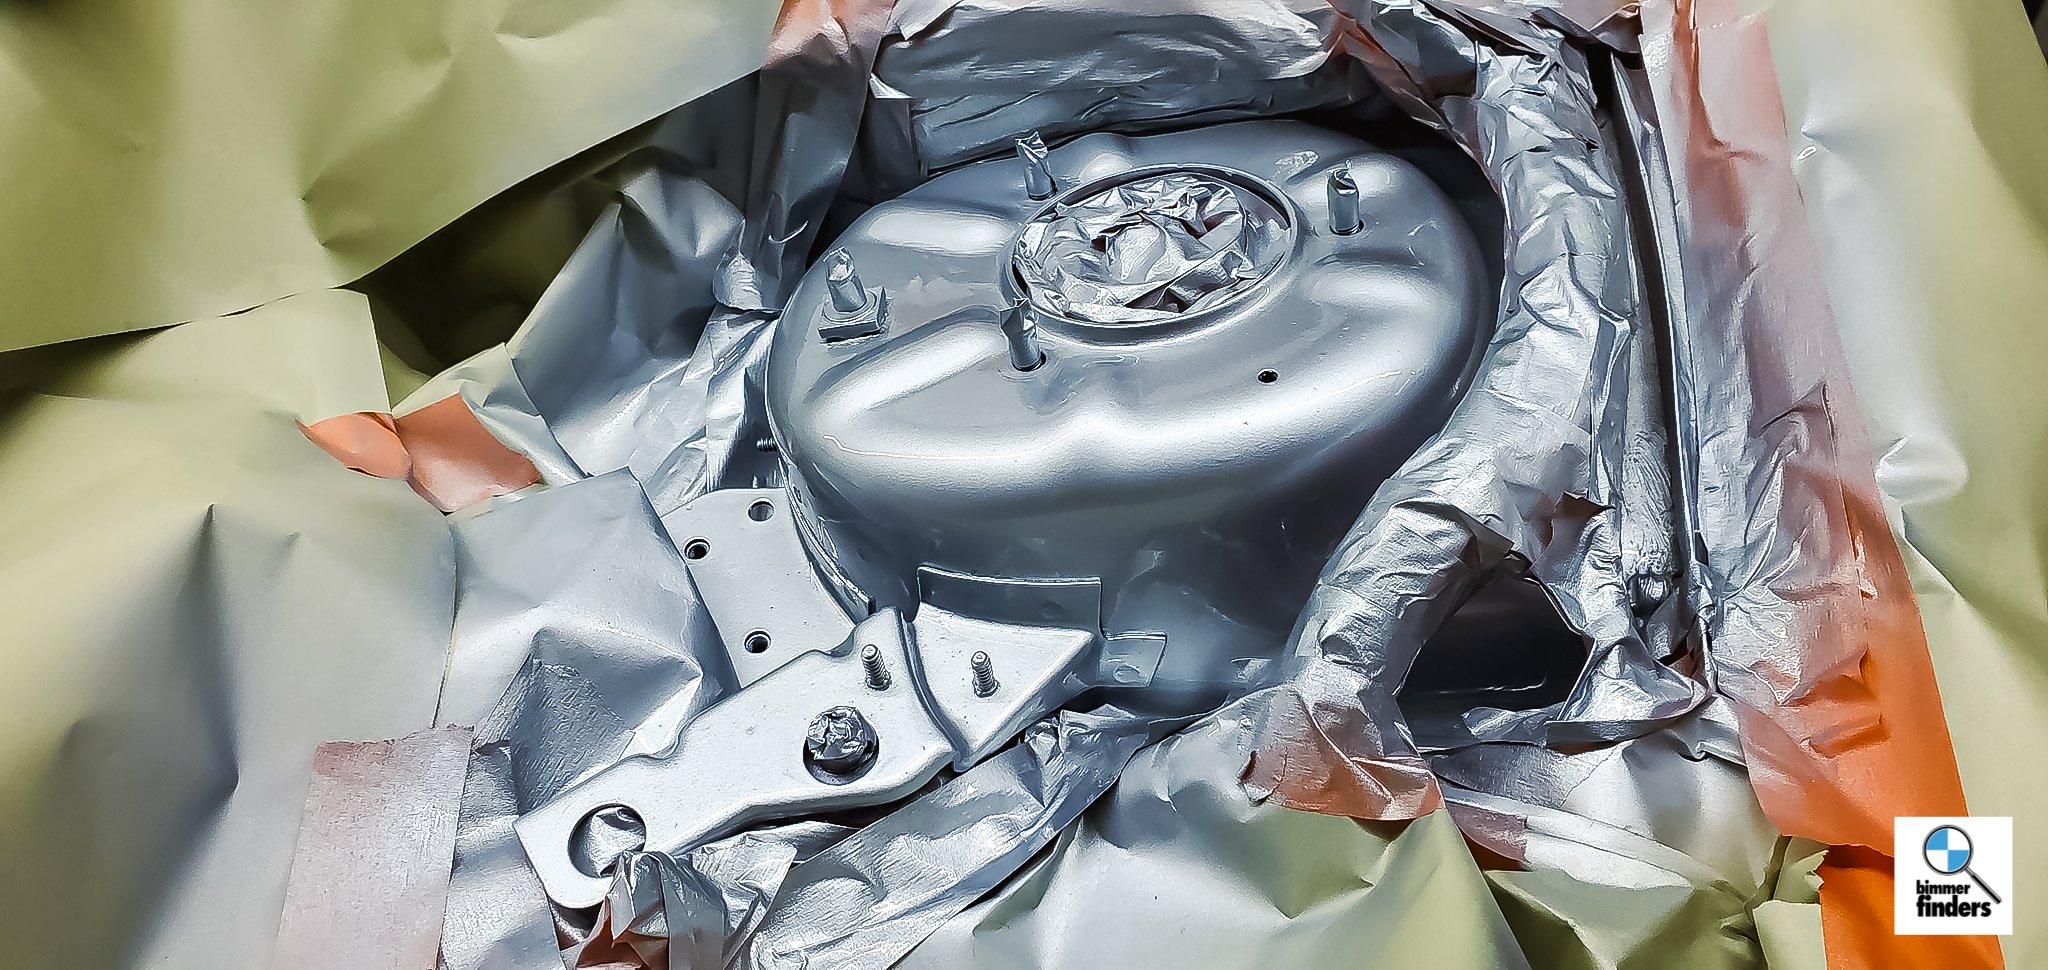
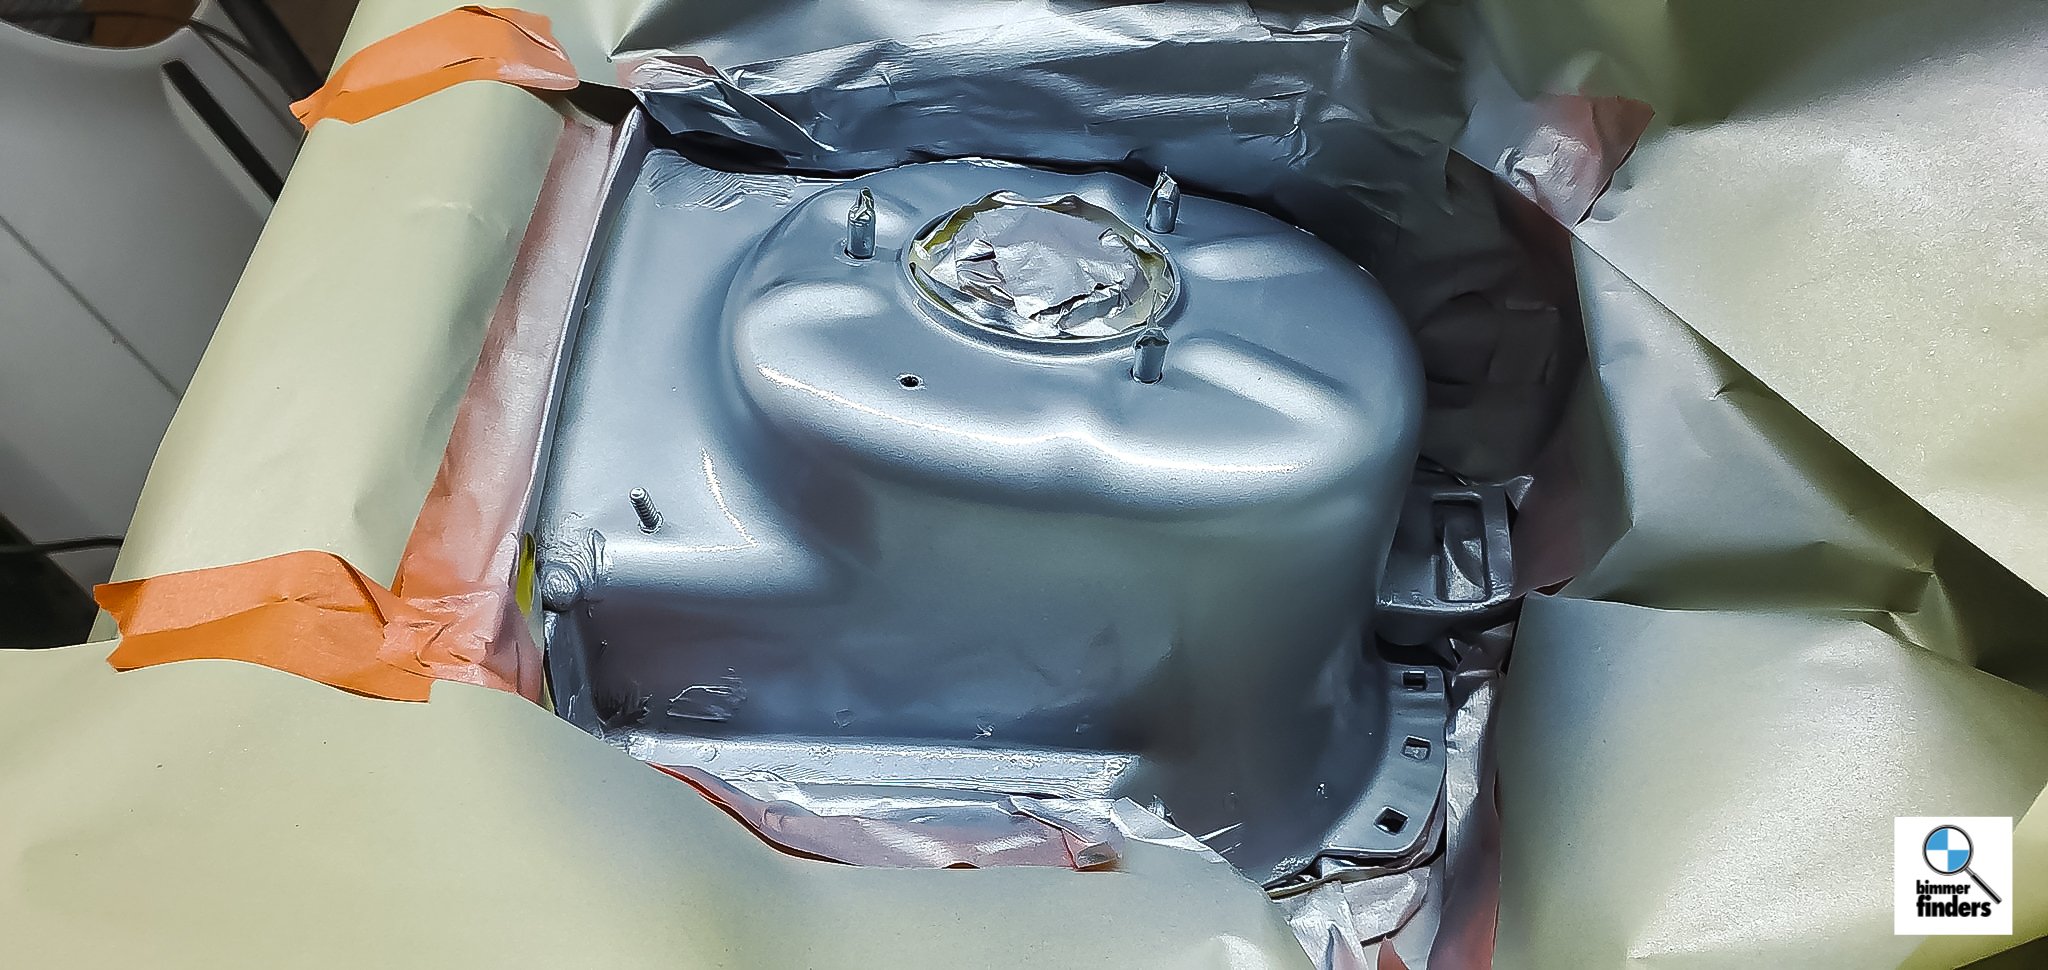
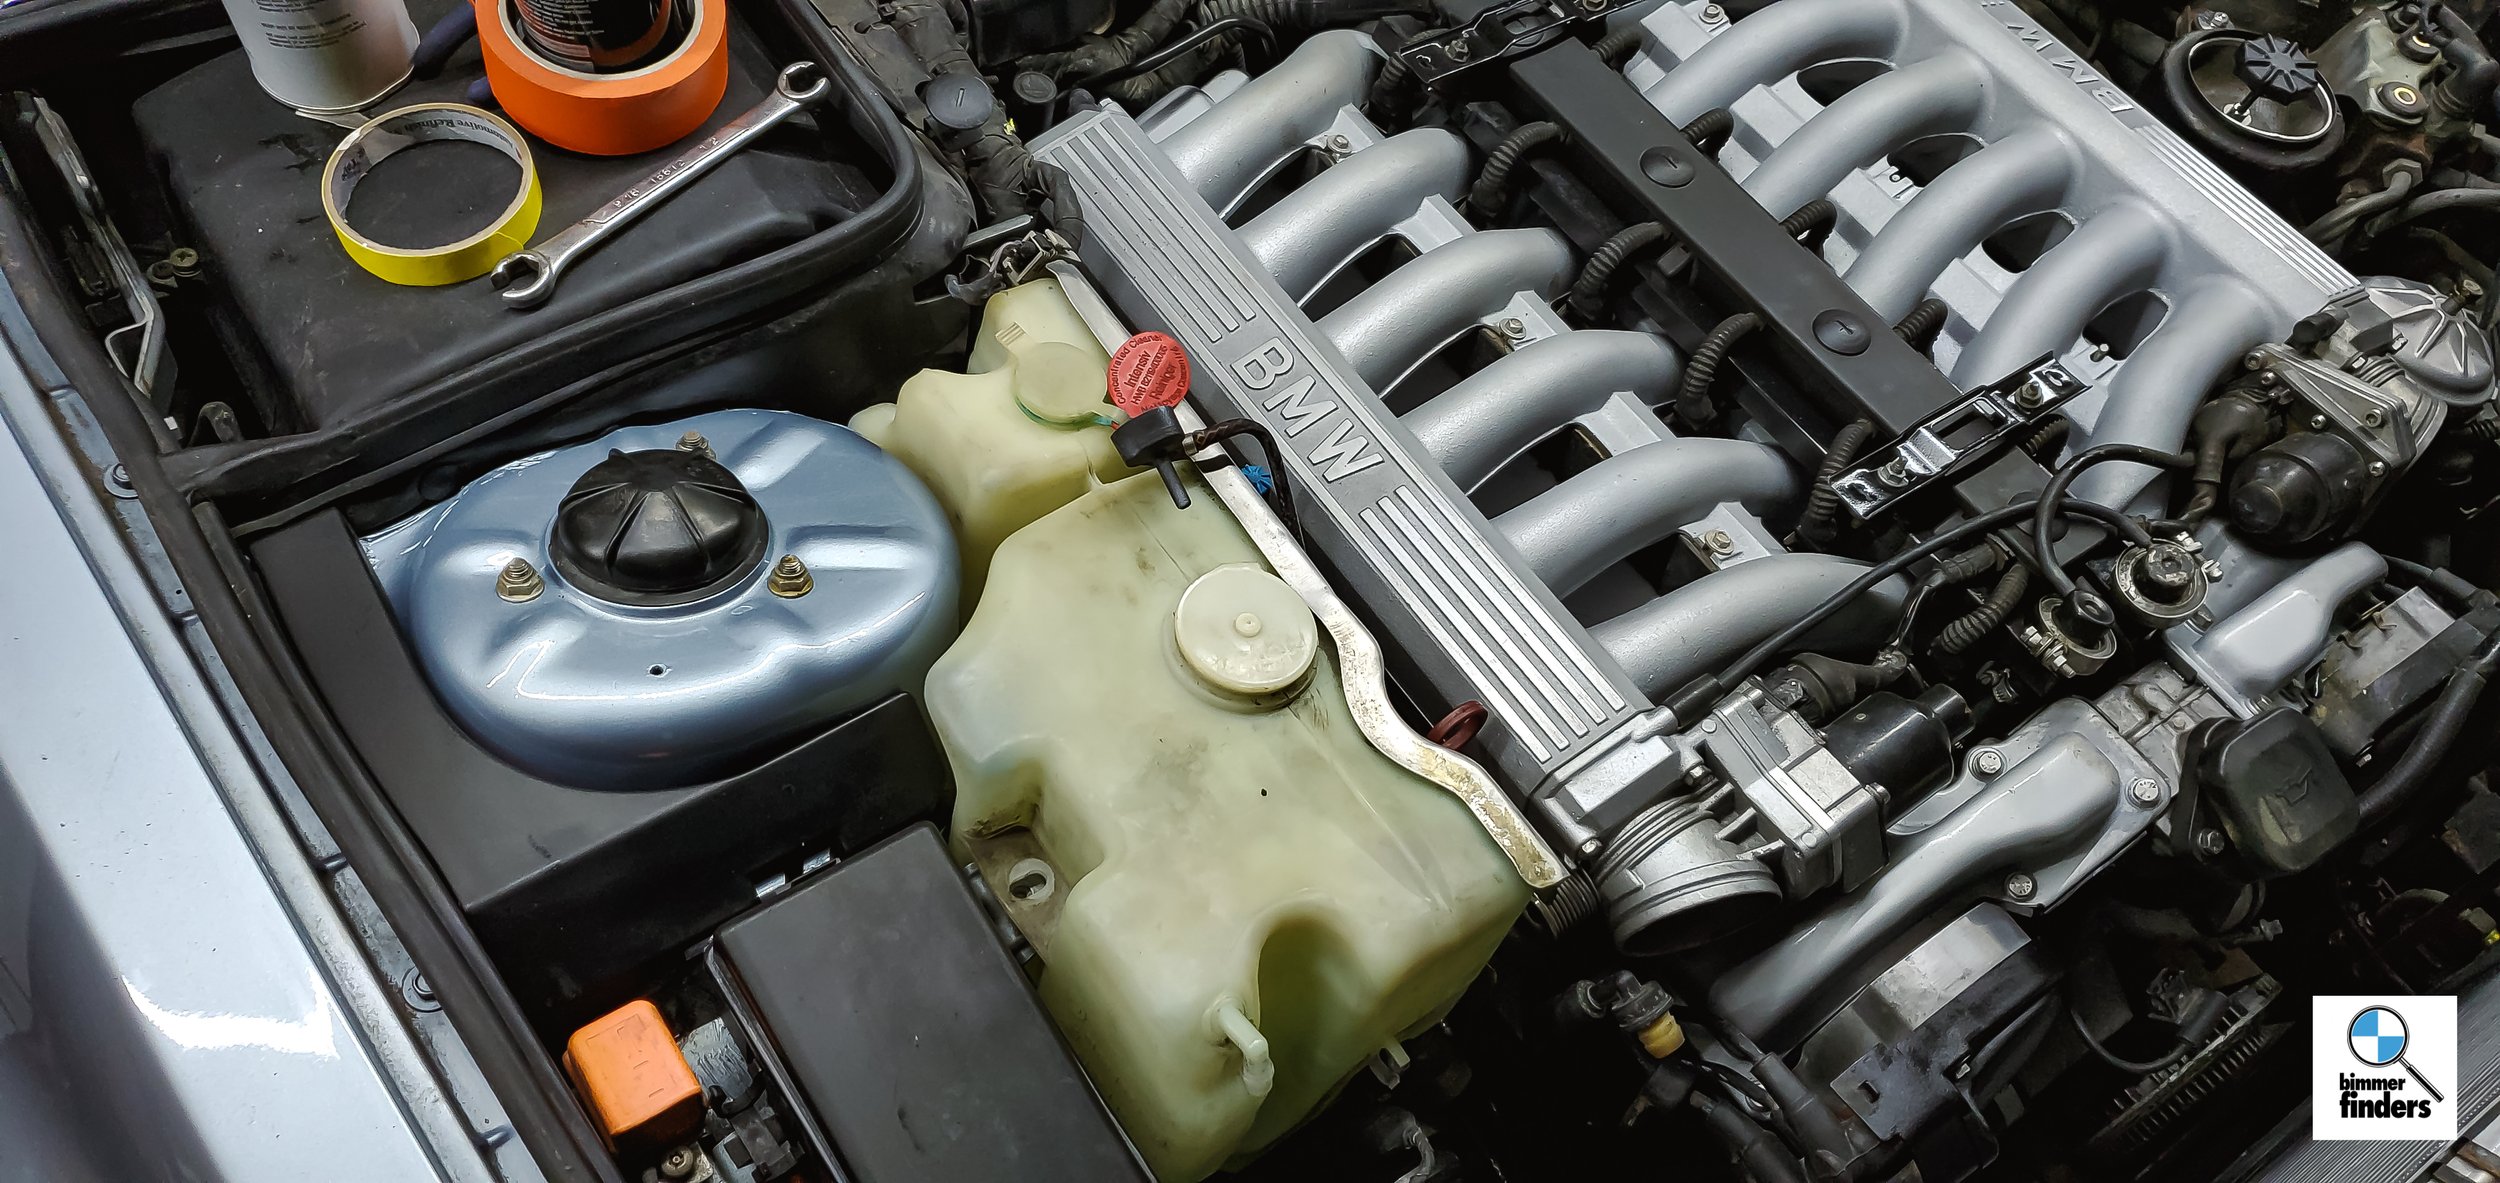
The last thing to do before the rest of the reassembly(air boxes etc.) is to clean or paint everything else, so that we have a complete package.
This is an ongoing build, and this thread will be updated regularly as more progress is made. Check back for updates!